Do you want to transform your videos and add a special touch? Adobe Premiere Pro makes this possible and it’s much easier than you think.
Adobe Premiere Pro is one of the essential programs you will find in the arsenal of any video editor worth their salt. Whether you are looking to take your first steps in editing or you are a professional, Premiere Pro is a very powerful software that will help you bring your most creative ideas to life (at least when it comes to video).
If you’re here, it’s because you want to learn about the Ultra Key Effect and apply it to your videos. Throughout this article, we will guide you step by step on how this effect works and how you can apply it to your projects. If you’re interested, keep reading below!
First of all, what is a chroma?
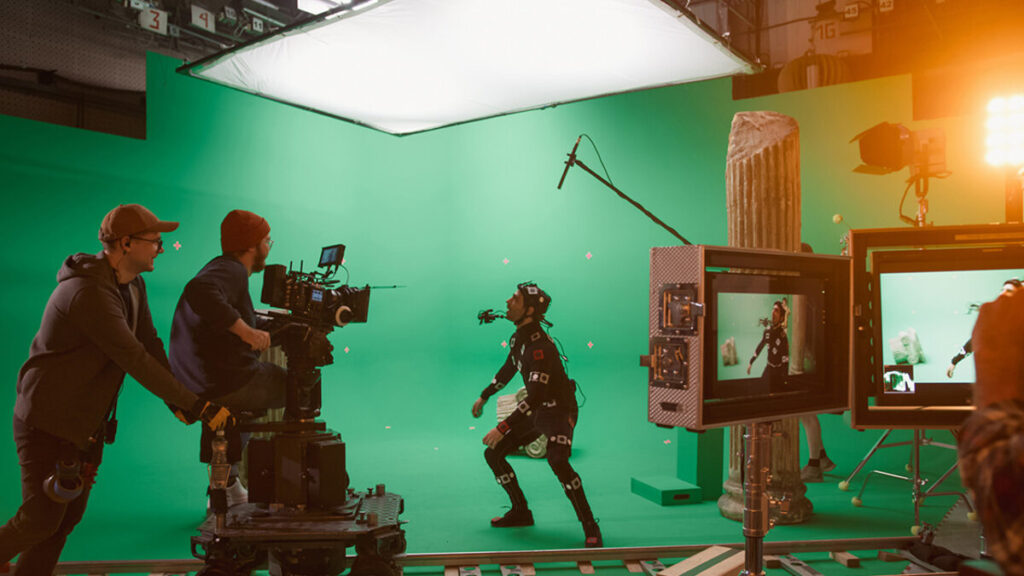
A chroma key or green screen is a technique used in video or film production to overlay elements on different backgrounds. The idea is very simple: actors or objects are first recorded in front of a green (or sometimes blue) background. Then, this background can be replaced with any type of image.
Green and blue are the colors used in chroma key because they are the least common in clothing, hair, and are more easily distinguishable from human skin. On the other hand, digital camera sensors are also more sensitive to the color green.
Fortunately, we can use this technique in Adobe Premiere Pro thanks to the Ultra Key effect.
How can you apply effects to clips
Applying effects in Adobe Premiere Pro is much easier than you think. You can add any type of effect that you see available within the Effects panel. If you need to, you can even use the same effect multiple times. You just have to do the following:
- Select the effect you want from the Effects panel and drag them onto the clip on the timeline.
- If you want to apply the same effect to multiple videos, simply select them first and then drag the effect onto them.
- You can also select a clip and then double-click on the effect you want to apply.
Use the Ultra-Key Effect to replace a green screen
Before you start, remember that you need to have a video or image with a green, blue, or similar background. In this case, the most important thing is that the background color is completely uniform, as this will improve the transparency effect.
Once you have the necessary material, follow these steps:
- Open your project in Adobe Premiere Pro. To do this, select File > Open Project. In Windows, you can use the command “Control + O” and in Mac, “Command + O”.
- Import the video you want to overlay from the File > Import menu. You can also drag the video from your computer folder to the Project panel in Adobe Premiere Pro.

- Place it on the timeline above the clip that will serve as the background.
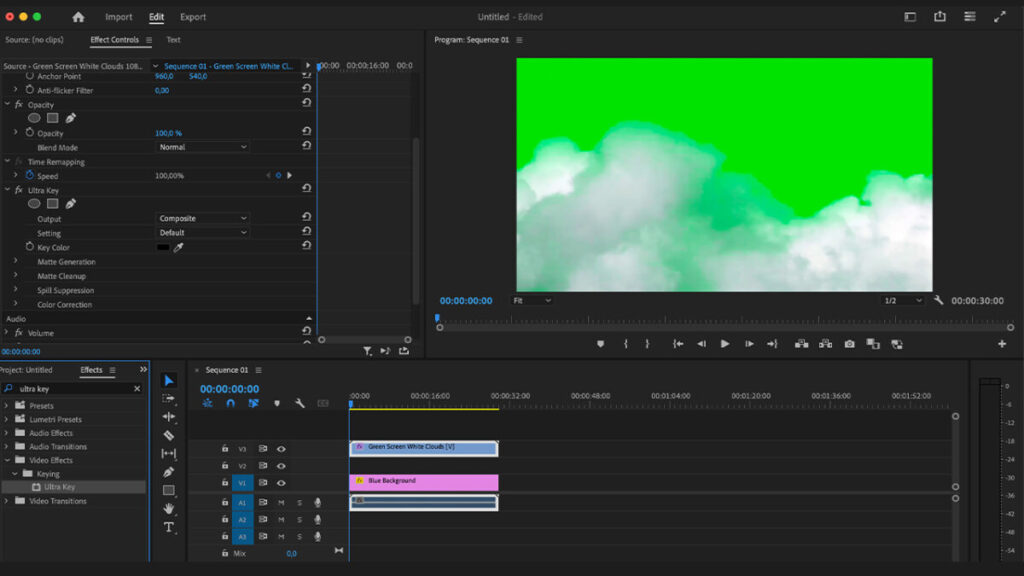
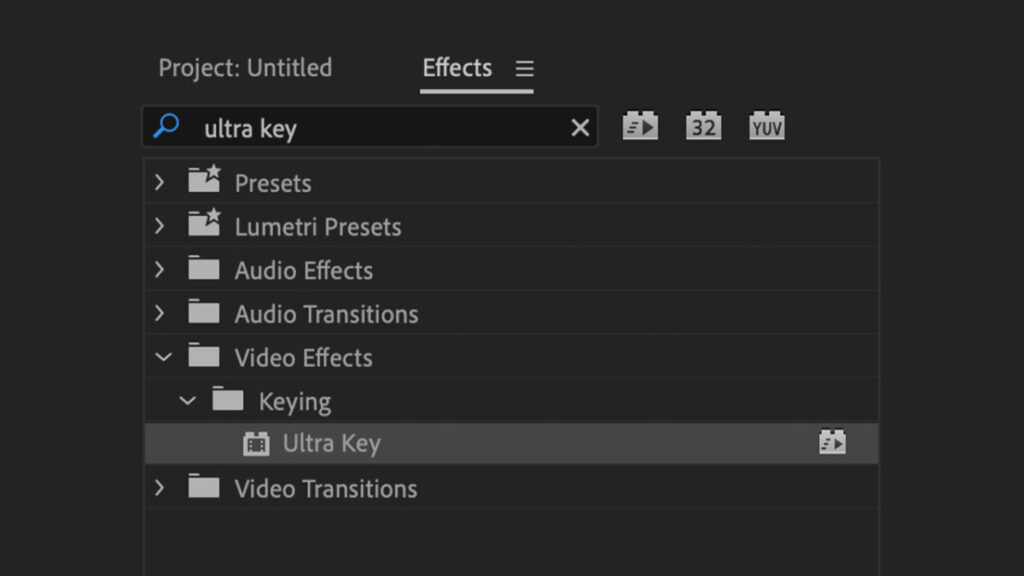
- In the Effects panel, look for the Keying category and drag the Ultra-Key effect onto the green screen clip.
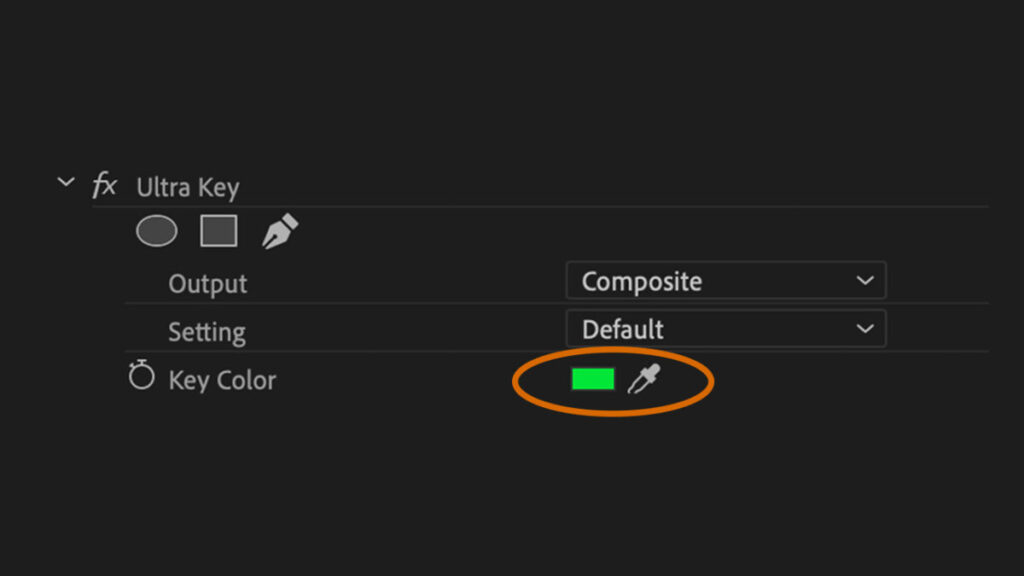
- Go to the eyedropper symbol found in Key Color and select the background color of the video. At that moment, you will see the background disappear.
Perfect every little detail of your video with Ultra-Key Effect
When applying the Ultra-Key Effect, we will see how the background of the clip is completely removed. However, there are times when we will need to touch up the video a bit to perfect the result and completely crop the figure.
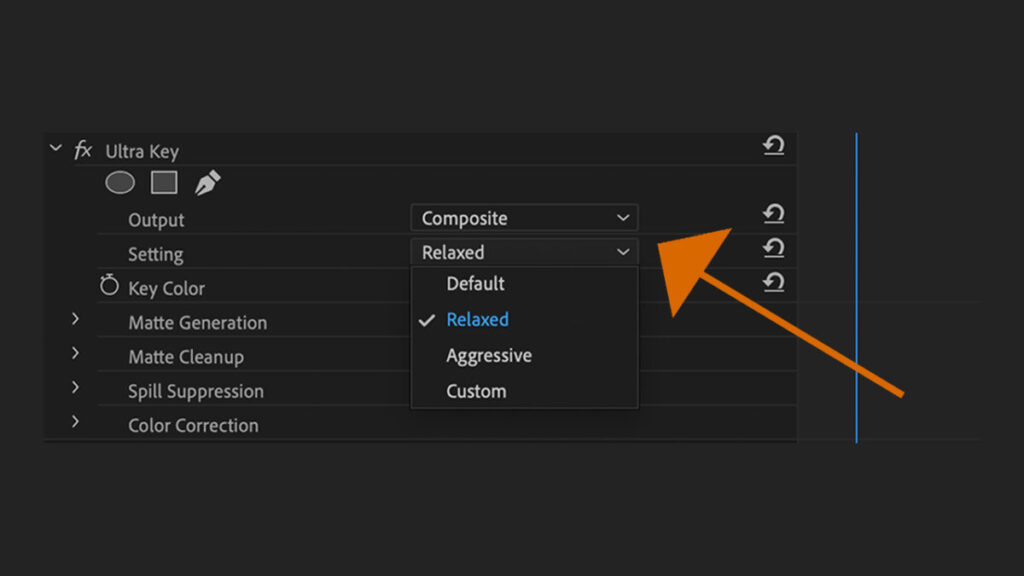
Within Ultra-Key, we can use the Output menu to see the effect applied on the Composite Image, Alpha Channel, and Color Channel. Then, we can modify the amount of color that is removed from the background through three options: Aggressive, Relaxed, and Custom.
In Aggressive, the effect becomes stronger and increases the range of color removed, making the figure even more cropped. On the other hand, Relaxed does the opposite of Aggressive and decreases the range. The Custom section allows us to manually modify how much color we want to remove from the background.
The Matte Generation controls will help you perfect the transparent areas. Here you can alter the clip’s transparency, the opacity of lights and shadows, the tolerance, and filter the sound of the alpha channel.
Next, we have the Matte Cleanup settings, which are used to smooth the edges of transparent areas. Just below, you will find the Spill Suppression controls, which will help you perfect the remnants of the background that you will see around light colors. Finally, you can correct the color with the Color Correction controls. Aspects such as saturation, hue, and light can be adjusted to improve their integration with the underlying clip representing the background.
Wait… Isn’t Chroma Keying the same thing?
Just like with the Ultra-Key Effect, the Chroma Key effect will also help us remove a uniform color background. Although both effects pursue the same goal, you have to be clear that Chroma Key is more basic.
This effect is designed to be used on backgrounds with a solid and well-lit color. It is also easier to use and requires fewer adjustments than the Ultra-Key Effect.
On the other hand, Ultra-Key Effect preserves much better the finer details around the edges, such as human hair, for example. It offers more advanced options to correct color reflections and adjust their transparency, which is very useful if we want to cut out a more complex figure. In addition, it works better in situations where the background has lighting variations or is not completely smooth at all.
The choice between one or the other will depend on the needs of your project and the quality of the video you are working with. If the background is difficult, with variations in light and many details, the Ultra-Key Effect will be the best option. In the case that the background is completely smooth and you want an easy and quick solution, don’t even think about it: chroma keying is the answer.
Is Adobe Premiere Pro free?
Adobe Premiere Pro is one of the most comprehensive and powerful video editing software available today. With it, you can shape your ideas and create exciting projects, paying attention to the smallest detail.
There are several ways to access Adobe Premiere Pro, although they all have one thing in common: you will have to pay a monthly (or annual) fee to Adobe.
The first option and the simplest one is to subscribe monthly to Adobe Premiere Pro, which also includes a free 30-day trial of Adobe Stock. With this subscription, you will have full access to the program and all its features.
On the other hand, you can also choose the option to access all Creative Cloud applications. You can subscribe for a monthly fee or pay for a full year. But beware: keep in mind that a 12-month commitment is required.
Some of the links included in the article are part of affiliate campaigns and may represent benefits for Softonic.