How to Invite Parents to Google Classroom in 3 Fast Steps

Keeping parents up to date with their child’s progress in Google Classroom on Windows, Mac, and mobile devices is a critical part of being a teacher. Parents can’t assist their children if they are not aware of any concerns, such as assignments not being submitted, etc. 

Let’s look at how teachers can invite parents to Google Classroom.

How to Invite Parents to Google Classroom

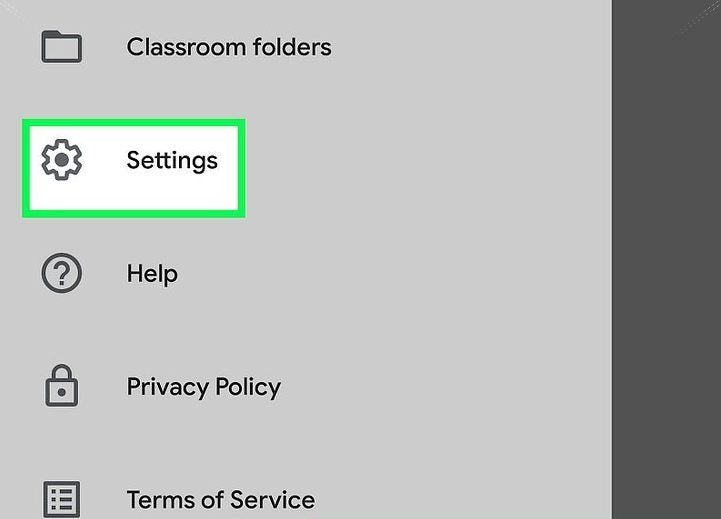
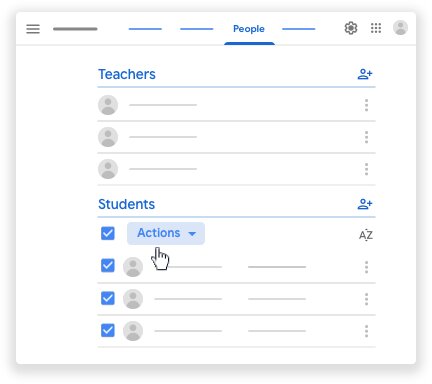
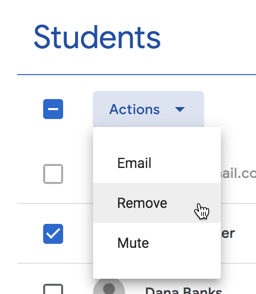
Step 1: Click on the ‘Students’ Section and Then ‘Settings’

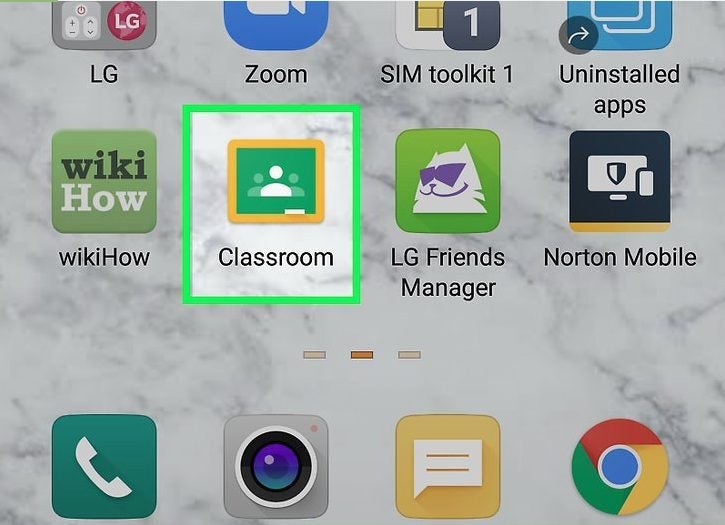
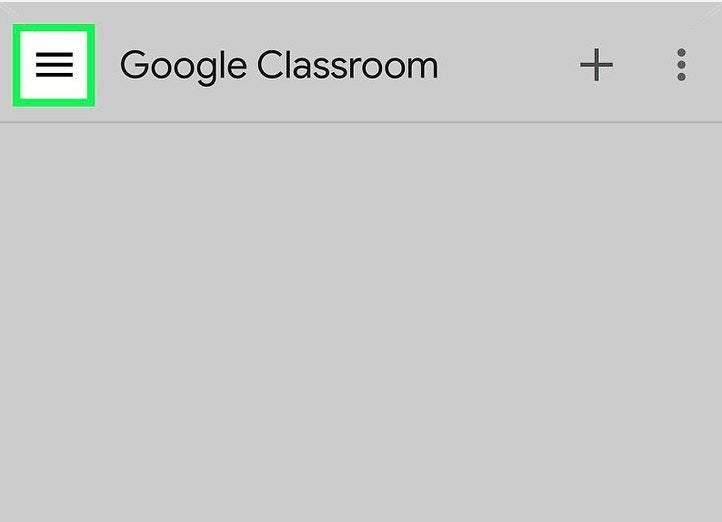
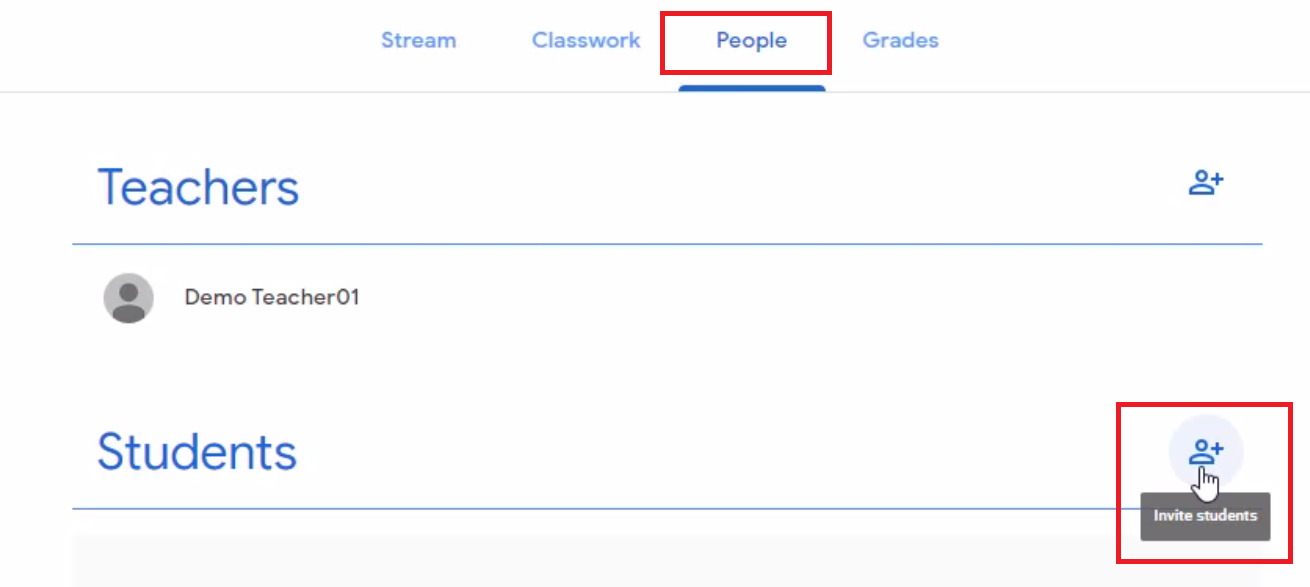
Open the program and log in to your account. Click on the Students section at the top of your screen. Next, click on ‘Settings.’ 

How to Invite Parents to Google Classroom in 3 Fast Steps

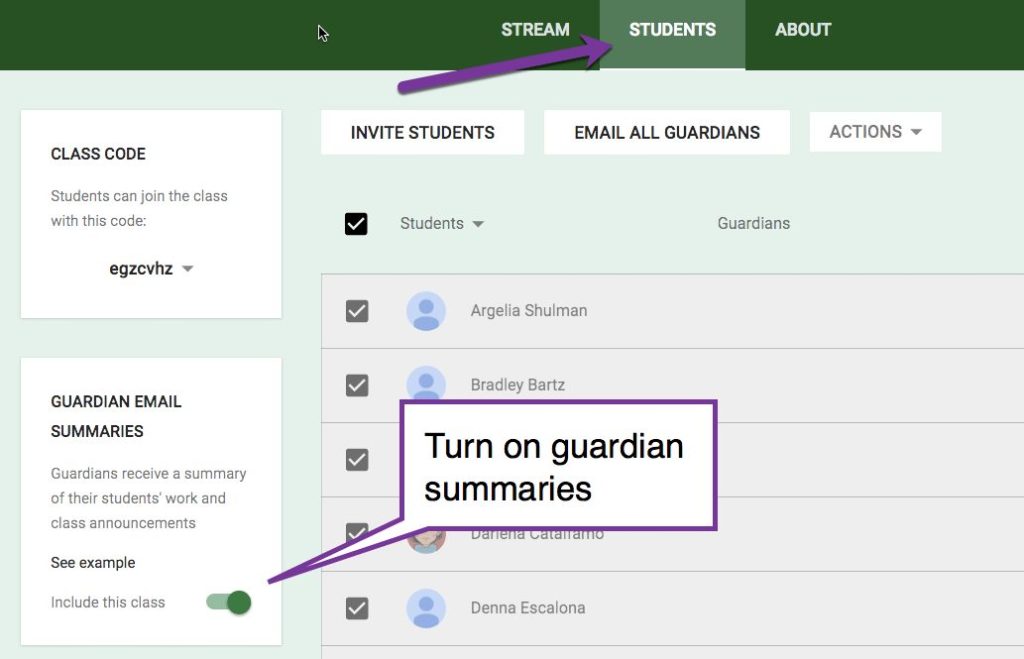
Step 2: Enable the Guardians Function

Click the button next to ‘Include this class in guardian email summaries.’ This will ensure that parents have access to the summaries regarding their child’s performance. Exit the program entirely to give it a chance to set up the new feature and then reopen Google Classroom.

How to Invite Parents to Google Classroom in 3 Fast Steps

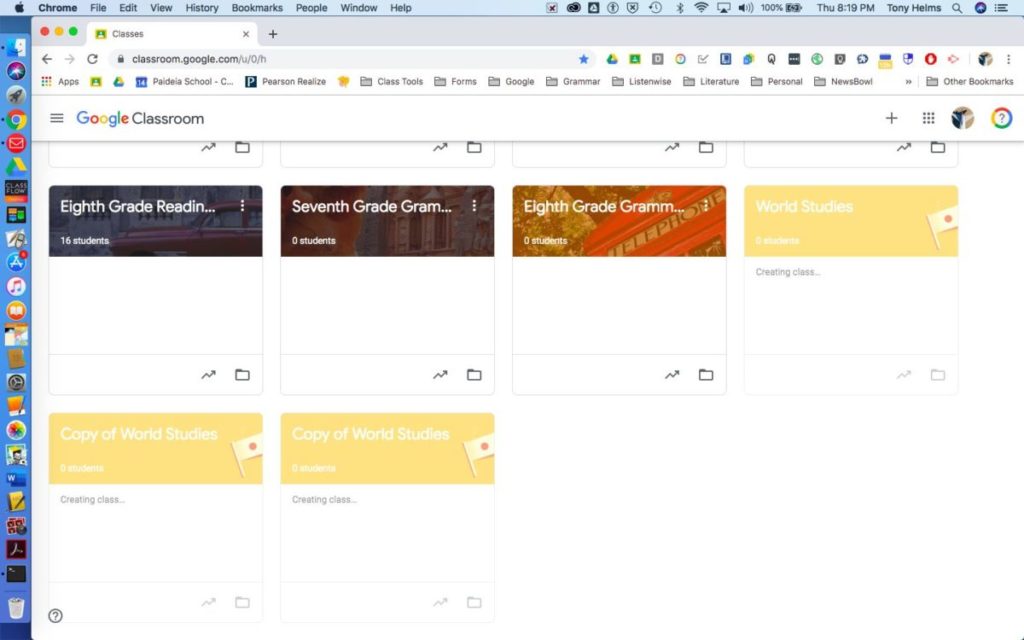
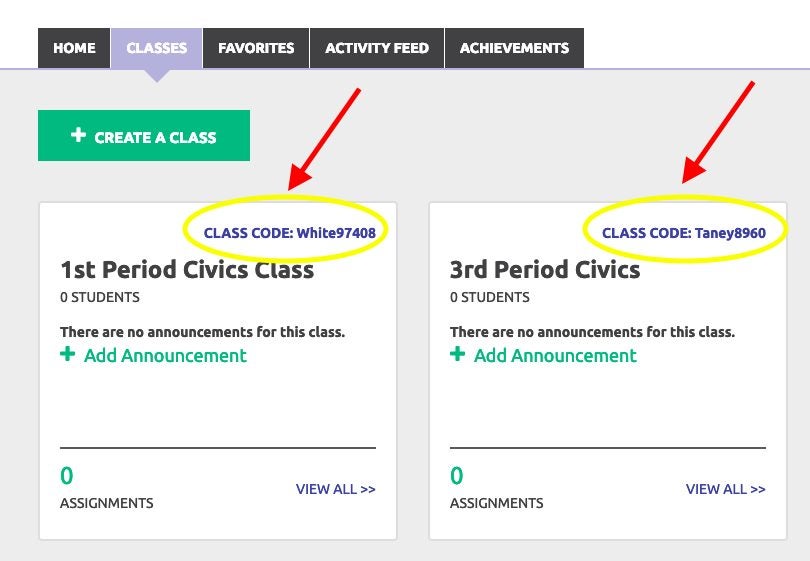
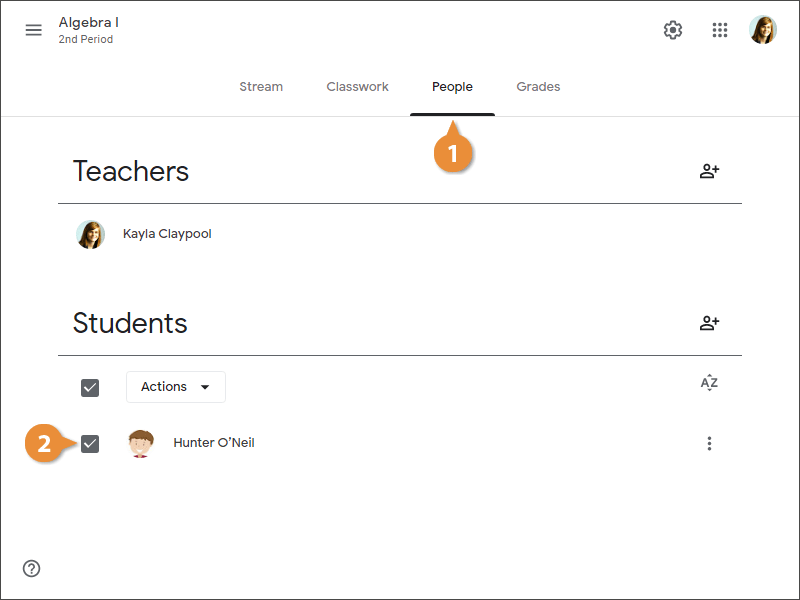
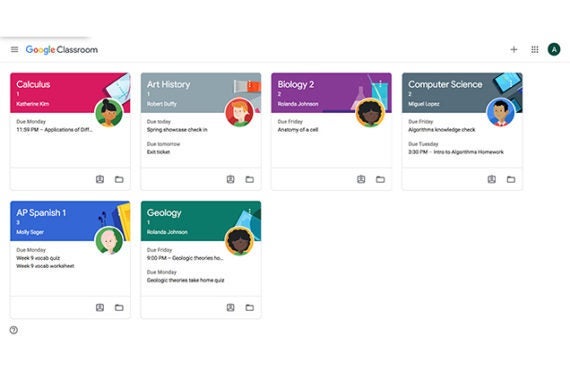
Step 3: Select the Class You Want to Add Parents To

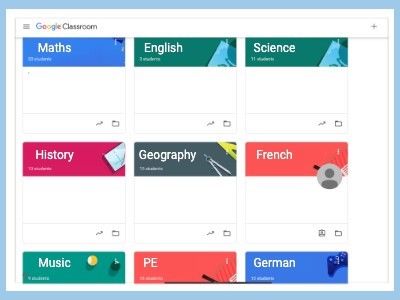
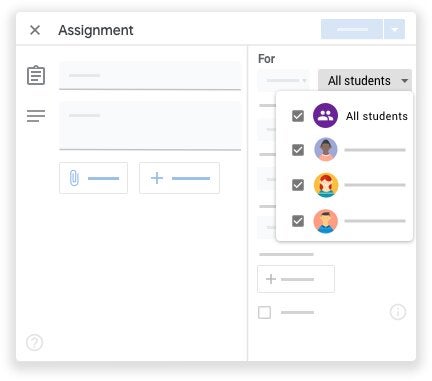
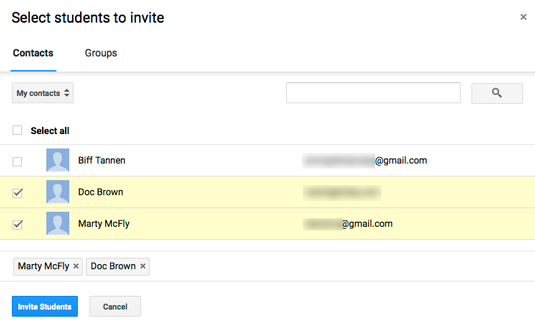
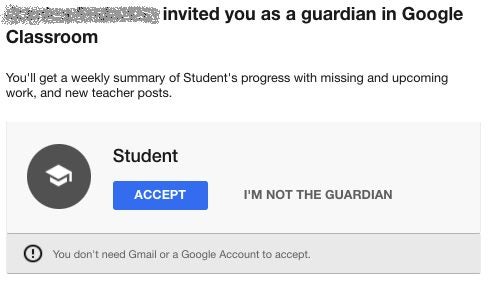
On the main page, select which class you would like to add parents too. Within the class, you want to change, navigate to the ‘Students’ section. Click on the student, and then click on the ‘Invite Guardian’ button, fill in the parent’s email address and click on ‘Invite.’

How to Invite Parents to Google Classroom in 3 Fast Steps

Keep Parents in the Loop

As you can see, it is effortless to keep parents in the loop and updated with their child’s progress or areas they may struggle in.

How to Change Your Profile Picture on Google Classroom in 6 Easy Steps

Google Classroom is available as a web-based program, and there is also an app version available for download on Windows, Mac and on phone. Your profile picture will be the same across all Google products. It is a simple process to change your picture. You can use images, avatars or even photos as your profile picture. Let’s take a look at how you can change your picture in Google Classroom.

How to Change Your Profile Picture on Google Classroom

Step 1: Launch Google Classroom

Open the program on your chosen device or log in to the web-based version.

How to Change Your Profile Picture on Google Classroom

Step 2: Open the Menu

Click on the three horizontal lines or ‘burger’ to open the menu.

How to Change Your Profile Picture on Google Classroom

Step 3: Click on ‘Settings’

In the drop-down list that appears, click on the ‘Settings’ option.

How to Change Your Profile Picture on Google Classroom

Step 4: Click on ‘Update Photo’

Click on the ‘Update Photo’ option. Be aware that on iPad, iPhone and Mac, you will first need to click on ‘Account Settings’ before you can tap on ‘Update Photo.’

How to Change Your Profile Picture on Google Classroom

Step 5: Click on ‘Set Profile Photo’

A dialog box will pop up to confirm that you want to set a profile photo. There will also be a notification that this image will be used across all your Google profiles.

How to Change Your Profile Picture on Google Classroom

Step 6: Take a Photo or Choose a Photo

Now you can decide whether you want to take a photo or choose from a photo or other images such as avatars from your device. Click on ‘Accept’ or ‘Done’ once you’ve decided on an image, and your new profile picture will be set.

Depending on how your classroom is set up and restrictions placed by the administrator, you might not be able to change your profile picture, or banners on Google Classroom.

How to Change Your Profile Picture on Google Classroom

Click and Update

It is so easy to change your picture from any Google product. You can even choose to use photos, avatars or other images that fit your needs and personality.

If you enjoy using Google Classroom, you might also like Canvas and Blackboard Learn.

How to Archive Assignments in Google Classroom in 4 Easy Steps

Unfortunately, Google Classroom does not yet have the feature to archive these older assignments for Windows, Mac, Android and iPhone. However, you can do a simple thing to hide these assignments in an organized way so that you can refer back to them when needed. Don’t delete assignments as they are very hard to recover. Let’s look at how you can archive your older assignments.

How to Archive Assignments in Google Classroom

Step 1: Create a New ‘Archive’ Class

Open Google Classroom on your chosen device or through the web-based version. On the main page of your Classroom, click on the + sign to the left side of the screen and choose ‘Add New Class’.

Set up a new class titled ‘Archive’ and then click on ‘Create’. This will give you a space that you can use to archive all older assignments.

How to Archive Assignments in Google Classroom in 6 Easy Steps

Step 2: Go Into Your Archive Class

Now that the archive class has been created, enter the class by clicking on it from the main screen of your Google Classroom. Click on the ‘Classwork’ tab located at the top of your screen.

How to Archive Assignments in Google Classroom in 6 Easy Steps

Step 3: Create Topics for Your Archive

Click on the + sign to create topics. In the drop-down list that appears, click on ‘Topic’ and add a name for that topic. Make it easy to identify by using an identifier such as subject name, ex. Math.

How to Archive Assignments in Google Classroom in 6 Easy Steps

Step 4: Reuse Posts

Next, click on the + sign once more, but this time choose ‘Reuse Post’. This will open a window showing all your classes. From here, you can go into the correct class and then select the assignment you want to reuse, or in this case, archive. Once you click on reuse, the assignment will open, and you will see all of the data attached. Save this as a ‘Draft’, and you will have this copy in your archive.

How to Archive Assignments in Google Classroom in 6 Easy Steps

Organize Yourself Simply

Using this way to archive older assignments will leave you with a much more organized classroom, and you’ll still have access to those assignments when you need to refer back to them.

How to Submit an Assignment in Google Classroom in 7 Easy Steps

So, you have received an assignment on Google Classroom on Windows, Mac, Android, or iPhone/iPad from your teacher that you need to submit? But how do you submit it?

How to Submit an Assignment in Google Classroom

Step 1: Open Google Classroom

Open Google Classroom on your chosen device and log in to your account. If you do not have the program or app installed on your device, you can also use the web-based version by logging in at classroom.google.com.

How to Submit an Assignment in Google Classroom in 7 Easy Steps

Step 2: Choose Your ‘Class’

On the left-hand side, choose your class. All the classes that you are enrolled in will be listed here.

How to Submit an Assignment in Google Classroom in 7 Easy Steps

Step 3: Choose ‘Classwork’

Right at the top of the screen, click on ‘Classwork.’

How to Submit an Assignment in Google Classroom in 7 Easy Steps

Step 4: Click on ‘Assignment’

Now you will see the open assignments for that class. Click on the assignment you are ready to submit, and then click on ‘View Assignment.’

How to Submit an Assignment in Google Classroom in 7 Easy Steps

Step 5: Below ‘Your Work’ Click on ‘Add or Create’

To the right of your screen will be a section titled ‘Your Work,’ from here, click on ‘Add or Create’ to upload an image, video, document, or slide.

How to Submit an Assignment in Google Classroom in 7 Easy Steps

Step 6: Upload Your Assignment

You can upload your assignment now. Choose the file you want to upload. It is good to know that it is the easiest to upload from Google Drive as the two programs are linked.

How to Submit an Assignment in Google Classroom in 7 Easy Steps

Step 7: Click on ‘Turn In’ or ‘Mark as Done

Now, to complete the process click on the ‘Turn In’ or ‘Mark as Done’ button below the assignment you just uploaded. 

How to Submit an Assignment in Google Classroom in 7 Easy Steps

Knowledge Is Power

Learning and studying are precious, and with easy-to-use programs like Google Classroom, it just became fun as well. It is so easy to submit assignments that you have no excuse for them being late.

How to Take Attendance in Google Classroom in 3 Fast Steps

So you’ve started teaching on Google Classroom, and you have the lessons all set up. The students start pouring in thanks to the class code that you provided. The problem is, how do you keep track of who is participating and completing assignments. We’re going to quickly show you how you can take attendance to overcome this obstacle.

How to Take Attendance in Google Classroom

Google Classroom automatically provides you with student details when they sign up for your courses. Therefore, knowing how many should be at the lessons is easy. Let’s show you how you can actually count how many are actually taking part in your classes and discussion sessions.

Step 1: Open your class

You’ll start by signing into your account and heading to your courses. Search for the appropriate class and open it. If set up correctly, you should be able to see a full list of students for the assignments and lessons.

How to Take Attendance in Google Classroom

Step 2: Ask who is in attendance

Now, head to the Classwork tab. You’ll need to hit the ‘Create’ button that’ll let you set an assignment or question. You can now ask who is in attendance in your own creative way to get their attention. Try to do this a few minutes ahead of schedule, and again just before class starts.

How to Take Attendance in Google Classroom

Step 3: Capture the names

You should start seeing the students’ replies. It’s best if you issue a classroom policy whereby these responses are mandatory. When the names appear, you can record them on your attendance sheet.

How to Take Attendance in Google Classroom

Wake up, students!

Sometimes, Google Classroom students might delay in responding if their preparing or running late. Even after the lesson has started, make sure to always head back to the question. You can also make note of someone that speaks up in class who didn’t reply to you, and give them a stern warning privately.

How to Create an Assignment in Google Classroom in 3 Fast Steps

While Google Classroom has tons of features to make teaching easier, you’ll eventually need to learn how to create assignments. They are fundamental to your students passing your classes, as you’ll be grading them based on the results. It’s your responsibility to ensure that they’re developed and uploaded in time so that they don’t fail.

How to Create an Assignment in Google Classroom

If you’re new to Google Classroom, we know the experience can be daunting. We’ve seen many online teachers getting confused with some of the settings, which is why we issue so many guides for this app. In today’s lesson, we’ll guide you on creating assignments for your courses.

Step 1: Open your class

Before you can assign anything, you’ll need to open the relevant course. Sign into your account and find the class where you need to craft some new assignments. Ensure that you select the right one so that you don’t confuse your students.

How to Create an Assignment in Google Classroom in 3 Fast Steps

Step 2: Create the assignment

Open the Classwork tab. You’ll see a button that says ‘Create.’ When you click on it, a list of options will appear. You’ll want to select the one that states ‘Assignment,’ obviously.

How to Create an Assignment in Google Classroom in 3 Fast Steps

Step 3: Enter the details

With the new assignment window open, you’ll need to insert the title and all the relevant instructions. Ensure that everything is clear before you save it and post it to your students. It should also indicate the due date.

How to Create an Assignment in Google Classroom in 3 Fast Steps

Class is in session!

With your Google Classroom assignments in place, the rest of the work is up to your students. You’ll watch as the projects steam in while keeping a close eye on late submissions. You should also check regularly if anyone has questions, as it could delay them in completing the work.

How to Find Google Classroom Code in 3 Fast Steps

Google Classroom has made it easier for teachers to assign tasks and discuss topics with students on its app. You can easily add students to your classes by sending them a unique card linked to the lessons. Without these details, they won’t be able to access any content, which can be devastating to their studies.

How to Find Google Classroom Code

Each Google Classroom code is unique, consisting of random numbers and letters that sets it apart from other virtual classes. If the students get one digit wrong, they won’t be able to enter the lesson. Make sure that you copy the text correctly before sending it out.

Step 1: Access your account

Firstly, you’ll need to head to the website or app and log into your account. It will show you which classes you have available.

How to Find Google Classroom Code in 3 Fast Steps

Step 2: Select the class card

When you’re ready to invite your students to your class, select the appropriate card. Don’t make the mistake of choosing one that’s doesn’t relate to your other students, as this will cause confusion.

How to Find Google Classroom Code in 3 Fast Steps

Step 3: Find the class code

Finally, look under the class name. You’ll see a string of numbers and letters that represents the code. You can now send those details to the students for that specific lesson so that they can join.

How to Find Google Classroom Code in 3 Fast Steps

Are you ready to teach?

Now that you’ve found your Google Classroom code, you can begin your lessons. Remember, it offers tons of features for your students to complete assignments and meet in groups to discuss relevant topics. However, they won’t be able to participate if you don’t give them the correct text during the invitation stage.

How to Archive Your Classes in Google Classroom in 3 Easy Steps

School vacation: the time of year that both teachers and students alike live for. You’ve finally hit the end of the year, and now you need to prepare your content for next year, and you want to reuse a few of the assignments and lessons from the course that you just taught. We’ll show you how to archive and reaccess your classes in Google Classroom on PC, iPhone, and Android.

Google Classroom Free download
9

How to Archive Your Classes in Google Classroom

If you choose to leave the students in the classroom when you archive it, then they will be able to access the content, but they won’t be able to interact with any of the assignments so, if you want to avoid any confusion, remember to either remove the students before you archive or notify them of the changes that you’re making. 

Step 1: Log into your account

Log into your Google Classroom and navigate to the class that you want to archive.

Step 2: Select Archive

Click on the three dots next to the name of the class and select Archive from the drop-down menu. This will send the class to the archive.

Step 3: Find archived classes

If you want to find your class in the archives, click on the three lines in the top left-hand corner, next to the Google Classroom text, and scroll down until you see the Archived Classes option. Click on this, and it’ll show you the archive, along with any classes that you moved there.

Building Your Academic Archives

Google Classroom has become one of the most valuable tools in every teacher’s toolkit for various reasons, particularly the ease with which it can be accessed on PC, iPhone, and Android devices from anywhere in the world. This archive feature offers teachers another incredibly handy tool because it allows you to store your previous lessons and teaching materials for future reuse.

How to Add Students to a Google Classroom in 2 Fast Ways

Google Classroom has become a vital tool in the education world today; available on PC, iPhone, and Android devices. The ability to study anywhere in the world from the comfort of your own home is something that has kept many educational institutions afloat in the wake of the COVID-19 pandemic and will probably continue to be widely utilized in years to come. So, in this guide, we’ll focus on how to add students to a Google Classroom to help you ensure there are no excuses for absent students.

How to Add Students to a Google Classroom

Method 1: Send the Class Code

This is the more popular method because it only requires one step on the teacher’s side. Navigate to your classroom, and you’ll see a Class Code on the top left-hand side of the screen, just under the classroom’s name. Send this code to your students, and they’ll be able to use it to enter the classroom.

Method 2: Add manually

If, for any reason, you don’t want to use the class code and prefer to add your students manually or a student is struggling to enter the classroom with the code, then you can use this method to add them. Select the People option at the top of the screen. Next to the Students option, click on the Invite Students button. 

Now type in the student’s name or email address, and click the Invite button. This will send an invitation to the student via email.

No Excuse for Lateness

We all had our perfect excuses for being late for class or missing class altogether when we were at school. Online platforms such as Google Classrooms have made it so much easier to attend class and have made sure that many of these excuses aren’t valid anymore. These online platforms have become one of the most valuable tools in any teacher’s kit, provided they’re used correctly and to their full potential; if you want a few tips and tricks on how to use Google Classroom effectively, then check out our guide below.

How to Leave a Google Classroom in a Few Easy Steps

Google Classroom earned significant acclaim when schools all over the world shut down. As teachers were frantically trying to find ways not to lose touch with their students, many discovered its excellent tools to continue teaching. 

With Google Classroom, you can create and distribute assignments, follow your student’s progress in real-time and share feedback. All on one user-friendly platform. Google Classroom is available for free and safe download on Android, Windows, and iPhone.

When all assignments are complete, your students can leave the classroom and move on to the next subject following these easy steps:

How to leave a class from your PC

Step 1: Sign In

Navigate to classroom.google.com and click on ‘Sign In.’ Enter your Google Account details or use your email address, whichever you used to create your Google Classroom Account.

Step 2: Unenroll

Navigate to the specific classroom you want to leave and click on ‘More.’ Press on the ‘Unenroll’ button to confirm you are leaving the class.

How to leave a class from your iPhone & Android

Step 1: Open your app

Tap on your Google Classroom icon on your screen

Step 2: Find the right classroom

Scroll to the classroom you want to leave and tap on ‘More’> ‘Unenroll.’

Step 3: Unenroll

Tap on the ‘Unenroll’ button to confirm your action.

How to remove a student from Google Classroom

Step 1: Sign in

Sign in to your account at classroom.google.com using your Google Account details. 

Step 2: Find the class

Click on the specific class where you want to remove a student and then click on ‘People.’ Here, you will see all the students’ names in the study.

Step 3: Remove students

You can check the box next to each name of the students you want to remove from the class.

Step 4: Confirm your action

After you checked all the student names you want to remove, click on ‘Actions > Remove’ at the top of your screen. Click ‘Remove’ again to confirm.