How to Mod Grand Theft Auto Vice City in 2 Easy Methods

Grand Theft Auto Vice City or GTA Vice City remains one of the most popular GTA franchise installments. 

However, once you’ve completed all the missions and the main story, the game can become a bit dull. Although cheat codes can be fun, they only get you so far. That’s where mods (modifications) come in. 

GTA mods can bring the excitement back to your game. And we will teach you how to mod Grand Theft Auto Vice City on your laptop or computer.

How to Mod Grand Theft Auto Vice City

Below are two easy ways to install modifications on your computer. You should be able to install these mods and start enjoying your game quickly.  

Method 1: Installing a Mod With an Auto-Installer

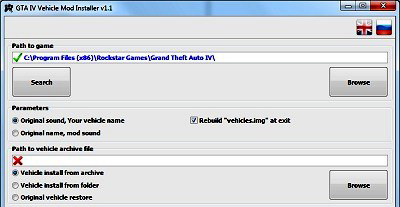
Here’s how to mod Grand Theft Auto Vice City with an auto-installer:

  • Download the mod you want that has an auto-installer.
  • In the mod file, click on the .exe file, and an install window will open.
  • Follow the on-screen instructions to install the mod.
Method 2:  Installing a Mod by Using a Modification Manager.

You can also mod Grand Theft Auto Vice City with a modification manager:

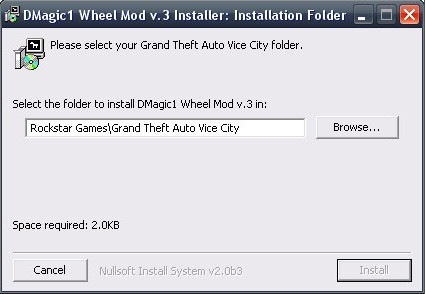
  • Download the DMagic Wheel Mod, which includes the mod manager.
  • Right-click on the DMagic Wheel file and select ‘decompress’ or ‘unzip’ to decompress the files into a new folder.
  • Double click on the new folder and go into ‘Auto Install.’
  • Double click on the DMagic Wheel Mod file to install it along with the mod manager
  • Once the installation has finished, click on Start.
  • Next, click on ‘Programs’ and then ‘Mod Manager.’
  • This will launch the mod manager setup.
  • Assign a destination folder for your mods. It should show C:\Program files\Rockstar Games\Grand Theft Auto: Vice City as the default folder.
  • The mod manager will now show that it is ready to install mods.
  • Now, download the mods you want to install with the mod manager. They will have the file extension .vcm.
  • Right-click on the mod and ‘decompress’ or ‘unzip’ it.
  • Extract it to the C:\Program Files\VCMM\Mods\vcm” folder.
  • Launch the mod manager.
  • The mod manager should show the new modification, and you can install it from here.
Enjoy your new mods!

GTA mods can significantly increase your game experience. And with these easy ways to install the mods, you’ll have no excuse not to give it a try. If you enjoyed GTA Vice City, you might also like GTA 3 or GTA San Andreas.

Let us know what your favorite GTA mods are in the comments.
3 Tips on How to Find Caves In Rust

Rust is a sandbox-style action-packed survival game. It allows you to build items from raw materials, loot, and fend off other survivors. This introduction doesn’t do the game justice. The imagery is pleasing, and the landscape is highly detailed, which adds to the player’s enjoyment. 

One thing that is a little frustrating though, is setting up a safe base camp. Chances are, you’ve probably seen some tutorial videos that show you how to trick out your cave once you’ve found it. But, they don’t tell you how to find caves. 

We’ve got your back, fellow gamer. Below you will find three tips for how to find caves in Rust. Let’s jump into it! 

How to Find Caves In Rust

Whether or not you’re a cave dweller, you’re going to have to find them eventually. Here’s our recommendation for the best solutions.

Tip 1: Cartography Anyone? 

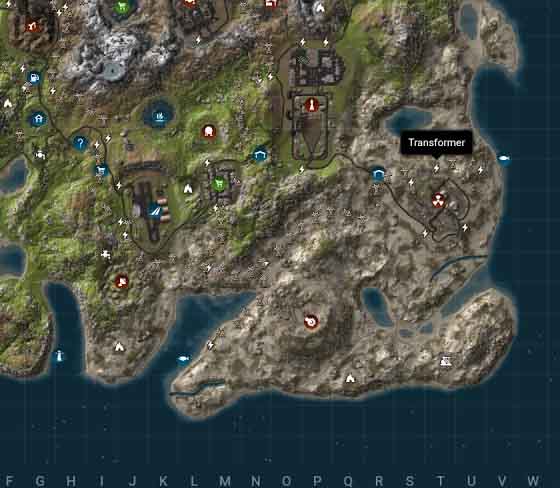
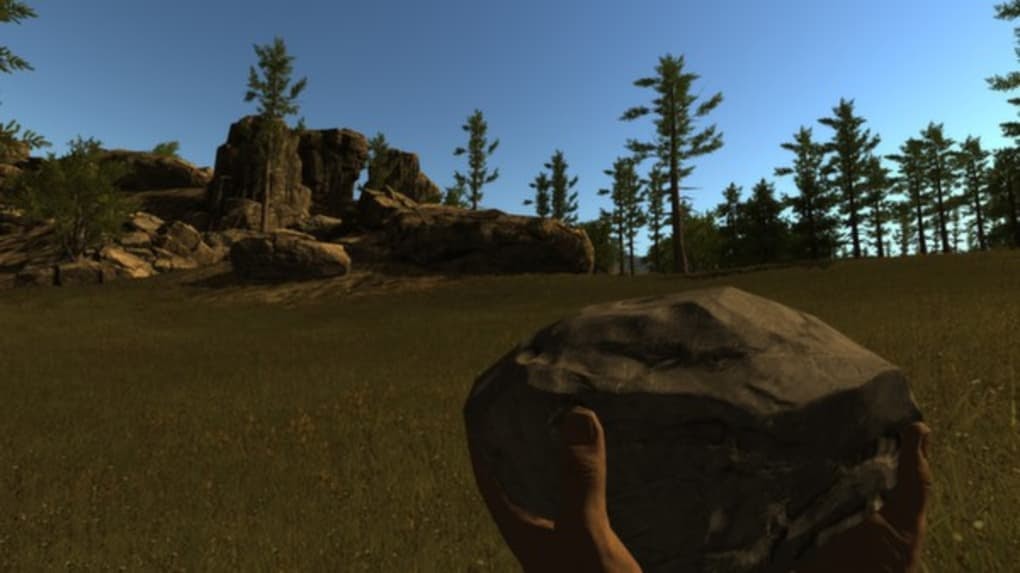
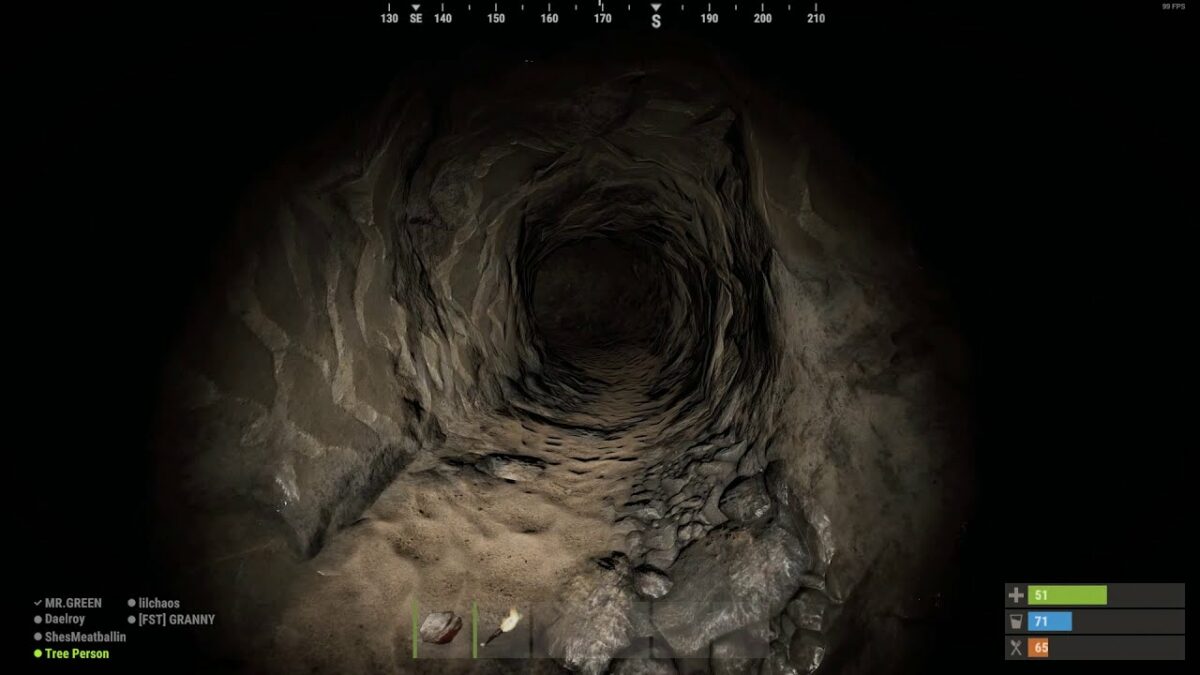
Luckily, this game doesn’t require you to have a Ph.D. in cartography, but knowing what to look for on a map is still essential. Caves are represented on the map as crescent outlined divots in the ground. Caves and mines can be hard to spot on the map, but in person, you can tell them apart from other structures by their rocky entrances. If you see a rocky hill on your journey, make sure to check around the base for entry points. It could be a cave. 

Tip 2: Inability to Build

Another sign that a cave is nearby is the inability to build around that general area. If you keep your building plan open while you explore, it could serve as a helpful tool in finding caves. 

Tip 3: Pay Attention to The Details 

Another helpful way to find caves is to look out for monuments, minecarts, barrels, and openings in or around a rocky surface. If you have your building map open around these areas and the ability to build is blocked, you can be sure a cave is near. 

You’ll have to do a little searching to find the entrance, but once you’re in the general range of a cave, it won’t be challenging. Caves can appear anywhere in any of Rust’s numerous biomes. It can be a little tricky to find them, but with practice and attention to detail, you’ll master this valuable skill in no time. 

A glint in the dark

Scouring caves may not sound like a fun idea, but you can establish an excellent home in one when you find the right resources. Don’t be afraid to take your chances if you see one that you like.

How to Delete Your PUBG Mobile Account in 4 Easy Steps

PUBG has been one of the most successful games ever to release. Its success was so marked that the developers behind the game decided to release a mobile version of PUBG onto Android and iOS. It garnered even more fame because now players could take out their day-to-day frustrations by shooting a couple of people while on their lunch break at the office. 

However, it only takes one bad match, one player who keeps trolling the noobs, one match where you can’t find gear, or one toxic comment, and the fun ends. You’re done. You’re uninstalling the game, but that’s not final enough. 

That’s why we’re here today, to show you how to delete your PUBG Mobile account because nothing could be more absolute than that.

A Permanent Solution

This is a straightforward process and can be done in a matter of minutes; let’s get started.

Step 1: Access settings

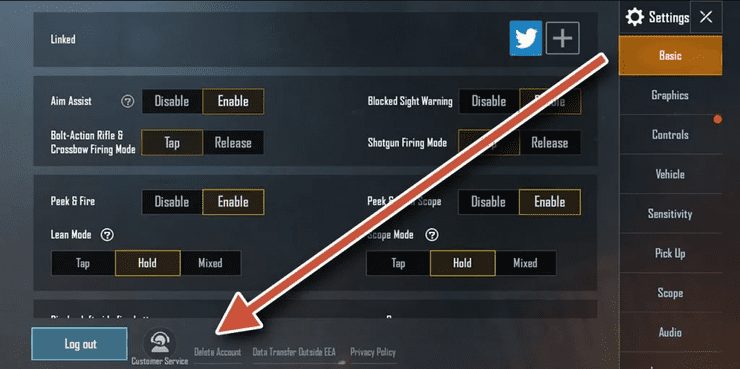
Start up your PUBG Mobile app and log in. On the home screen, tap on the Gear icon to bring up your Settings menu.

Step 2: Delete account

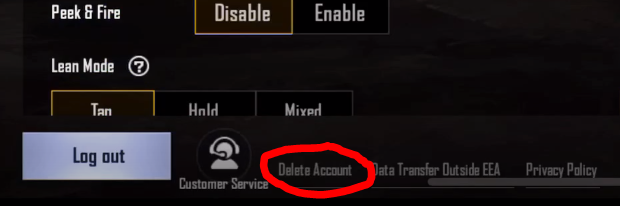
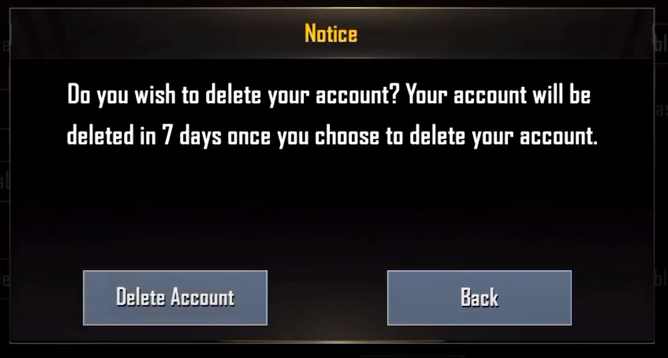
Next to the Customer Service option, you’ll see a small Delete Account option at the bottom of the screen. Tap on this and tap accept on the following pop-ups.

Step 3: Waiting period

You will need to wait seven days before your account is completely deleted. If you change your mind and want to reverse the process, make sure to just log-in within those seven days, and your account will be restored. However, if you want the account to be removed faster, then you can follow the last, optional step.

Step 4: Support ticket

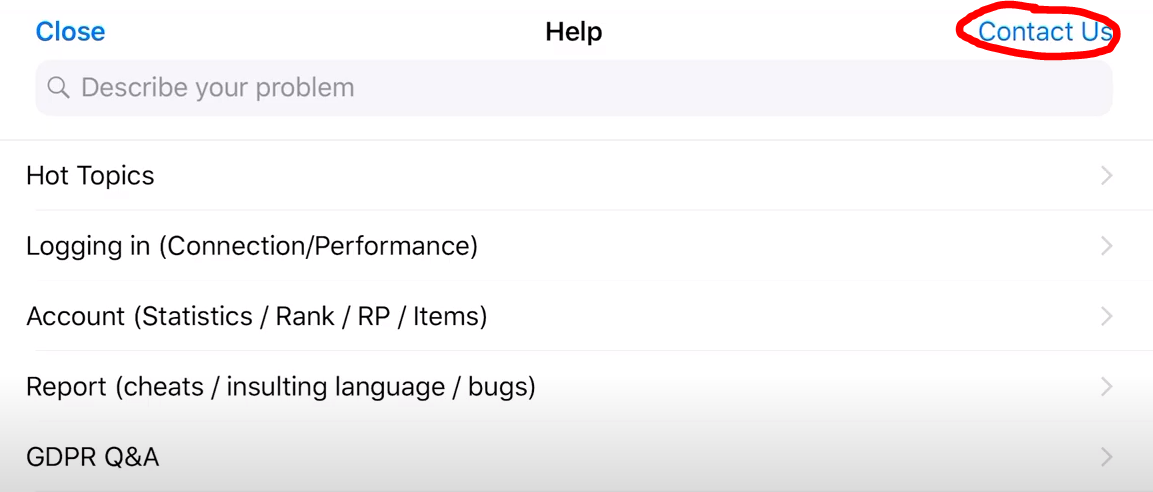
If you wish to have the account deleted immediately, you will need to send in a support ticket. To do this, go back to your Settings menu and select the Customer Service option. There will be a Contact Us option; choose this and then send a message asking them to delete the account immediately.

No More Chicken Dinners

And just like that, your account will be deleted. While gaming is a wonderful escape from reality, it can also be an extremely frustrating and toxic minefield. We’ve all had that game that we play for ages, and then, one day, that victory isn’t worth the pain anymore. When this happens, the best thing that you can do is to walk away.

How to Close Doors in Among Us in 3 Fast Steps

If you’re an Impostor in Among Us, you’ll eagerly look for ways to kill crewmates without being caught. Your fate is sealed should other players witness your dastardly crime, which means you’ll suffer ejection at the next meeting. However, there are ways to avoid anyone seeing your silent assassination, such as sabotaging the entryways.

Here’s how to close doors in Among Us on Android and iPhone.

How to Close Doors in Among Us

You’d think it would be as easy as closing a door, but crewmates can still open it if you don’t sabotage it first. In this way, they can run, jump, and kick at the door without gaining access. You’ll have to be quick, though, as it doesn’t remain sealed forever.

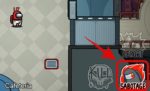
Step 1: Tap the sabotage icon

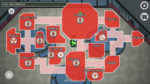
You’ll start by selecting the sabotage icon. Since you’re the Impostor, this option is only available to you. When you click on it, all the sabotage selections appear, including which doors you can tamper with.

Step 2: Select the appropriate door

Fortunately, you don’t need to be near the door to select it. However, it’s best to be as close to it and the potential victim when you’re ready to sabotage it. Before you do, ensure that there are no crewmates nearby to witness what you’re up to. 

Step 3: Make your murderous move

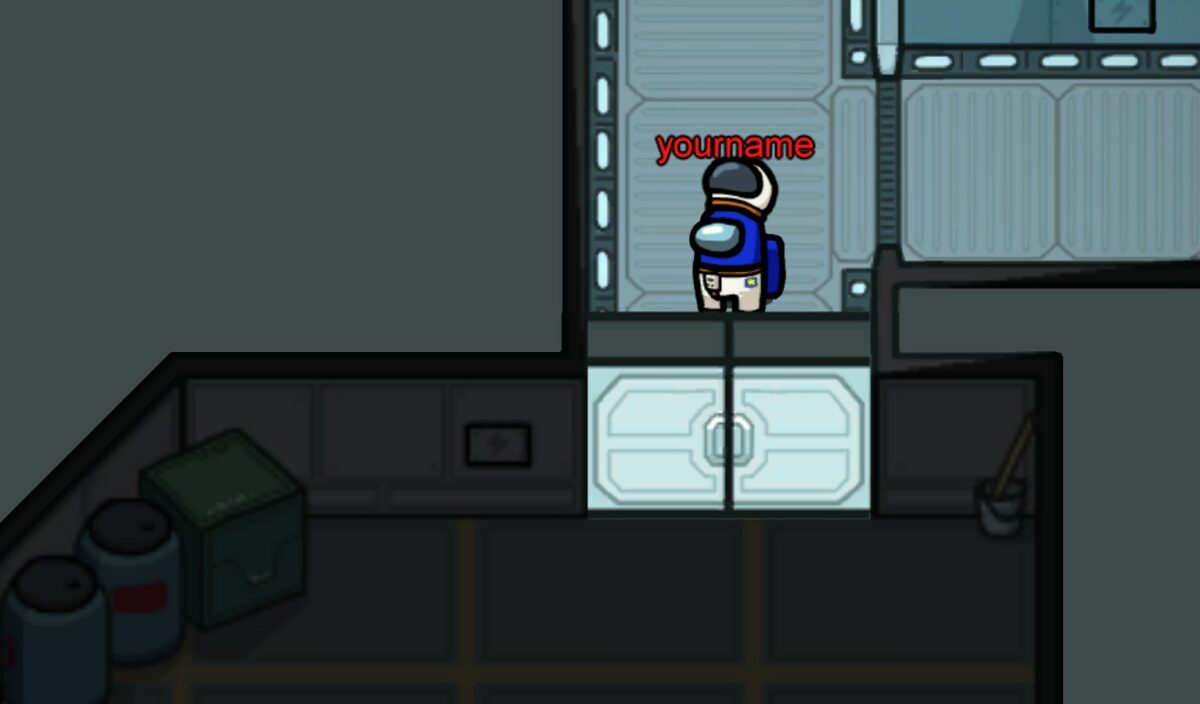
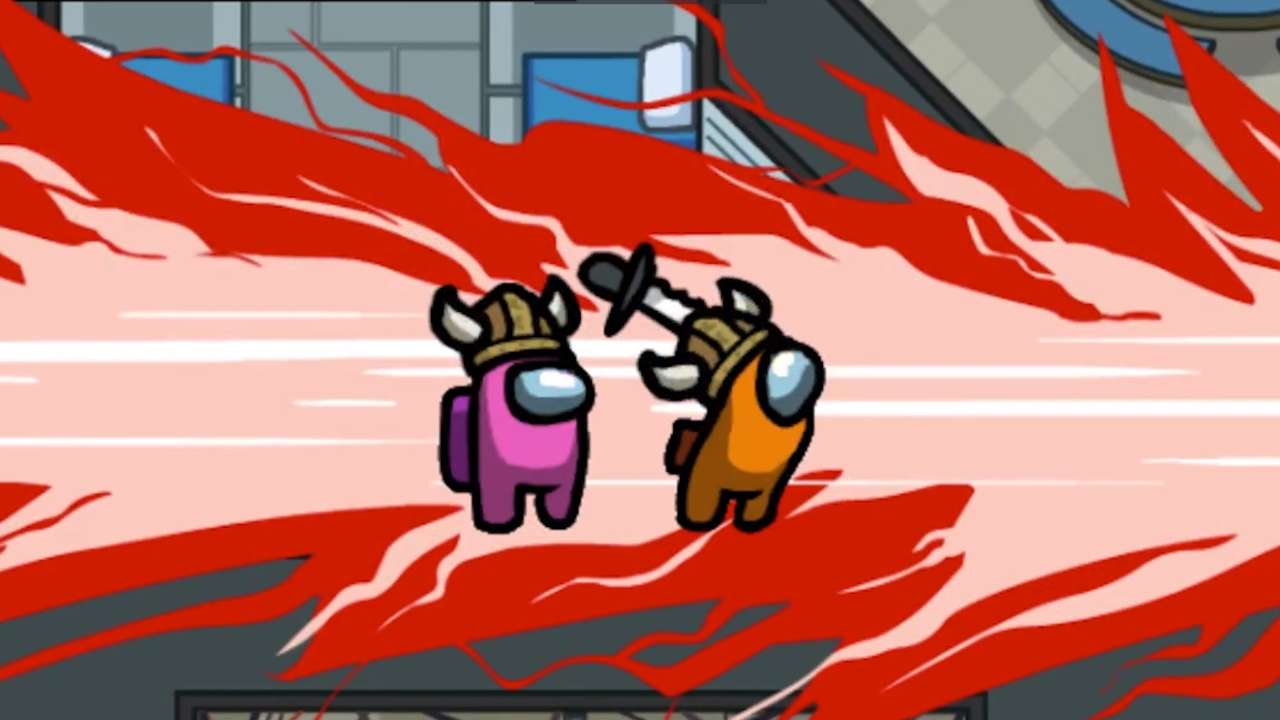
The broken door will change color to indicate that it has been sabotaged. It’s time to move in for the kill. The problem is that the door will return to normal eventually, and you’ll be standing alone with the corpse. You can report the kill and pretend to be innocent, or you can take the safer route and escape through a vent.

Like a silent ninja

Now that you know how to close doors in Among Us, you can plan your killing sprees better. Remember, strategy is everything, so don’t make any mistakes. You might also want to check out our top 5 best Impostor tips for Among Us.

How to use Avatarify in 3 Fast Steps

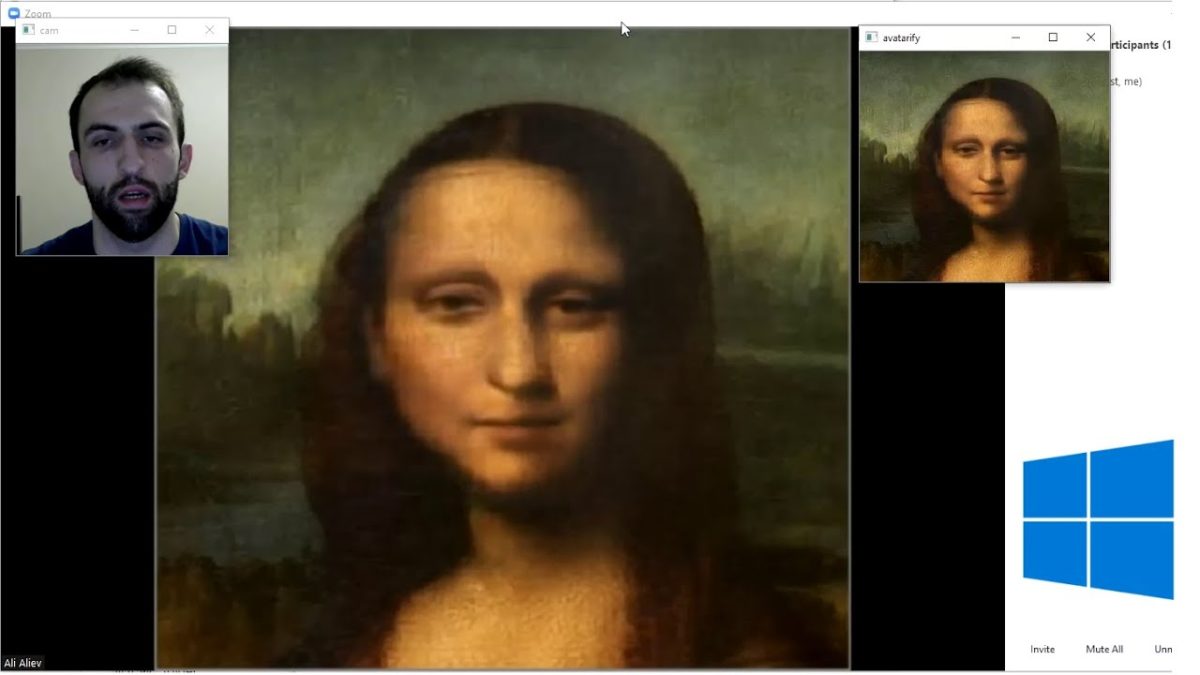
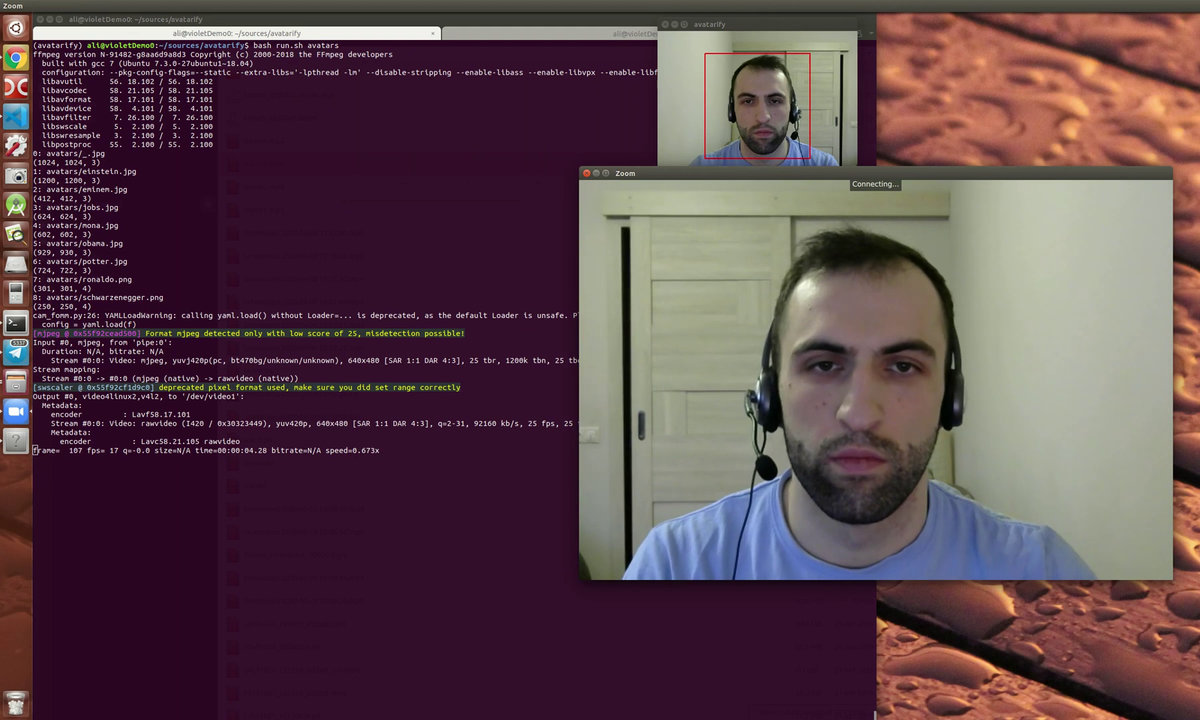
Avatarify is one of the latest trending apps to hit Windows, Android, and iOS stores. It’s similar to the REFACE application where you can insert your face on celebrities during an action sequence. However, Avatarify enhances the fun by letting you animate any photo you choose.

If you’ve downloaded the app and ready to enjoy the experience, here’s how to use Avatarify.

How to use Avatarify

The process is fairly straightforward, although you may experience some technical difficulties along the way. We’ll explain the process as best we can and hope you don’t get frustrated while mirroring these steps.

Step 1: Select a photo

First up, you’ll need to select the photo that you’re going to animate. The face needs to be as clear as possible, otherwise, you’ll struggle to link your face to the one on the image. You can go as far as using your pet or boss, as long as you don’t offend anyone in the process. Of course, if it’s your ex-boyfriend or ex-girlfriend, who cares, right?

Step 2: Record a video

Now’s the time to step up to the plate. Prepare what you want to say and put your best acting to good use. Remember, the Avatar in the photo will attempt to mimic your expressions and words, so make sure you pronounce everything precisely. Yes, you can also make absurd sounds if that’s your goal.

Step 3: Animate the photo

Once you’ve completed the recording, it’s time for the A.I. to kick in. Avatarify will now synchronize your expressions and words with the photo you selected at the beginning. If it does this successfully, you can save and share it with your friends. Alternatively, you may need to try again with a better photo or recording.

Become a superstar or the president

It’s fun being someone else for a moment, almost like going away for a holiday. You can spend time as your favorite celebrity, or become your pet dog. Just don’t get too carried away and land yourself in deep trouble!

Avatarify Free download
8

How to Build in Rust in 3 Easy Steps

If you’re a beginner playing the game on Windows and Mac, one of the first lessons you’ll need to learn is how to build in Rust. There are many construction options once you become more advanced and you learn to upgrade to the different tiers, but we’re going to focus on the basics. After all, you can’t build a mansion if you don’t know how to lay the foundations.

How to Build in Rust

The following steps list all the elements you need to get started when you first build in Rust. If you can master these aspects, you’re well on your way to advanced construction.

Step 1: Building plan

You’ll need 20 pieces of wood to construct the building plan. When you place it in your hot-bar and activate it, a building menu appears. Each menu item reveals what you can build and what resources are needed. Without the building plan, you won’t be building any shelters for a long time to come.

Step 2: The mighty hammer

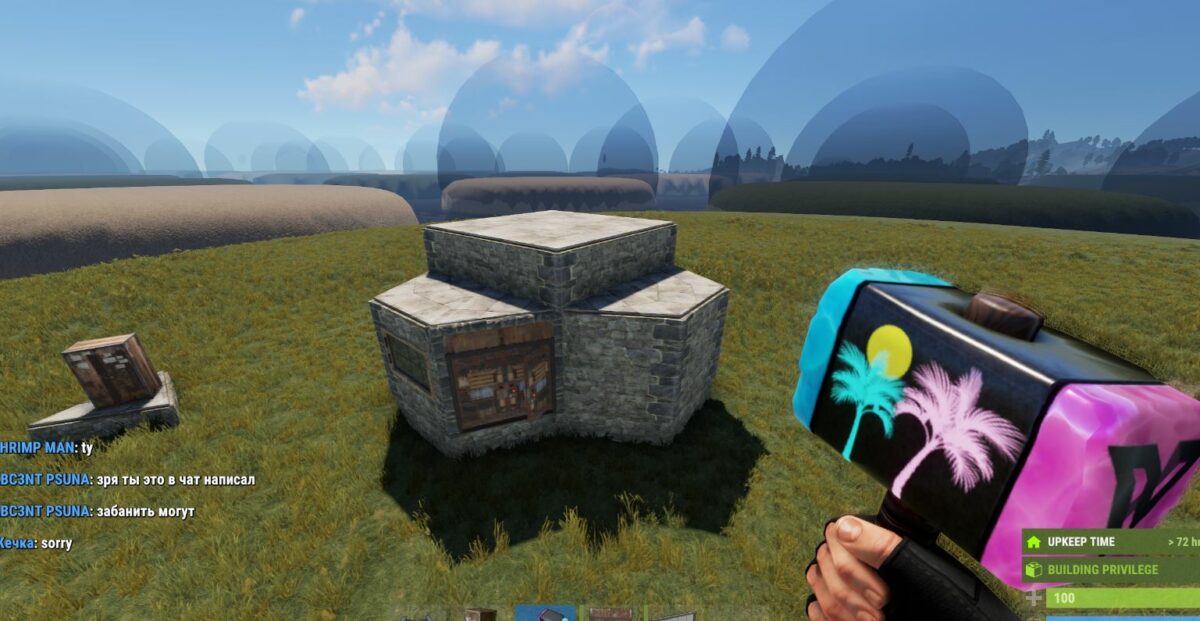
If you place any structural component down, it will be constructed of twigs as a default setting. If you place the wood hammer in your hand and click on the item, you can upgrade it to a different material. In the same way, the hammer can repair any part that has been damaged.

Step 3: Tool cupboard

While you’ll need 1,000 pieces of wood to build the cupboard, it’s a handy item to place in your base. It defines the entire building area as yours, and no one else can construct anything in that space. You will also unlock more building privileges for more advanced blueprints. Remember to lock it so that no one else can access it.

The rusty builder

Of course, you’ll also need resources to be able to build in Rust. For instance, you’ll need wood, metal, cloth, and stone for the basic and advanced components. The higher the material quality, the stronger your base will be against attacks. Don’t let your fort be left unguarded.

How To Make An Anvil In Minecraft in 3 Easy Steps

After spending what feels like years looming in the darkness of a deep cave in Minecraft, you’ve finally gathered enough raw material to fill your inventory. You make your way back to the surface, towards the sunshine and fresh air. You feel the sunlight on your avatar’s face. You can almost taste the code-simulated air.

Just as your pickaxe hits cobblestone, you hear the soul-crushing sound of glass breaking. Just like that, your last pickaxe is gone. You lament, quietly, as the darkness shrouds your prone character. If only you had an anvil. Oh wait, you can make one. 

Here’s a quick guide on how to make an anvil in Minecraft.

What you’ll need

Resources:

1 x Crafting table 

1 x Furnace 

Materials:

 3 x blocks of Iron (27 iron ingots)

 4 x iron ingots 

How To Make An Anvil In Minecraft

Step 1: Building Blocks

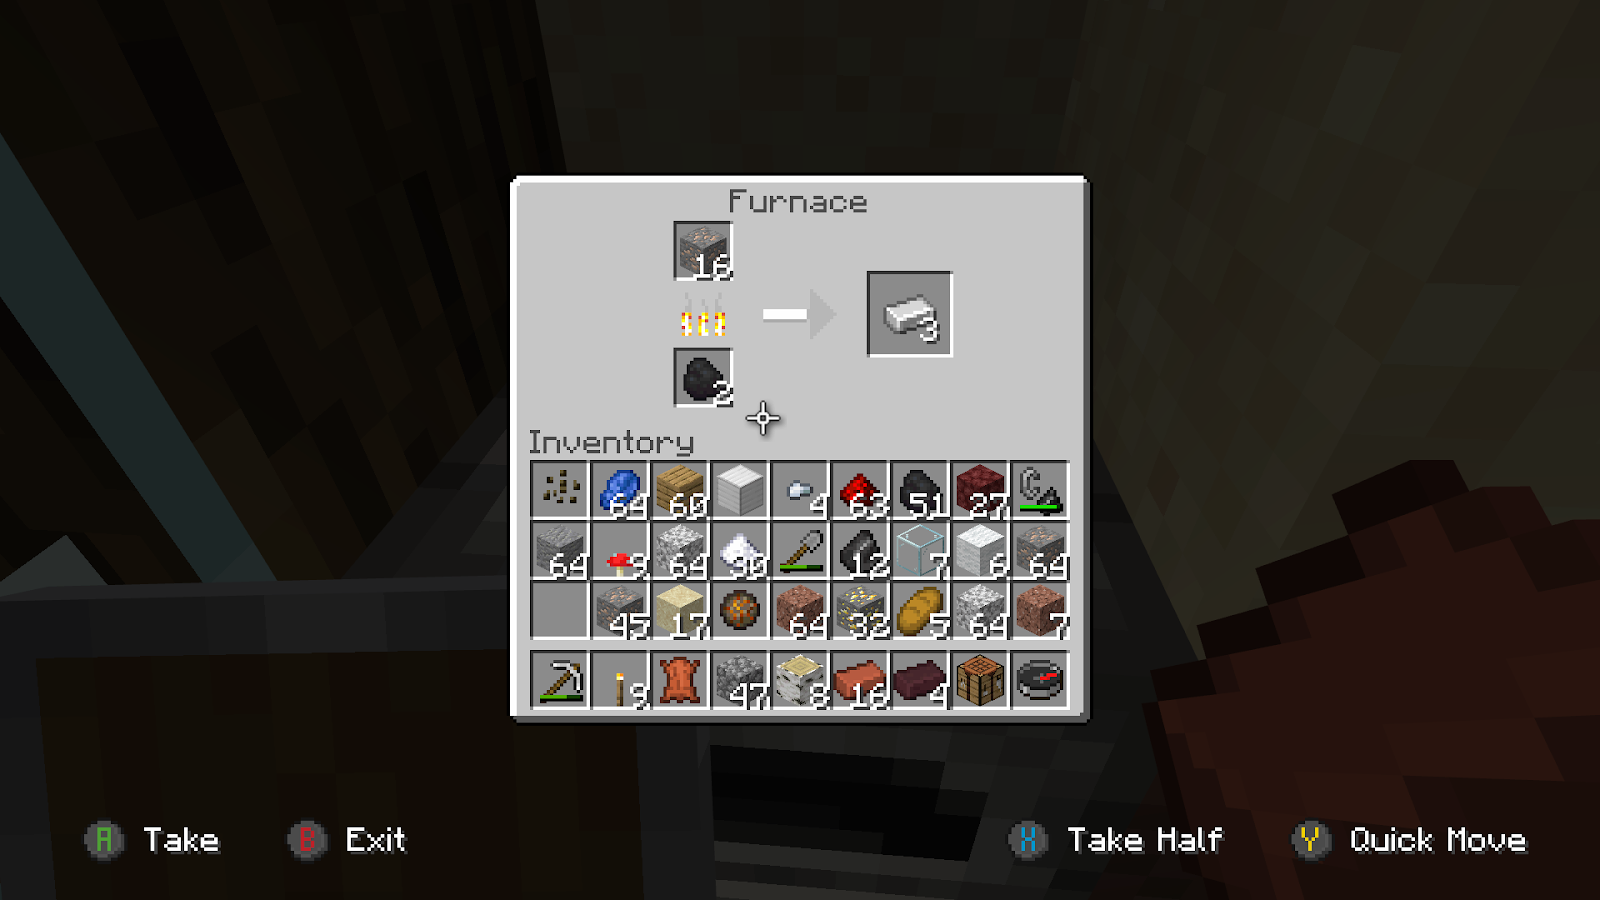
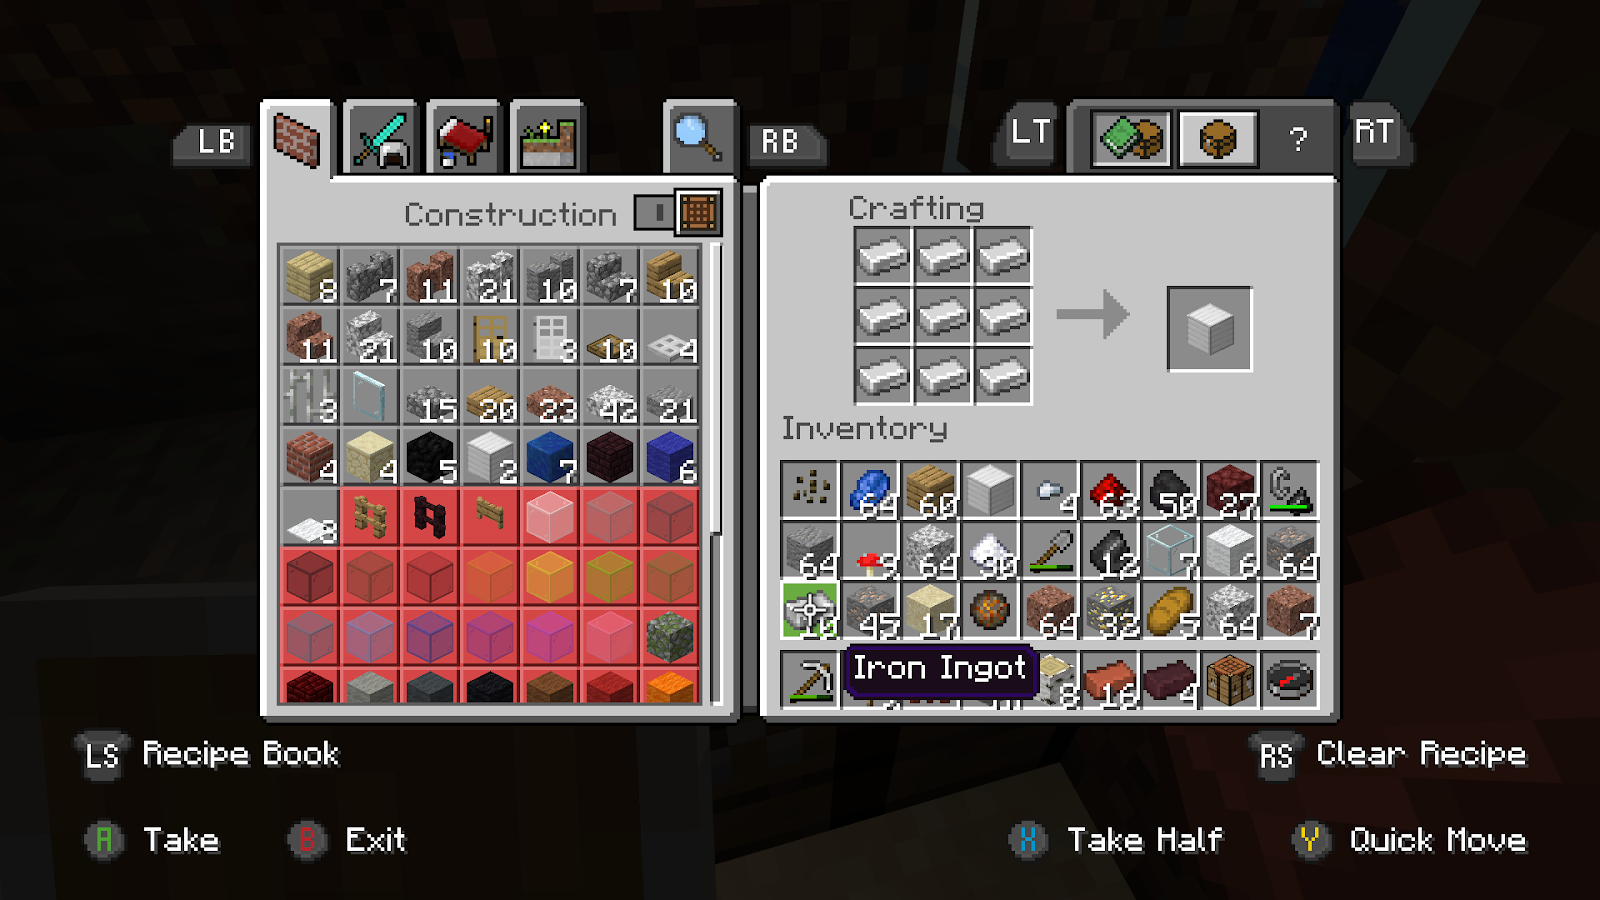
Now you have a lot of raw material, and you’re not quite sure what to do with it. No worries! We have you covered. The image below shows you how to transmute iron ore into iron ingots. Please keep in mind that you will need a furnace to alter the raw material. 

Step 2: Open The Crafting Menu

Now, you’ll want to turn those ingots into blocks. It takes nine ingots to craft an iron block. You’ll need 27 ingots to make those three blocks. Luckily, you’ll be able to do this from your crafting table.  If you want to do this quickly, you’ll have to add three ingots to each slot in the 3 x 3 grid. Then you’ll see the finished product in the gray box on the right. Add it to your inventory, and let’s move on to the next step. 
Step 3: Adding your Materials 

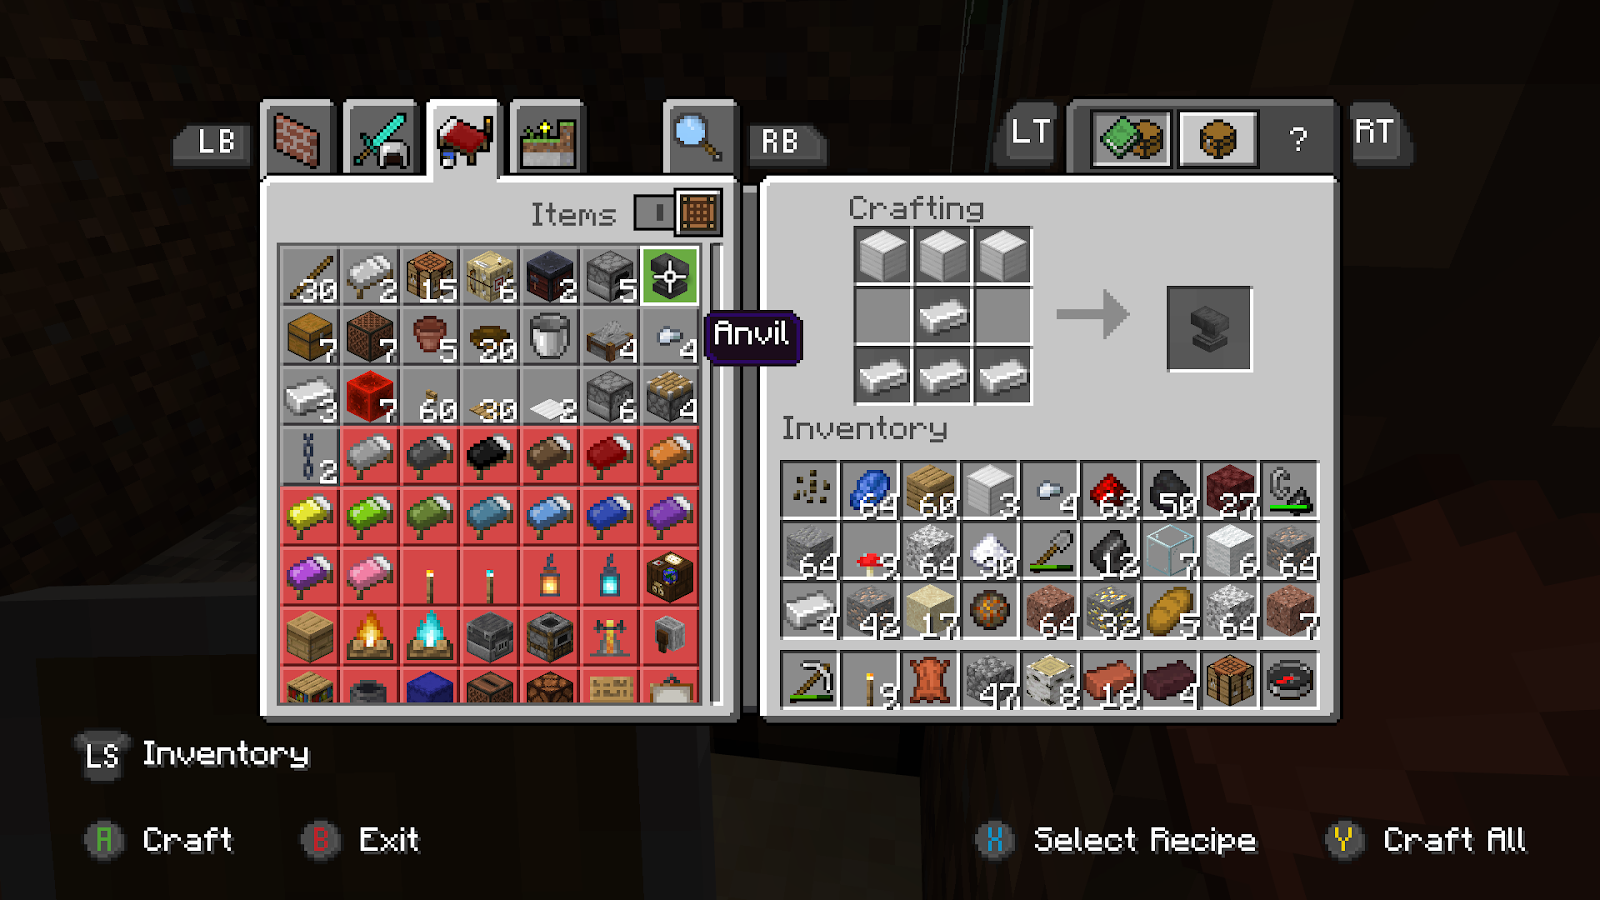
To craft an anvil, you’ll need to follow the sequence above. If you’re using the Java Edition of Minecraft on a PC or Mac, then this part is fairly simple. All you have to do is click E. You’ll need to add your items in the same way they are shown above. Otherwise, the game won’t allow you to craft anything, and you’ll have to rearrange your materials. And there you have it! An anvil to help you progress on your journey. You can thank us later. 

Find your inner blacksmith

Now that you know how to make an anvil in Minecraft, you can start smithing away to repair your broken items. You can also check out our Minecraft crafting guide for more tips.

The Top characters in Mobile Legends

Mobile Legends is a unique combination of the RTS and MOBA genres and is available on Android and iOS. As with any highly-competitive game, you’ll always be on the lookout for the strongest characters. It’s easy to overlook heroes whose greatness truly shines because there are so many of them available. That’s why we thought we’d put together a list of the top characters in Mobile Legends to help you choose the right ones.

Hall of legends

Each character is sorted into classes; we’ll list the strongest hero in each class in this guide. You should take note that there are frequent balance changes and updates to the game to accommodate any new heroes, but the heroes listed here are consistently high achievers and serve as an excellent place to start with any lineup.

Hero 1: Natalia

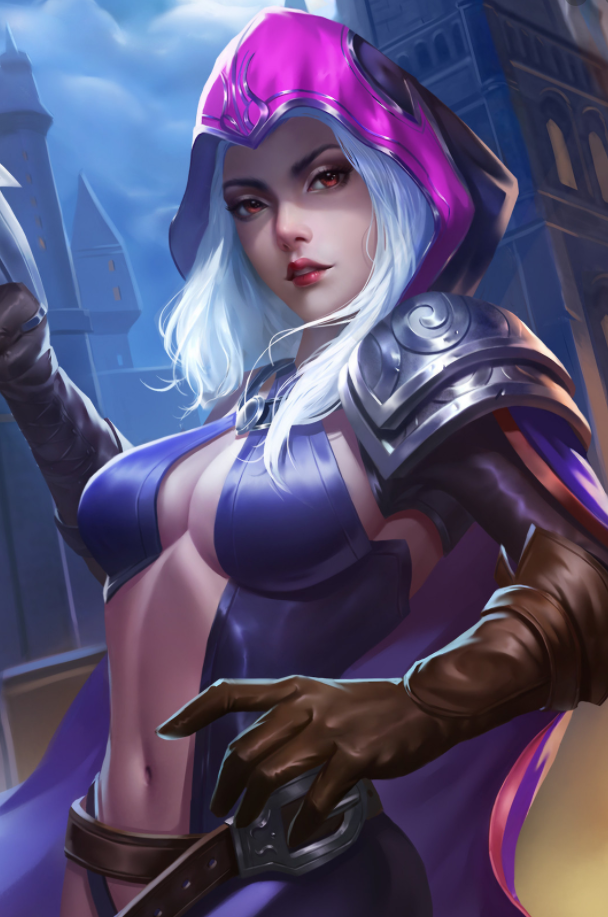
Representing the Assassins, we have Natalia. Her superb ambush capabilities, massive critical damage amplifiers, and powerful abilities give her the edge over most other assassins.

Hero 2: Chou

Chou reigns over the Fighter class because of his ability to chase down enemies and keep them in place.

Hero 3: Chang’e

Mages are known for their excellent burst damage, and Chang’e delivers on these expectations in spades; she rains down mass destruction on her enemies while keeping a safe distance.

Hero 4: Angela

Support heroes are often overlooked, but Angela refuses to be put in a corner. She can possess allied heroes, has moderate damage output, and incredible crowd control abilities.

Hero 5: Claude

The Marksman class is considered to be the primary carry class in the game. They all possess high damage and exceptional pushing capabilities, but the thing that makes Claude stand out is his ability to steal speed from his enemies, allowing him to get in and out of danger with ease.

Hero 6: Khufra

Finally, there’s the Tank class. A truly great Tank should always possess the innate ability to soak up damage and serve as the team’s bulwark. However, what makes Khufra stand out is his ability to lock down escaping heroes and prevent them from leaving the fight.

Your line-up will be legen – wait for it – dary!

These heroes excel in their given roles and will help pave your way to becoming a legend among legends, provided you end up with the right team, of course.

How to Play Minecraft With Friends in 4 Easy Steps

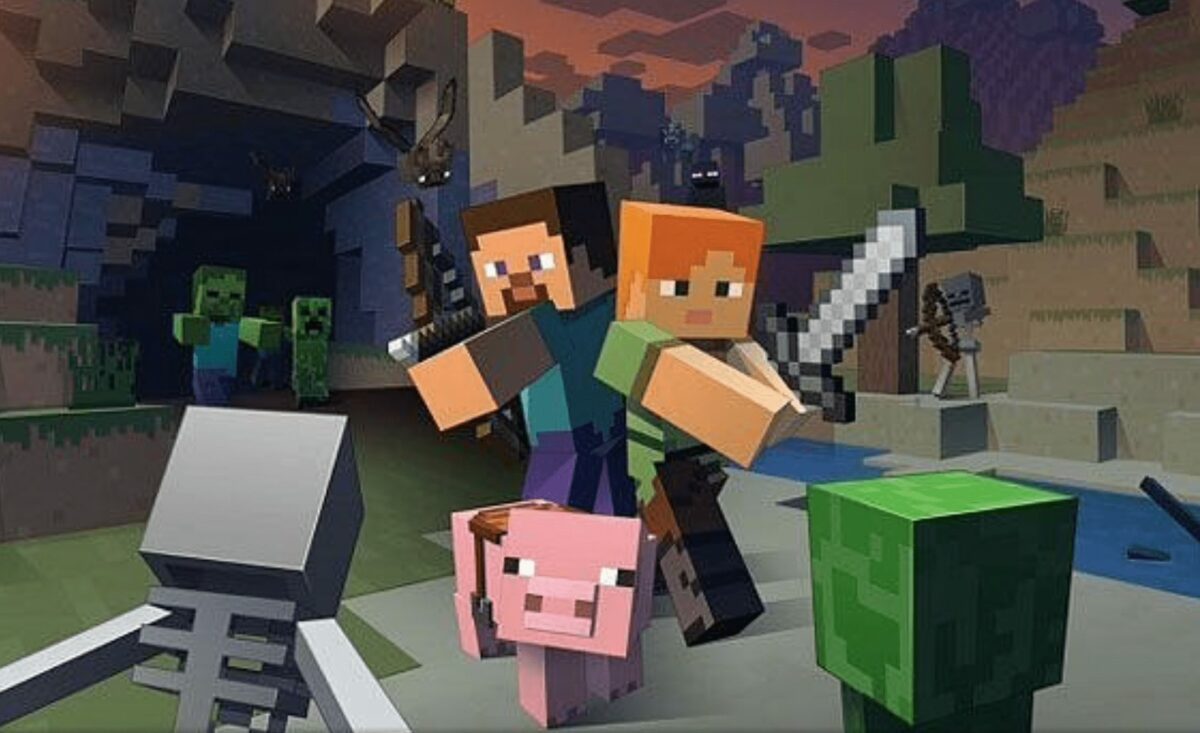
It’s almost impossible to exist in the world today and not have heard of Minecraft. This game has such a massive following and, whether you love it or hate it, you’ll have some knowledge of this pixelated paradise where the only limits are the ones you’ve created in your imagination.

However, do you know how to play Minecraft with friends? We\ll show you in these quick steps.

How to play Minecraft with friends

As with all things in life, Minecraft is best experienced with friends. There are a few ways to team up with others in this game, but only one of these methods is free, and that’s what we’ll be covering in this guide.

There are two ways to play the game online with your friends, but you should note that both methods require a monthly subscription. You can hire a server from a third-party website, such as Apex Hosting, and fully customize your server to any Minecraft version, or you can use the Realm system built into the game.

Ol’ Reliable: The LAN Method

This is the only free method to play Minecraft with others, but it requires that all of you are operating off the same network.

Step 1: Load your world

Start up your game, select Singleplayer, and load into your world.

Step 2: Open to LAN

Once you’ve loaded in, hit Esc and select Open to LAN. In older versions of the game, this option can be found under Options. Then choose your desired settings and click on Start LAN World.

Step 3:  Select multiplayer

Now the friend who wants to join your game will need to start their game and select Multiplayer.

Step 4: Scan for local servers

This will open up a menu that will scan for Local servers. Your friend will need to select the game that you started earlier and click on Join Server. From there, you’ll be able to play the game together.

Oh the nostalgia!

Most gamers will remember how the concept of multiplayer started; you’d haul your PC and all of its peripherals and screen over to your friend’s house for a LAN weekend. This sacred retreat would be filled with junk food, sleeping bags, late nights, and you’d all arrive back home on Sunday feeling as if you needed a weekend to recover from your weekend.

Minecraft brings some of this nostalgia back with their free co-op method of playing the game, but, as we previously said, you could always rent a server if you value sleeping in your own bed.

How to Show FPS in Rust in 2 Easy Methods

Rust has quickly become a popular survival game for Windows and Mac. However, gamers have been complaining that their frames per second (FPS) appear to be lagging. It can be a terrible experience for any player, quickly making them give up and not pursue the joys of surviving in the wild.

Today, we’re going to look at how to show FPS in Rust so you can see if you need to make any changes to your RAM usage or CPU.

How to Show FPS in Rust

While you can use a Steam overlay or third-party applications, the easiest way to show FPS in Rust is merely following the commands below.

Step 1: Press F1

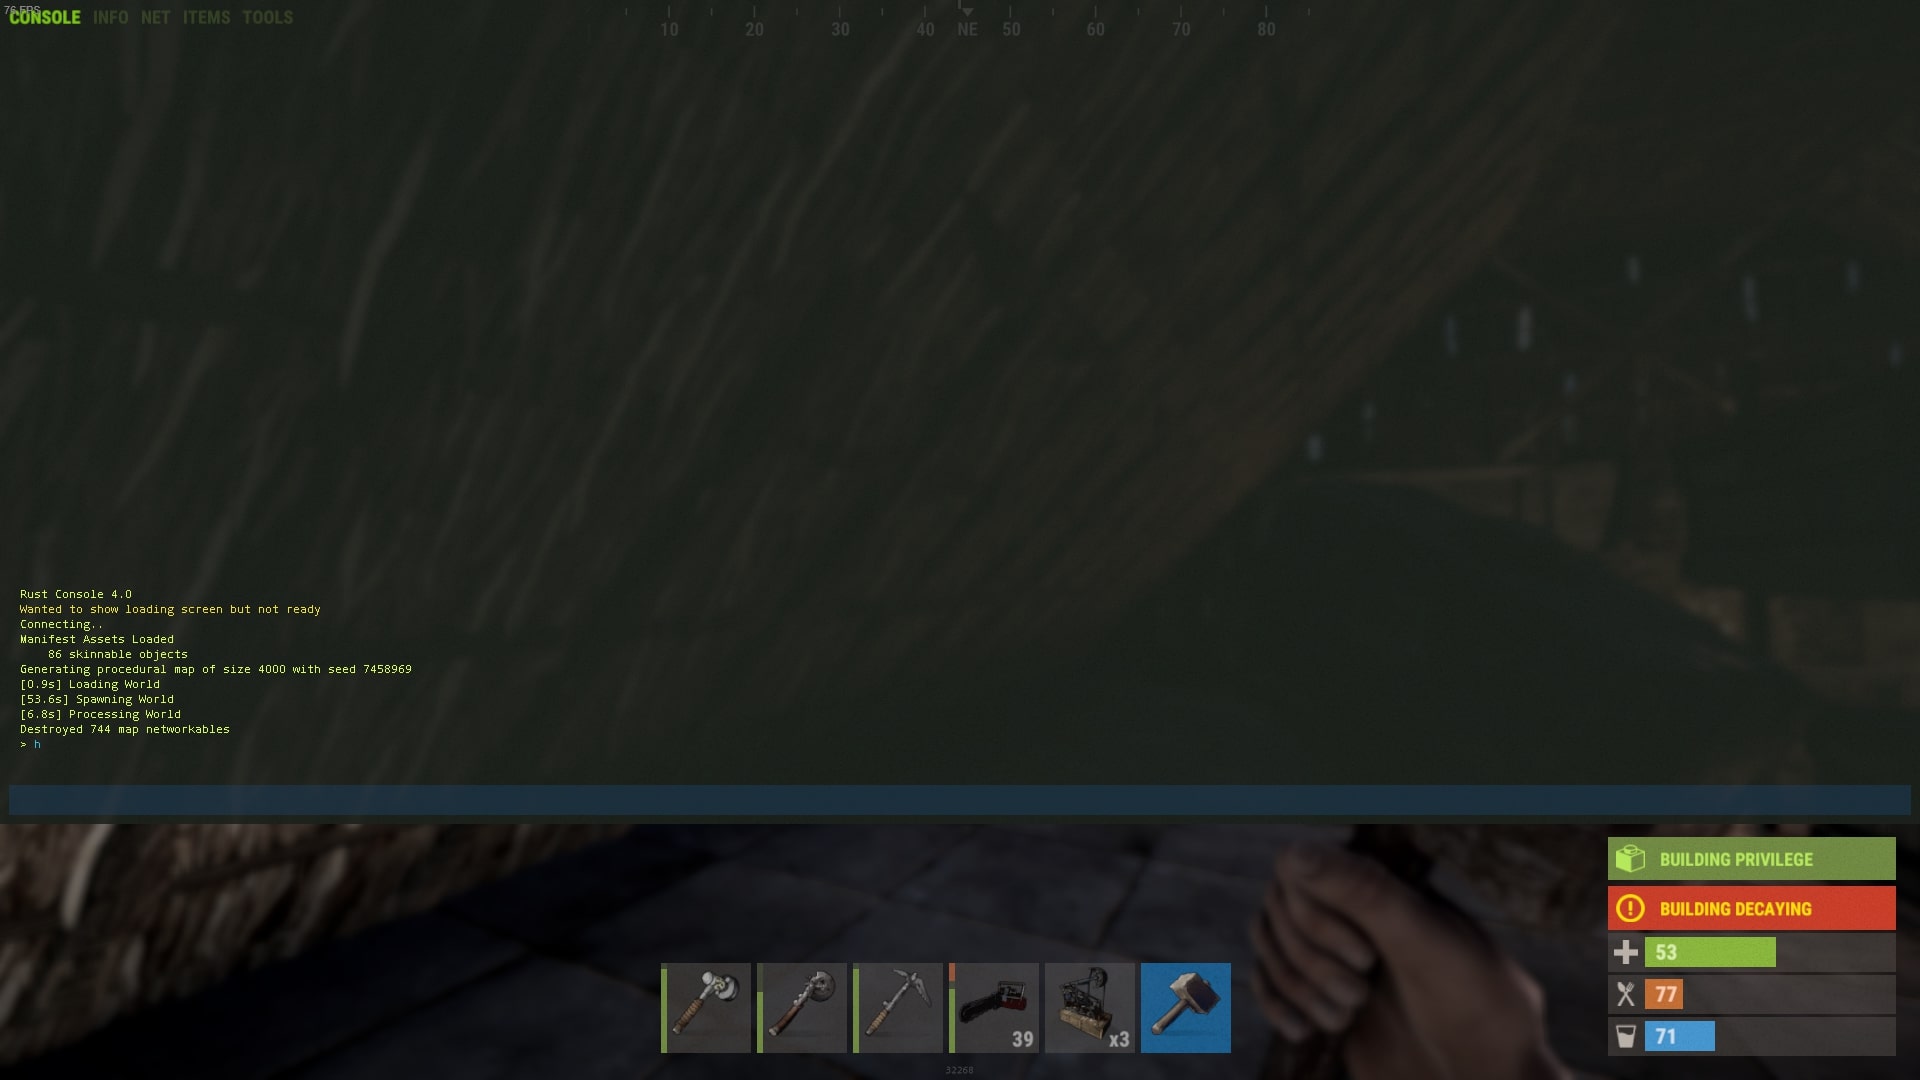
While you’re in the Rust client, you can press F1 to open the console screen. You’ll see the command window at the bottom, letting you know that you can now type commands.

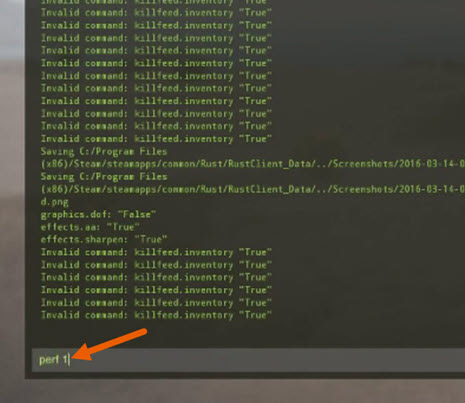
Step 2: Insert perf1

With the console screen open, insert perf1, which is the command to show FPS in Rust. Once you press Enter, the FPS will show immediately. If you want to experiment with other commands, you should try these perf numbers:

  • 0: disable indicators
  • 1: reveal FPS counter
  • 2: reveal latency
  • 3: reveal RAM usage
  • 4: reveal garbage collection
  • 5: reveal ping
  • 6: reveal background tasks

How to improve your FPS in Rust

Your hardware will be the ultimate cause of a slow FPS in Rust. Upgrading your CPU or increasing the GPU’s RAM is the first step towards an improved rate, but you may merely need to update your graphic driver.

It’s all about the right frame of mind

Having a decent FPS in Rust is significant for the overall gaming experience, and you may find your other games being affected, too. If you’d like more guides, you can read about how to get cloth and stone in Rust among our other articles. Feel free also to send us any queries you may have, as we may just have the answers you’re looking for, but not the droids.