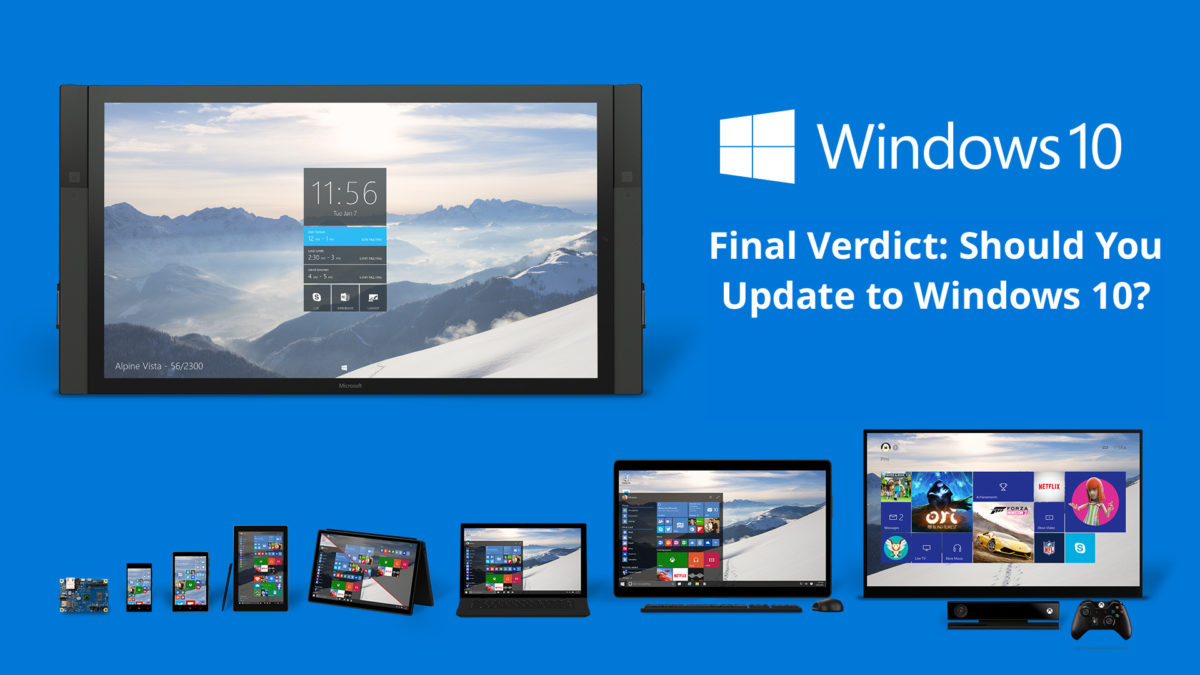
Should you upgrade to Windows 10? Is it worth the free upgrade or should you just skip it altogether? Let’s look at the pros and cons of upgrading to Windows 10 and help you decide.
Pros
Windows 10 is the bridge between the professional world of content creation and the personal world of content consumption – especially if you use a touch screen and a stylus. The touch interface has been dramatically improved over Windows 8, and Microsoft Ink now includes a load of improvements for working with styluses. Users of the good old keyboard and mouse will also observe an overall improvement in the ease of use in Windows 10, especially if you’re coming from Windows 8.
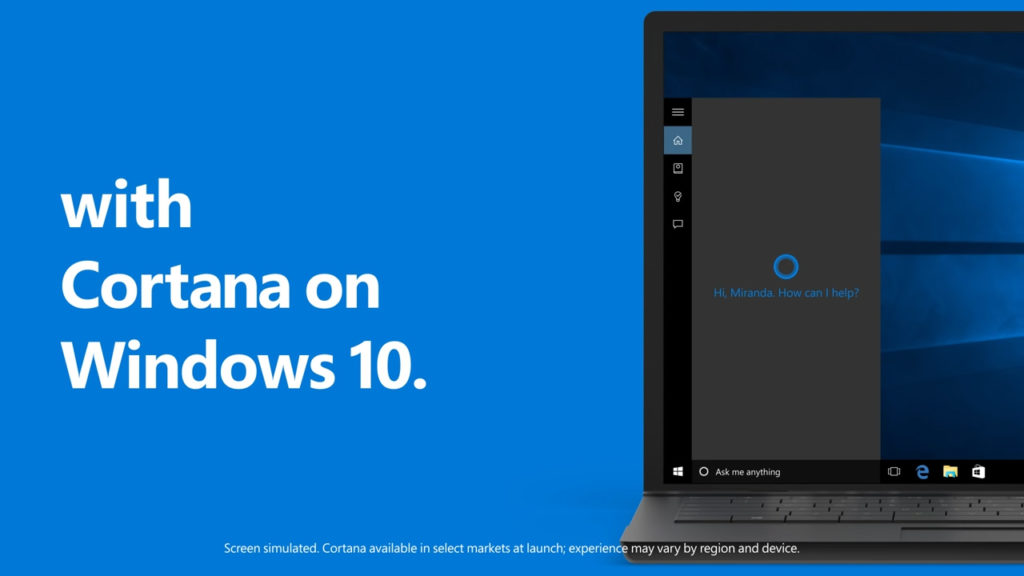
Cortana is one of the biggest attractions of Windows 10. Think of it as a personal concierge you can ask about the weather, for directions, information on the Internet, manage reminders or set alarms. You can even ask Cortana to tell you a joke or sing you a song. In addition to Cortana, there are also many other new features, such as Notification Center, battery manager, disk space, multiple desktops …
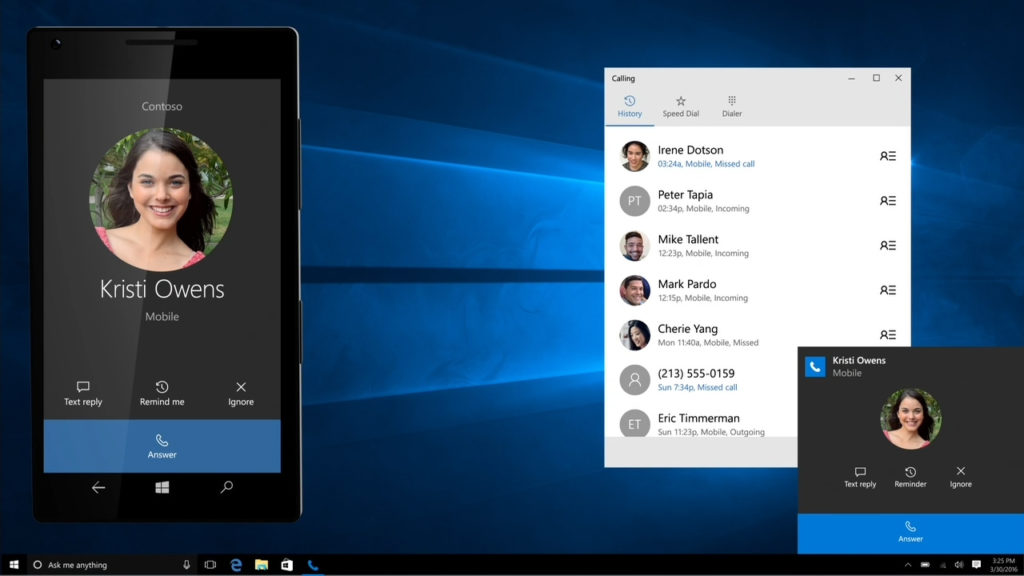
Windows 10 is the first multi-platform operating system. It connects with Windows 10 Mobile, especially through universal apps, and also all your other Windows 10 devices – laptops, computers, tablets – ensuring that apps you own are accessible on all your devices. It isn’t as great as Apple’s Continuum yet, but it’s a step in the right direction.
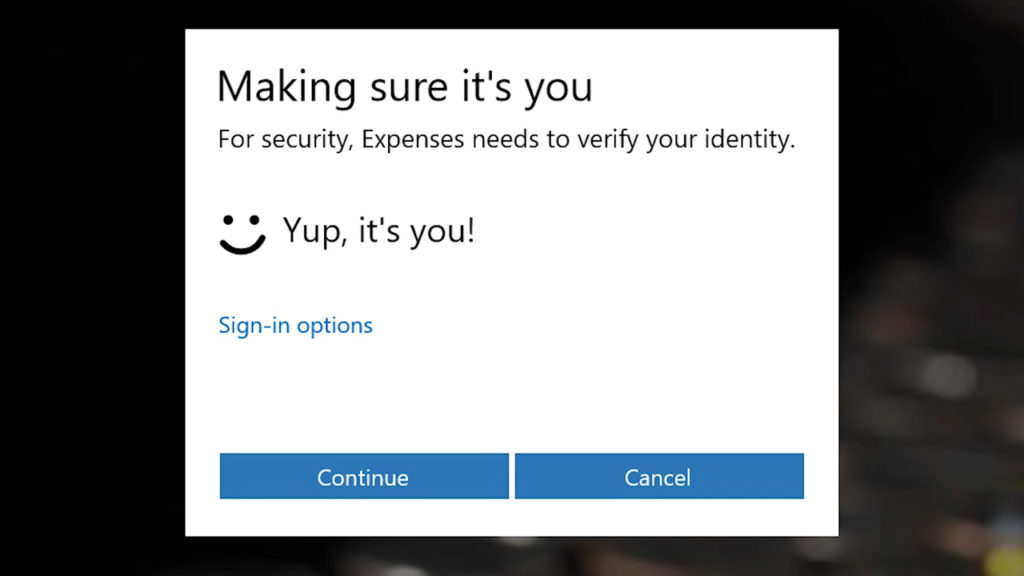
Better security: New technologies such as Device Guard, improved built-in antivirus, Windows Defender, fingerprint recognition, encryption capability for applications and of course, the many patches and security updates.
Are you a gamer? If yes, then Windows 10 is your operating system. Not only is Windows 10 a lighter operating system with a smaller footprint and efficient memory management, DirectX 12 ensures that your games interface better with your hardware for spectacularly better frame rates and image quality – especially for those games that are optimized for multi-core performance. And as an icing on the cake, Windows 10 now supports Xbox games.https://www.youtube.com/watch?v=c4cXG8zu61Y
Cons
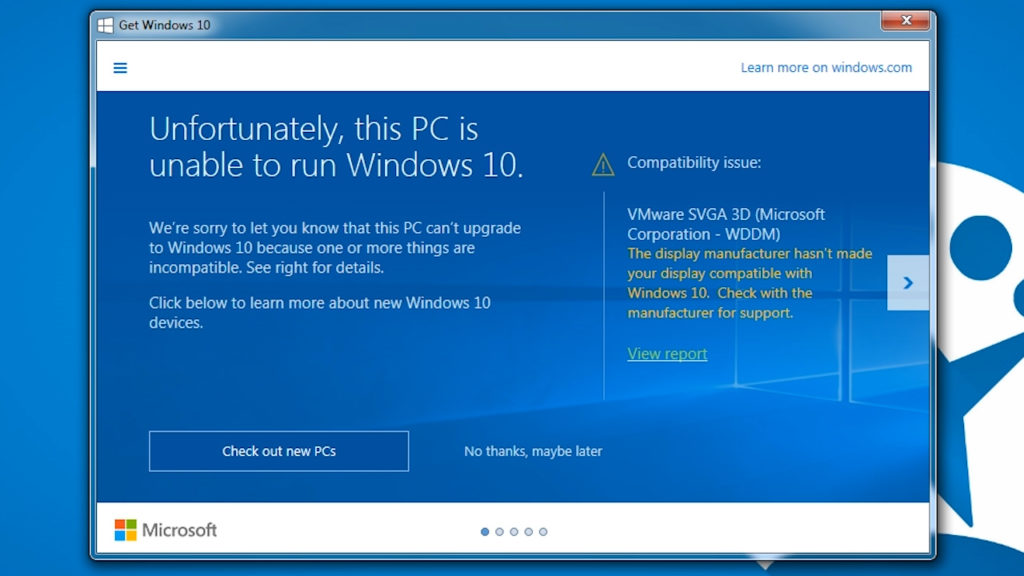
Incompatibilities. Although these are very isolated cases, there may still be some peripherals that may not work with Windows 10. There is a tool to check if your device is ready to run on Windows 10 and also, you should check if you have the latest drivers. Visit this link to find out more about compatibility issues. People with older hardware should not upgrade. Windows 10 requires 16GB or 20GB of hard disk space (depending on 32 or 64-bit version), and requires at least 1GHz of RAM or more. 2GB of RAM is recommended.
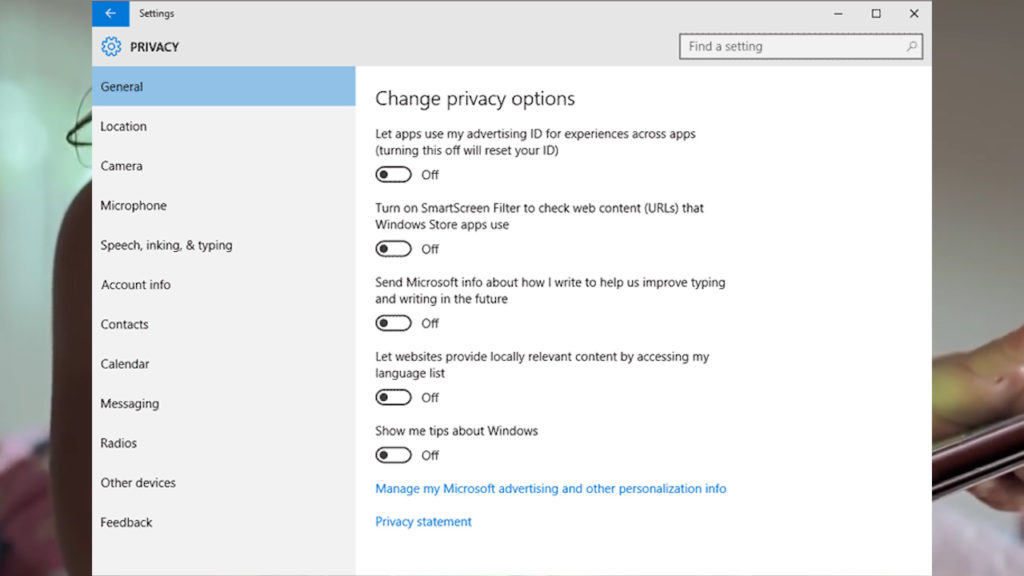
Privacy issues. Windows 10 is clearly (and necessarily) more intrusive in terms of privacy than previous versions. It collects and processes your information about your activity, apps, and habits on its servers, so that it can offer you a more tailored experience. For example, Advertisement ID channels your information to Cortana so that it can offer better responses to your questions. Most of these features can be disabled at any time, even during installation, but this is where the decision must be made between features that could enhance our digital experience, and the information we give up for it. Just to be clear, Microsoft isn’t planning on doing anything evil or illegal to your information. In fact, almost every technology service today – Google, Facebook, Instagram, etc – collects a fair amount of your data as part of their experience. Microsoft has merely just joined the gang.
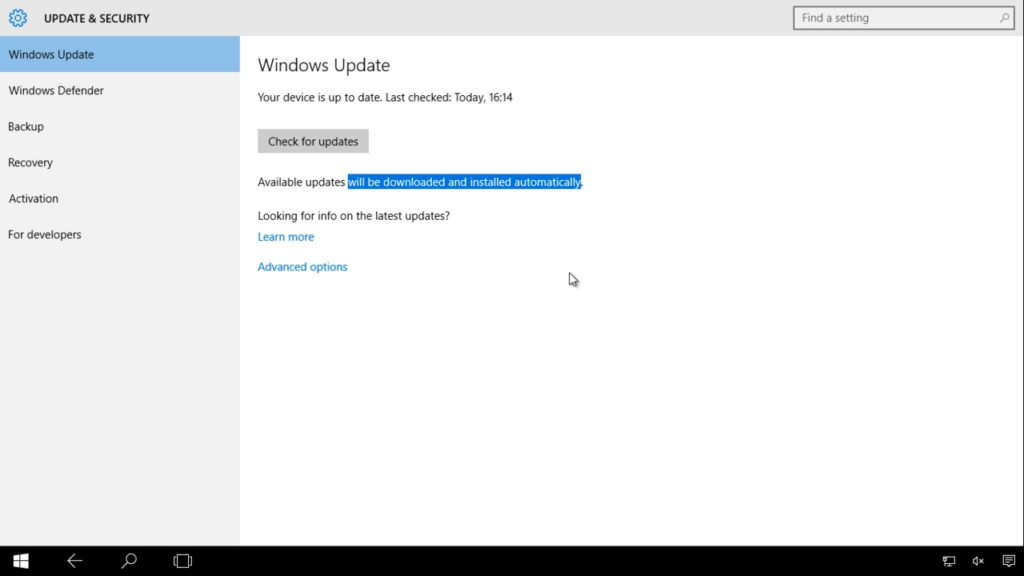
No stopping or blocking security updates and new features. All Windows 10 updates are downloaded automatically, except when you’re on mobile data. Although you can set the time when the update will take place, but you cannot choose what to install or ignore.
Universal Apps. There are not many of them and they are not exceptionally exciting as of now. Native apps such as Mail, Edge, Photos leave much to be desired in terms of functionality and design. And also, if you might miss the Windows Media Center, Windows Photo Viewer or care-free uploading of your documents into the OneDrive cloud, do not upgrade.
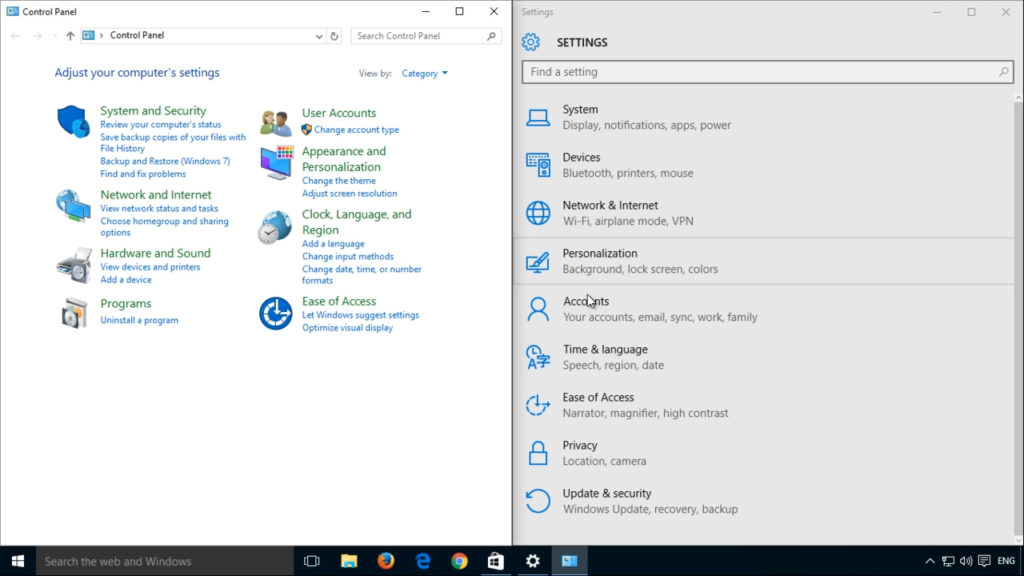
Windows 10 not a finished product. Edge doesn’t feel complete in terms of functionality, Cortana is not available in all regions and languages, applications in the store are few and unexciting, and we have found several shortcomings in design consistencies – for example in the context menus and control panels.
So what should you do? Here’s what we think:
If you’re still using Windows XP or Windows Vista, Microsoft has ceased support and updates to your operating system, which means you’re now vulnerable to hostile attacks or incompatibilities. If your PC meets the minimum system requirements, we’d recommend that you update to Windows 10.
For users of Windows 8 or Windows 8.1, the upgrade to Windows 10 should be obvious: it is a big step forward and is Microsoft’s response to all the errors and complaints from Windows 8. We’d say, get it.
If you’re using Windows 7, then you have (much) less reason to upgrade. Windows 7 is an all-round stable, functional and powerful system. Windows 10 will be an unnecessary change for you. Just bear in mind that Microsoft will eventually phase out Windows 7 and stop issuing security and feature updates. So be warned!
Should you upgrade? Tell us what you’ve decided in the comments below.
Pokémon Go is a wildly successful game from Niantic, which features the well-known universe of Pokémon characters superimposed upon the real world through augmented reality. It is the breakaway hit of the Summer, and rocketed to the top position on the App Store charts within hours of release. Chances are you’ve already installed the game yourself or at least seen throngs of people playing it outside.
This guide is written for the beginning player and will introduce you to the basic concepts of how to play Pokémon Go. If you’re new to the game, or even if you’ve installed it but have had trouble understanding how to play, read on to learn everything you need to know to find, capture and do battle with your Pokémon!
What Is Pokémon Go?
Pokémon Go is an augmented reality game that uses your phone’s GPS and clock to determine where you are and what time you’re playing. The game will generate ‘wild pokemon’ in your area, which you can battle and attempt to capture. There will also be pokeshops and clinics in the area where you can get more items such as pokeballs, and you can even battle bosses for big rewards.
The game’s goal was to get users up and moving while hunting for Pokémon and new gyms to battle. The game has become so popular that it outranks Twitter in the number of active daily users on Android.
The Pokémon Go platform gives users the chance to experience what the series is all about in a closest-to-real way. Throughout the series and Nintendo games, the objective was to collect Pokémon and train them to become stronger. You can do exactly this in Pokémon Go.
Once you have the app loaded on your device, you need to create a Pokémon Go account. You can do this either with an existing Google account or by creating an account with the Pokémon Trainer Club. Due to the popularity of the game, the publishers are restricting the number of new Pokémon Trainer Club accounts that can be made — so you might have more success using a Google account.
The first thing you’ll do is customize your character. This is purely for personal aesthetics — the choices you make on how your character looks don’t have an impact on the game or your ability to catch the various Pokémon characters.
Selecting Your First Pokémon
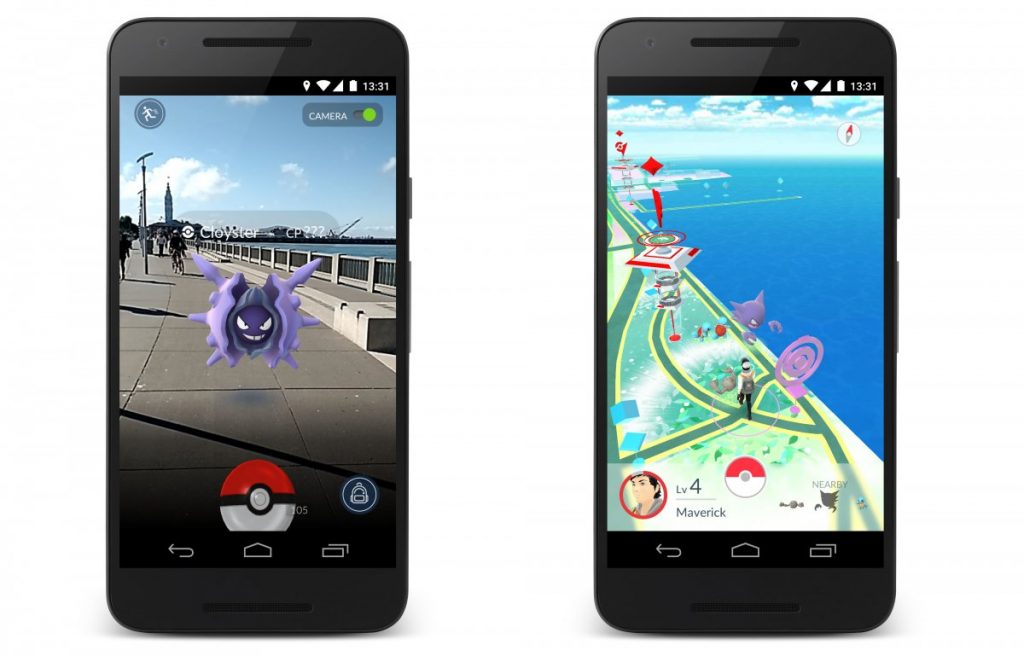
After you log in for the first time and customize your avatar, you’ll get your first peek at the main map screen. This shows a stylized version of your actual real-world location (powered by Google Maps). You’ll see three Pokémon characters next to your avatar. They are the Bulbasaur, Charmander and Squirtle.
You three starting choices in Pokémon Go.
Tap on any one of the three to capture it. This will be your first Pokémon. Don’t fret too much about your choice here. There will be plenty more Pokémon to capture, as this is the main part of the game.
After you tap on one of the Pokémon characters you see on the map screen, you’ll go to the main capture screen. If you’ve enabled AR (Augmented Reality) mode and given Pokémon Go access to your camera, you’ll see the character you chose appear in the real world in front of you. If not, it will appear against a simple cartoon backdrop.
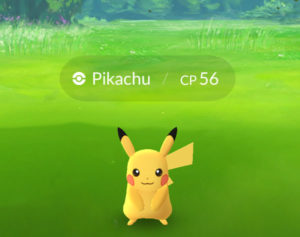
Pikachu in the Wild.
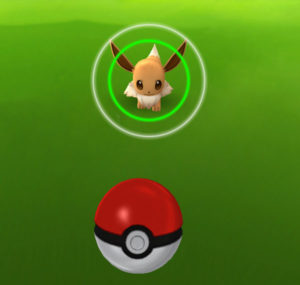
The main activity here is to tap on the Poké Ball at the bottom of your screen and to “flick” (drag) it up quickly towards the Pokémon. Try aiming for its head.
You need to give it enough power/speed for the ball to hit the Pokémon. You may need a lot of practice to get this right, but after a while it becomes second-nature.
As you venture out into the world to find and catch more Pokémon, you’ll discover that some are more difficult to catch than others. Here’s a few basic concepts around catching Pokémon that everyone should know.
Some Pokémon are More Difficult to Catch than Others
There are three colors of rings for Pokémon.
A green ring means that the Pokémon is easy to catch. Most of the time, it will only take a single Poké Ball to capture it.
A yellow ring means the Pokémon is more difficult to catch and about 50% of the time will escape, even if you score a direct hit.
A red ring means that the Pokémon is very difficult to catch. Expect to use a lot of Poké Balls to finally subdue and capture the creature. You can greatly increase your odds using more powerful Poké Balls or Razz Berries (see more on these below).
A green ring means this Pokémon is relatively easy to capture.
The Size of the Ring Around the Pokémon Matters
The size of the ring changes, going from large to small and then repeating. Your odds of catching a Pokémon are much better if the ring is at its smallest size when you release your Poké Ball.
Use Items to Improve Your Chances
You can greatly increase your chances for capturing a Pokémon by using more powerful Poké Balls or Razz Berries. The latter are special food that makes the target Pokémon more complacent and easier to capture. You should save these for Pokémon with red circles (or for the yellow circled ones if you’re running low on your Poké Ball supply).
Introduction to the Map – How to Find Pokémon
Pokémon Go is an augmented reality game, meaning that it superimposes its virtual world on top of the real one. For that reason, you’ll spend a lot of your time in the game staring at the in-game map, while you walk around the world looking for Pokémon to capture, PokéStops to visit, and special Gyms where you can train and level up your Pokémon.
Finding Pokémon
There’s really no secret to this. Just pick a direction and walk. Pokémon can appear anywhere in the wild, although you’ll find that they appear more frequently in populated areas and tend to congregate near PokéStops (more on those in a bit).
When you get close enough to a Pokémon on your map, your phone will buzz/vibrate and the Pokémon will appear on your screen. If you have your sound turned on, you’ll also hear the Pokémon give his unique sound.
Encountering a Pokémon in the Wild in Pokémon Go.
As long as the Pokémon appears within the pulsating circle around your avatar, you can then tap on it to bring up the Capture screen. From there, simply throw your Poké Ball as described above. Soon, you’ll have a new Pokémon to add to your collection.
Gotta catch ‘em all!
Visiting PokéStops and Lure Modules
When you walk around the world, you’ll see several blue pedestals with blue cubes floating above them. These are PokéStops, and they’re a source of valuable items, including additional Poké Balls and Eggs.
PokéStops are usually found in relatively populated areas, near major and minor landmarks. You’ll have much more success finding PokéStops in towns and cities than out in the countryside.
So many PokéStops, so little time.
When you get close enough to a PokéStop, it will change shape slightly, with a spinning circle appearing over the cube. Click on it and then tap and spin the photo disc in the middle to force the items to appear. Next, tap or swipe those items to collect them.
After you’ve collected from a PokéStop, it will turn purple and you won’t be able to collect items from it again until it resets — this usually takes several minutes.
Powering Up, Leveling Up and Evolving Pokémon
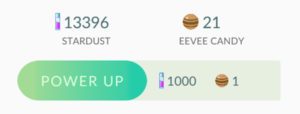
To give a Pokémon more power, you’ll need two things: Stardust and Candy. Both are collected by capturing Pokémon in the wild.
You earn Stardust with each capture. Candy is specific to the type of Pokémon. For example, you earn Zubat candy from capturing Zubats.
To power up your Pokémon, first go to the Pokémon menu. You get there by clicking on the red and white Poké Ball on the map screen and then selecting “Pokémon”. You’ll see a screen containing all the Pokémon you’ve captured.
Choose the Pokémon you’d like to power up and click on the Power Up button. You’ll be able to see how much Stardust and Candy you’ll need. Your Pokémon of choice will gain additional Combat Power (CP) and Hit Points (HP).
Click the Power Up button and spend Stardust and Candy to upgrade your Pokémon’s combat and hit points.
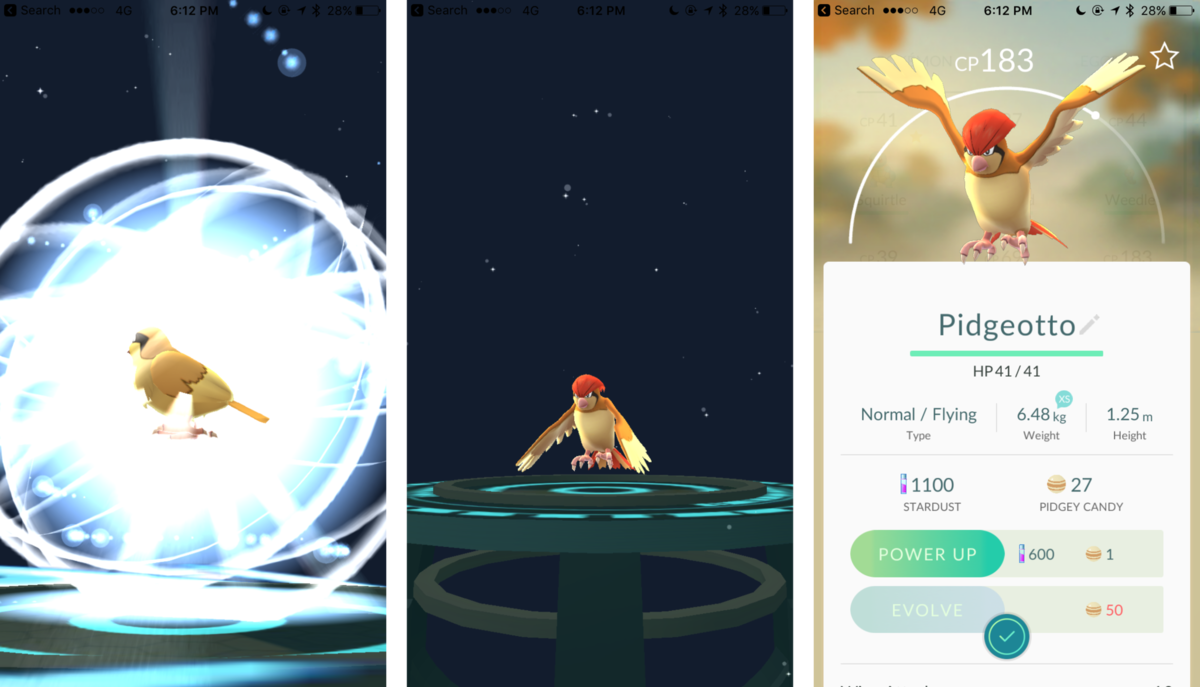
Evolution works a little differently in Pokémon Go than it does in earlier Pokémon games. To evolve your Pokémon, first you must capture several duplicate Pokémon to earn enough Candy to complete the evolution.
Once you have the Stardust and Candy that you need, select your most powerful Pokémon of the type you’d like to evolve and click on the Evolve button. Your Pokémon will be upgraded to the next level on its evolutionary chain. When you evolve a Pokémon, it will gain both CP and HP.
Sound complicated? Don’t worry. Powering up and Evolving Pokémon gets easier with practice. Read our Pokémon Go Leveling Up guide for more tips and tricks.
How to Battle in Pokémon Go
In Pokémon Go, you could always battle gyms, but battling other trainers hasn’t always been possible. Battling trainers in Pokémon Go is a relatively new feature that lets users battle friends and others nearby. Your Pokémon are awarded experience by winning a battle, which makes them stronger, and you also get various items. As such, it’s definitely worth giving it a try.
Step 1: Select Your Opponent
You can choose to battle with friends, or you can battle with other trainers nearby. To battle with friends, you go to your trainer page and tap on ‘Friends’. At the bottom of the page will be a ‘Battle’ button. Once you’ve tapped the button, you’ll be asked to join a league and choose your three Pokémon that will battle. Now Pokémon Go will send an invite to your friend, and once they accept, the battle will start.
To battle with trainers or leaders nearby, you can tap on the ‘Nearby’ menu at the bottom of your screen. Tap the battle section to see all three leaders and your personal QR code. If you tap on any of the leaders, you can initiate a battle with them. If you want to battle other nearby users, you can have them scan your QR code to start the battle.
Step 2: Tap the Screen to Attack
Once the battle starts, you will have to tap the screen to attack the opponent. Continue tapping and attacking as this charges your stronger attack.
Step 3: Use a Charged Attack
Once your charged attack has been built up, you can tap on it to release a strong attack. For the charged attack, you will see a bullseye appear on the screen, and you have to time the attack perfectly to determine the strength.
Using Items in Pokémon Go
Items are used in the game to help you capture Pokémon, lure them, and revive or heal them following battles at the Gym. You can access your items inventory by tapping on the backpack icon that appears after you tap on the Poké Ball from the main screen.
Most of the items you’ll find in-game can be acquired in one of two ways — collecting them from visiting PokéStops or by purchasing them from the Shop using PokéCoins (which are bought with real money).
Some of the main items that you’ll find in Pokémon Go are:
Pokémon Capture Items
Poké Ball – A device for catching wild Pokémon. It’s thrown like a ball at a Pokémon, comfortably encapsulating its target.
Razz Berry – Feed this to a Pokémon, and it will be easier to catch on your next throw.
Feed a Razz Berry to a Pokémon to make it easier to catch.
Pokémon Restoration Items
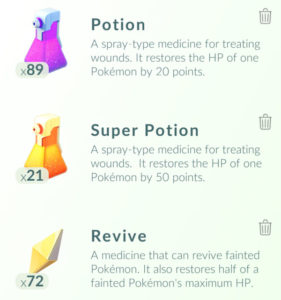
Potion – A spray-type medicine for treating wounds. It restores the HP of one Pokémon by 20 points.
Super Potion – A spray-type medicine for treating wounds. It restores the HP of one Pokémon by 50 points.
Revive – A medicine that can revive fainted Pokémon. It also restores half of a fainted Pokémon’s maximum HP.
The Potion, Super Potion, and Revive items are used to heal your Pokémon following a battle.
Pokémon Lures
Incense – Incense with a mysterious fragrance that lures wild Pokémon to your location for 30 minutes.
Lure Module – A module that attracts Pokémon to a PokéStop for 30 min. The effect benefits other people nearby.
Miscellaneous Items
Lucky Egg – A Lucky Egg that’s filled with happiness! Earns double XP for 30 minutes.
Egg Incubator – A device that incubates an Egg as you walk until it is ready to hatch.
Selecting a Team and Training at the Gym
Once you reach Level 5, you’ll have the option to visit a Gym and join a team. Just like PokéStops, Gyms are real-world locations in the game.
When you visit your first Gym after reaching level 5, you’ll get a choice of joining one of the three color teams in Pokémon Go: Valor (Red), Mystic (Blue), or Instinct (Yellow).
Each Gym you encounter in the world is controlled by one of the three color teams at any given time. You can train up your Pokémon at Gyms that are already controlled by your team or battle opposing teams to take over their Gyms.
When you enter a Gym controlled by an opposing team, you can select a Pokémon from your collection to fight with and then you’ll begin a Pokémon Go Battle against the opposing Leader/Guard of the Gym. When you battle, you essentially have three simple options:
Tap the screen to attack
Press and hold the screen to use your Pokémon’s special attack
Swipe left or right to dodge an opponent’s attack
The goal of the battle is to reduce your opponent’s Pokémon to zero hit points before he or she does the same to yours.
To take over a Gym that is controlled by one of the opposing teams, you must battle and defeat all of the Gym Leaders that occupy it. Higher level Gyms will require several successful battles for complete victory.
When you occupy a gym you earn PokéCoins. Every 20 hours, you can visit the Shop and redeem your coin reward, which is calculated based on how many gyms you currently occupy. Visiting and occupying several gyms can lead to significant rewards.
FAQ About Pokémon Go
Now that we’ve shared a lot about the basics of the game, here are a few more Pokémon Go tips to answer any last questions you may have.
What Is a Shiny Pokémon?
Shiny Pokémon are rare variations of existing Pokémon. Their color is slightly different from their normal counterparts, and they usually have boosted skills. You can find these shiny Pokémon in the wild randomly or during special events.
What Is the Best Pokémon in Pokémon Go?
While the best Pokémon is usually a personal preference that is very much based on your playing style, there are a few of the strongest Pokémon which do make formidable forces. In Pokémon Go, the strongest pokemon overall are Tyranitar, Dragonite, Snorlax, and Rhydon.
Rare Pokémon are much more difficult to find and usually occur only in specific locations or during particular times of the day. Some of the rarest Pokémon in Pokémon Go include Sandile, Noibat, Azelf and Unown.
Conclusion
Now you know everything you need to successfully explore and conquer the world of Pokémon Go. Remember to be aware of your surroundings as you play the game, but even more importantly, have fun!
Want to know how to level up quickly in Pokémon GO? Curious about how to unlock the newest features on each of the levels? Do you want to be sure that you’ll be able to beat other Pokémon trainers? No worries! With these tips you’ll be sure to level up faster as you race towards catching them all.
Pokémon Go is different than classic Pokémon games and one of the most important differences is that Pokémon GO isn’t centered around making Pokémons level up, but rather you leveling up as a trainer.
When you carry out different actions on Pokémon GO you gain experience, level up and get rewards, in addition to unlocking new game features. For example, on Level 5 you can unlock gyms, potions and the ability to revive Pokémons. And the game gets really fun when you level up to unlock battles.
On Level 8 you can unlock Razz Berries, which you can use to trap Pokémons with greater ease. On Level 10, super potions appear and on Level 12 you have the option of getting Great Balls, which help you in making sure far less Pokémons get away from you. In the next few levels you can unlock the egg incubator, the Hyperpotions and many other surprises.
To reach these levels faster, here are a few quick tips for levelling up your Pokémon Go trainer.
Catching Pokémon
Well, it seems obvious that you must catch Pokémon to level up. But catching Pokémons, as far as getting experience points goes, isn’t about just getting your hands on one. There are a few ways to earn experience; you get 100 experience points for catching a Pokémon and 500 points more if you register your Pokémon in the Pokedex for the first time. But you can and should keep catching Pokémon after you’ve gotten the first one, as this will help you level up. You know all of those Zubats that keep appearing again and again? Don’t ignore them, since catching them will get you precious experience points.
Experience points are earned not only by catching Pokémon but also by throwing Pokeballs. Becoming a master at throwing Pokeballs will get you lots of experience points. A good throw will get you 10 points, 50 points for a great throw and 100 points if it’s the throw of your life. You can also get 10 more experience points if you make your Pokeball spin until it vibrates before throwing it.
How do eggs get you so many experience points? It’s basically because in order to incubate eggs you need to walk, and walking is one primary sources of experience points. For eggs that require you to walk 2 kilometers to be incubated, you’ll get 200 experience points. For the 5 kilometer eggs you get 500 points and for eggs that require more than 10 kilometers of walking (ugh!) you’ll get an amazing 1000 experience points. This 1000-point egg is where you’ll get the most experience points in the whole game.
Evolving a Pokémon
In contrast to the original game on Nintendo DS, making your Pokémon level up won’t get you more experience points. You have to focus on evolving your Pokémon, since every time you do this will get you 500 experience points for each Pokémon that you evolve.
To evolve a Pokémon you must give it the right candy which, incidentally, you get by catching and handing the Pokémon over to the Professor. Unfortunately, the Professor doesn’t give you very much candy for doing this!
Visiting a Pokestop
Pokestops are, of course, really important on Pokémon GO and visiting them will afford you with many rewards, and not just in the form of objects. You’ll get 50 experience points just for visiting one, but if when you look for objects (balls or eggs) you’re lucky enough to find 6 or more you’ll get 100 experience points.
In a large city, where Pokestops abound, this is one of the fastest ways to make your Pokémon trainer level up.
Gyms: another source of experience for your Pokémon
Another perfect place for getting experience is the Pokémon gym. At the gym you’ll get 10 experience points just for catching a Pokémon in training mode. But if you beat the Pokémon in regular mode you’ll get a whopping 100 experience points. And if you manage to beat all of the Pokémons at a gym you’ll score an extra 50 points.
The lucky egg method
You can, of course, always accelerate your experience on Pokémon Go by using the game’s micropayments. Doing so will double your experience points for an hour and a half as long as you buy them at the store for 80 coins, or you can also wait until you get to a level where you can get them as a reward. Remember that the coins can only be purchased at the Pokémon Go store.
Getting them is simple: get close to a Pokestop, tap on the symbol when you are close enough to it and then spin the symbol until you get all of the rewards. Doing this will normally get you Pokeballs and incense, but if you’re lucky you’ll also get eggs.
How do I use the eggs?
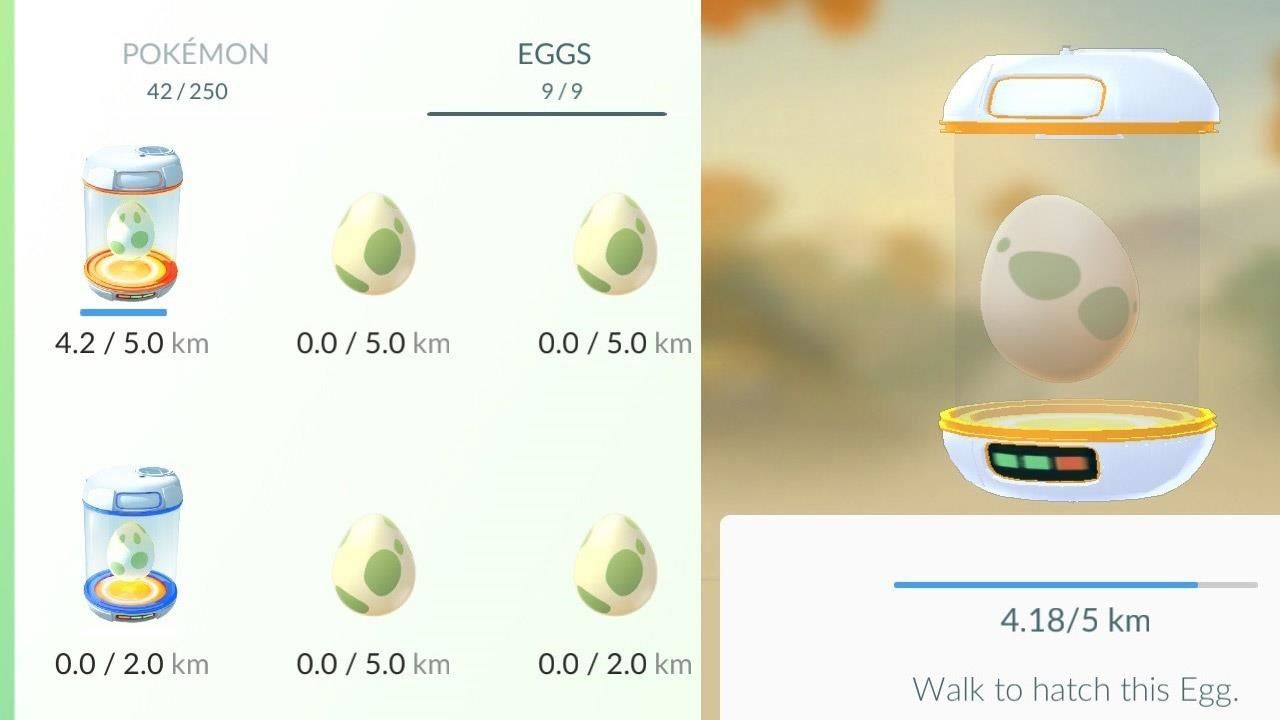
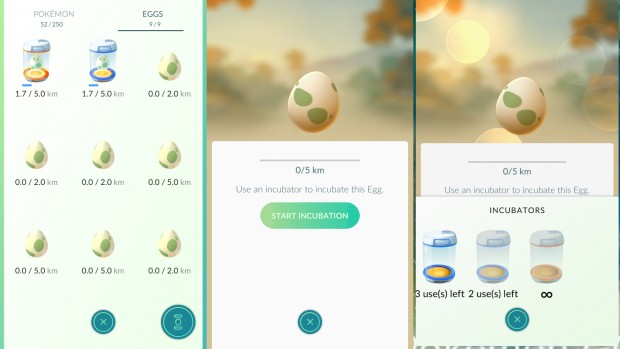
The first thing you have to do is tap on the Pokeball at the bottom of your screen, open the list of and then swipe right to find your eggs.
To start the incubation process, all you have to do is tap on the egg. After that you have to walk a certain distance (the distance needed is shown below the egg) to make the egg hatches
To do all of this, the app must be open (so be sure to charge your phone) and above all you cannot cheat. Don’t even think about driving or taking a bus to avoid walking. The good thing is that you don’t have to walk this distance all at once, so you can do it over several plays and even on different days.
How much do I need to walk for each egg?
Over a mile is the minimum distance per egg and it will take you around half an hour to do it at a moderate pace. The next Pokémon egg category will require about three miles of walking and takes between 45 minutes and an hour to do.
The best Pokémon eggs require roughly 6 miles of walking for incubation and at least 2 hours to do. So keep your battery fully charged and consider even carrying around some portable batteries for your phone.
The big question: what kind of Pokémon will I get?
As you can imagine, depending on the distance you walk, the Pokémon you’ll encounter will be more and more rare. So if an egg requires you to walk 10 kilometers, you can expect to have a very rare Pokémon. Here’s a complete list of the Pokémon you can get according to the distance you walk.
Walking over a mile on Pokémon Go
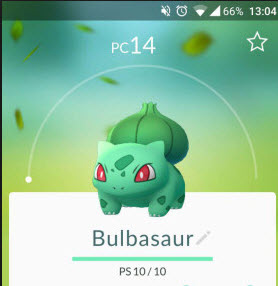
001 – Bulbasaur
Type: Grass / Poison
Evolves into: Ivysaur
#004 – Charmander
Type: Fire
Evolves into: Charmeleon
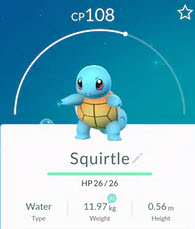
#007 – Squirtle
Type: Water
Evolves into: Wartortle
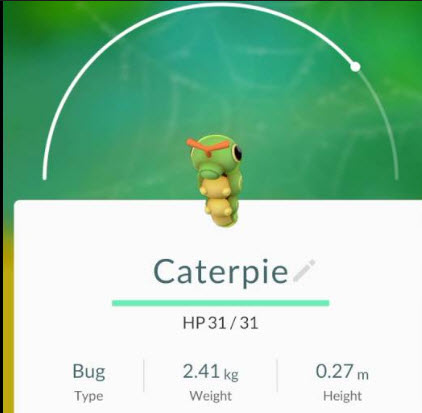
#010 – Caterpie
Type: Bug
Evolves into: Metapod
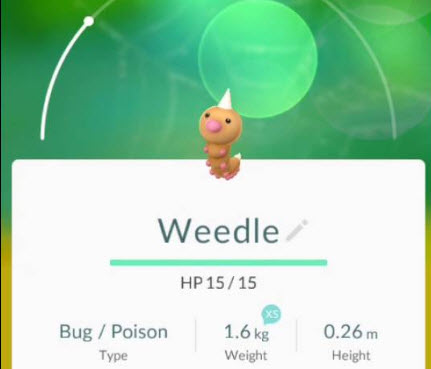
#013 – Weedle
Type: Bug / Poison
Evolves into: Kakuna
#016 – Pidgey
Type: Normal / Flying
Evolves into: Pidgeotto
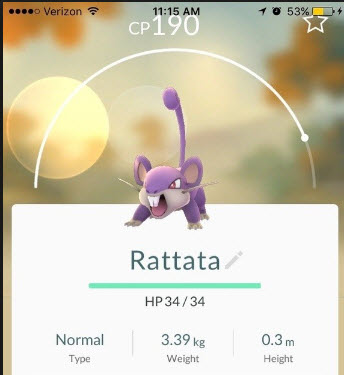
#019 – Rattata
Type: Normal
Evolves into: Raticate
#021 – Spearow
Type: Normal / Flying
Evolves into: Fearow
#025 – Pikachu
Type: Electric
Evolves into: Raichu
#035 – Clefairy
Type: Fairy
Evolves into: Clefable
#039 – Jigglypuff
Type: Normal / Fairy
Evolves into: Wigglytuff
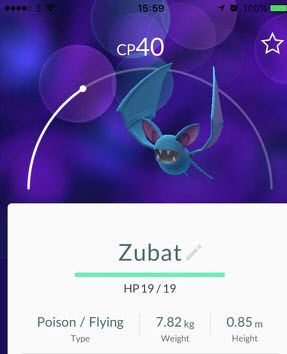
#041 – Zubat
Type: Poison / Flying
Evolves into: Golbat
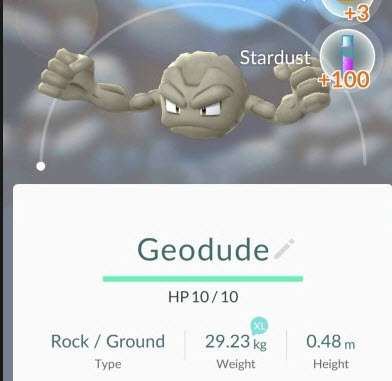
#074 – Geodude
Type: Rock / Ground
Evolves into: Graveler
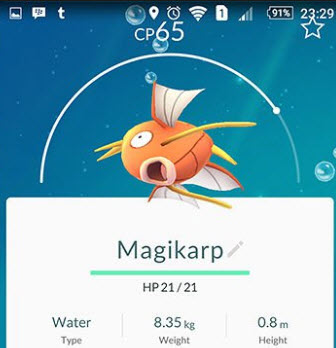
#129 – Magikarp
Type: Water
Evolves into: Gyarados
Walking about 3 miles on Pokémon Go
#023 – Ekans
Type: Poison
Evolves into: Arbok
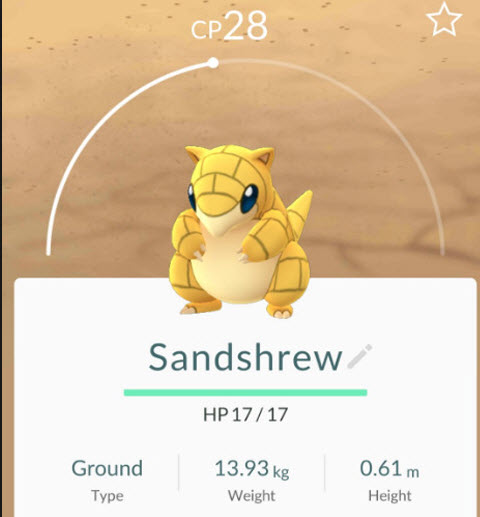
#027 – Sandshrew
Type: Ground
Evolves into: Sandslash
#029 – Nidoran F
Type: Poison
Evolves into: Nidorina
#032 – Nidoran M
Type: Poison
Evolves into: Nidorino
#037 – Vulpix
Type: Fire
Evolves into: Ninetales
#043 – Oddish
Type: Grass / Poison
Evolves into: Gloom
#046 – Paras
Type: Bug / Grass
Evolves into: Parasect
#048 – Venonat
Type: Bug / Poison
Evolves into: Venomoth
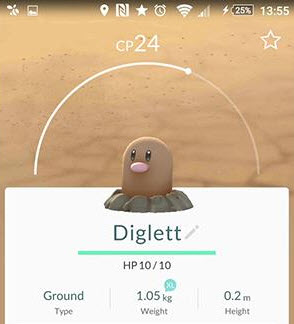
#050 – Diglett
Type: Ground
Evolves into: Dugtrio
#052 – Meowth
Type: Normal
Evolves into: Persian
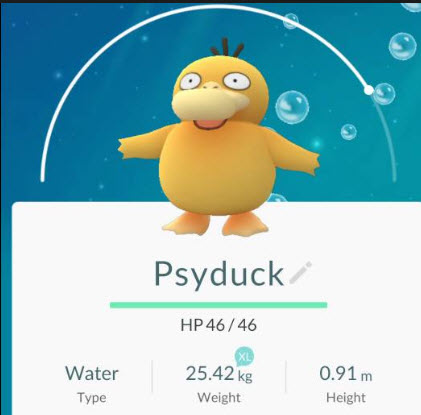
#054 – Psyduck
Type: Water
Evolves into: Golduck
#056 – Mankey
Type: Fighter
Evolves into: Primeape
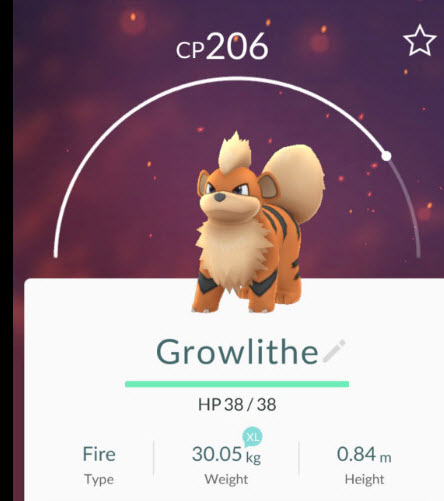
#058 – Growlithe
Type: Fire
Evolves into: Arcanine
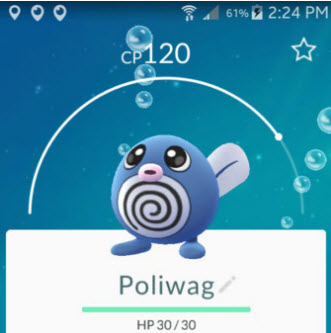
#060 – Poliwag
Type: Water
Evolves into: Poliwhirl
#063 – Abra
Type: Psychic
Evolves into: Kadabra
#066 – Machop
Type: Fighter
Evolves into: Machoke
#069 – Bellsprout
Type: Grass / Poison
Evolves into: Weepinbell
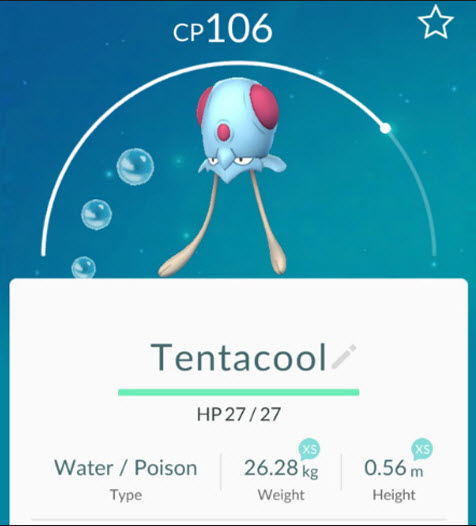
#072 – Tentacool
Type: Water / Poison
Evolves into: Tentacruel
#077 – Ponyta
Type: Fire
Evolves into: Rapidash
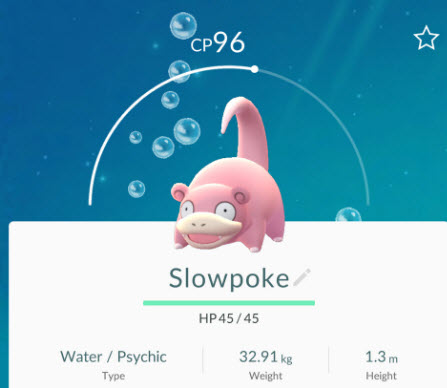
#079 – Slowpoke
Type: Water / Psychic
Evolves into: Slowbro
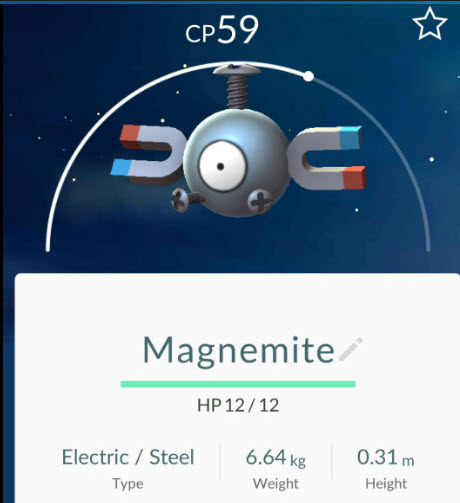
#081 – Magnemite
Type: Lightning / Steel
Evolves into: Magneton
#083 – Farfetch’d
Type: Normal / Flying
#084 – Doduo
Type: Normal / Flying
Evolves into: Dodrio
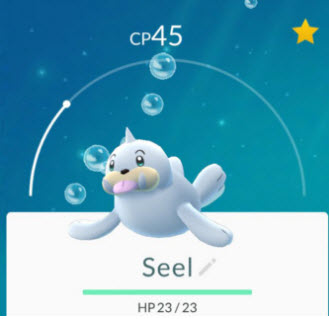
#086 – Seel
Type: Water
Evolves into: Dewgong
#088 – Grimer
Type: Poison
Evolves into: Muk
#090 – Shellder
Type: Water
Evolves into: Cloyster
#092 – Gastly
Type: Ghost / Poison
Evolves into: Haunter
#096 – Drowzee
Type: Psychic
Evolves into: Hypno
#098 – Krabby
Type: Water
Evolves to: Kingler
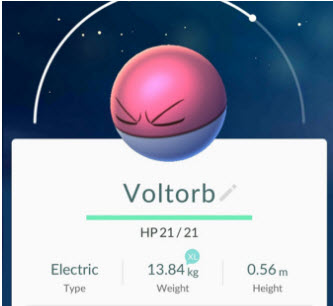
#100 – Voltorb
Type: Lightning
Evolves to: Electrode
#102 – Exeggcute
Type: Grass / Psychic
Evolves to: Exeggutor
#104 – Cubone
Type: Ground
Evolves to: Marowak
#108 – Lickitung
Type: Normal
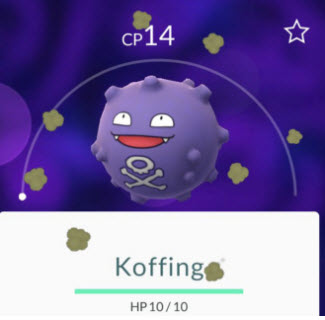
#109 – Koffing
Type: Poison
Evolves to: Weezing
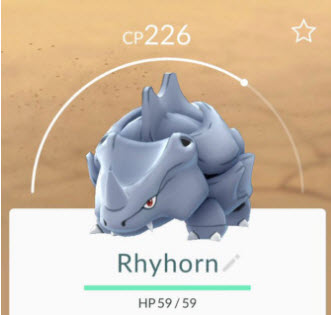
#111 – Rhyhorn
Type: Ground / Rock
Evolves to: Rhydon
#114 – Tangela
Type: Grass
#115 – Kangaskhan
Type: Normal
#116 – Horsea
Type: Water
Evolves to: Seadra
#118 – Goldeen
Type: Water
Evolves to: Seaking
#120 – Staryu
Type: Water
Evolves to: Starmie
#128 – Tauros
Type: Normal
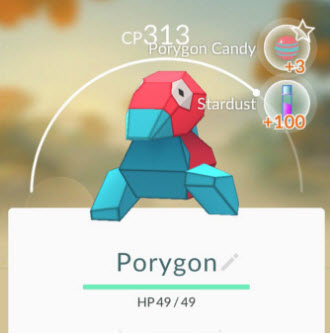
#137 – Porygon
Type: Normal
Walking 6 miles or above on Pokémon Go
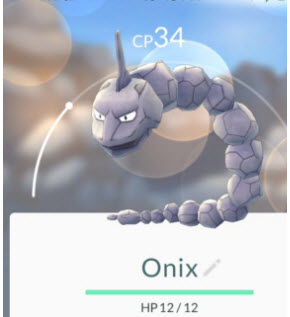
#095 – Onix
Type: Rock / Ground
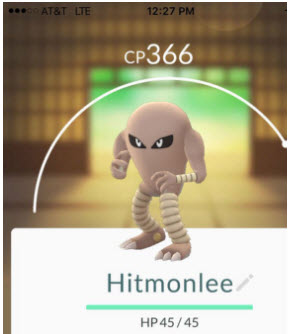
#106 – Hitmonlee
Type: Fighter
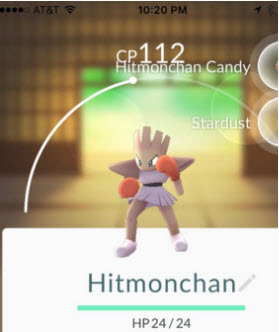
#107 – Hitmonchan
Type: Fighter
#113 – Chansey
Type: Normal
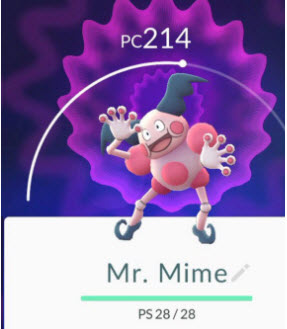
#122 – Mr. Mime
Type: Psychic / Fairy
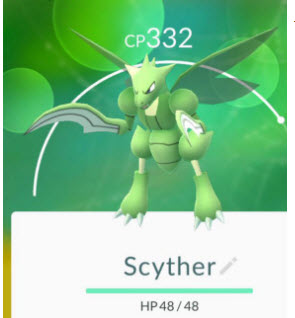
#123 – Scyther
Type: Bug / Flying
#124 – Jynx
Type: Ice / Psychic
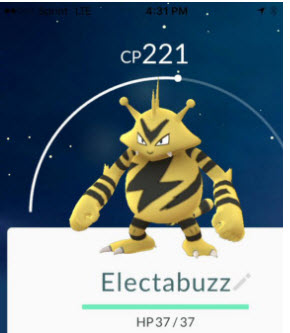
#125 – Electabuzz
Type: Lightning
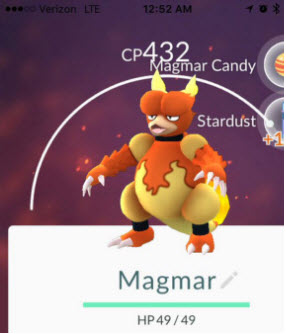
#126 – Magmar
Type: Fire
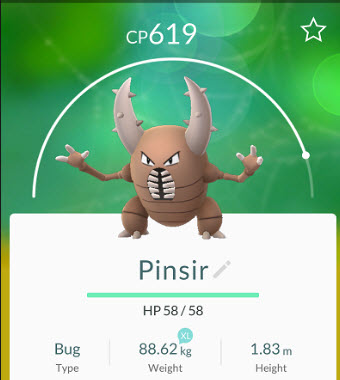
#127 – Pinsir
Type: Bug
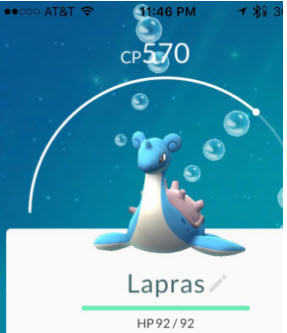
#131 – Lapras
Type: Water / Ice
#133 – Eevee
Type: Normal
Evolves to: Vaporeon, Jolteon, o Flareon
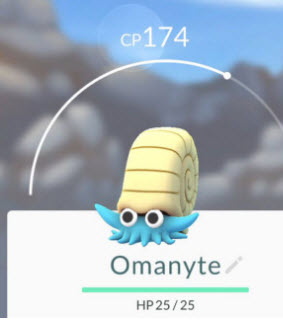
#138 – Omanyte
Type: Rock / Water
Evolves to: Omastar
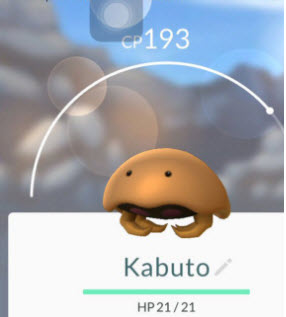
#140 – Kabuto
Type: Rock / Water
Evolves to: Kabutops
#142 – Aerodactyl
Type: Rock / Flying
#143 – Snorlax
Type: Normal
#147 – Dratini
Type: Dragon
Evolves to: Dragonair
Remember that you should always be aware of your surroundings while playing Pokémon GO. Also keep in mind that this game depletes your battery pretty quickly, so you may want to carry some extra batteries with you when you’re out and about.
Don’t want to be stuck with the default choices for your starting Pokémon in Pokémon Go? Eager to capture Pikachu, the most famous of all the Pokémon? Never fear! Read on for the hidden secret of how to get Pikachu as your first Pokémon in this exciting new game.
By now, you’ve heard of Pokémon Go. This long-anticipated game raced up to the top of the app store charts on its first day of release and has dominated the news in the past week. Sometimes for not so great reasons.
When you start the game, you normally have the choice between three different Pokémon characters to capture. They are:
Bulbasaur
Charmander
Squirtle
All three are solid choices, but there’s a secret way that you can start with Pikachu at the beginning instead of the other three. Here’s your step-by-step guide on how to do it.
Note: you’ll need to do this with a new account. You can start a new account by signing out of your current game and then signing up again using a new Pokémon Trainer Club account or by using a different Google account.
Once you have established a new account, you should end up at the starting map screen where you see three Pokémon to choose from. Don’t select any of them.
Next, just take a walk. Yes, it’s really that easy. Walk away from the three Pokémon and in a short time, they’ll disappear from the screen and “reset,” appearing again close to your new location.
Your next step? You guessed it. Keep on walking. Just walk away from Bulbasaur, Charmander, and Squirtle. You’re after the prize of Pikachu.
Repeat this process about four or five times. Ignore and walk away.
Eventually, a fourth Pokémon will join the other three on your screen. At long last, Pikachu has appeared.
There he is! Pikachu will appear on the map after four or five “resets.”
From here, simply tap on Pikachu and the Pokémon Go capture screen will appear. Tap and swipe the Poké Ball in Pikachu’s direction to capture him.
Congratulations! You now have Pikachu as the first Pokémon in your collection!
Now, complete your account sign-up as normal and you’re off in running in the world of Pokémon Go with the trusty Pikachu by your side.
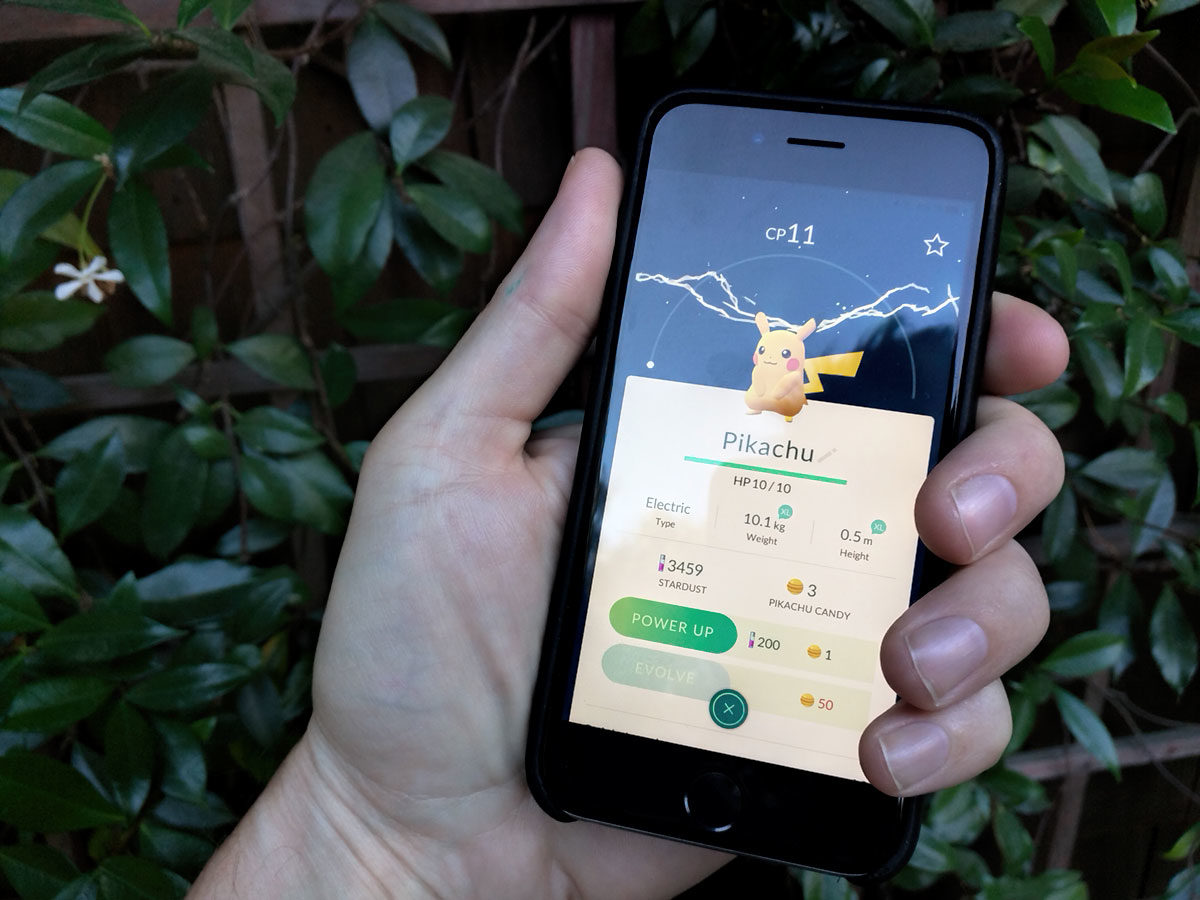
Your starting Pikachu isn’t very powerful, but who cares? It’s Pikachu!
Your starting Pikachu won’t be especially powerful (typically you get a CP 11 version), but there’s something very rewarding and nostalgic about beginning the game with him instead of one of the others.
Still don’t have Pokémon Go? You can download it here for iOS and Android. Looking for more Pokémon Go tips and tricks? Be sure to check out our collection of Pokémon Go videos and tutorials on Softonic Gaming.
Branding is a critical aspect to creating a thriving company. The brand is what permeates the minds of customers, leading to widened recognition in the community. A great logo can make a company stand out, pique the intrigue of shoppers, and create a professional public image that commands respect. Here are some design tips to help you create killer logos that will resonate with consumers:
1. Find your inspiration.
There are a lot of free online logo generators that can serve as some much-needed inspiration in the beginning stages. These can help you to get your initial creativity flowing as you work to develop a core concept for the logo. Explore logo designs of other brands within the same industry to get a feel for the type of imagery that’s driving success within your niche.
2. Keep it simple.
The key to designing a great logo is by creating a design that’s memorable and will stay with consumers. Overly complicated or intricate logos will quickly be forgotten. It needs to be clear, concise, and to the point.
3. Keep it familiar.
A great logo has the potential to trigger people’s memories when they least expect it. Target’s simple, yet attractive logo has become iconic to its brand. It’s hard to even look at a picture of a target without immediately thinking of the store. By creating a logo based around a popular image or concept, people will be reminded of your brand frequently, creating a marketing ripple effect.
5. Make sure it’s applicable.
While your logo doesn’t need to be a precise representation of your goods and services, it needs to apply to your company in some obvious way. If customers have difficulty forming the association between the company and the logo, then branding will be futile and the business will soon be forgotten. McDonald’s utilizes the golden arches, which pertains to the name of their business. Burger King, on the other hand, chose to incorporate their most popular product into their logo, making it both relevant and memorable. Both can be intuitively connected to the company since they have an obvious association with the brand.
6. Ensure it’s versatile.
Businesses change and evolve over the years, and you need to develop a logo that can change and evolve alongside it. If your logo contains symbolism that pertains to a highly-focused niche, it will no longer be relevant if the business extends beyond that niche. Create a logo that can stand the test of time by utilizing a general theme that pertains to your company but doesn’t confine the company to a specific image.
7. Learn from the best.
Take a look at the logos of the leading corporations and identify similarities that led to their success. What color schemes are most popular? How do their logos relate to their brands? By identifying the successful aspects of leading logo designs, you can gain inspiration that will fuel your success.
Designing logos is a complicated art. To be successful as a logo designer, you need to gain a deep understanding of the company and design a simple but memorable logo that will appeal to customers. It needs to be relevant, while still being ageless, and it needs to capture the intrigue of customers the moment they see it. If ever you’re having difficulty developing an initial concept, logo generators can be helpful to get your creative thought processes moving.
Communication in the digital age is all about speed and security. If you want to make sure you’re getting the best of both worlds, check out these apps:
ChatSecure
Using open-source libraries that include XMPP, OTR, and Tor, ChatSecure offers fast communication while protecting data. In the age of hacking and government snooping, it’s more important than ever to ensure that your messages are left private. Thanks, however, to the advanced technology used in this free program, users of ChatSecure can sleep at night knowing that their privacy is protected.
Although Silent Circle is not a free program, it is considered to be one of the fastest and most secure in terms of calling, texting, and video chat. One thing that sets Silent Circle apart from other messaging services is that, even when you contact people who are not subscribed to the service, your data will still be processed quickly and securely. Silent Circle also offers superior encryption for text messages and other forms of online communication.
Whether you’re using iOS or Android, WhisperSystems has a fast, secure communications app for you. For iOS users, the company provides Signal, and for Android users, you can rely on RedPhone and TextSecure. When it comes to RedPhone, WhisperSystems integrates with your default dialer, meaning you don’t have to use a separate app to make calls, and TextSecure replaces the default Android messenger. When using iOS, however, you will need to use WhisperSystems’ tools as separate apps in order to remain secure.
If you want to be more secure on your messaging, click here
Telegram
If you’ve ever seen a Mission Impossible movie or television episode, you’re likely familiar with the concept of a message self-destructing after being opened. Well, with Telegram, this concept becomes a reality! When you use Telegram, you can choose the option to have a message self-destruct based on a timed schedule that you set.
So, if you don’t want a message lingering around after you’ve sent it, it can automatically be erased. On the other hand, messages can also be stored in the cloud to be accessed from anywhere at any time if you choose. Telegram also boasts being the fastest messaging service in the world!
No matter which communications apps you choose to use, just make sure you use them wisely. Because of the speed with which today’s apps can send messages, it can be easy to send before you think. Always treat each message as if someone else is going to show it around, regardless of your apps’ security protocols.
We all lead busy lives today. With multiple devices, we feel as though we need to be connected at all the time. Why is it, then, that sometimes we feel like we never get anything done?
With these browser apps, you can be more productive wherever you are and whenever you need to be.
1. Dropbox
File sharing and storing is simple with Dropbox. As a free, cloud-based storage service, you can keep and share spreadsheets, documents, photos, folders of files, and videos. You can also sync your work among all your devices and create a link to let others see what you want them to.
If you’re working in groups or solo, Basecamp lets you organize and manage tasks, broadcast information to teams, and have a common space to store files and track progress.
Imagine approaching every day with the rule 1-3-5. The premise is that there’s 1 big thing, 3 medium things, and 5 things to do each day. The 1-3-5 List lets you focus on goals without being distracted.
Need to track your time better? With Toggl you can manage and track billable time, tag projects, and produce detailed reports to share with managers or clients. Toggl also syncs nicely with other project management tools.
This is the right tool for you. You can access here
5. RescueTime
Are you easily distracted? With RescueTime, measure your productivity and stay on track. Running in the background, the app tells you how much time you spend on email, web browsing, and using specific websites. At the end of the day, you can measure how much nonproductive time you spend, helping you to break bad habits.
Prepare to be more productive with this app. Download here
6. Evernote
When you want to take notes, archive documents, organize your thoughts, and keep text, video, photo, spreadsheets, memos, and other files in the same place, Evernote also lets you sync your work across multiple platforms and devices.
With tagging, search, filters, due dates, sync, and sub-tasks, you can manage your time quite effectively with Nirvana. With a couple of clicks, you can also turn an email into an action.
Nirvana is what you expect from a GTD tool and you can access here.
8. Remember The Milk
Or the bread, or the butter, or the dry cleaning. With Remember The Milk, you can create reminders and sync with Google Calendar to change all your to-dos into to-dones.
In what file folder did you put that document? How do you navigate your hundreds of folders to find that one? Say goodbye to these worries with Launchy. This productivity tool creates handy shortcuts that let you launch files, folders, or documents with just a few strokes.
If you’re prone to procrastination, this app is for you. Using the Pomodoro method of time tracking, Focus Booster helps you see where your time went, helping you to get rid of distractions and focus on the most important tasks at hand.
With these tools, your productivity will be boosted and you’ll feel more accomplished each day. You can also work more effectively when you turn to the cloud.