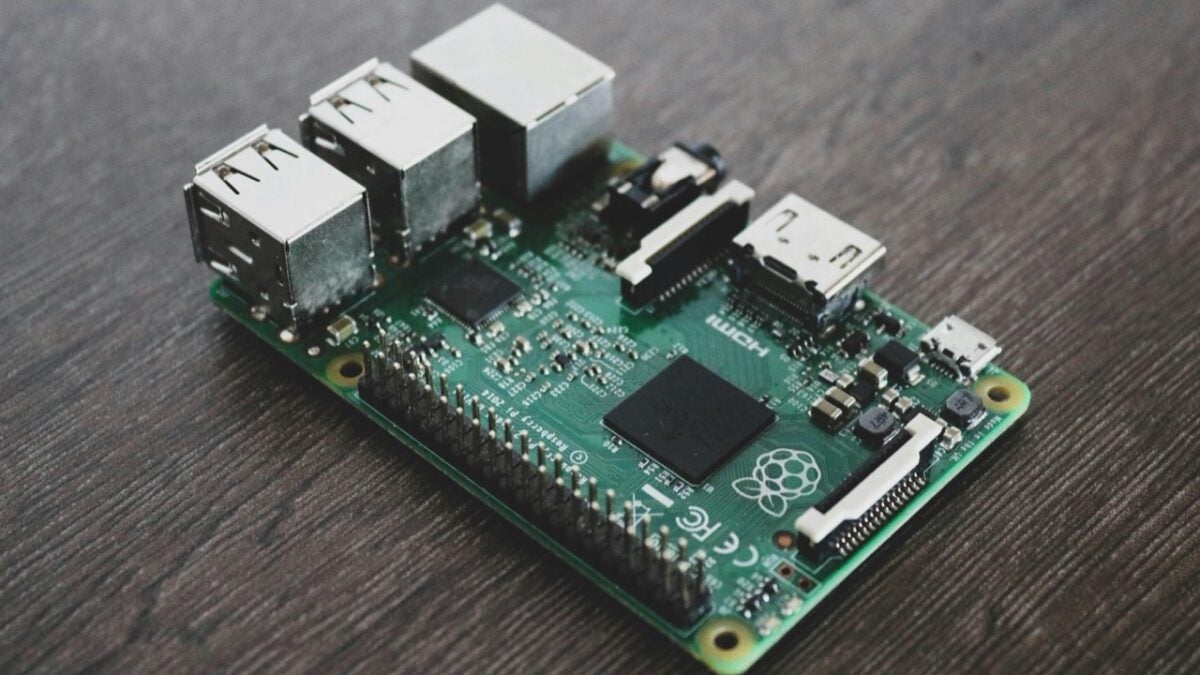
If you have an old printer that still works perfectly but lacks wireless connectivity, you don’t need to replace it to print wirelessly from your devices. With the help of a Raspberry Pi and a few simple steps, you can transform any USB printer into a wireless one. This is an affordable and versatile solution that helps extend the life of your hardware while making it compatible with modern needs.
Setting up the Raspberry Pi and printer server
Start by installing Raspberry Pi OS, the official operating system, and connecting your Pi to your home network, either via Wi-Fi or Ethernet. Once the system is ready, open the terminal and run:
sudo apt install cups
This command installs CUPS (Common Unix Printing System), the backbone of the wireless printing setup. After installation, edit the configuration file located at /etc/cups/cupsd.conf. You’ll need to enable network access by changing “Listen localhost:631” to “Port 631” and adding settings like “WebInterface Yes” and “BrowseAddress @LOCAL”.
Connecting the printer and configuring access
Restart the CUPS service using:
sudo service cups restart
Then, from any device on the same network, access the CUPS interface by visiting http://[Raspberry Pi IP]:631. Once there, go to Administration > Add Printer, select your USB printer, and follow the prompts. This will make your printer available to any device connected to your local network.
Final steps on your computer
On Windows, go to Settings > Devices > Printers & scanners, and click Add a printer or scanner. Your Raspberry Pi-connected printer should appear in the list, ready to use.