What is an inverted PC configuration and what is it for

In the world of PC building, traditional tower cases dominate the market, but an alternative layout is quietly gaining attention: the inverted PC configuration. This setup flips the internal arrangement of components, offering both visual and functional advantages for certain users.

How inverted PC cases are structured

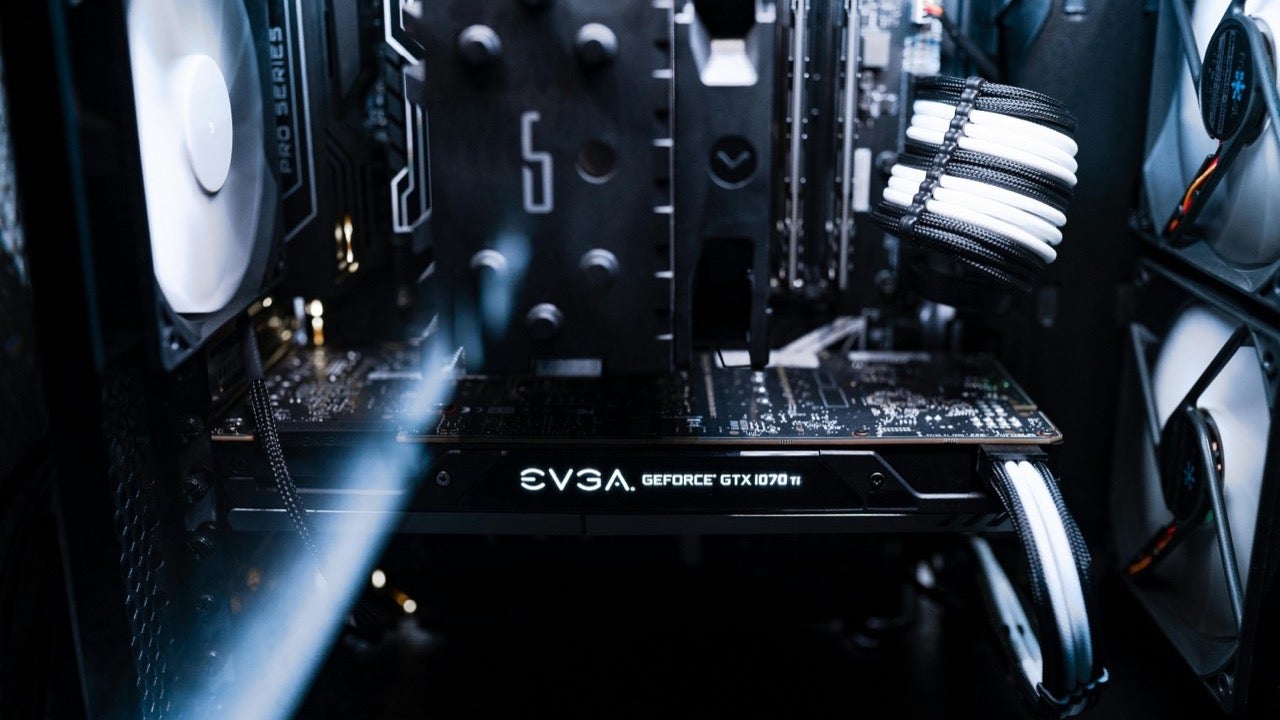
In an inverted configuration, the motherboard is mounted on the left side of the case rather than the right. This seemingly simple change completely alters the internal layout. PCIe components like graphics cards are installed facing downward, with expansion slots positioned at the top. In many models, the power supply is also placed at the top, although this can vary depending on the case design.

Advantages of inverted PC configurations

One of the most significant benefits is the improved airflow and thermal efficiency. With front intake fans directly facing major components, especially the GPU, cool air moves more effectively through the system, keeping temperatures lower. This can be particularly useful for high-performance builds where heat management is critical.

Another advantage is aesthetic versatility. For setups where the PC tower sits on the left side of a desk, an inverted case allows users to see the internal hardware through the transparent panel, instead of facing a blank wall of metal.

Availability and market options

Despite its benefits, the inverted design is still niche. Most PC cases follow the traditional layout, and only a few manufacturers—such as be quiet! with its Dark Base Pro 901—offer convertible models that support both orientations. These cases target users who prioritize airflow or have specific desk setups that benefit from the flipped design.

Four settings to change when setting up a new smart TV for better picture quality

Buying a new smart TV can be exciting, but out-of-the-box settings are rarely ideal for the best picture quality. Manufacturers often prioritize showroom appeal over home realism, leading to oversaturated colors, exaggerated sharpness, and energy-saving features that reduce brightness. Here are four key settings to adjust for a much better viewing experience.

Turn off energy-saving and ambient light features

The first thing you should disable is the “Eco” or power-saving mode, which limits brightness to meet energy standards. While it reduces electricity usage, it significantly harms HDR performance by capping the screen’s brightness. Similarly, ambient light sensors often adjust brightness and contrast unpredictably based on your room’s lighting, which can cause distracting changes during playback.

Select a proper picture mode

Avoid default settings like “Standard” or “Dynamic”—these are tailored to catch your eye in-store but distort actual content. Instead, opt for modes like “Movie,” “Cinema,” or “Filmmaker,” which provide a more accurate representation of color and motion. These settings minimize unnecessary post-processing, delivering a more authentic visual experience.

Adjust the backlight or OLED brightness

Backlight (or OLED brightness) controls the screen’s overall light output, not to be confused with the standard “brightness” setting. Increasing this for daylight viewing helps combat glare, but keep it moderate at night to conserve energy and extend panel life. OLED users should avoid running this at full strength constantly to prevent screen burn-in.

Disable motion smoothing

Motion interpolation adds extra frames to smooth movement, but it often creates the dreaded “soap opera effect.” Unless you specifically enjoy this look, it’s best to turn it off. If you still want some smoothness, set it to a very low level—just enough to avoid noticeable digital artifacts without losing the cinematic feel.

I bought a Wi-Fi repeater and my internet is worse – what can I do?

Getting a strong internet connection is essential for streaming, remote work, and browsing without interruptions, but adding a Wi-Fi repeater doesn’t always fix weak signal problems. In fact, some users notice worse performance after installing one. So what’s going on?

Your router may be the real problem

A Wi-Fi repeater can only amplify what it receives, so if your router is outdated or poorly located, the repeater won’t solve much. Older routers may not support high speeds, and if it’s hidden in a cabinet or surrounded by electronics, the signal degrades before it even reaches the repeater. Placing your router in an open, central space can make a noticeable difference.

Device compatibility matters more than you think

If your repeater supports Wi-Fi 6 but your phone or laptop only handles Wi-Fi 5, you won’t benefit from the latest features or speed improvements. The performance will match the slowest link in the chain. It’s not that the repeater is faulty — it’s that your devices can’t take advantage of it yet.

Try changing the router’s location

Before returning the repeater or blaming your provider, move your router to a better position and wait a few days. Walls, metal objects, and even furniture can block signals. A small shift in location could improve your whole network’s performance. Give it time before deciding whether to keep the repeater or not.