
Retrofuturism has become one of the most popular visual styles of 2025. The combination of nostalgia and technology has generated a quite recognizable aesthetic on social media platforms like TikTok and Instagram. If you want to recreate this aesthetic in your videos, today we will teach you how to do it by combining Adobe Premiere Pro and Adobe Firefly.
We will learn step by step how to create retrofuturistic Reels, without unnecessary complications or cumbersome processes.
What is retrofuturism?
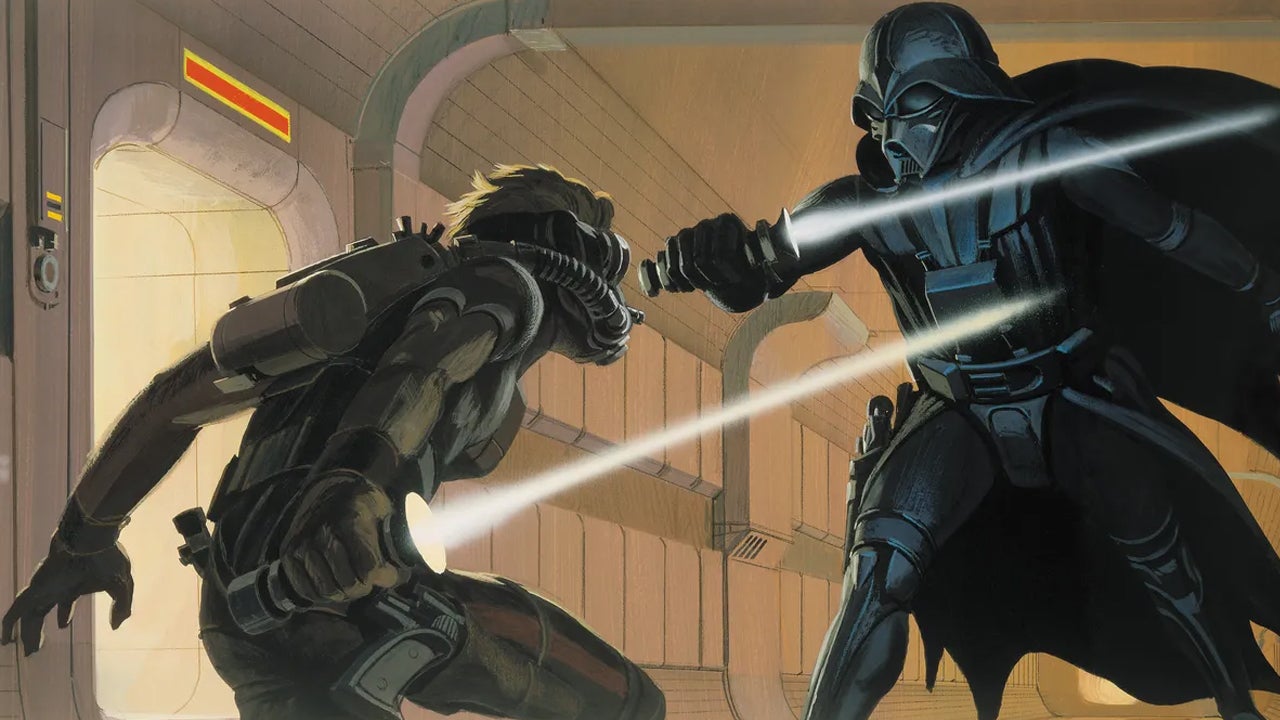
Retrofuturism is an aesthetic movement that looks at the future from the past. Essentially, it mixes old styles with futuristic ideas, which may seem strange to us today. A good example of this can be the Star Wars movies, especially the original trilogy. Despite being a universe with very advanced technologies (lightsabers, hyperdrives), its aesthetic can seem quite outdated.
Applied to social media, nostalgia is a very recurring element as it evokes memories (mostly happy ones), fits well with electronic music, and also works very well with fashion, technology, or gaming. Additionally, it benefits from generative AI, as we will see later.
Create a retro-futuristic reel
Before we get to work, make sure you have Adobe Premiere Pro installed and, of course, that you have access to Adobe Firefly. We will access the latter from a web browser, so you won’t have any issues there. Firefly is what we will use to generate images, backgrounds, and textures, while we will do the editing in Premiere Pro.
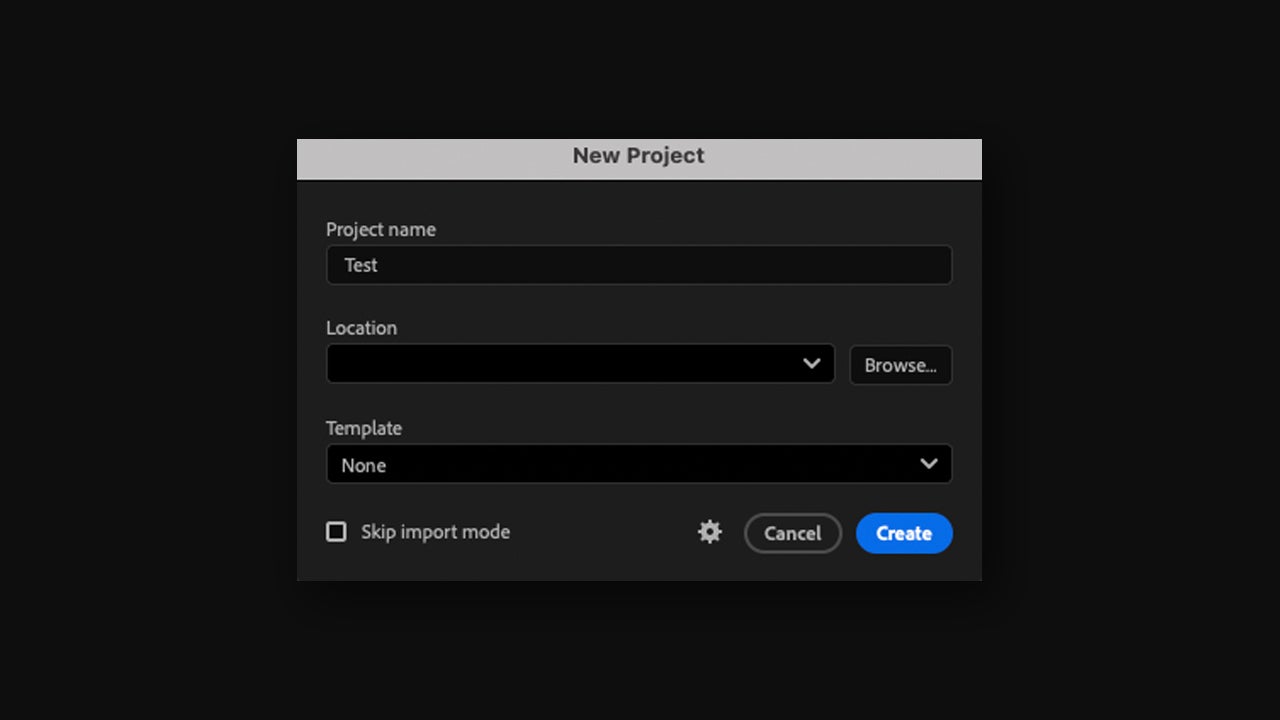
To start, we will create a new project in Adobe Premiere Pro from File > New > Project… From this window, type the project name and choose where you will save it. When you are done, click on Create.
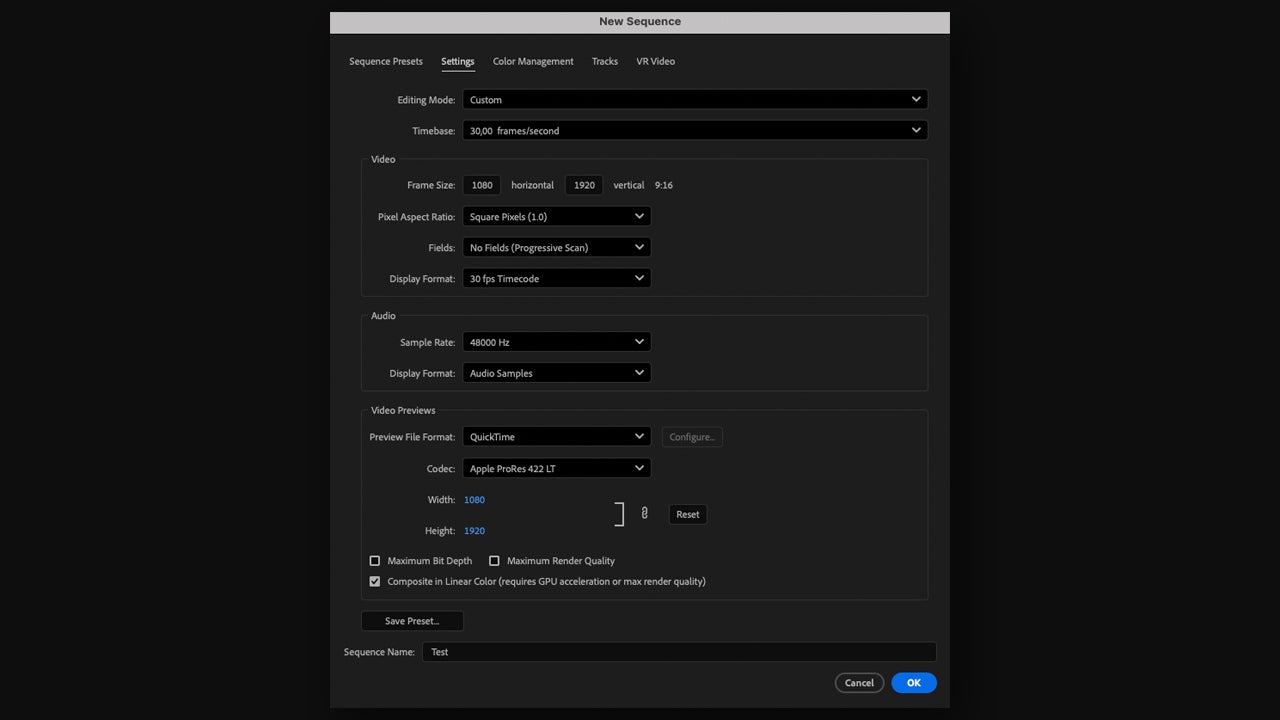
Now, choose the video or the image from which you will start to create your Reel from the Import tab. You can also go to File > New Sequence to create from scratch. From New Sequence, you can choose a preset already set for social media or set your own dimensions from Settings. For Instagram, for example, the ideal size would be 1080 x 1920 px with a frame rate of 24, 25, or 30 fps.
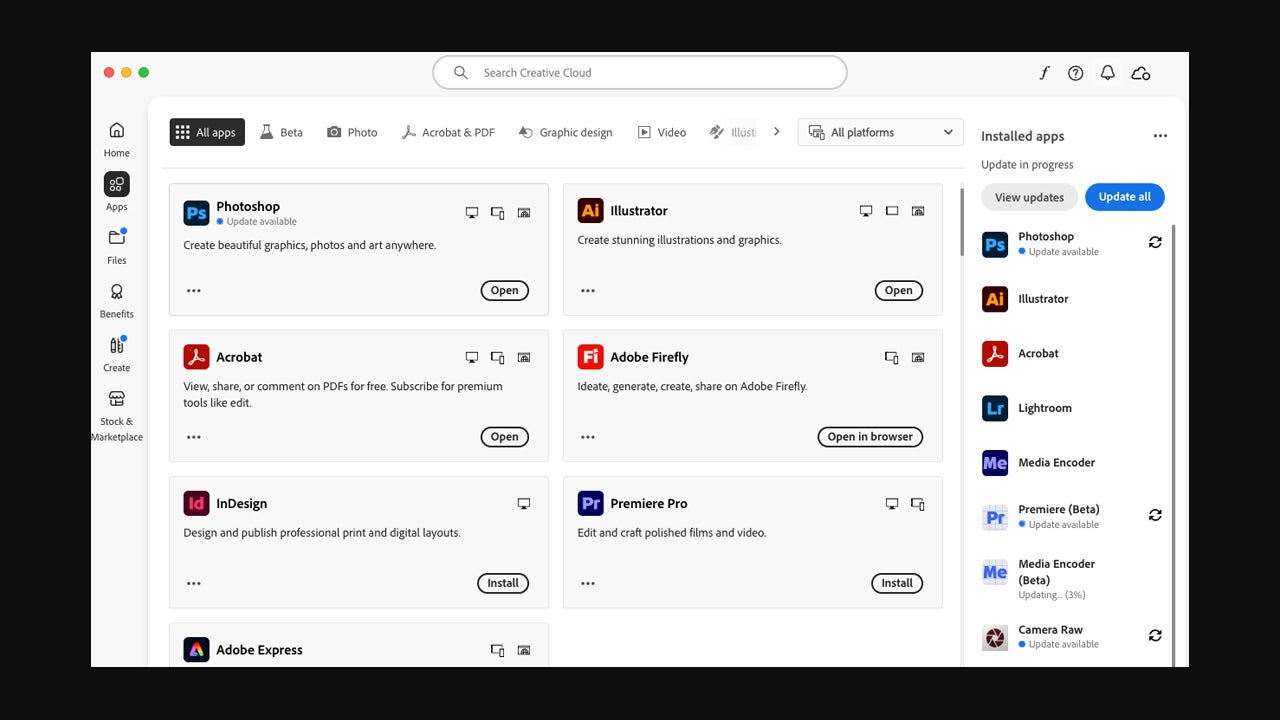
With everything already set, we head to Adobe Firefly. As we mentioned before, you can access it from the browser or by clicking on it within the Creative Cloud platform.
Within Adobe Firefly we have several options and all vary depending on what we want to do. To start, we can generate video or image. This option is changed within the text box where our prompt would also go. A little further to the right, you will see another tab from which you can change the generative model, choosing between different versions of Firefly and others from third parties (ChatGPT, Gemini, etc).

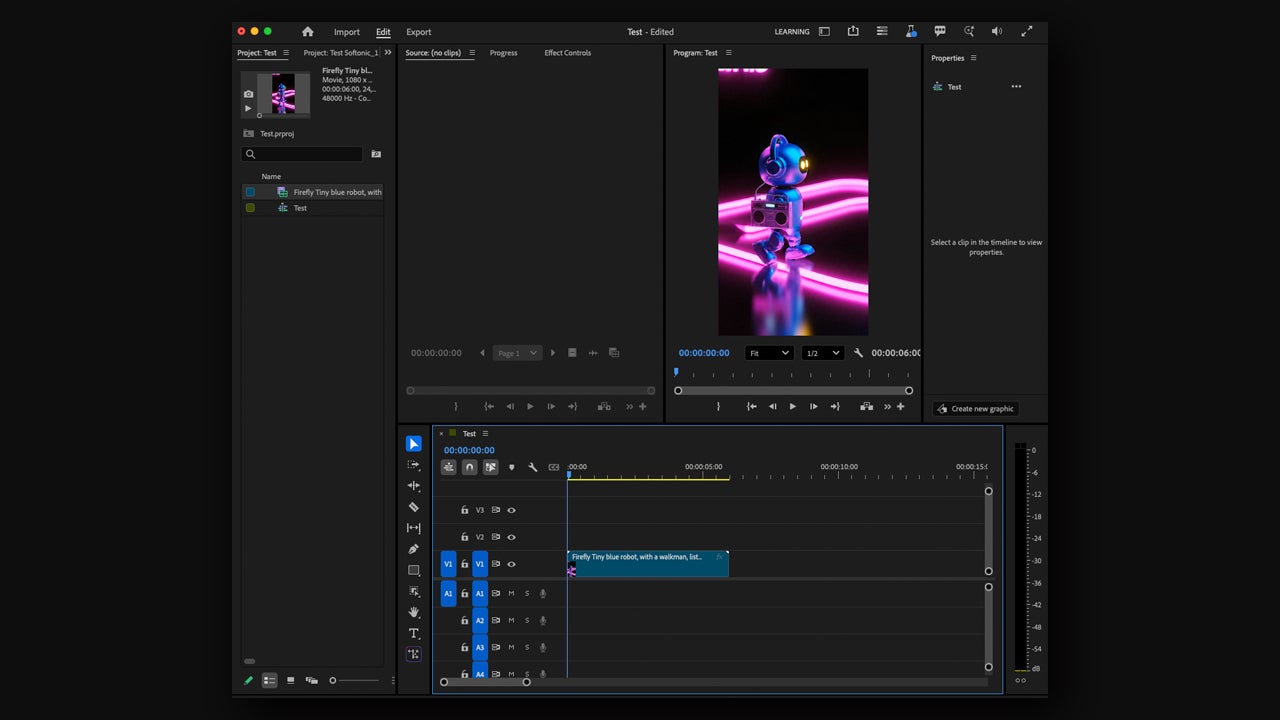
If you want to try creating a retro-futuristic image, try the following prompt: “retro-futuristic neon grid landscape, cyberpunk color palette, glowing horizon, 80s sci-fi aesthetic, high detail.” Generate several variations and save the ones that best fit your video idea. In this case, we generated a blue robot with the following prompt: “Tiny blue robot, with a walkman, listening to relaxing music, walking through a floor with pink neons in an endless loop.”
When you have finished with Adobe Firefly, go back to Premiere Pro. Import the assets you generated with Firefly and start building your composition. The most common way to import content is to drag and drop the file itself from the file explorer. You can also go to File > Import >Import… and select the content. Then, drag it to the timeline below.
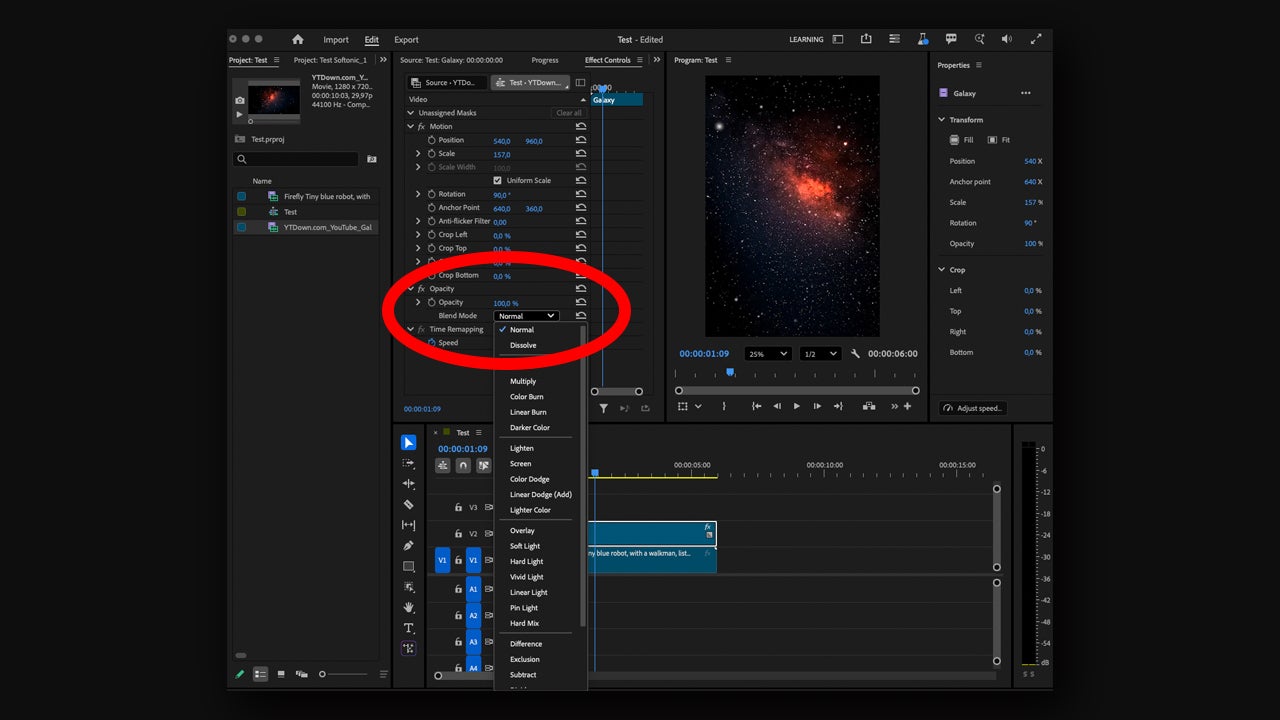
Here you can experiment with blend modes, like those in Photoshop, to integrate lights or particles. Drag a texture or video with particles to the timeline and then select Window > Effect Controls. In the Effect Controls panel, click on the arrow next to Opacity to access Blend Mode.
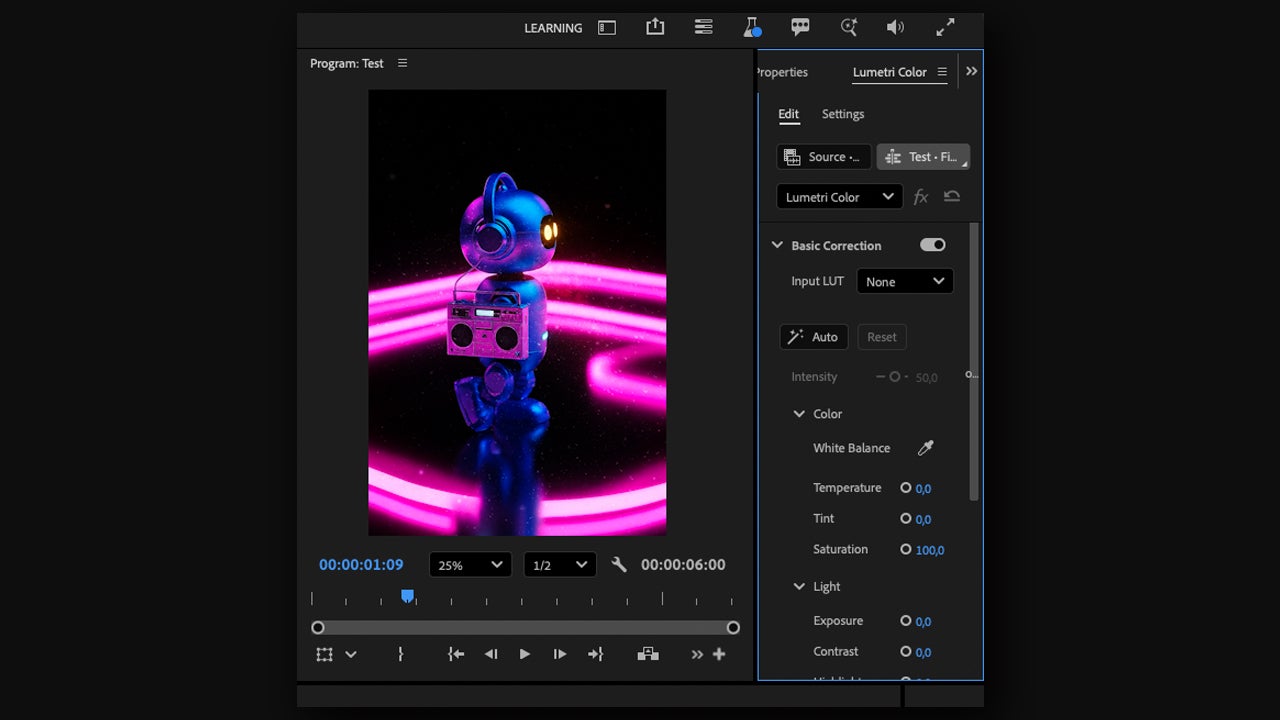
The color is also very important when it comes to hitting the retro-futuristic aesthetic. The world of color is quite complex, but on this occasion, it will suffice to know the essentials. Through the Basic Correction controls, we can generally correct and refine the clips of our video. Access it from Window > Lumetri Color and there, go to Basic Correction.
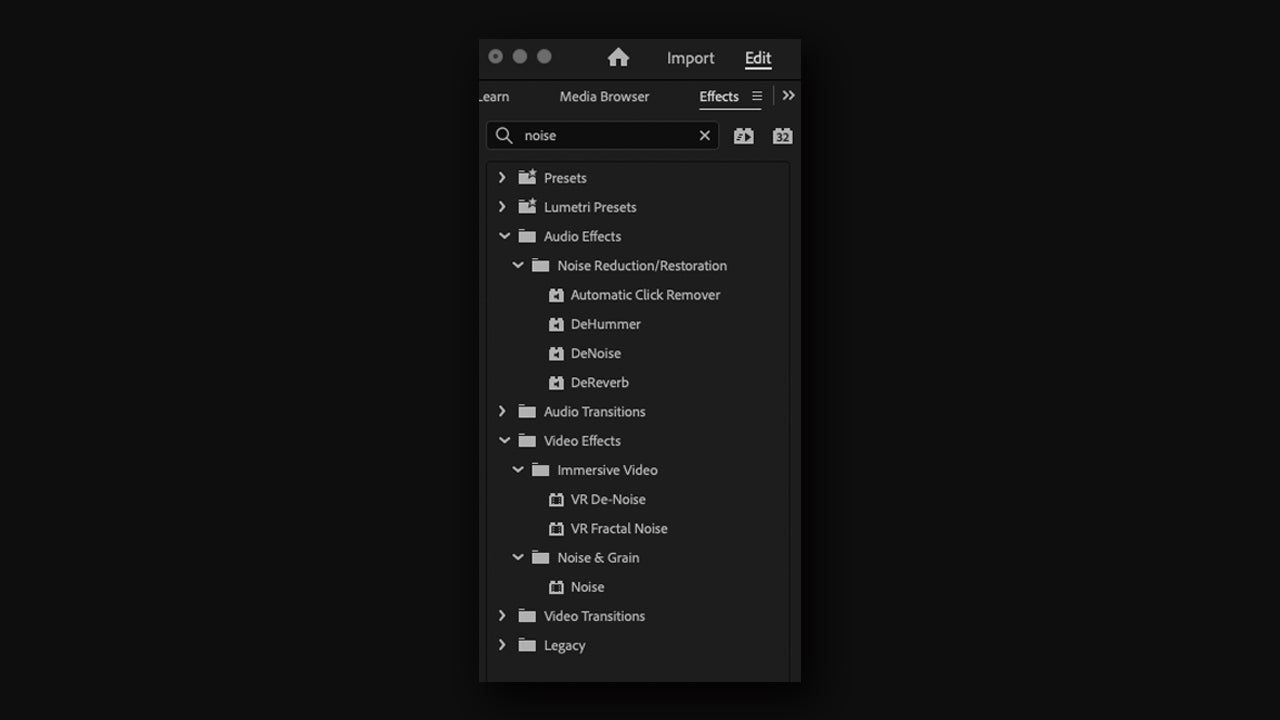
To bring more life to the set, you can add subtle effects like noise or VHS grain. To add noise, we go to Window > Effects and in the search box, we type Noise. Specifically, you will find this effect under Video Effects >> Noise & Grain.
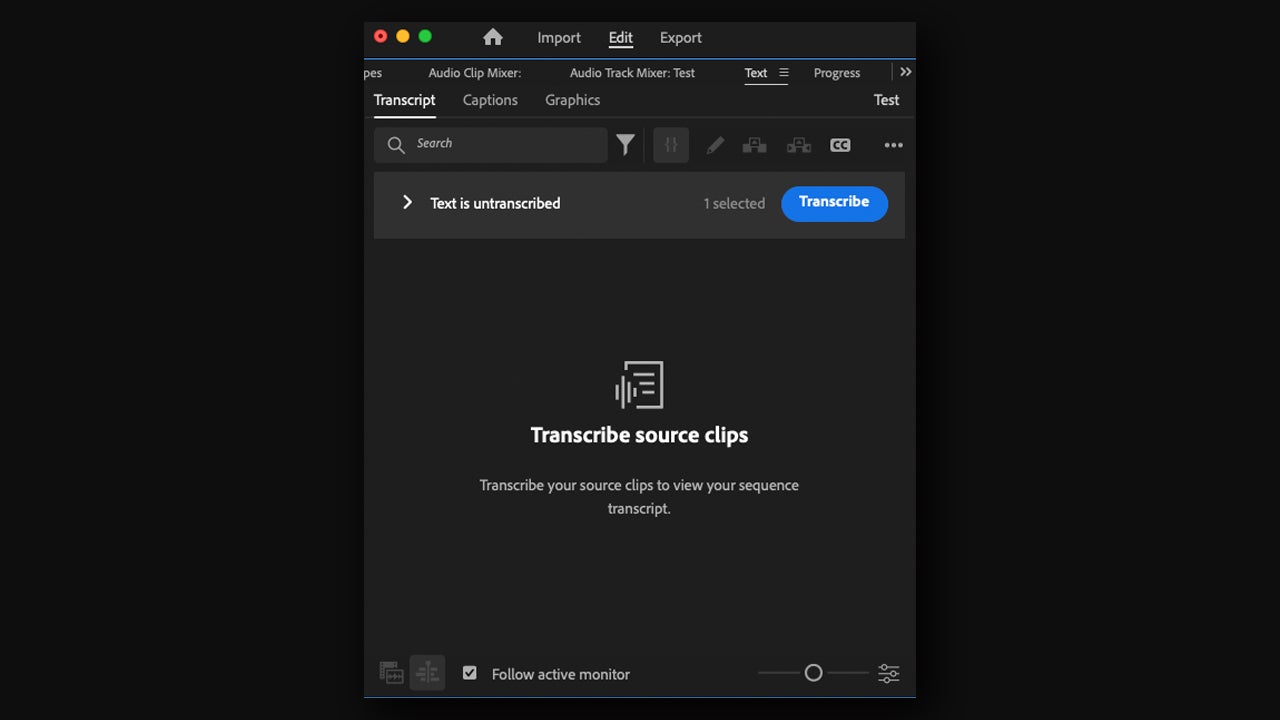
Depending on the style of video you are making, you can add subtitles. To insert automatic subtitles, click on Window > Text and access Transcript. From there, select the clip and click on Transcribe. From Caption, you can add the subtitles by selecting Create captions from transcript.
Retrofuturism, a good starting point for creating content in 2025
All these tips and steps will help you create your own content, whether following the theme of retrofuturism or exploring other ideas. Combine Adobe Firefly to create visual assets and Adobe Premiere Pro to edit, animate, and essentially shape your videos for social media. Remember that AI can be your ally to amplify your creativity.