
Photoshop adds new options. If you have already updated to the April version, you can try two quite interesting features, Rotate Object and Reflection Removal. If at any point you designed a scene and thought “I wish I could rotate this object a bit,” Rotate Object is what you needed.
On the other hand, with Reflection Removal we can wipe out all the reflections from the glasses in one go and leave the images completely sharp. To find out how to apply each of these functions, stay with us a little longer: it’s much easier than it seems.
Rotate Object: this is how it works
Rotate Object is undoubtedly one of the most striking (and probably useful) features that have been included in the latest updates of Adobe Photoshop. As its name suggests, it allows you to rotate and tilt objects in different perspectives.
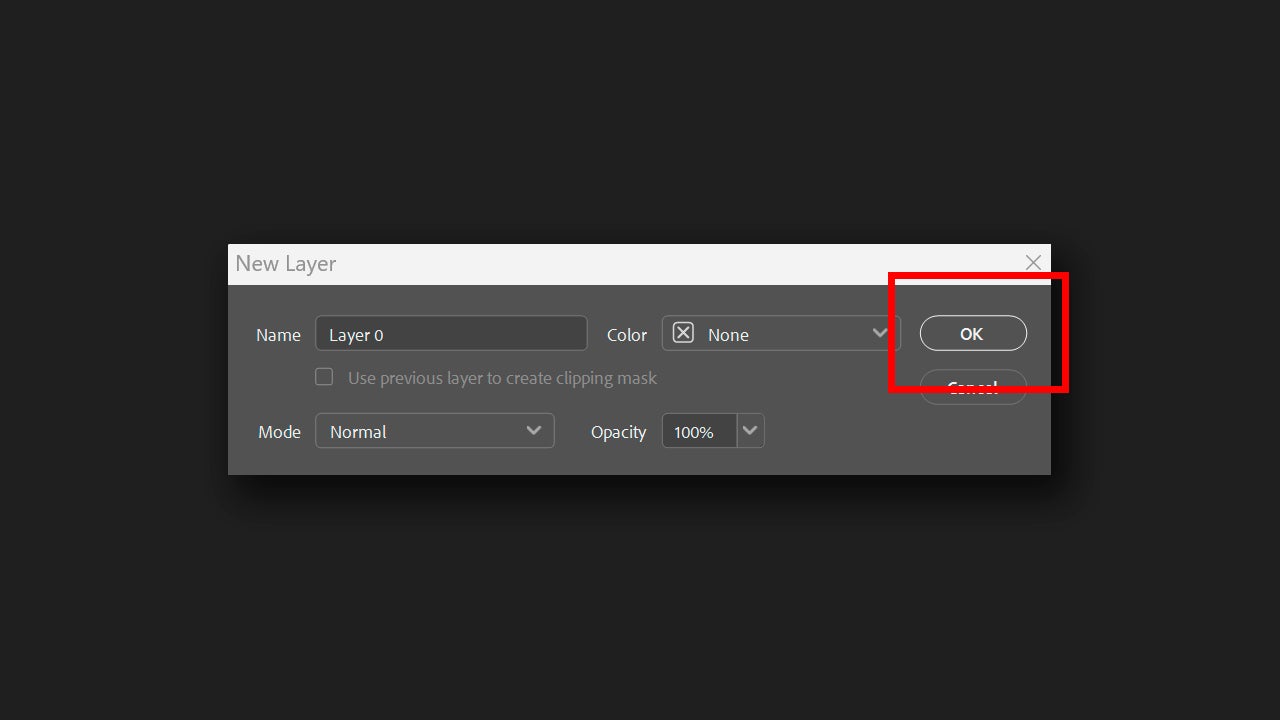
To use it, first open the image you want to rotate or the project where the object you want to rotate is located. Now, select the layer (of pixels, mind you) that contains the object. If you have opened a JPG directly in Photoshop, it is most likely that this layer is locked. To unlock it, double-click on it and in the panel that appears, rename the layer (if you want) and click on OK.
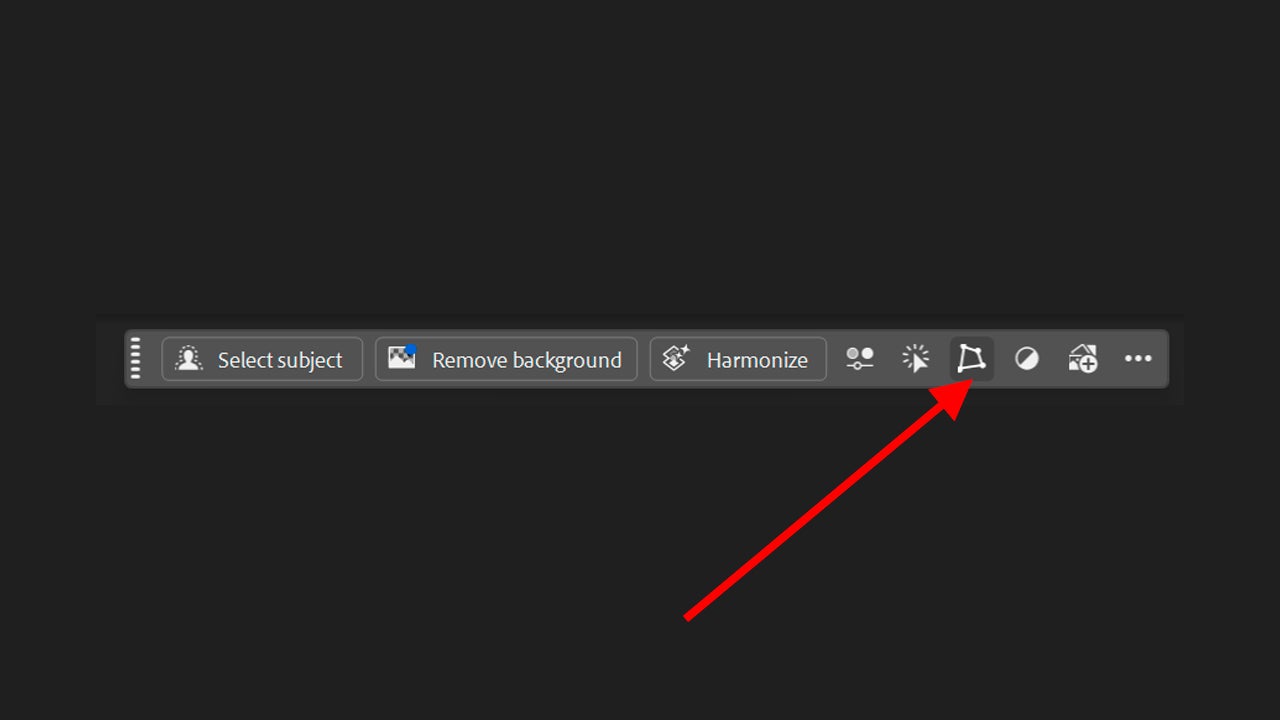
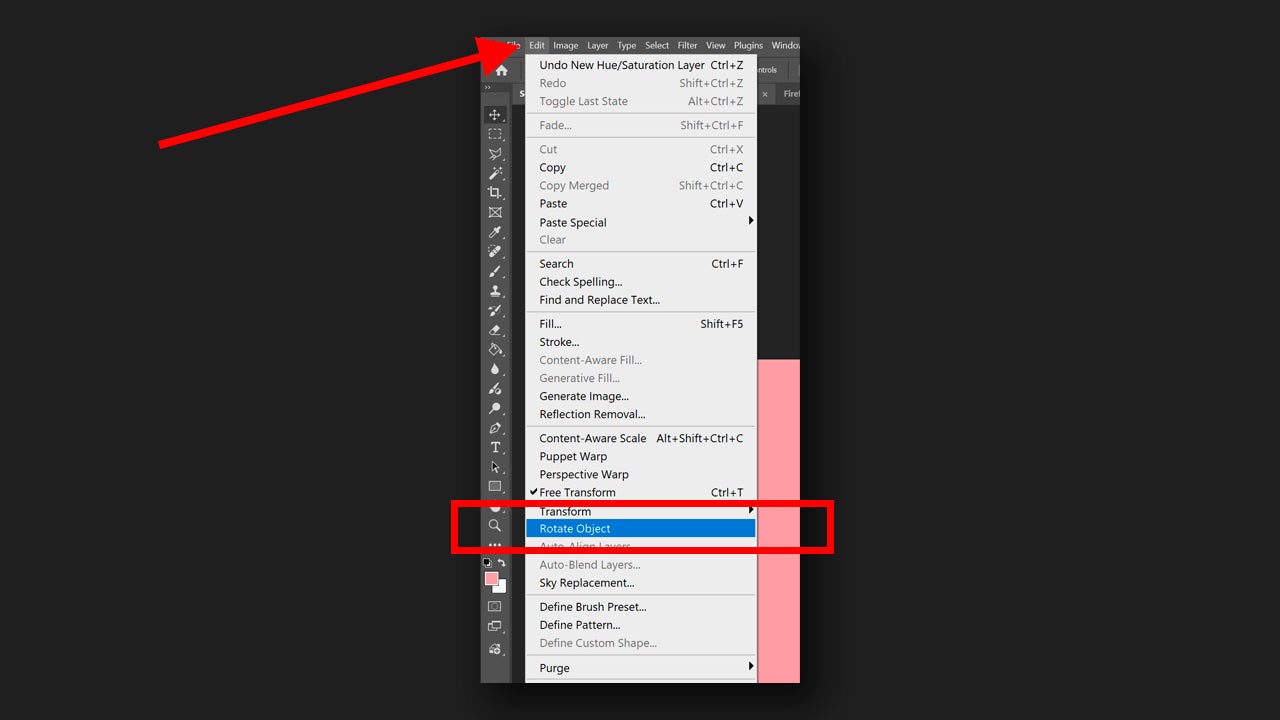
With the layer selected, go to Edit > Rotate Object. You can also do this from the floating menu that appears when selecting a layer (if you don’t see it, go to Window > Contextual Task Bar). From there, you will need to select the icon for Transform Image > Rotate Object.
Let Adobe Photoshop analyze the image and prepare it for rotation. When the process is complete, you will see how the resolution decreases, but it is only temporary so you can rotate the object freely. Use the Rotate and Tilt controls to turn the image in the direction you want. If you want to be even more precise, you can go to the properties panel (Window > Properties) and even enter the degrees of tilt.
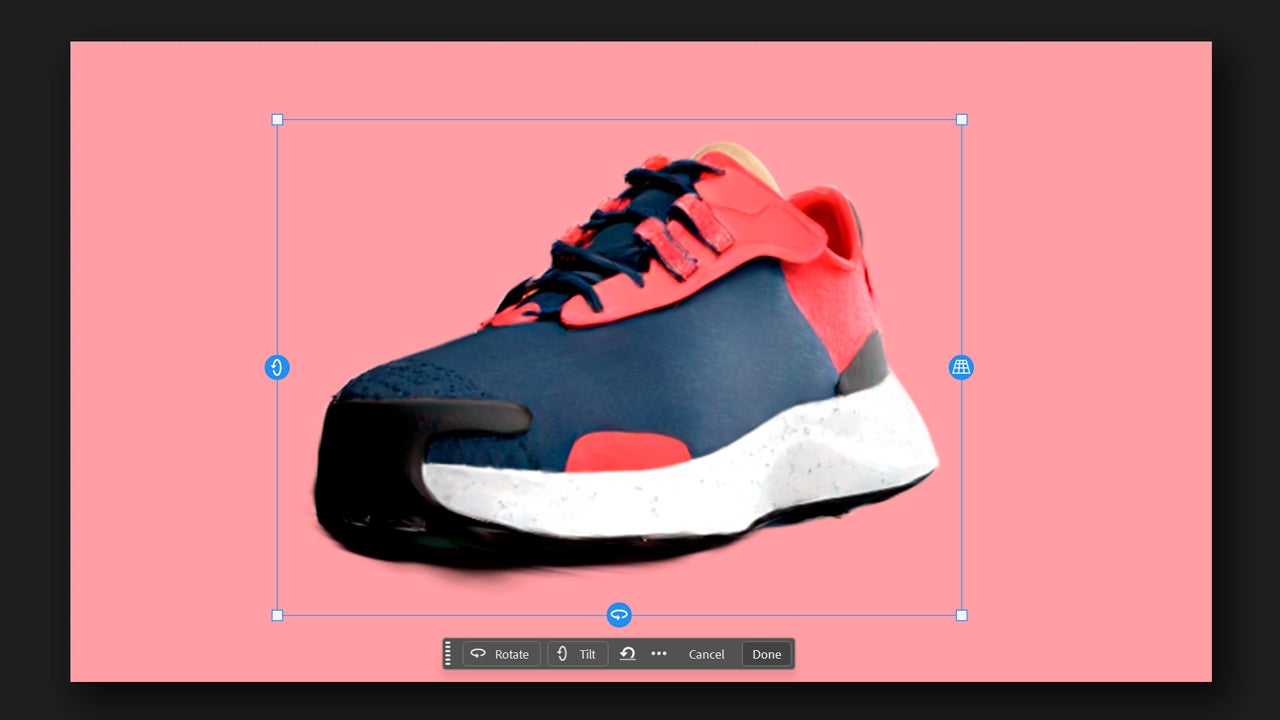
When you finish, click on Done. A new additional layer will be created with the modified object and the original, untouched, will remain in a separate layer.
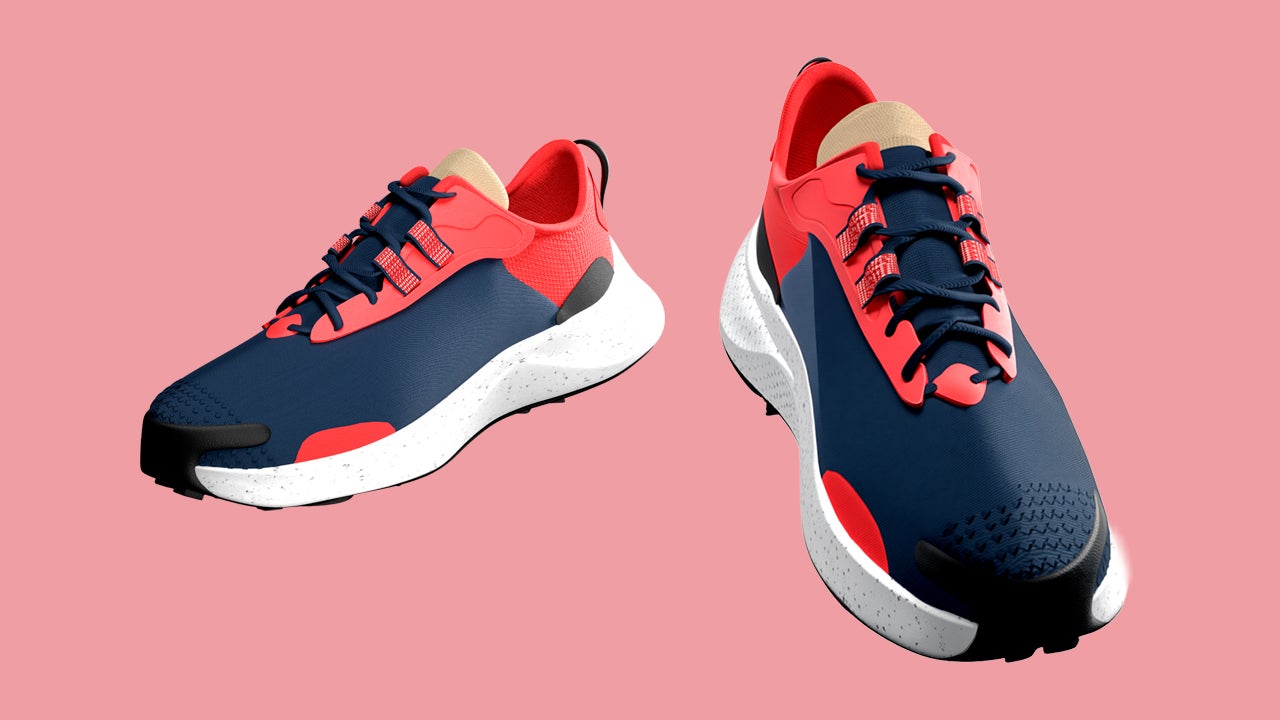
Here you have to keep in mind that the more complex the structure of the object is, the worse the results will be. Rotate Object works best with objects that have a clear and recognizable shape, so keep that in mind when using it in your projects.
Reflection Removal
Now let’s detail how Reflection Removal works, designed to eliminate reflections. If you have photographed someone or something that is behind glass, for example, with Reflection Removal you will completely remove any trace of reflection.

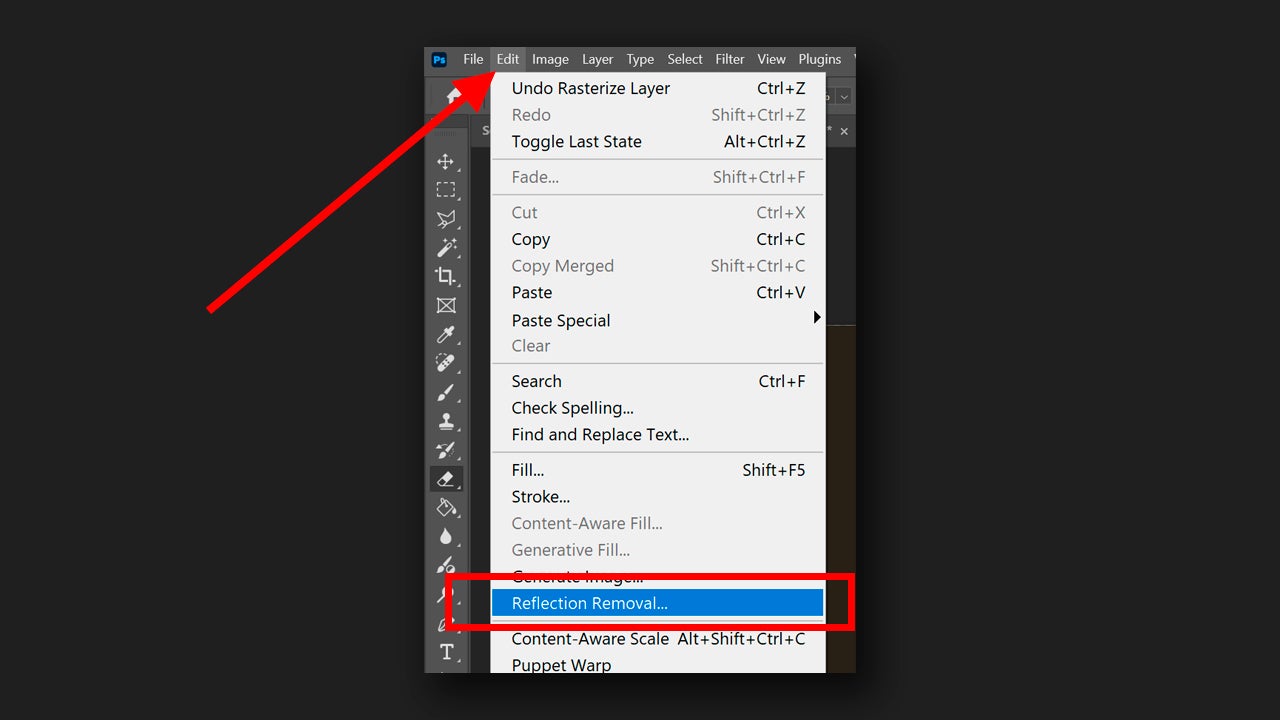
To begin, open your image in Photoshop and select the layer that contains the reflection. Remember that the layer must be rasterized; if you want to be completely sure, you can go to the layer, right-click and select Rasterize Layer Style. Next, look for Edit > Remove Reflection.
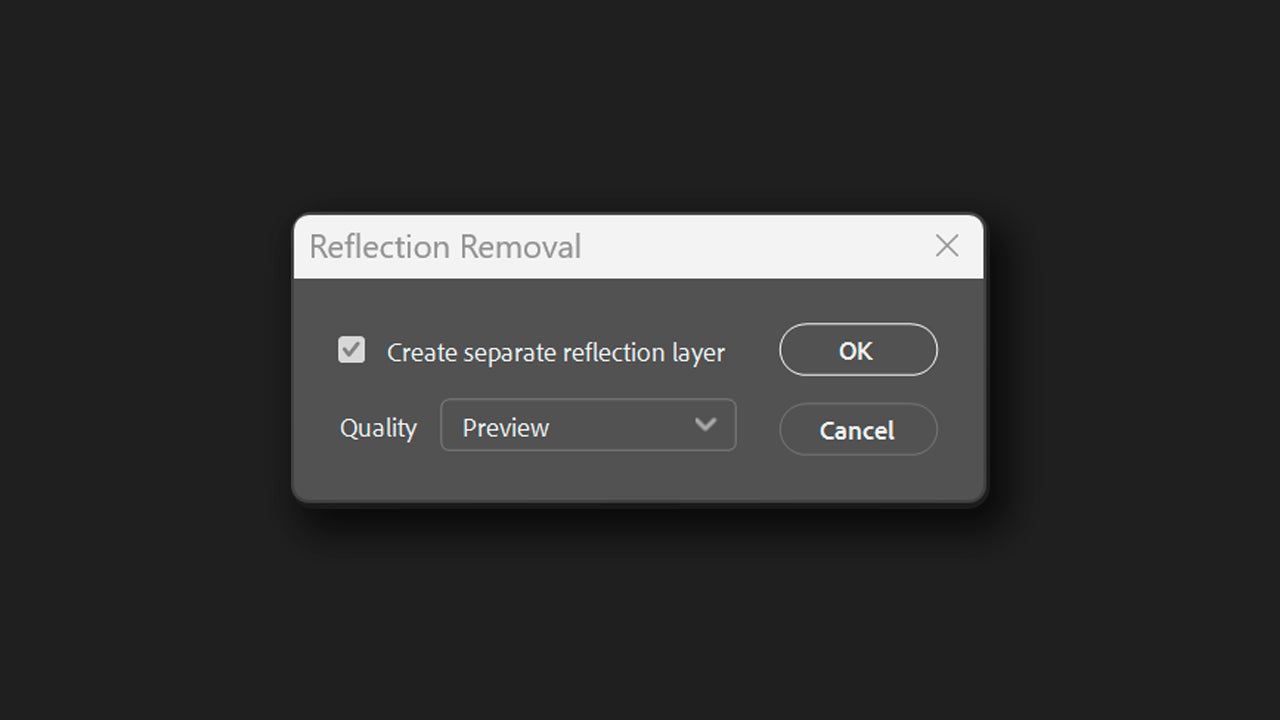
When you click on Reflection Removal, a series of options will appear. First, you have the option to activate Create separate reflection layer, which is exactly for that: to have the reflection on a separate layer. In Quality, you can choose from several quality options, which are Preview, Standard, and Best. Choose according to your preferences and click on OK to make the changes.
Adobe Firefly, the technology behind all AI features
If you’ve ever wondered how these options work and what lies behind them, the answer is as follows: Adobe Firefly. It is a family of generative artificial intelligence models, designed to create and transform content from written descriptions.
The functions we have described before and many others within Adobe Photoshop, such as Generative Fill, use Firefly. The main goal is for them to serve as support tools so that you can streamline many processes that could have taken you hours before.
If you’re curious and not yet an Adobe user, you’re in luck; you have a 7-day free trial available for any of Adobe’s most well-known programs, such as Photoshop, Illustrator, Premiere Pro, etc. To use it, you just need to go to the official Adobe website and click on the program you want to try, Adobe will guide you from there with the steps to follow.