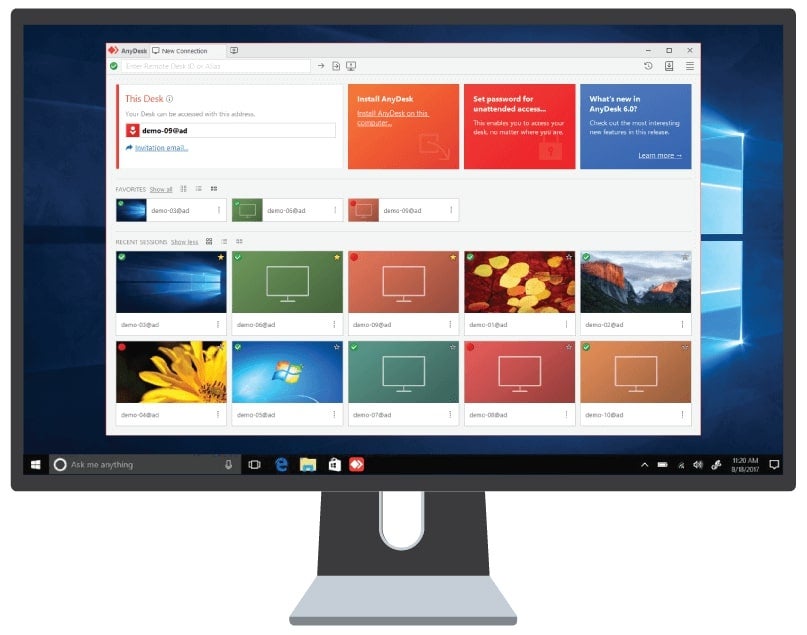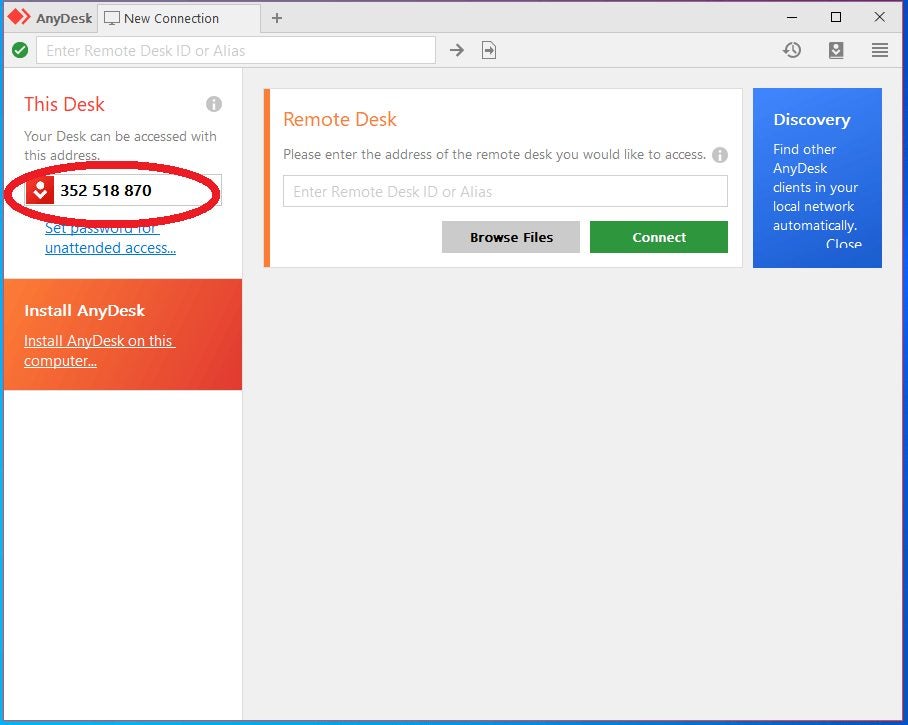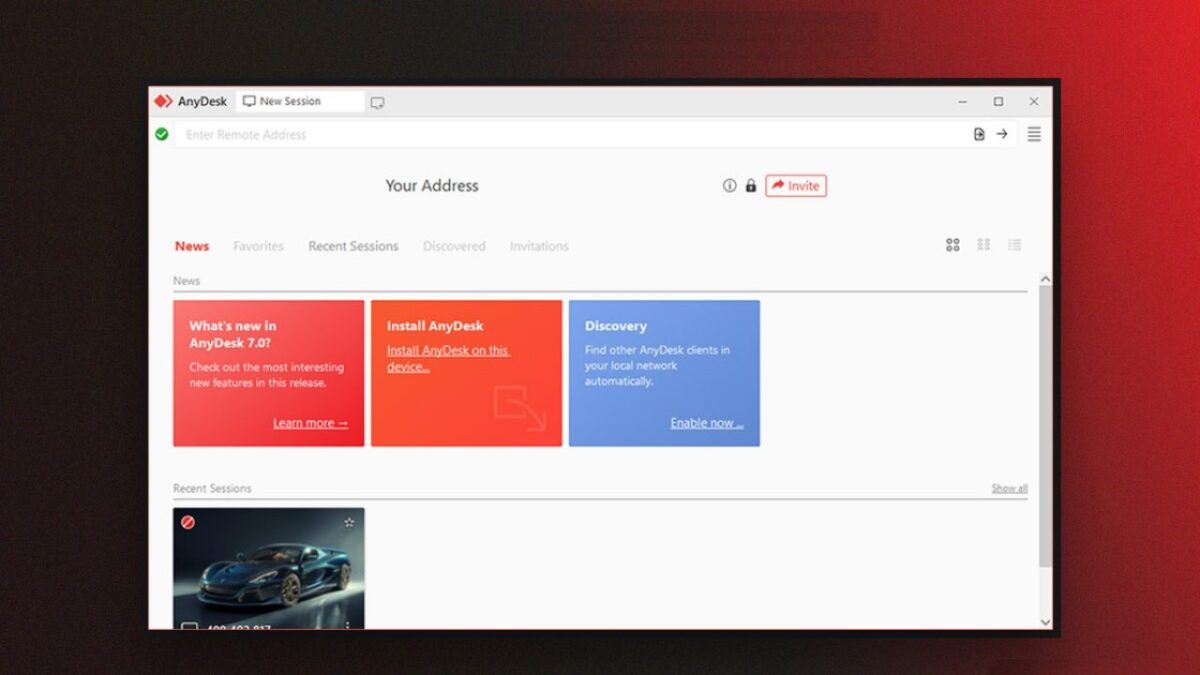
AnyDesk remains a popular remote desktop application that allows you to gain access and control over another computer remotely and record your sessions. This is great as these recordings can be used for various things, such as training support staff on fixing specific issues remotely.
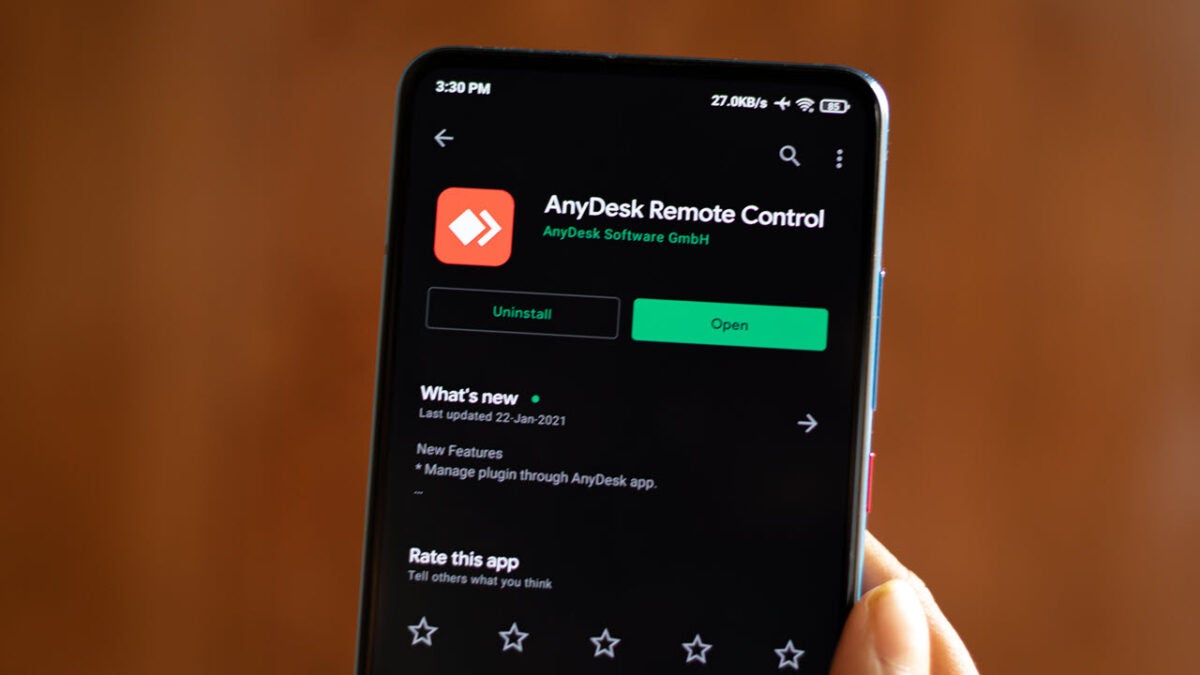
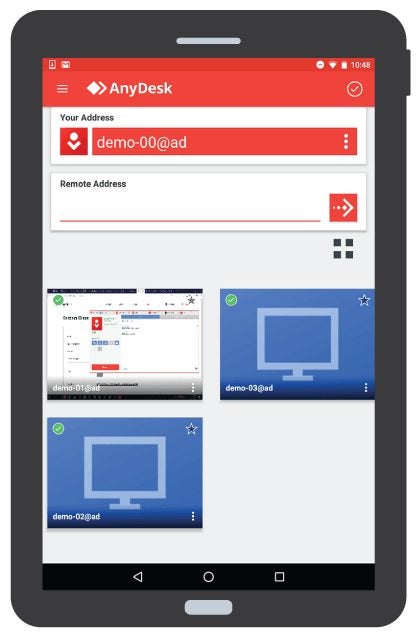
You can download AnyDesk can be used cross-platform on Windows, Mac, iPhone, and Android devices, making it ideal for support services. But, how do you convert a recorded session to another file format?
Issues with converting AnyDesk session recordings
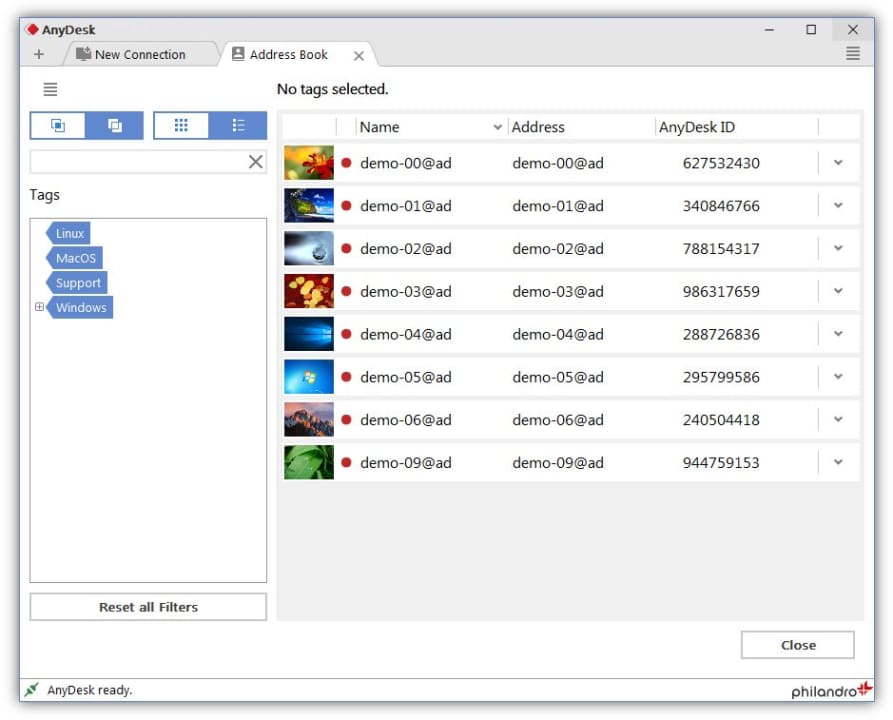
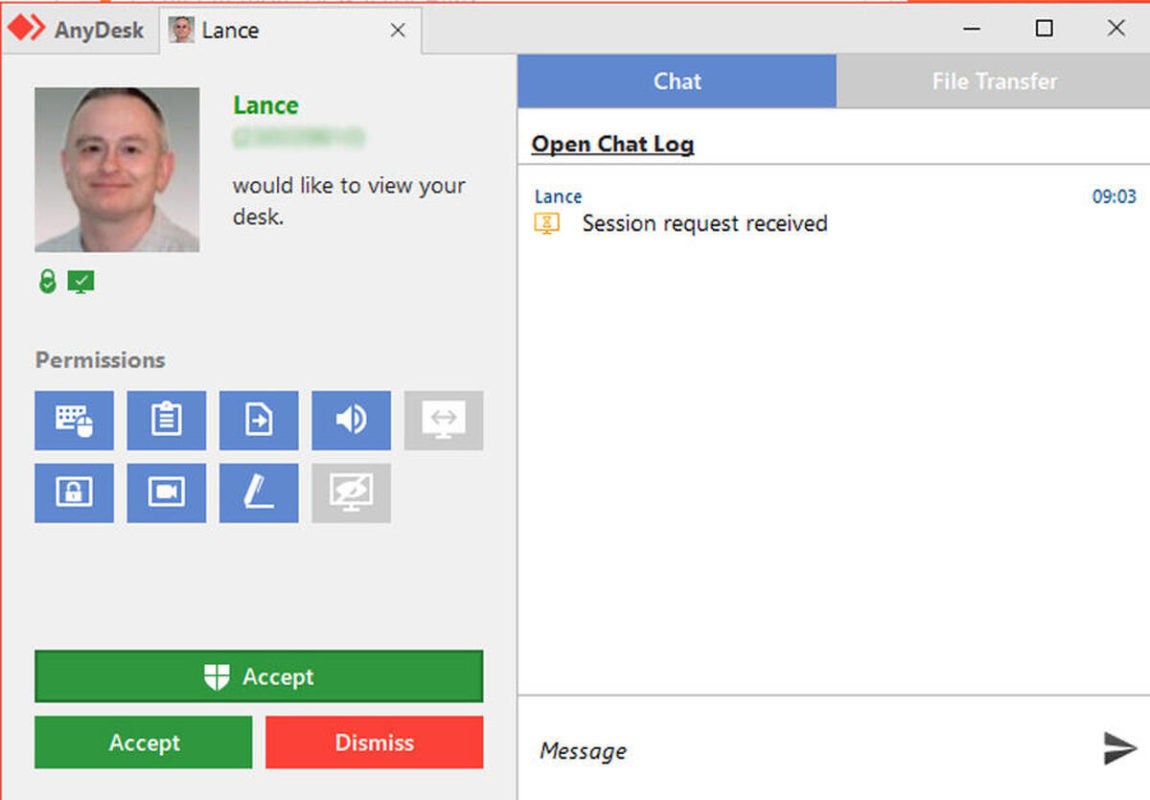
AnyDesk is able to record any session from both ends of the connection automatically. This is extremely useful if you work in the support industry and need to keep a log of your sessions or to use it for training. However, one problem is that the program only records these sessions in its native file format .ANYDESK.
Unfortunately, this limits users to only being able to watch recordings in the AnyDesk player, and most other players will show an error when trying to play the file. So, if a client requests a copy of the session recording, and you send a file with the .ANYDESK extension, chances are they won’t be able to watch it easily.
Another issue is that AnyDesk doesn’t have a built-in feature to convert the recordings file format to something more universally acceptable, such as MP3. This means users will need to make use of third-party software in order to convert the file format.
How to convert a recorded AnyDesk session?
Despite having to use third-party software, the process to convert a recorded AnyDesk session is still fairly easy.
Download a Video Converter
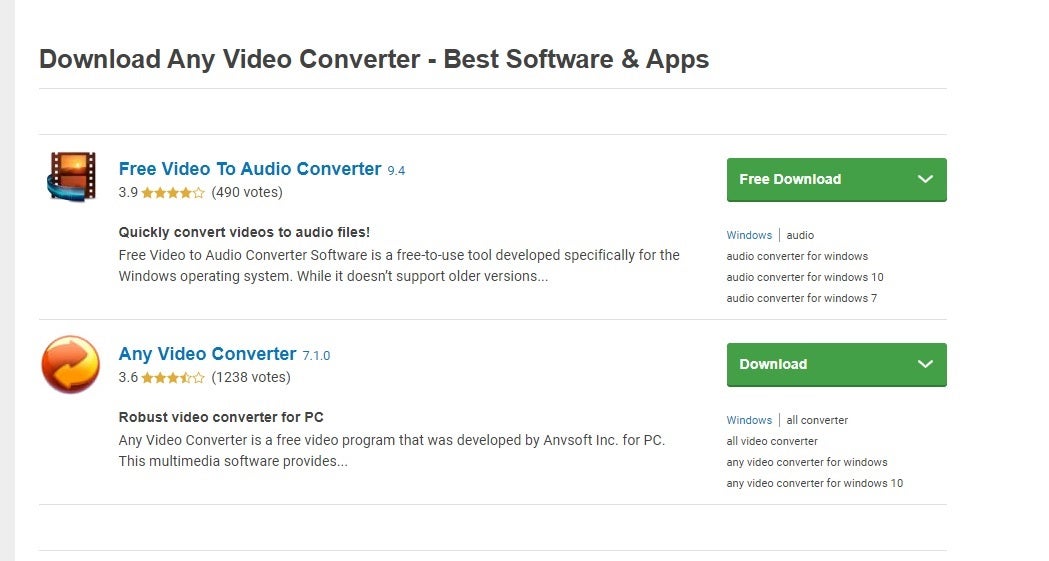
You will have to download a video converter as AnyDesk does not have the option to convert recordings or save them in another format. You can search our website here for some options. Always make sure that you use a reputable site when downloading programs.
Before you download one of the suggested converters, always ensure that it supports AnyDesk sessions records. Take a look at which formats the converter supports, and check it against the saved file extension. You can also ready up reviews for the program to see if anyone else has successfully used it for the same purpose.
Install the Video Converter

Next, you will need to install the video converter. You can do this by running the executable files from the program you downloaded and following the installation wizard prompts. In most cases, this should run smoothly, and you only need to select a few options.
One of these options may be to indicate the storage location on your PC or an external hard drive. Remember, if you choose the latter, you won’t be able to use the converter if you remove the external device or it becomes corrupt. You can also create a shortcut to your desktop for easy access.
Upload Your AnyDesk Recording
Launch the video converter to start converting your AnyDesk recordings. Upload your AnyDesk recording to the open file converter. You can find your recordings under “Session” and then “Recordings” in your AnyDesk folder. Choose which format you would like to convert your AnyDesk recording to, such as mp4 or avi. They are usually both good options as they are universally accepted by most media players. Now start the conversion process. Wait while the session recording is being converted.
If you don’t see the option to select the AnyDesk file, that means that the video converter you selected isn’t compatible with the format. When this happens, you’ll have to go back to step 1 and try with a different program. It’s best to only use free apps so that you don’t waste any money while trying to work out which is the best one.
When you succeed in converting your video, you can now watch it on any platform or share it with your colleague or meeting members. As a general rule, you can only watch AnyDesk videos on AnyDesk, so converting it for someone else is essential.
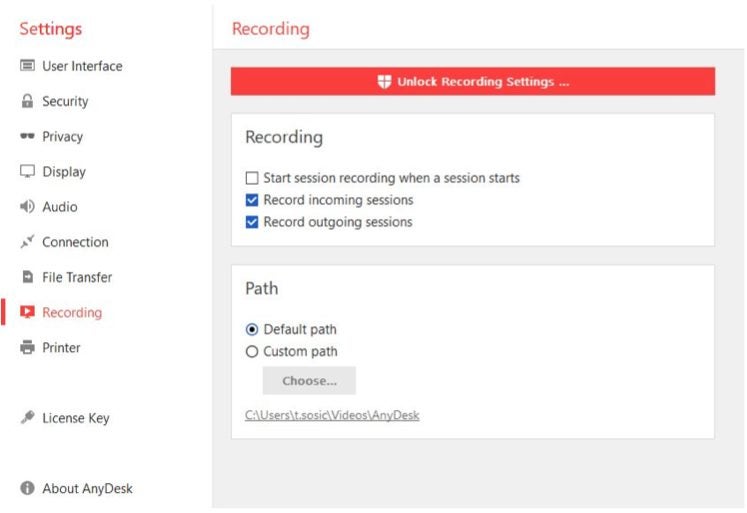
Changing session recording settings
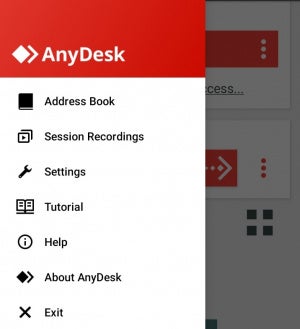
You can change the default settings to start a recording as soon as a session starts, or only record when they are incoming or outgoing sessions. If you prefer to keep it off by default, you can just hit the record button found in the AnyDesk toolbar, when you want to start during an active session.
You’ll also need to keep tabs on how much storage space the videos are taking up and delete a few that aren’t needed or look at either cloud or storage backups if you’re required to log recordings for work purposes.
Convert Your Recordings and Watch Them Anywhere
Converting your recordings is an easy process when using a reliable file converter and will allow you to send and watch these recordings anywhere and through most media players. No more struggling with your recordings not playing as the file format isn’t supported.
Remember, you can find your AnyDesk recordings under “Session” and then “Recordings” in your AnyDesk folder. You can change the default settings to start a recording as soon as a session starts, or only record when they are incoming or outgoing sessions.
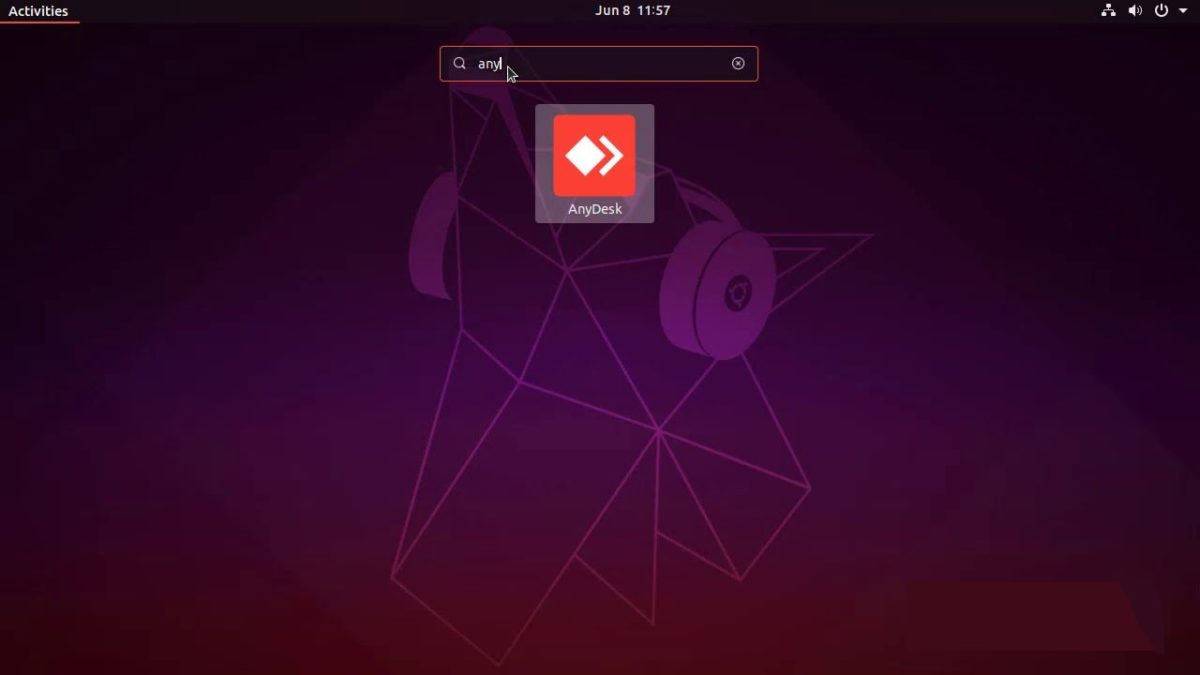
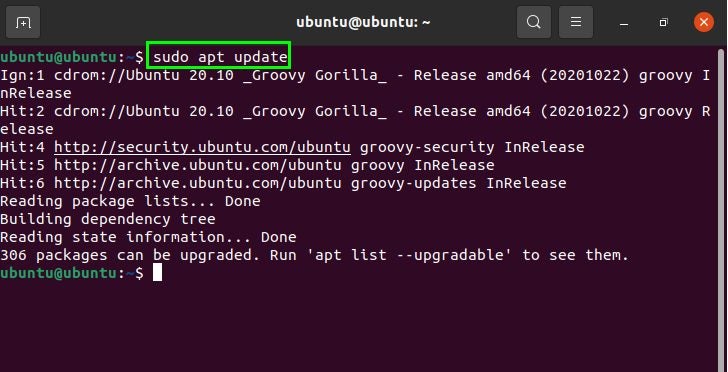
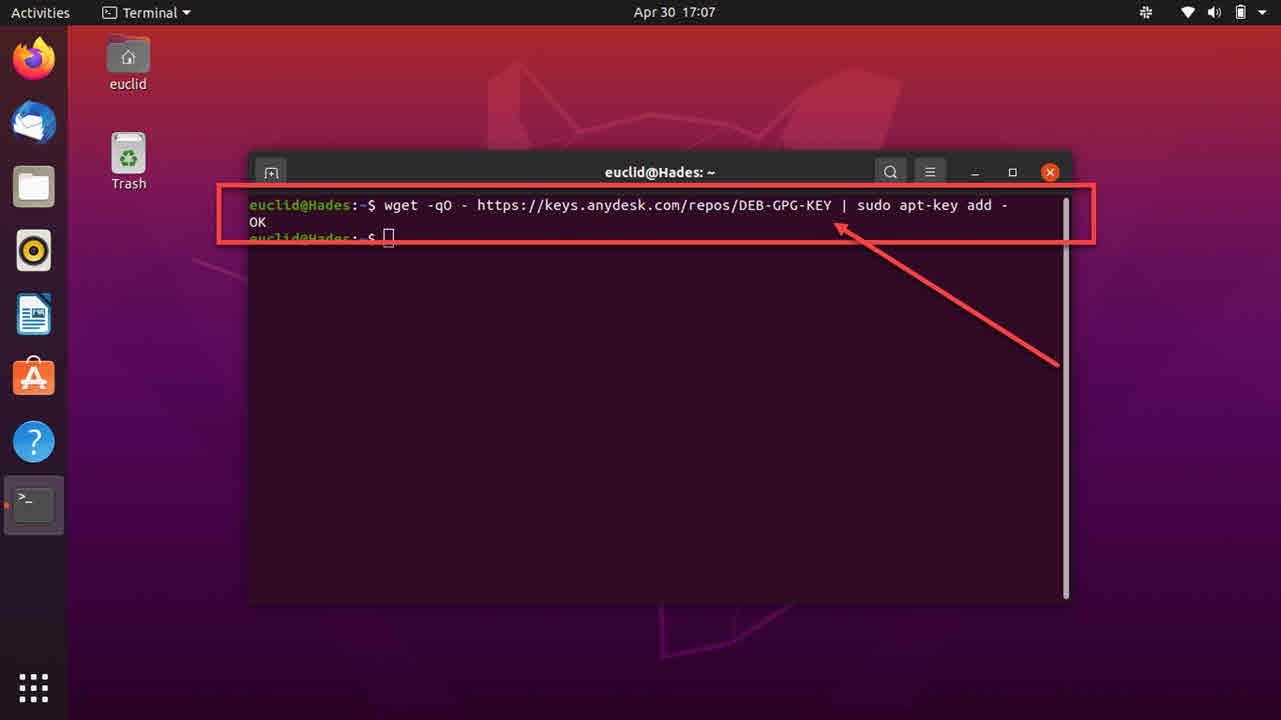
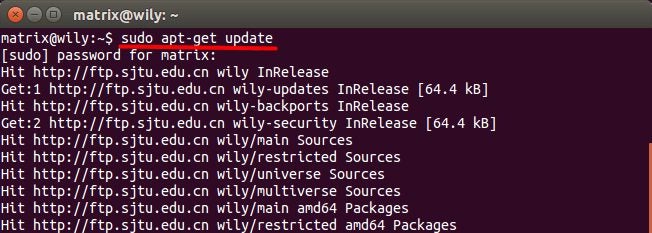
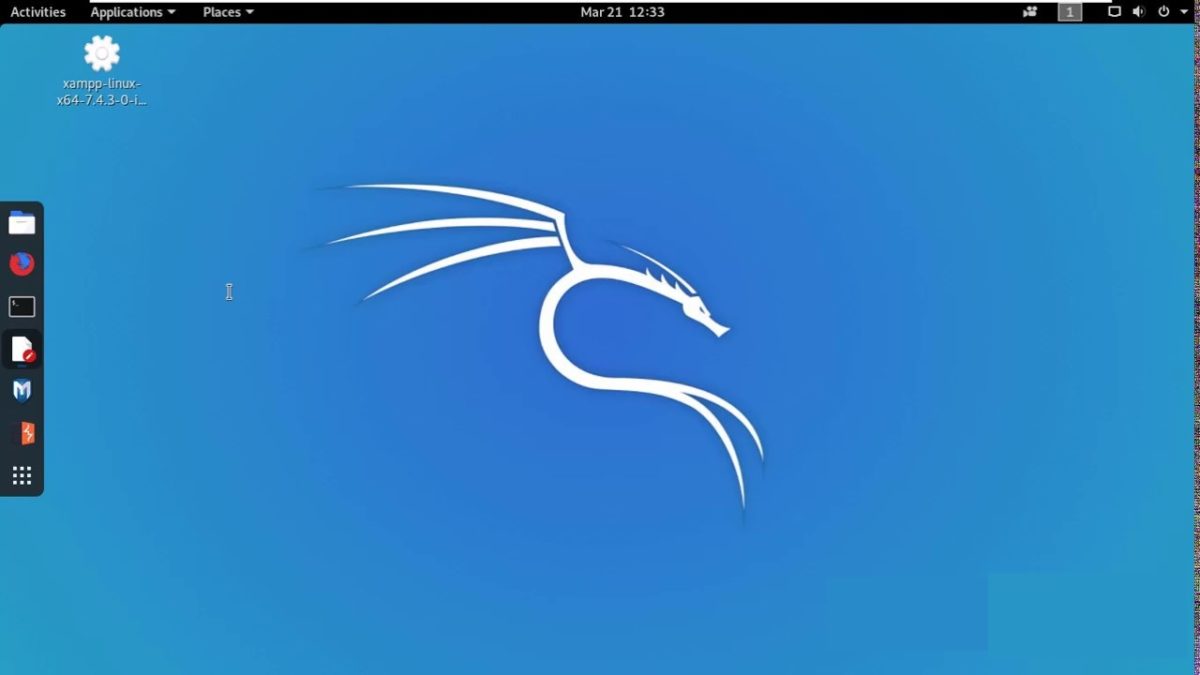
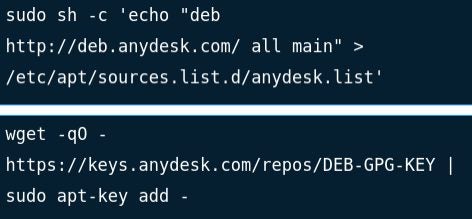
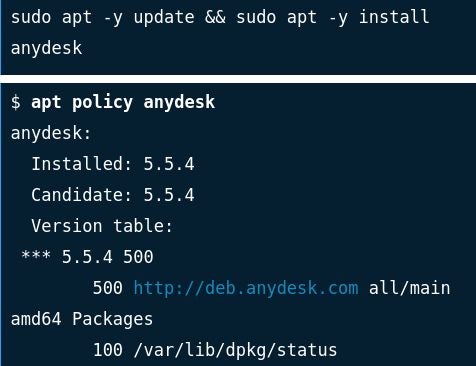
While the program works quite well on Windows, you can also install AnyDesk on Ubuntu or put AnyDesk on a Kali device. Also, remember to keep the app updated so it can always function properly.