In a world increasingly dominated by technology, the ability to visualize projects and models in three dimensions has transformed numerous industries, from architecture to industrial design, and has also reached the general public. AutoCAD, a pioneering tool in the field of computer-aided design, has consistently evolved to meet these new demands. This tool has the capability to transform ideas into 3D models for augmented reality in record time: just one hour.
Understanding Augmented Reality
Augmented Reality is a technology that overlays digital information on the real world, thus creating an interactive visual experience that combines both elements in real time. Unlike virtual reality, which creates a completely artificial environment, Augmented Reality adds layers of visual information to our natural environment, allowing for a unique integration of digital information into physical space.
The application of Augmented Reality has been seen in multiple sectors such as entertainment, education, medicine, and notably, in design and engineering. In the context of these technical fields, Augmented Reality offers a valuable tool for visualizing projects and objects in their intended environments, thereby allowing adjustments and improvements in real time and in a much more intuitive way.
In the educational sector, for example, Augmented Reality can transform a traditional class into an interactive experience where students can explore anatomical models, historical reconstructions, or complex chemical structures overlaid in the classroom.
Augmented Reality not only facilitates the visualization of complex information but also enhances communication and collaboration in design projects. Engineers and architects, for example, can overlay CAD models of a part or structure directly at its future location, allowing all involved to visualize the final outcome before construction or manufacturing begins. This reduces misunderstandings, simplifies communication, and improves project efficiency.
The Role of AutoCAD in Augmented Reality
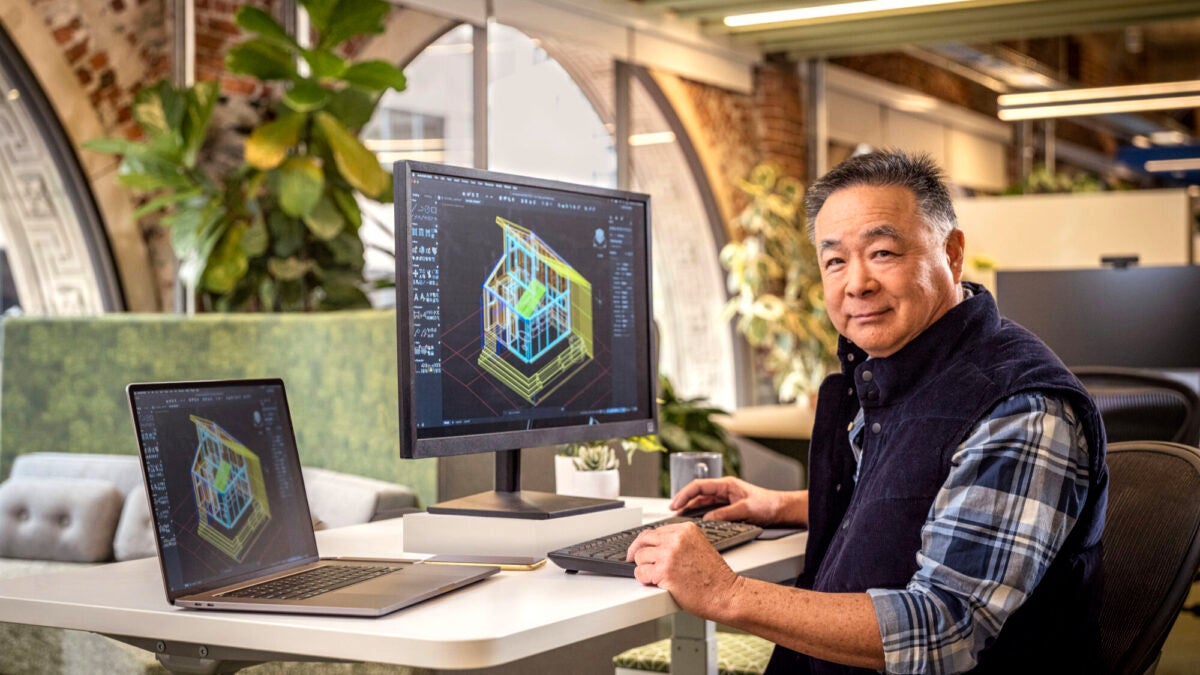
AutoCAD, developed by Autodesk, has been a benchmark in computer-aided design (CAD) since its launch in 1982. Known primarily for its capabilities in technical design, 2D drawing, and 3D modeling, AutoCAD has evolved to integrate the latest technologies, including augmented reality.

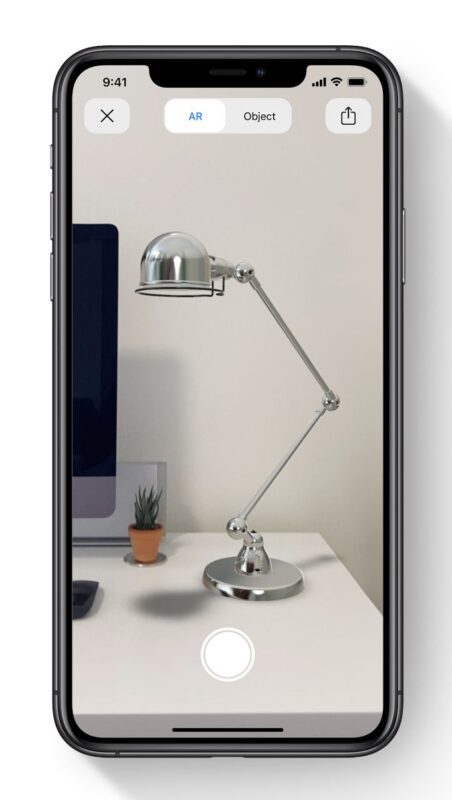
With AutoCAD, we can export models directly to AR applications, making design reviews more efficient and collaborative. For instance, an architect can take a 3D model of a proposed building to the construction site and, through an AR device, overlay the model onto the actual terrain. In a more domestic setting, we can design a customized decoration for a lamp, for example, and see how it will look on our desk. Trying different colors, altering some aspects of the design or size, and getting a clear and concise idea of the final product.
Beyond the spatial validation of the design, these types of projects, from the largest to the smallest, often involve people from different disciplines and with varied levels of technical understanding. An Augmented Reality device allows anyone to jointly visualize the design, facilitating a common understanding. Without errors, without lengthy explanations, an Augmented Reality model is worth a thousand words.
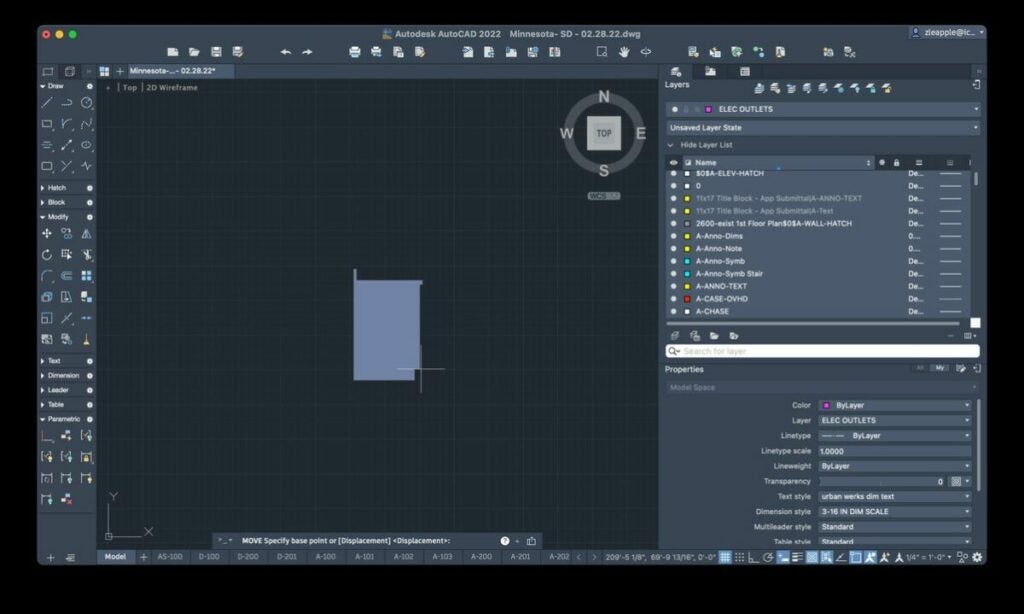
Step 1: From Idea to Paper (or Screen)
The design process in AutoCAD begins with an idea, which is translated into a precise technical drawing or conceptual sketch. This is the first step where we lay the foundations of what will eventually become a complete 3D model.

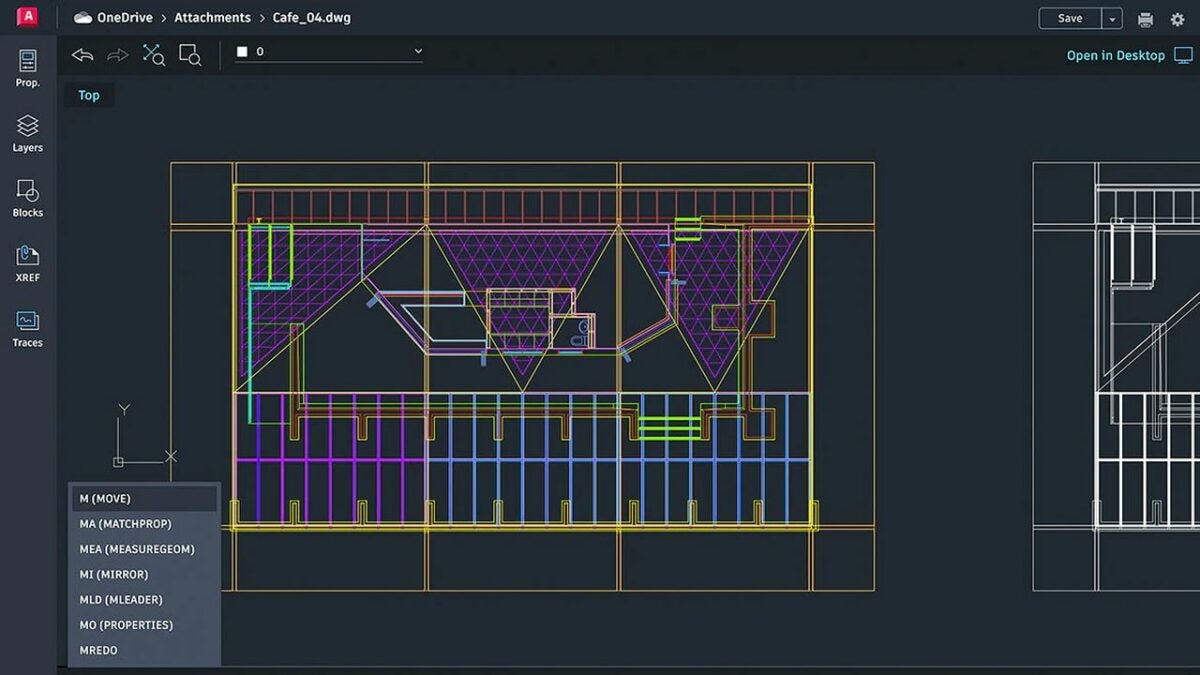
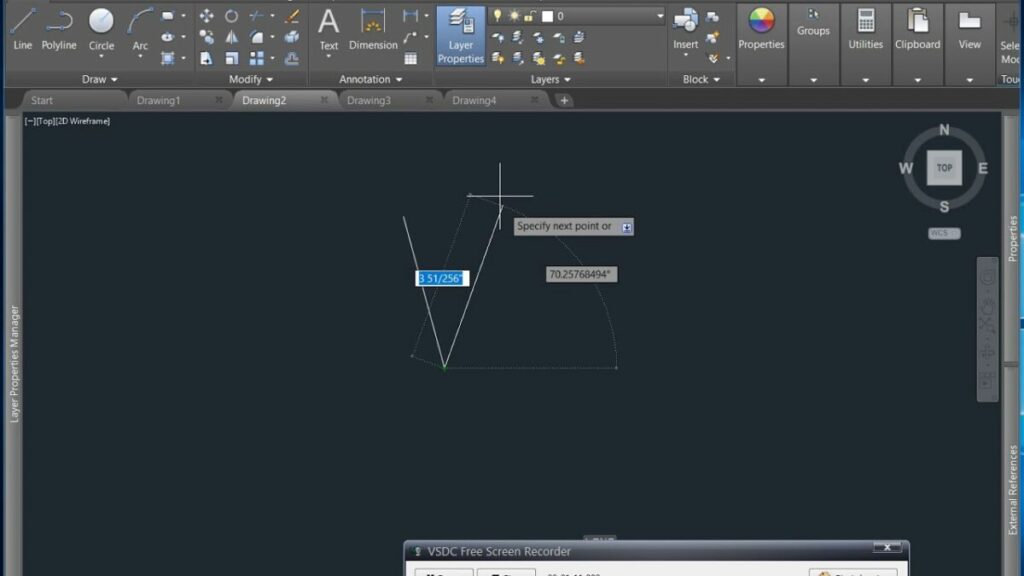
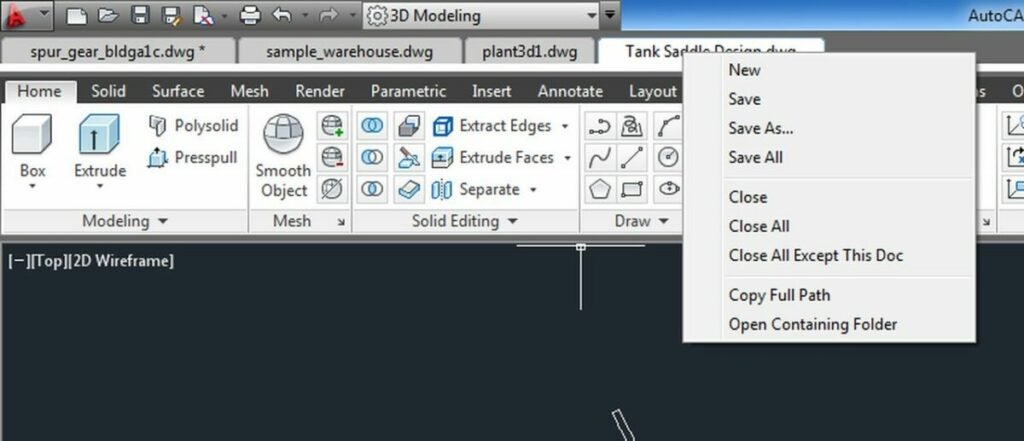
Any project in AutoCAD starts with the creation of 2D drawings. As soon as we open the application, we have the space ready for us. With a clear understanding of the units we will be working in and starting from the drawing’s origin point, all we have to do is select the line tool and draw the first dimension. We draw the face of the element, noting that with a simple press of the corresponding key, the lines will be orthogonal, ensuring precision from the start.
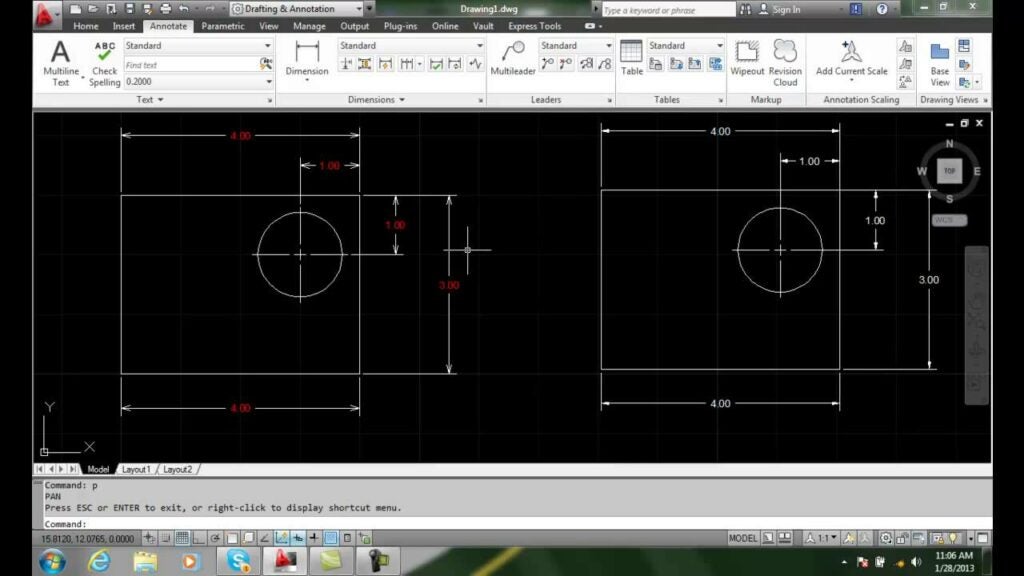
Ready for the next step? Using the navigation die, we simply rotate the viewpoint. Again, we are facing a flat design, but in another plane of space. We can draw the left, right, front, or rear view of the design. After finishing, we repeat the process and complete the six faces (or more if we have certain inclinations).
A key feature of AutoCAD is its ability to handle all details with high precision. This is crucial in many designs, as even small discrepancies can have significant repercussions in the manufacturing phase. AutoCAD’s precision ensures that designs meet technical standards from the start, reducing the need for later corrections.
Beyond this, and we will return to this in a few paragraphs, it is worth briefly touching on the universality of AutoCAD. The application is a total reference in the industry, which means there are vast user communities that offer a wide variety of support. In our particular case, this support comes in the form of blocks that we can download from various online repositories and incorporate directly into our design. Need a specific part or a modeling of a specific profile for a certain coupling? We will find it as a .dwg file ready to insert into our design.
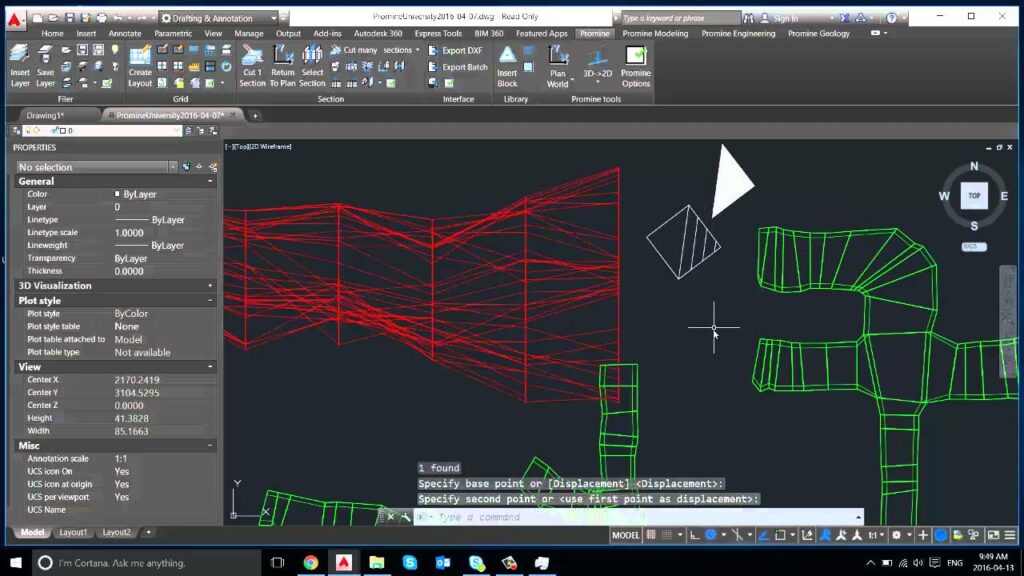
Step 2: 3D Modeling
Too often, the simple words “modeling” and “3D” seem difficult and slow. That may be the case with some tools, but not with AutoCAD. Once the preliminary 2D design is established, the step of transforming it into a functional 3D model is extremely simple.

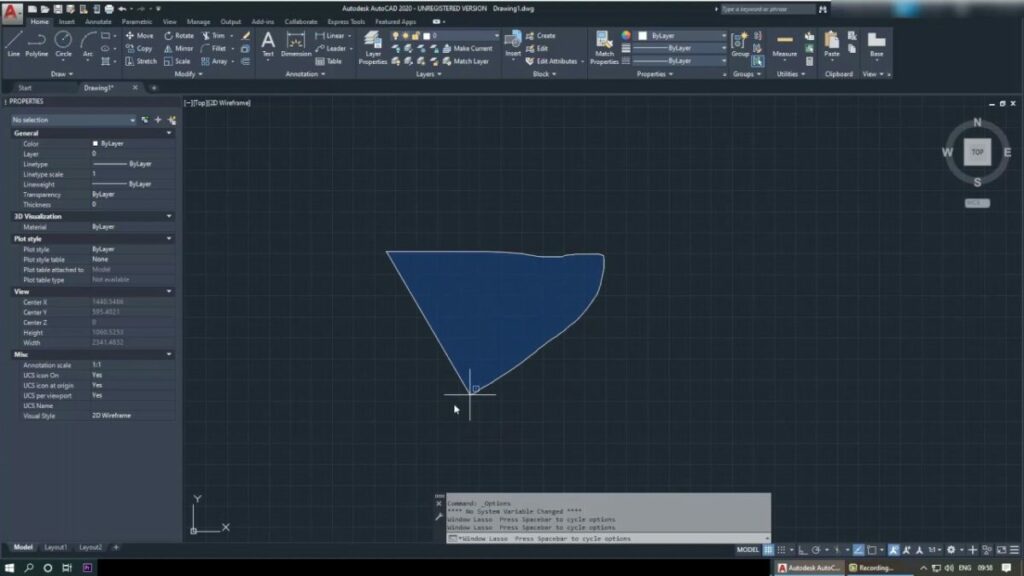
AutoCAD facilitates the transition from 2D drawings to 3D models through a series of very simple tools. For example, the “Extrude” function allows us to convert a flat object into a three-dimensional object simply by extending the shape in the z-dimension, giving it volume. Starting from the surfaces already drawn and from other tools like “Revolve,” for circular designs, we can create our 3D model in a matter of minutes.
Once the 3D model takes shape, the next step is to add materials and textures. AutoCAD offers us a wide library of materials that mimic properties such as metal, glass, wood, and more. Additionally, we can add our own textures through simple images, which quickly allow us to transfer to a rather anodyne structure, all the information about the physical properties of the objects, such as weight, strength, and also tactile sensation.
If we have started correctly, placing the model at the origin point of our space and have decided the units of work, preparing the 3D for augmented reality is really simple. If the size is too small or too large, the scaling tool allows us to multiply or divide by 10, for example, to easily jump from units.
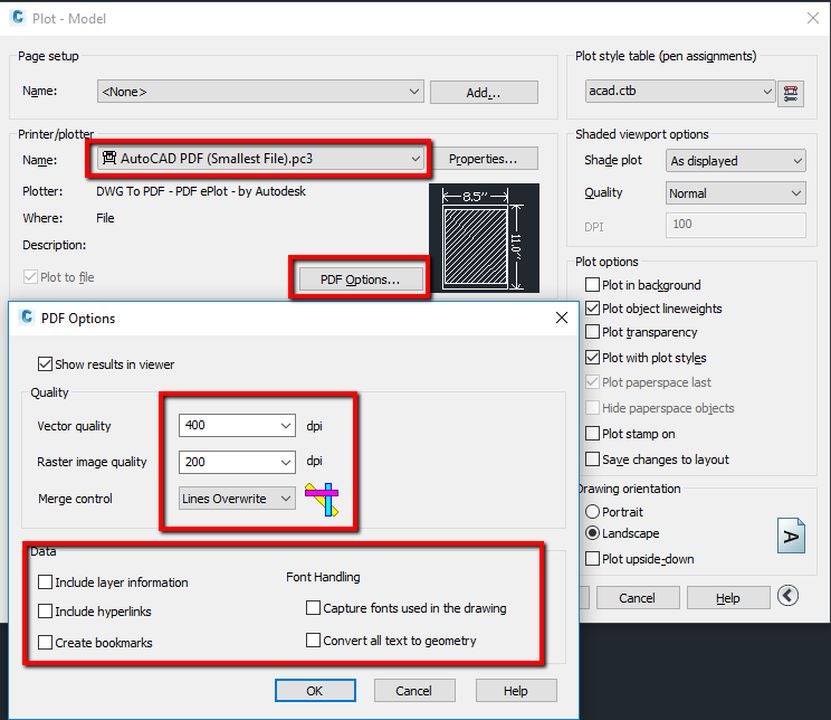
Step 3: Exporting for Augmented Reality
Once the 3D model is fully developed in AutoCAD, the next step is its export and use in augmented reality applications. Autodesk offers us tools for viewing 3D elements, even through its mobile applications, but the best thing about AutoCAD is probably its universality.

The same .dwg file is compatible with a wide variety of environments. And the export capabilities offered by the apps are unmatched in the world of 3D design. And this is a huge advantage because we are looking at a design that, once done, we can send, export, and use on practically any Augmented Reality device on the market.
Choosing the right file format is crucial for successful integration with Augmented Reality. AutoCAD is compatible with multiple formats that are industry standards, such as FBX, OBJ, and STL. These formats, although AutoCAD supports others, ensure that models are exported with all necessary properties, including meshes, textures, and material definitions. Choosing the right format depends on the destination of the model and the Augmented Reality platform used, as each may have specific requirements.
Here it is worth highlighting both third-party plugins and conversion tools that can help us move from a specific format to the most specific format that our device needs. Here, the universality of Autodesk’s tools and its support of standards again play very much to our advantage. We know that a design made in AutoCAD will be valid wherever it is needed.
Step 4: Visualization in Augmented Reality
The final phase in the process of taking an AutoCAD design to augmented reality is the visualization of the model in our environment. This step is, in fact, the simplest, and also the most striking because it allows us to experience the project in a practically real context, providing a perspective on what we have done and, if necessary, making some final tweaks before deeming the design completed.

Once the 3D model is optimized and exported in the appropriate format, the next step is to load it into an AR application. This process varies depending on the platform used, but generally involves importing the model file into an application that can render Augmented Reality on compatible devices such as phones, tablets, or augmented reality glasses.
On Apple devices, the company’s app, Reality Composer, will accept the model we made a few steps above natively. Then, simply point our iPhone or iPad at a flat surface to bring our design to life.
From there, there is much we can do. Of course, we’ll start by focusing on the proportions we talked about earlier. Then we’ll make sure we haven’t overlooked any errors. We can evaluate the colors and materials and quickly be ready for the next stage.
There are projects that require the design to be visualized in a specific location. If we have access to the place with the equipment, we can meet there, but often it is simpler to record the video of the reality overlay with our new design.
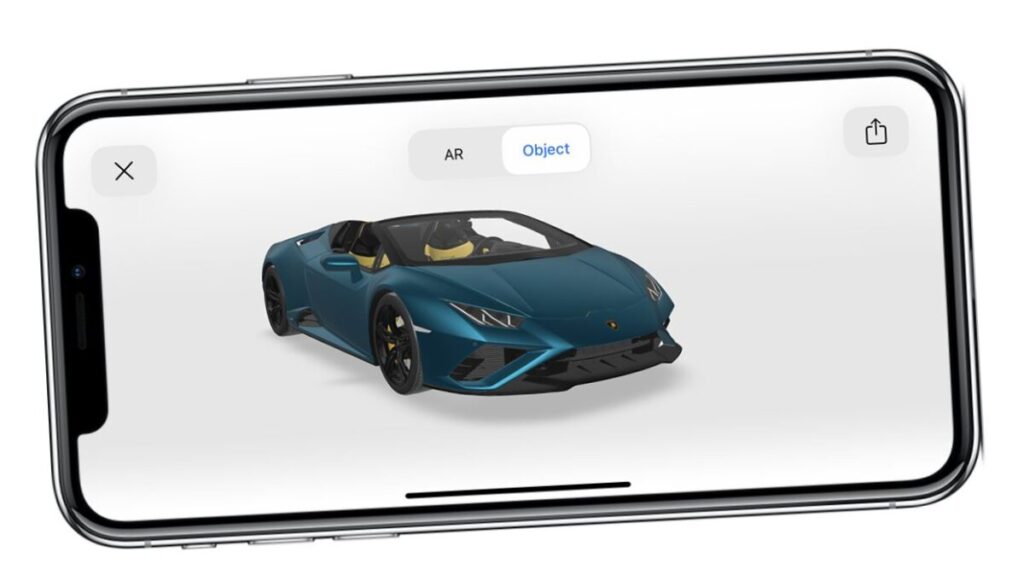
Just as we would capture the design of a physical product, we can be somewhat creative in showing how the one we just modeled will look once it is manufactured. Static photos, video, and small animations will be key. Similarly, we can move the object in a neutral space to see and show it within the Augmented Reality tools of our choice without necessarily placing it in a fixed point.
Benefits of AR in Computer-Aided Design
The integration of augmented reality into computer-aided design has revolutionized the way projects are conceived, developed, and, above all, presented. AutoCAD, as a leader in CAD software, has embraced this technology, making efficiency, precision, and communication its hallmark in various fields of design and engineering.
It is not always easy to have the spatial awareness of a specific component. Is it too big? Is it too small? In our ideas, we know exactly the size we are looking for, but how do we convey this to someone else?
Plans, properly dimensioned and represented, are one way, but they are not always the best way. A real-world representation, almost touchable, of any design is something with tremendous power in communication.
And the best part is that AutoCAD makes the transition from an idea to displaying it in Augmented Reality a matter of less than an hour. It is clear that Autodesk’s tools go much further than what we have covered in this article, and yet, it is worth noting that the ease they offer for carrying out certain projects is simply amazing.
By overlaying digital models in the real world, we can all see how objects interact with their physical environment. This is especially useful in fields such as architecture and civil engineering, but also if we are preparing a design for our 3D printer. With AutoCAD, we know that the same file will serve us for that printer and also to view the modeling on our desk before it becomes a reality. Augmenting reality in AutoCAD is just that easy.

 One major application still missing on Macs is
  AutoCAD in Parallels
 Google Sketchup
 Intaglio
 VectorDesigner