Quickly link BlueStacks to a controller

BlueStacks is one of the most popular Android emulators on the market that lets you run Android apps directly from your Windows PC. By downloading and installing BlueStacks 5, you can run games, productivity apps, and other Android utilities using the increased processing power of your PC. However, some games are easier to play with a controller.

Bluestacks DOWNLOAD

In this article, we’re going to make the utility even more appealing and useful by telling you how you can add a controller to your BlueStacks setup. This way, you don’t have to play your favorite games with a keyboard and mouse just because you’re using an emulator on your PC. Sound good? 

Setting up a controller with BlueStacks 5

The native control setup that BlueStacks offers is the standard keyboard and mouse configuration. However, the utility does offer support for other control setups, such as the native controllers for Xbox and PlayStation consoles. The best thing about BlueStacks is that it’s actually really easy to set up a controller. Here’s how you go about it.

  1. Open BlueStacks

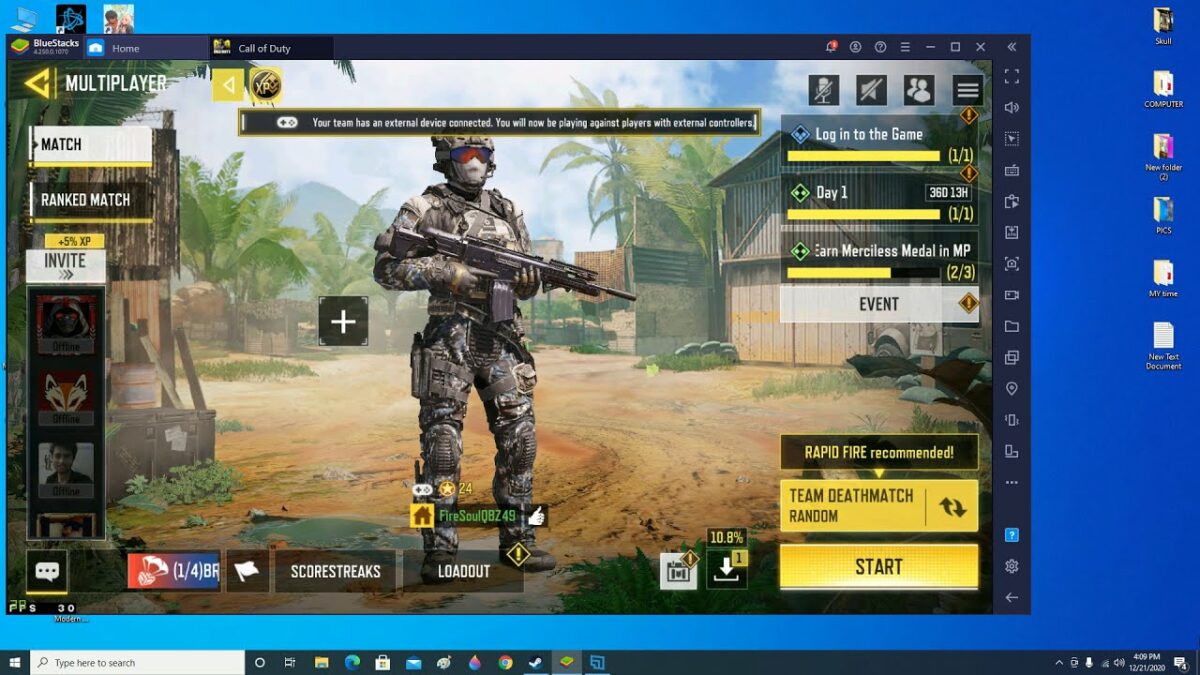
    Bluestacks controller support 1

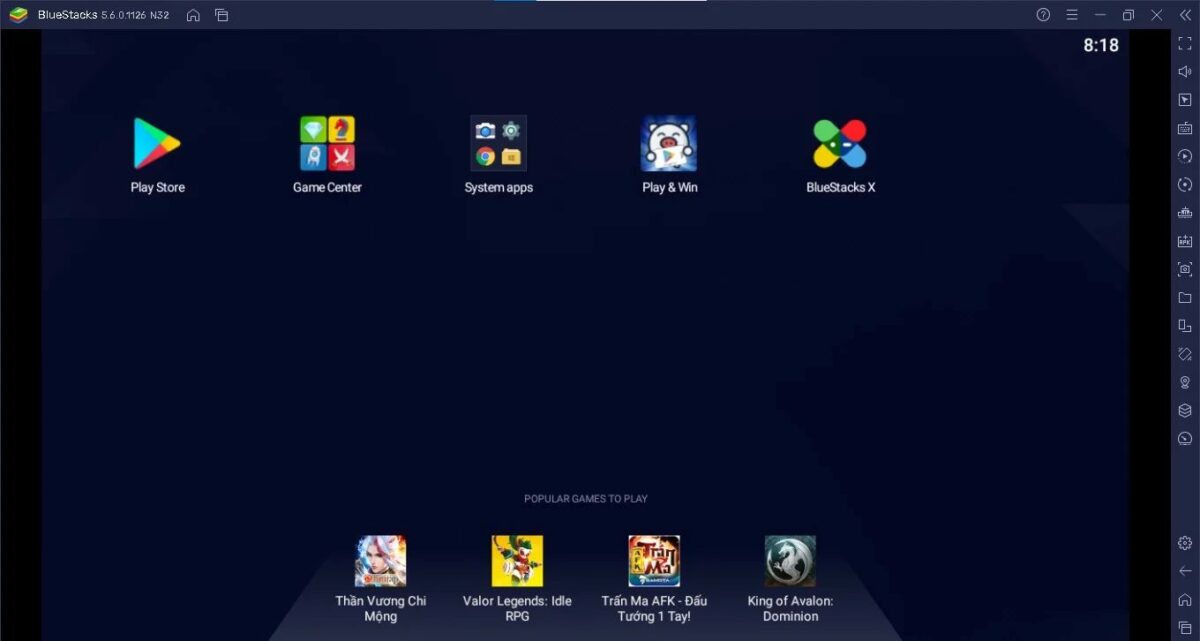
    The first thing you’ll want to do is open the BlueStacks 5 utility on your PC. Just head to your BlueStacks 5 icon on your home screen and hit it to open. If you’re reading this to see if controller connection is possible but haven’t yet downloaded the utility, you can do that on the BlueStacks download page on our website. Simply follow the installation wizard and hit Done when you’re finished.

  2. Connect your controller of choice

    Bluestacks controller support 1

    As stated above, you can use a wide range of controllers with BlueStacks 5. In addition to the more popular Xbox and PlayStation controllers, you can also use those created by Redgear, PDP, and Logitech, among others. For this next step, all you need to do is plug your controller of choice into one of your PC’s USB ports. BlueStacks 5 was designed to use a Plug-&-Play feature, so it will likely automatically detect your controller when you plug it in.

  3. Native Gamepad Support

    Bluestacks controller support 1

    The next step is to enable Native Gamepad Support. This is also a relatively easy step. Here’s how:

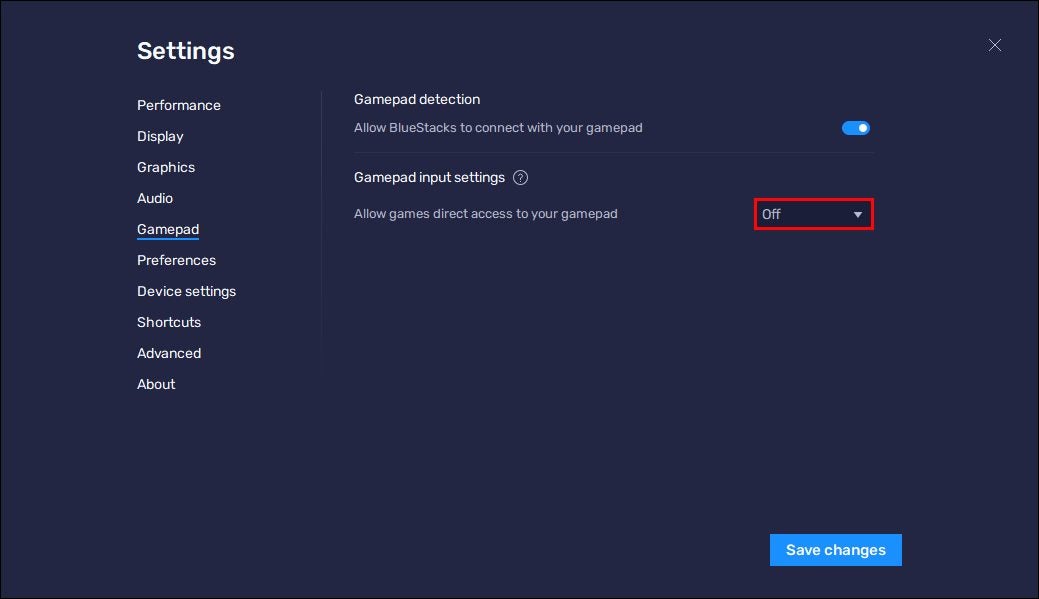
    Head to your BlueStacks home screen and hit the hamburger menu at the top right-hand side of the screen (three stacked horizontal lines). Next, you’ll want to select Settings from the drop-down menu and then head to Gamepad. From here, simply toggle Gamepad detection on. Under Gamepad input settings, simply select On

    You should now be perfectly able to use your controller of choice to play games on BlueStacks.

Ready to game

BlueStacks is an incredible way to enjoy your favorite Android games. Not only do you have the benefit of a larger screen upon which to view your mobile conquests, legends, and fantasy realms, you also have the ability to play a larger selection of games thanks to the superior processing power of PC hardware. Many AAA mobile games these days are made with beefy devices in mind.

This isn’t surprising as mobile games are getting closer and closer to PC quality with each new mobile chip that is developed. Not all of us have the finances to be able to kit ourselves out with the latest and best tech. Luckily, with BlueStacks 5, you no longer have to.

Be sure to check our other guides if you want to improve your gaming experience. Learn how to fix distorted graphics in Bluestacks or stream your games from the Bluestacks platform.
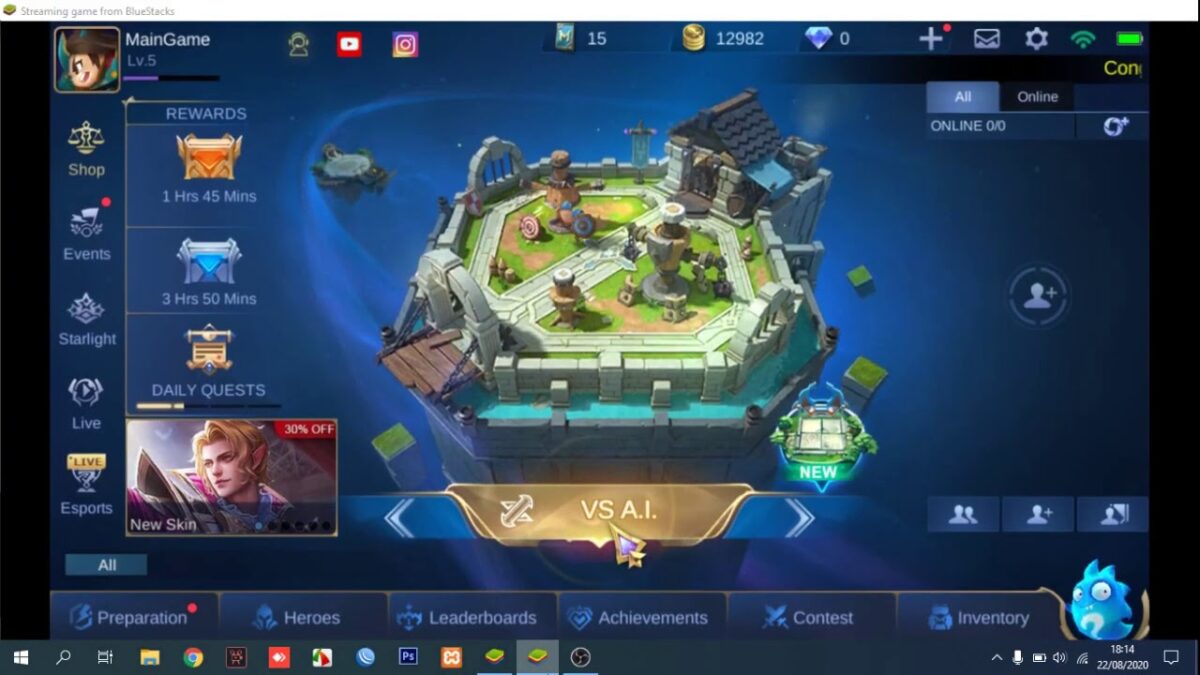
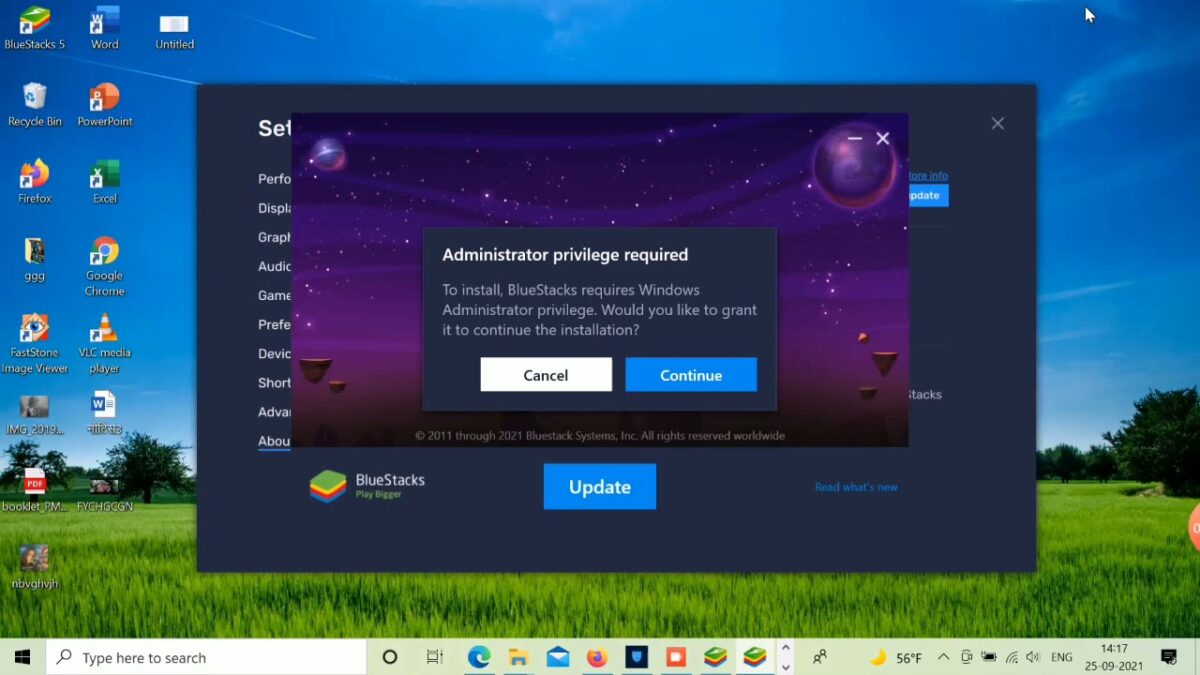
Enjoy streaming your movie or game on PC with Bluestacks

Streaming has become a way of life for many gamers, and it’s even possible on Bluestacks. Traditionally, streaming is relatively easy to do unless you’re trying to stream mobile games. First, you’ll have to make sure that the game you’re trying to stream has built-in Twitch support. Then, you’ll need to rig an appropriate setup that takes care of your controllers and other input devices you want to use, the camera and recording equipment you’ll need, as well as the wiring that makes everything work

Only once you’ve done all that can you actually settle down to stream in peace. 
Luckily, with innovations like BlueStacks, you no longer have to do any of this. All you need to do is fire up your BlueStacks utility and get ready to stream to your heart’s content.

How to stream movies or games with BlueStacks

  1. Set up BlueStacks

    How to stream with BlueStacks

    Your first step is to head to the link in the introduction where you’ll find a direct download link to BlueStacks 5, the latest version of the software. Once you’ve ensured that your PC or laptop has sufficient processing power and memory to run BlueStacks, you can hit the install button and wait for the installation wizard to complete its task.

  2. Connect your Google account

    How to stream with BlueStacks

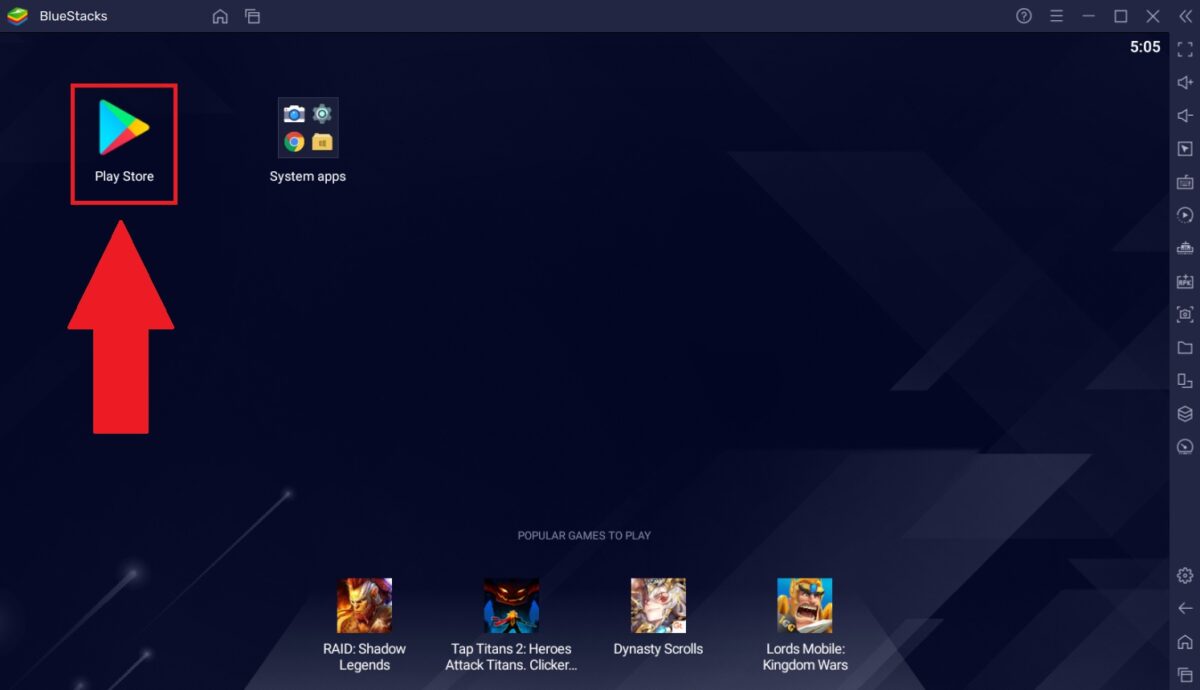
    Your Google account is what gives you access to the incredible library of Android games that BlueStacks supports. Therefore, you’ll need to log into your Google account before we go any further. All you need to do is click on any of the apps under the Android tab in your BlueStacks interface. This will initiate an automatic One Time Setup. You won’t have to do this everytime you start BlueStacks. Once you’ve clicked on an appropriate app, all you need to do is follow the Google setup prompts to log into your Google account. If you don’t have a Google account, it’s at this point that you’ll need to set one up.

  3. Select a game

    How to stream with BlueStacks

    For this step you’ll need to return to the Android interface. Here, you’ll be able to search for whichever game you want to play – and stream. Once you’ve found your desired game, click Install, and you’ll be taken to the Google Play Store.

  4. BlueStacks TV

    How to stream with BlueStacks

    Once your game of choice is installed to BlueStacks, you’ll want to open your game up and get things ready. This essentially means logging in if needed, grinding a little if you don’t want to start streaming from scratch, or familiarizing yourself with the game beforehand. 

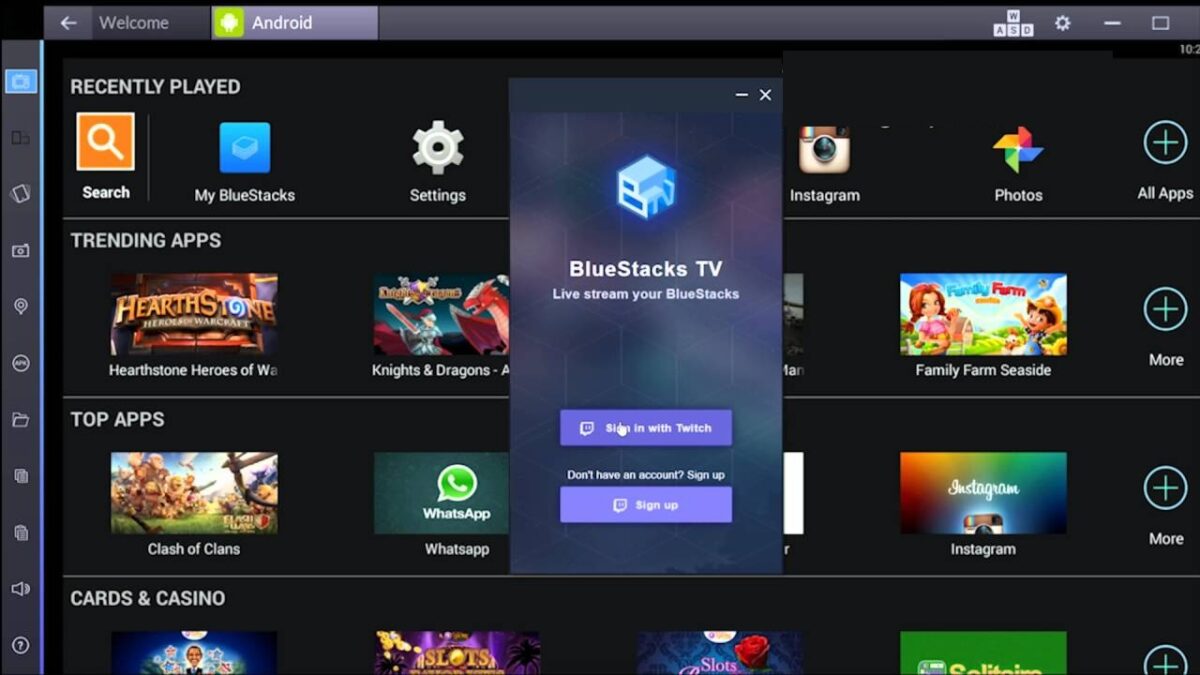
    BlueStacks TV is a utility that you’ll have noticed is open in its own window. All you need to do to start streaming is head to the BlueStacks TV window and click Start Streaming.

  5. Twitch

    How to stream with BlueStacks

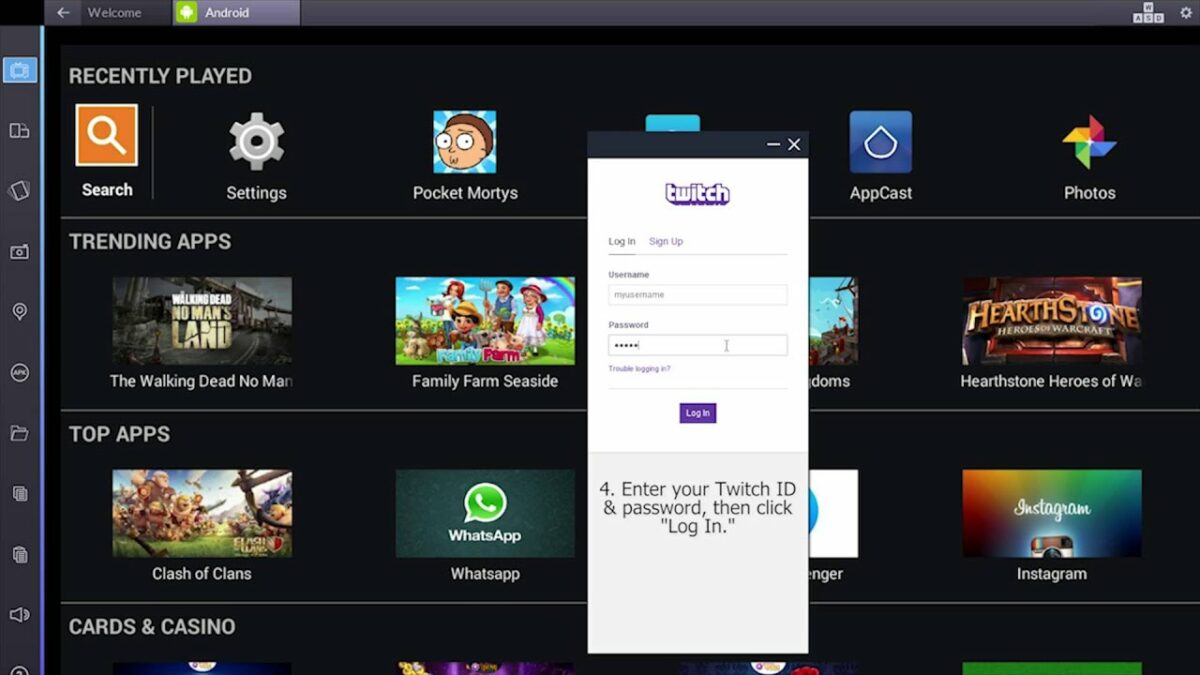
    Given that this is your first time using the app, you’ll need to sign into your Twitch account before you can start streaming. If you don’t have a Twitch account, it’s at this point that you’ll need to make one. Once you’ve logged in to your account, you’ll need to click Authorize, and then you’re good to go!

    This is the point at which you choose whether or not to turn on your microphone and webcam. Depending on what you want your stream to look like, you may want only one of these devices active. You’ll also need to choose your location and name your broadcast so that other people can find it. Once you’re done tweaking settings, you can click Go Live and start your stream.

Twitch + BlueStacks = ❤️

I’m not much of a streamer myself, but it’s easy to see the appeal of either streaming or watching someone do it. As a gamer, it’s always fun to watch someone else game it out and enjoy something that I have gotten hours of enjoyment from. The pure pleasure that arises from seeing someone get as invested in The Sims 4 histories and mysteries as I do is something I’ll never be able to put into words in a manner truly representative of the experience. Watching someone else stream sometimes also sometimes breeds the same amount of enjoyment as you playing the game yourself.

Streamers also create a unique opportunity to bring a social aspect into games that otherwise don’t really have one. Streamers inadvertently create these massive communities of loyal fans and fellow gamers that give so many people a sense of belonging. Any way you slice it, streaming is an important part of the modern socio-economic climate and one that I’m so glad exists. 

Thanks to the most recent update to BlueStacks, Twitch and BlueStacks are a match made in the clouds. Finally, streamers can broadcast their mobile game adventures without having to dedicate hours to rigging their setup. BlueStacks makes streaming mobile content easier and more convenient than ever before. If you’re having an issue with distorted graphics, be sure to check out our guide for fixing it.

How to fix distorted graphics in Bluestacks READ MORE

How to fix the distorted graphics in BlueStacks

Bluestacks is one of the top Android emulators for PCs at the moment while we tentatively wait for Windows 11 to introduce its own platform. Many gamers rely on it for superb performance and graphics, but there are some players that have come across distorted graphics, either in games or on the main dashboard.

The support team is always on board to deliver solutions to these types of problems, as they want gamers to enjoy the Android experience on PC. However, we’ve discovered an easy way to fix the distorted graphics in BlueStacks with a few steps.

Why graphics in BlueStacks become distorted

There are three primary reasons that graphics become distorted in Bluestacks. Primarily, it’s due to incorrect platform settings leading to the wrong use of resources on the computer. If you find the images blurry within games, there’s a very good chance that this issue is the culprit. It could also be that your system can’t run high-end graphics.

Finally and hopefully, this isn’t your situation, the Bluestacks files have become corrupted. You’ll notice that the dashboard itself is distorted and illegible. It usually happens with a bad install or if the platform didn’t start up properly. There may even be a game file that caused it, but there is a way you can fix it.

  1. Fix distorted graphics within BlueStacks

    How can I easily get images to align perfectly top to bottom in Microsoft Word

    The steps we’re going to show you here have to do with fixing distorted graphics in BlueStacks by correcting the settings. It’s the easier way to solve blurry or bad visuals in the games themselves. 

    Open the graphics settings

    Firstly, head to the gear icon to access the settings. You’ll notice tabs on the left revealing different categories. You’ll want to select the Graphics tab

    Change various options

    On the new pane that appears, you’ll see different options. You should consider changing them as follows:

    – Graphics engine mode: BlueStacks usually sets this to Performance by default, but you may want to change it to Compatibility if you’re running a game with high-end graphics.

    – Graphics renderer: If changing the first option didn’t help, perhaps switch to OpenGL or DirectX, depending on which one is not selected by default. Each one works with graphics in a different way.

    – Interface renderer: BlueStacks has this on Auto, which means the platform chooses the option for you depending on the game. You can change to one of the available options and test each one to see how it affects graphics and FPS.

    – ASTC textures: If all else fails, try changing the options here, as it relates directly to visual performance in games.

    – GPU in use: You can route all the graphics resources you need from the primary GPU on your computer. 

    – Save changes: This button lets you save any changes you made above to see if it clears the distorted graphics.

    Restart BlueStacks

    The settings you change won’t have an immediate effect. Unfortunately, you’ll need to restart your PC for them to take effect. It results in potentially restarting numerous times when you’re testing different changes.

  2. Uninstall and reinstall Bluestacks

    How can I easily get images to align perfectly top to bottom in Microsoft Word

    If you’re having problems with BlueStacks itself and not the games, you’ll need to reinstall the platform. There’s a specific way to do so, and following the default uninstall route may not work.

    Remove temporary files

    The first step in this method of fixing the distorted graphics in BlueStacks involves removing temporary files. Hit the Windows button with “R”. You’ll see the Run command open. Insert “%temp%” and click on OK. 

    A new window appears that shows you all the temporary files on your computer. You won’t need these, and any programs that need them will just recreate them. Go ahead and select them all, deleting them.

    Use the BlueStacks cleaning tool

    To uninstall BlueStack correctly, you’ll need to use a tool called BST Cleaner. There are two versions. V1.08 uninstalls BlueStacks 4 Nougat 32-Bit, while v1.07 cleans BlueStacks 4 and 5. Once you download the corresponding file and run it, it will uninstall BS for you properly so that no issues remain.

    Reinstall Bluestacks

    You can now head to a reliable source and download BlueStacks 4 or 5, depending on which one works with your system. When you reinstall it, make sure you head to the settings as mentioned before, making adjustments to improve the performance. The distorted graphics should be gone now.

Make it crystal clear

Now you can play your Android games on your PC with clear graphics after fixing the distortion. If you still have issues, the only solution left is to contact the BlueStacks support team, as there may be something else wrong that only they can solve. We hope you manage to get the platform working properly again; otherwise, just wait for Android emulation to come to Windows 11 if you’re running the latest operating system.

Run Android apps on your PC using BlueStacks

If you’ve ever wished you could use Android apps and games on your PC, now’s your chance. If you’ve got an Android phone, all you need is the BlueStacks App Player to do the rest.

BlueStacks is a virtual machine that lets you run Android apps on your PC. Now you can enjoy apps like Talking Tom Cat, Words With Friends and even Facebook for Android directly on your desktop

Downloading and installing BlueStacks App Player is simple. As an added bonus, it comes with 10 apps already installed. BlueStacks also offers additional apps on its website that you can add to the App Player, and you don’t even need an Android phone to enjoy those specific ones on your desktop.

The questions is, how do you get apps from your Android phone into the App Player on your PC? Conveniently, BlueStacks offers a cloud service that will synchronize your phone directly to its App Player in a few easy steps.

1. Register an account online with BlueStacks

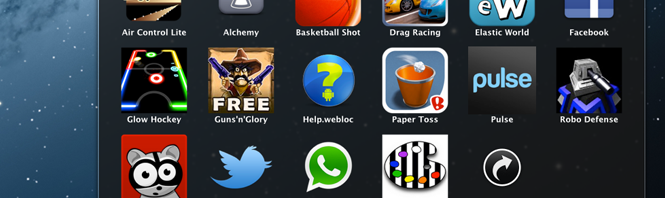
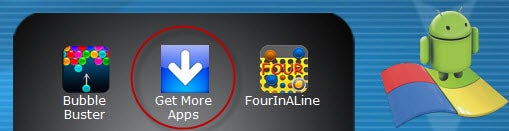
The first step is to click on the BlueStacks App Player itself, which should have appeared in the upper right corner on your desktop after installation. Scroll to the second page of pre-installed apps and click the “Get More Apps” icon.

.This will take you to the login page on BlueStacks’ website. You can either create email and password credentials or log into the site using your Facebook profile. If you go the email route, you’ll need to click a verification link sent to you by email before you can proceed.

2. Install BlueStacks Cloud Connect on your phone

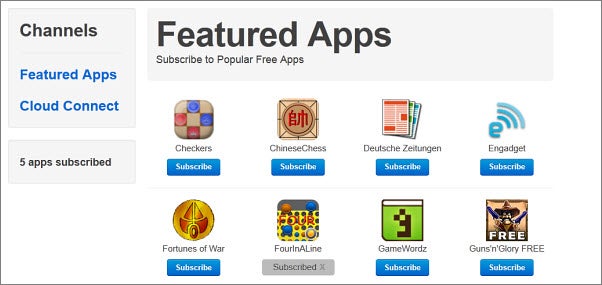
Once logged in, you’ll be shown a handful of apps that you can add directly from BlueStacks’ website. If any of these seem interesting, just click the Subscribe button and they’ll be transferred to your BlueStacks App Player automatically.

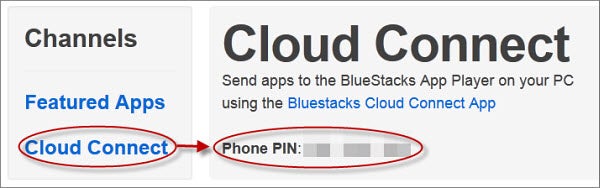
You’ll need to install the free BlueStacks Cloud Connect app onto your phone via the Android Market. Then return to the BlueStacks website and click the “Cloud Connect” link on the left of your screen. You’ll be given a unique PIN here that you can use to access the Cloud Connect app on your phone.

4. Sit back and wait for your apps to sync

Synchronizing between your phone and the BlueStacks App Player can take a couple minutes, so sit tight. Once synced, you’ll receive a message in your PC taskbar letting you know the apps synced. An image icon for each will appear in the actual App Player.

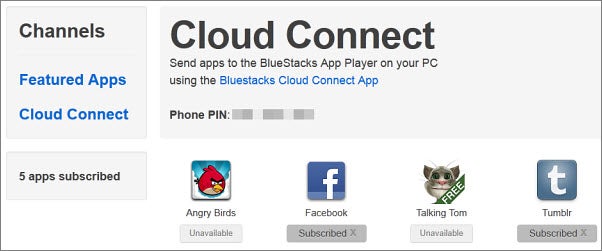
Since BlueStacks App Player is still in its alpha version, not all of your apps will be available for download yet. If some of the apps you tried to sync aren’t appearing, you can check on their status via BlueStacks’ website under the Cloud Connect option. If they were successfully transferred, a gray icon that says Subscribed will appear under their icon. If not, the icon will list them as Unavailable.

It’s likely that more apps will become available as BlueStacks App Player develops. The app is available for Windows and Mac, and there’s even a special version for Windows 8.


Have you ever tried BlueStacks? Did you manage to make it work?