
At the moment you leave with your camera in hand, you know when you start but not when you finish. It doesn’t matter if it’s for a job or just for pure leisure, you keep pressing the shutter button until the battery or the SD card can hold out. However, the worst part comes afterward, when you have to review hundreds of photos to choose the best ones. Fortunately, with the arrival of Assisted Culling in the latest versions of Adobe Lightroom, this process will feel less burdensome.
Next, we will delve into what Assisted Culling is, how it works, and how you can use it as a photographer.

What is Assisted Culling?
The Assisted Culling feature is found within Adobe Lightroom and uses artificial intelligence to intelligently organize photographs. When using it, the program identifies the highest quality images and also highlights those that do not meet certain standards. By itself, Assisted Culling cannot delete photos, it only indicates which ones you should theoretically keep and which ones to discard.
In the latest update of Lightroom, the feature has especially improved in face detection, so it will be very useful if you take photographs at weddings or other social events.
If you use Lightroom Classic, you will need to activate the feature from Edit > Catalog Settings > Metadata > Assisted Culling and check the box for Analyze photos of selected source when Assisted Culling Panel is open.
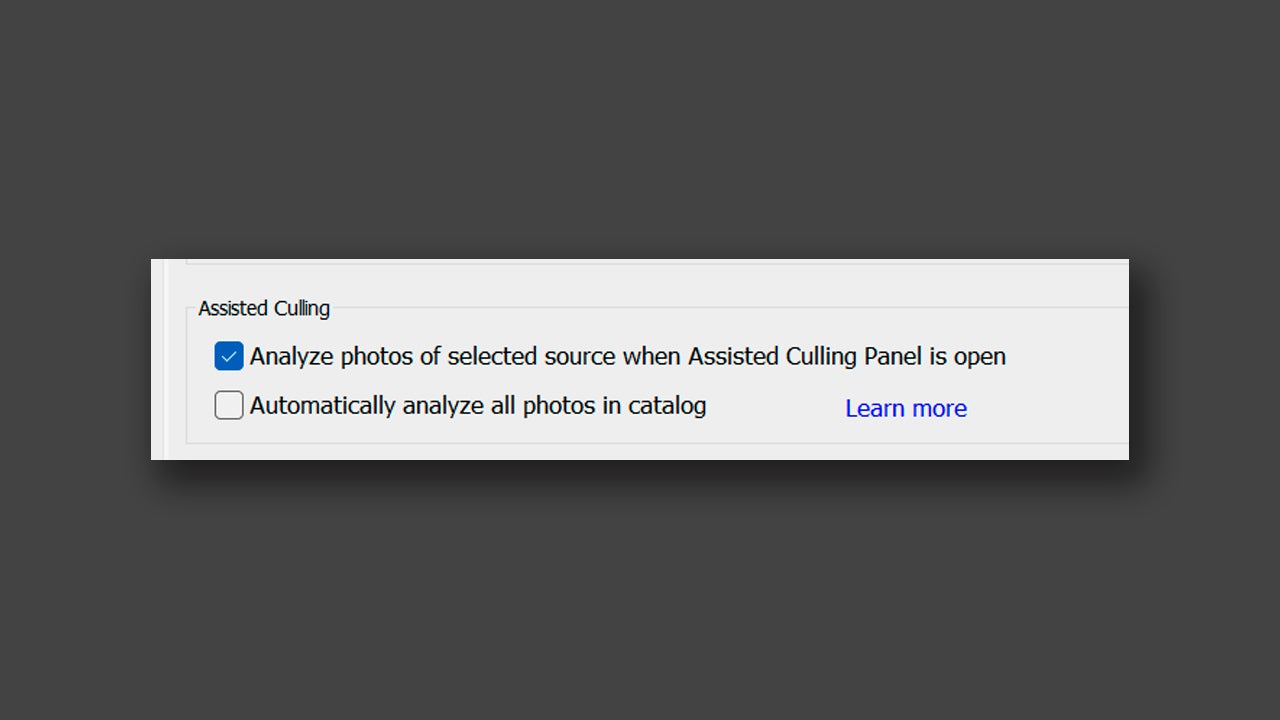
In the latest version of Lightroom, you will find the option much more visible in the tool panels as soon as you open the program. It doesn’t matter whether you are working in Cloud or Local, the option will be there.
How to use Assisted Culling in Lightroom
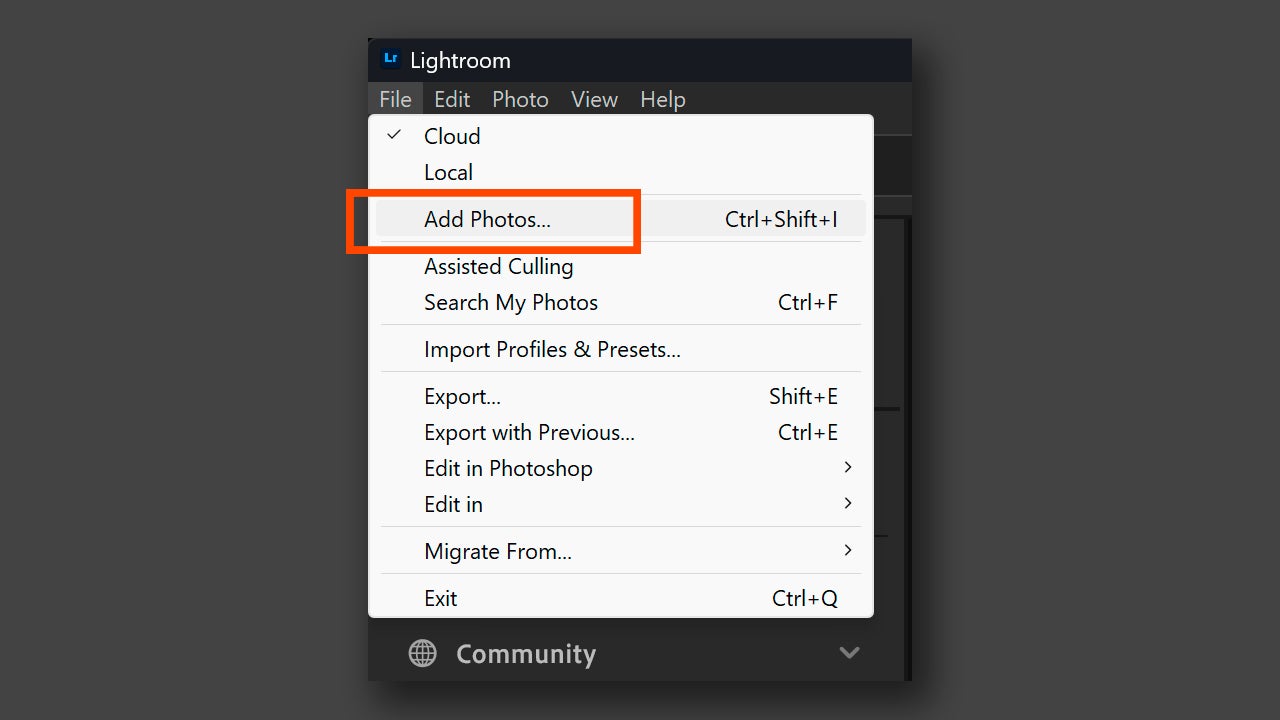
As you will see below, it is quite easy to use within the new Lightroom. First, start by importing your photographs (although you can also use a folder of photos that you have previously exported in Lightroom). You have two practically identical ways to do this: the first is to click on Add Photos, located in the left panel. The second, in case you do not see or the Add Photos button does not appear, is to go to File > Add Photos.
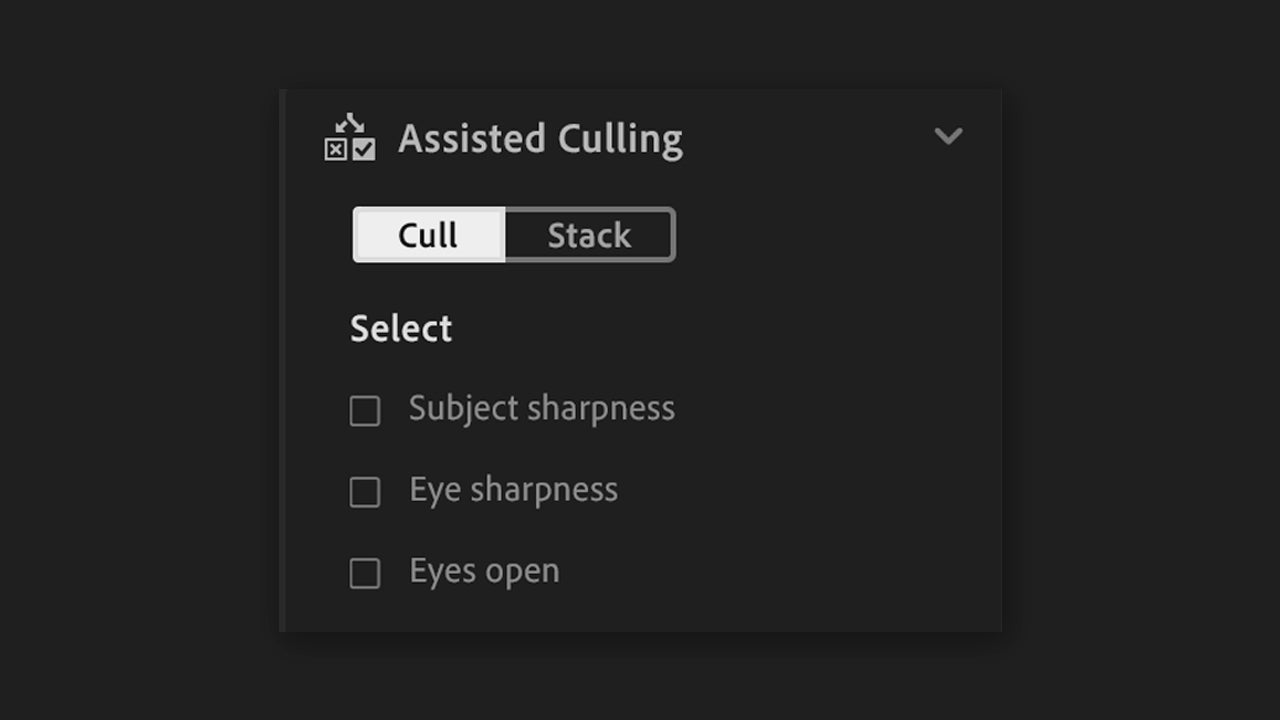
Afterwards, you have two organization options to choose from: Cull and Stack. Cull will help you select the best portraits from a group of photos. With Stack, you can organize them according to the times they were taken or by their visual similarity.
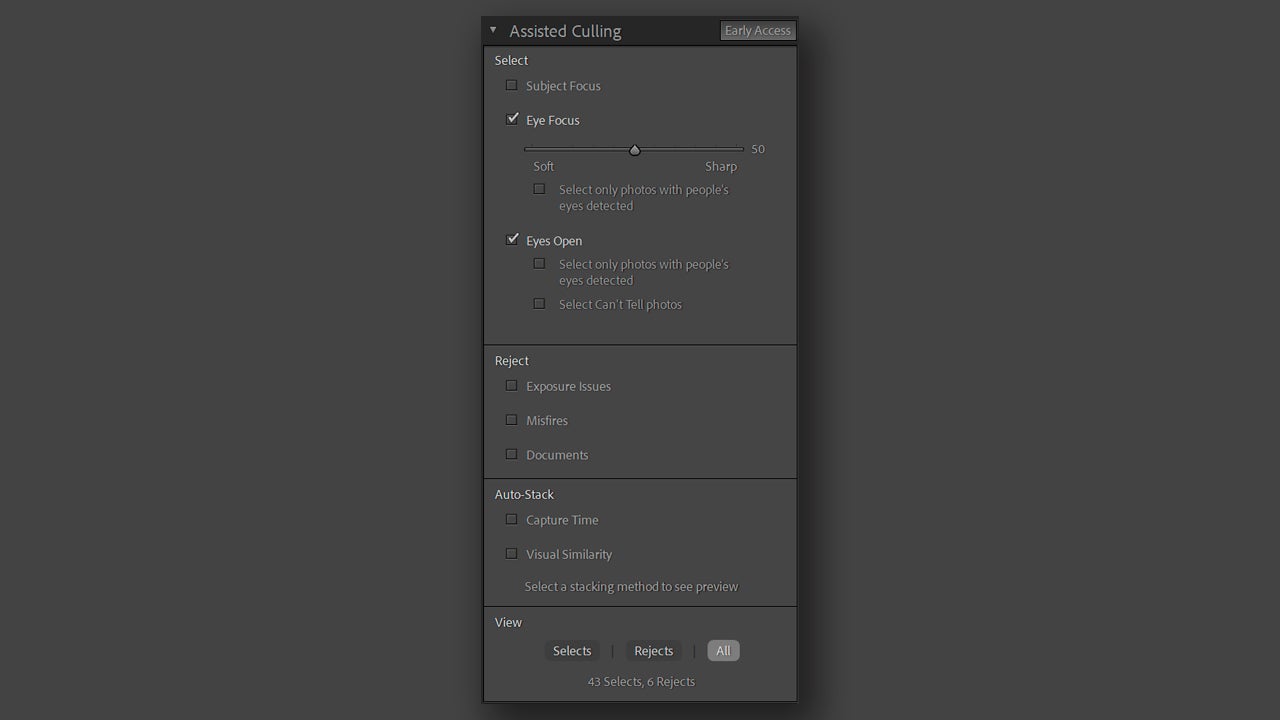
In the Select section, click on the options you prefer when analyzing the images. These are the ones available to you:
- Subject sharpness: Select the photos where the person is in focus. You have a slider to set the level of focus.
- Eye sharpness: Select the photos where the eyes are the ones that are in focus. You can adjust it as well, and additionally, you have another option to select only photographs with the eyes of one or more people.
- Eyes open: Select photographs where the people appearing have their eyes open. Here you have two additional options, one of which allows you to choose photos where it is not entirely clear whether the subjects in the photograph have their eyes open or closed.
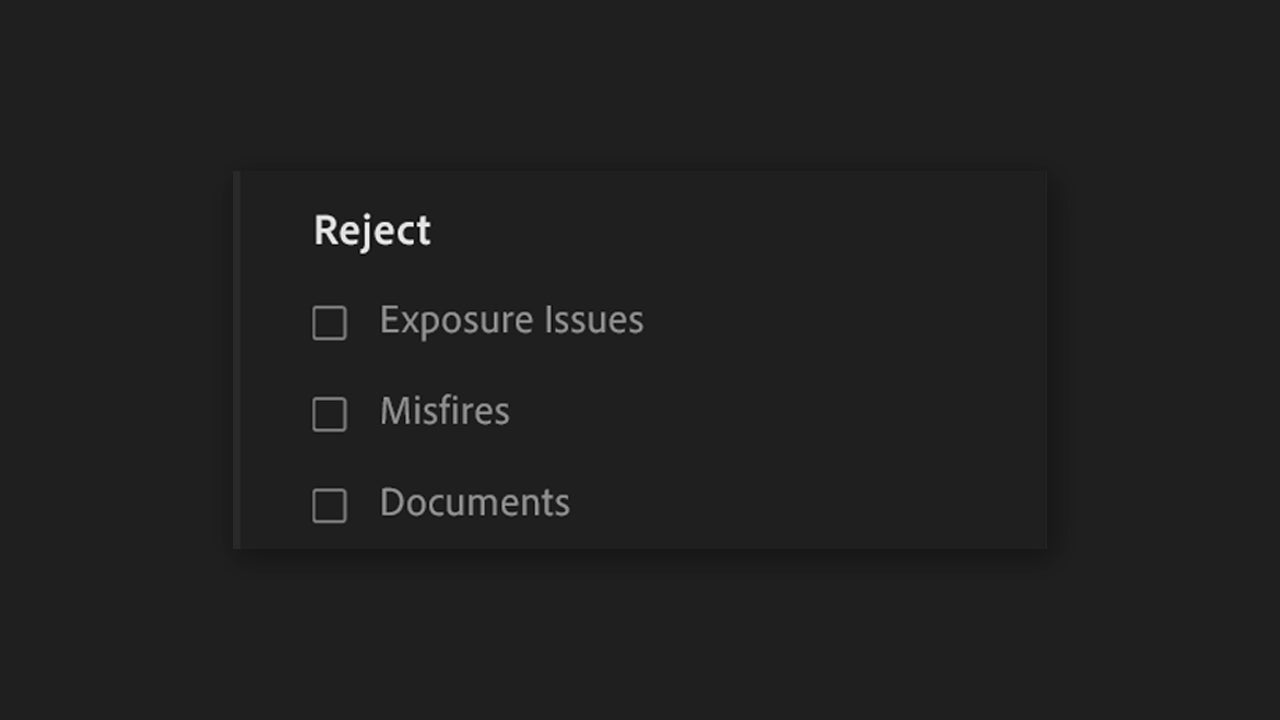
Below, you will see the Reject section, where you can choose which options to consider for discarding photos:
- Exposure Issues: Reject photos with exposure problems.
- Misfires: Reject blurry or accidentally taken photos.
- Documents: Anything that is a document goes out.
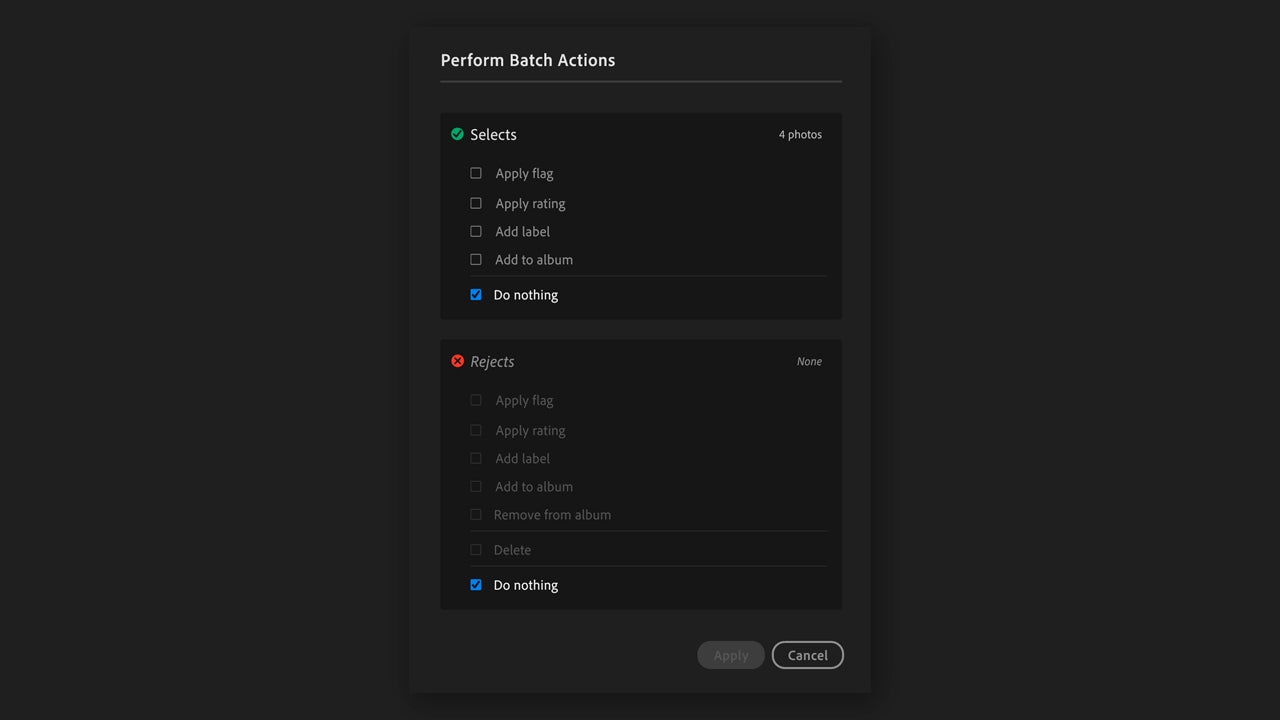
Right below you will see the Review section, where you can view the selected and rejected photos after using Assisted Culling. Then, it will be your turn to review manually to ensure everything is correct and see which photos pass the final filter and which do not. Finally, in the Organize Results section, click on Apply Batch Actions to set tags, ratings, and ultimately, organize your photographs.
Assisted Culling in Lightroom Classic
If you are using Lightroom Classic, the process differs a bit but not too much. When importing your photos, you will need to select at the very top in Assisted Culling.
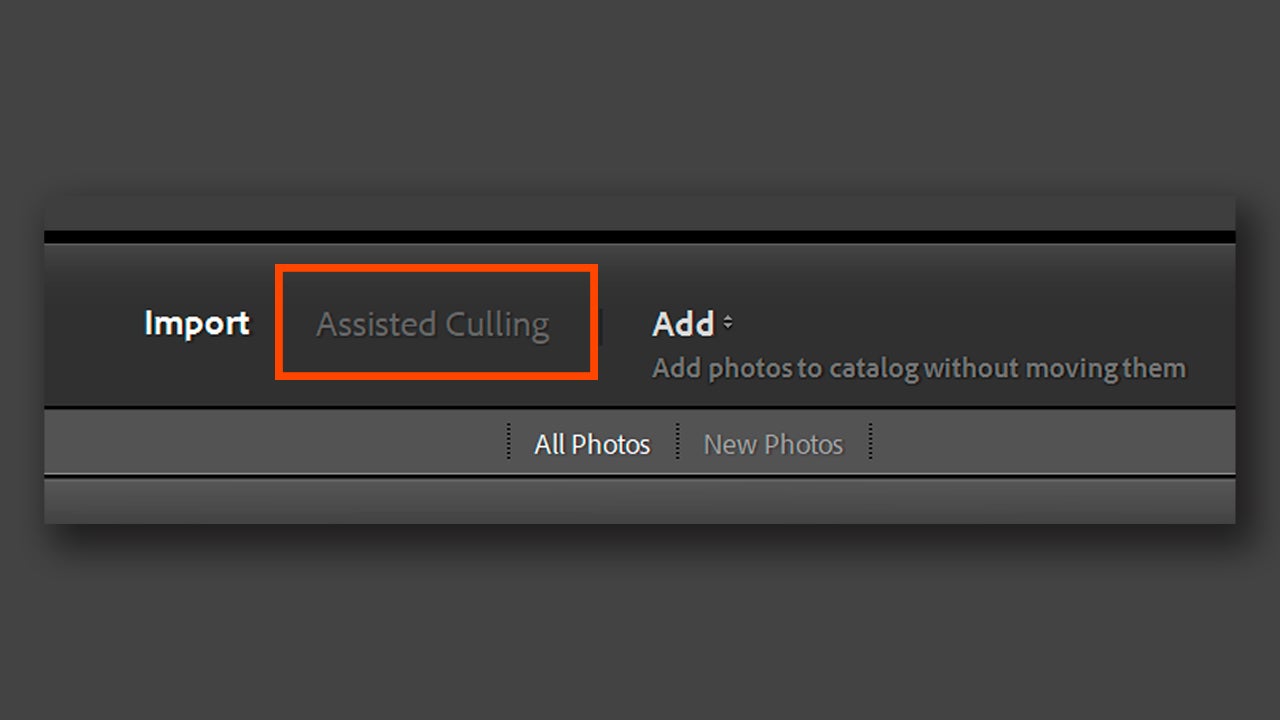
When doing so, wait a moment for Lightroom Classic to finish analyzing the photos. After that, in the left panel, you will see the options available to filter the photographs. Just like before, you can choose to import those with the subject in focus, with eyes open, and reject documents or photos with exposure issues.
When Lightroom finishes making the selection, don’t forget to do a quick check to see that everything is okay. Then, select Import to import the chosen photos. If you click on Done, you will save the settings you have chosen in the Assisted Culling panel but will not import the photos.
