
Changing the color of an object is one of those Photoshop tasks that looks different every time. Same goal, different image, different result. Suddenly you’re not sure which tool actually fits. Adobe Photoshop gives you several ways to approach it, each suited to a different situation, and the one you reach for first should depend on the image, not just habit.
You don’t need to be an advanced user to handle most of these. With AI tools now built into the app, even complex color swaps are more accessible than they used to be.

Three methods stand out. Which one you use depends on how precise you need to be and how much you want to preserve the original.
Apply Hue/Saturation adjustments
For subtle or broad color shifts, the classic adjustment tools are still the fastest path. Hue/Saturation handles exactly that: hue, saturation, and brightness in one panel. Go to Image > Adjustments > Hue/Saturation to open it directly.
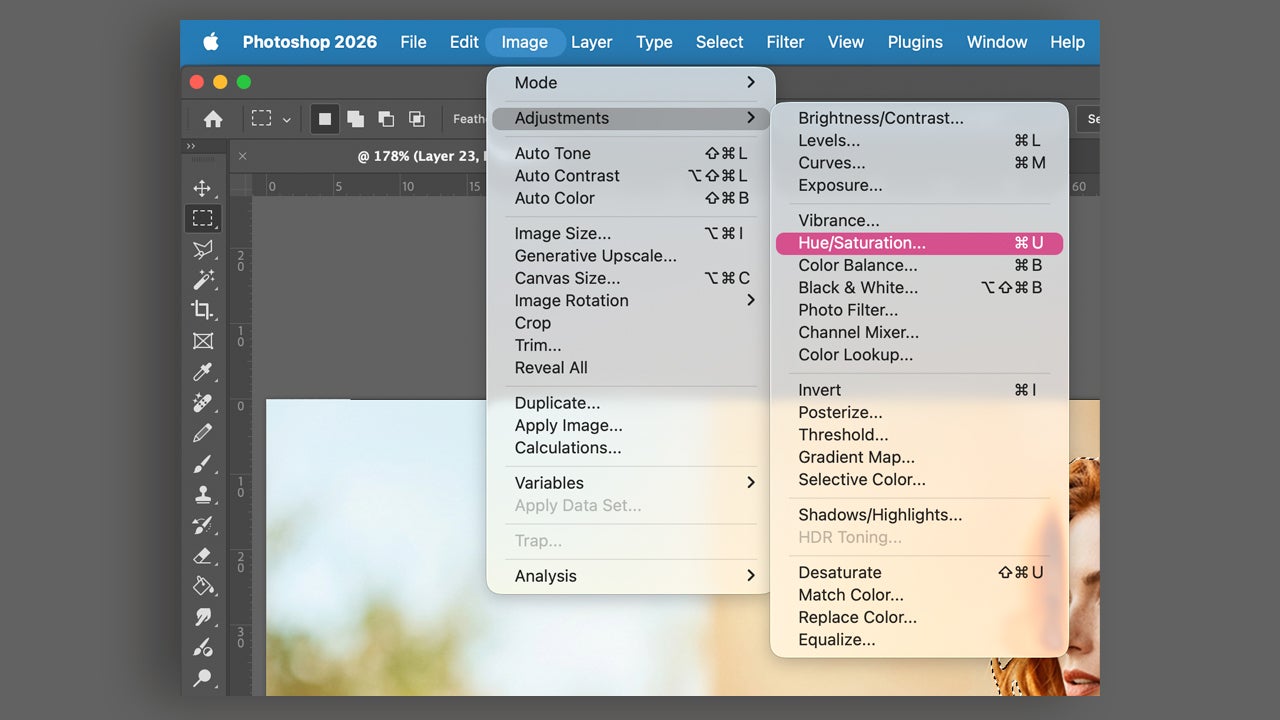
You can also create an adjustment layer from the Layers panel if you want to apply changes non-destructively. Once it’s open, you’ll see three sliders: Hue, Saturation, and Lightness.
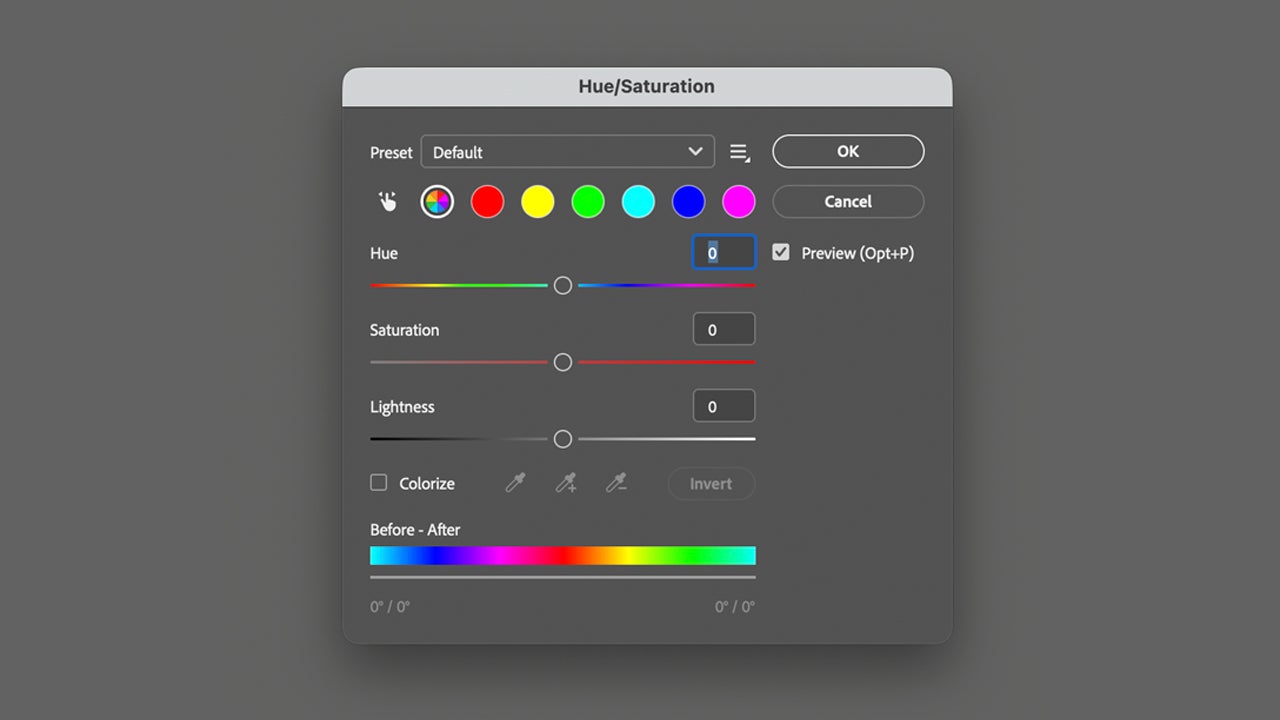
At the top of the panel, Presets let you apply a color shift style with a single click. Below that, the eyedropper targets specific tones. Quick and global.
There’s also a Colorize option. It replaces all the colors in your image with a single unified tone, which is useful for a monochromatic look. The three sliders control the hue, saturation, and lightness of that unified color.
Use Replace Color
When you need more precision than the classic adjustments offer, Replace Color is the next step up. Find it under Image > Adjustments > Replace Color. This one is destructive. Duplicate your layer before you start if you want to keep the original intact.
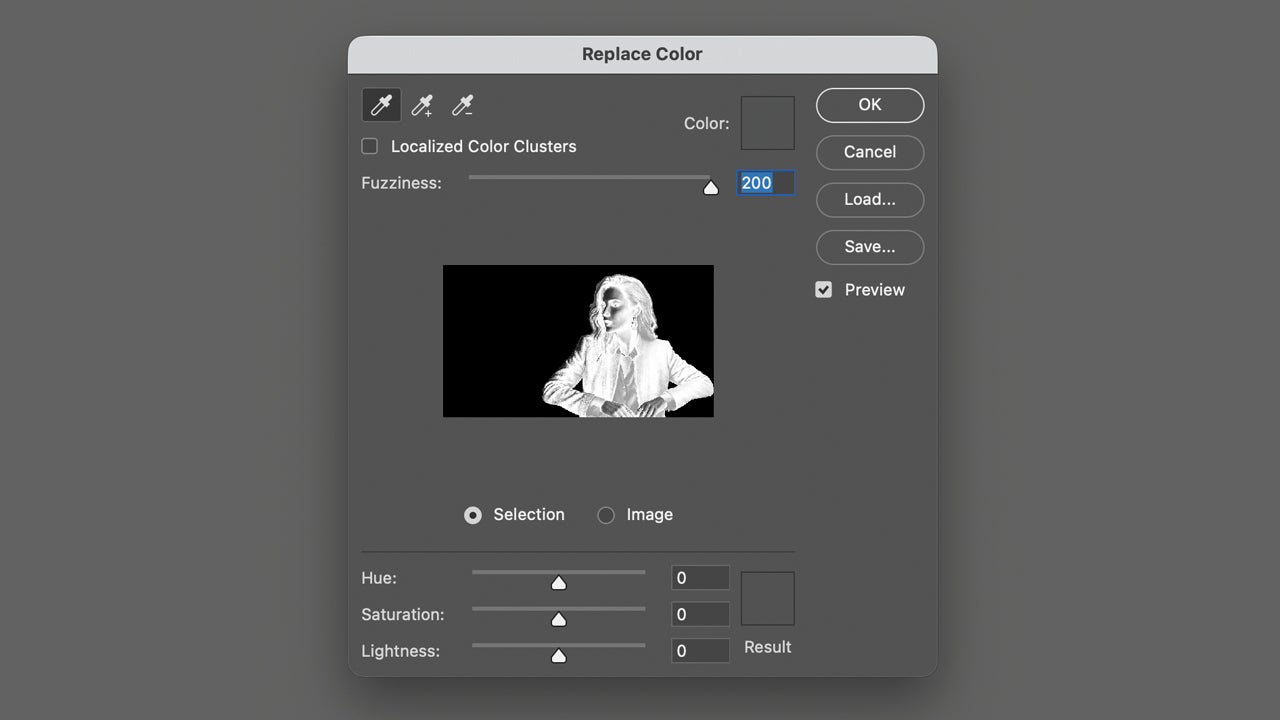
Opening it gives you a small black-and-white preview of your image. White areas are the ones Photoshop will modify; black areas are ignored. Click on the color you want to replace with the eyedropper and the preview highlights the affected zones in white.
If the selection is too narrow, the + eyedropper adds more zones. The Fuzziness slider controls how much tonal variation gets pulled in. Check Preview to see your changes in real time as you work.
Change colors with Generative Fill
Generative Fill does what the other methods can’t: it rebuilds the way light falls on the object, not just the color. Powered by Adobe Firefly, it handles shadows and texture automatically so the result doesn’t look retouched.
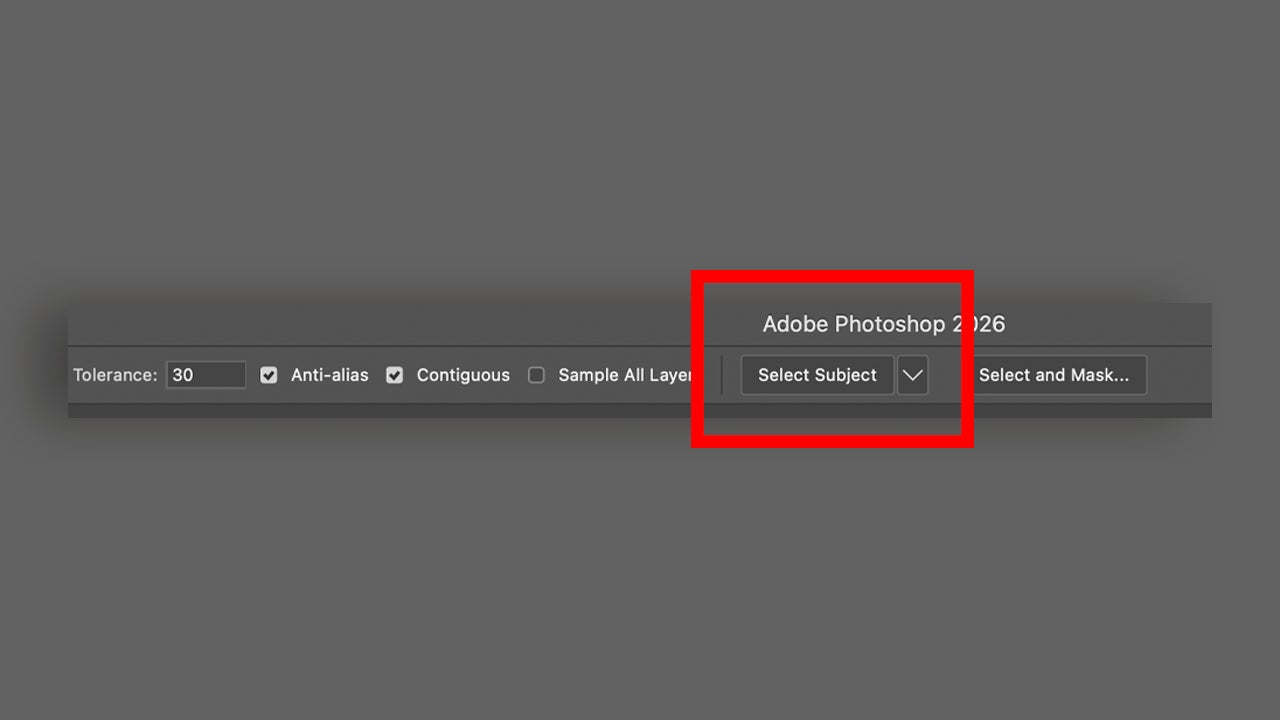
To use it for a color swap, select the object you want to change first. The Magic Wand, Magnetic Lasso, or any selection tool works. If you’re working with a person, click Select Subject for a faster and usually more accurate result.
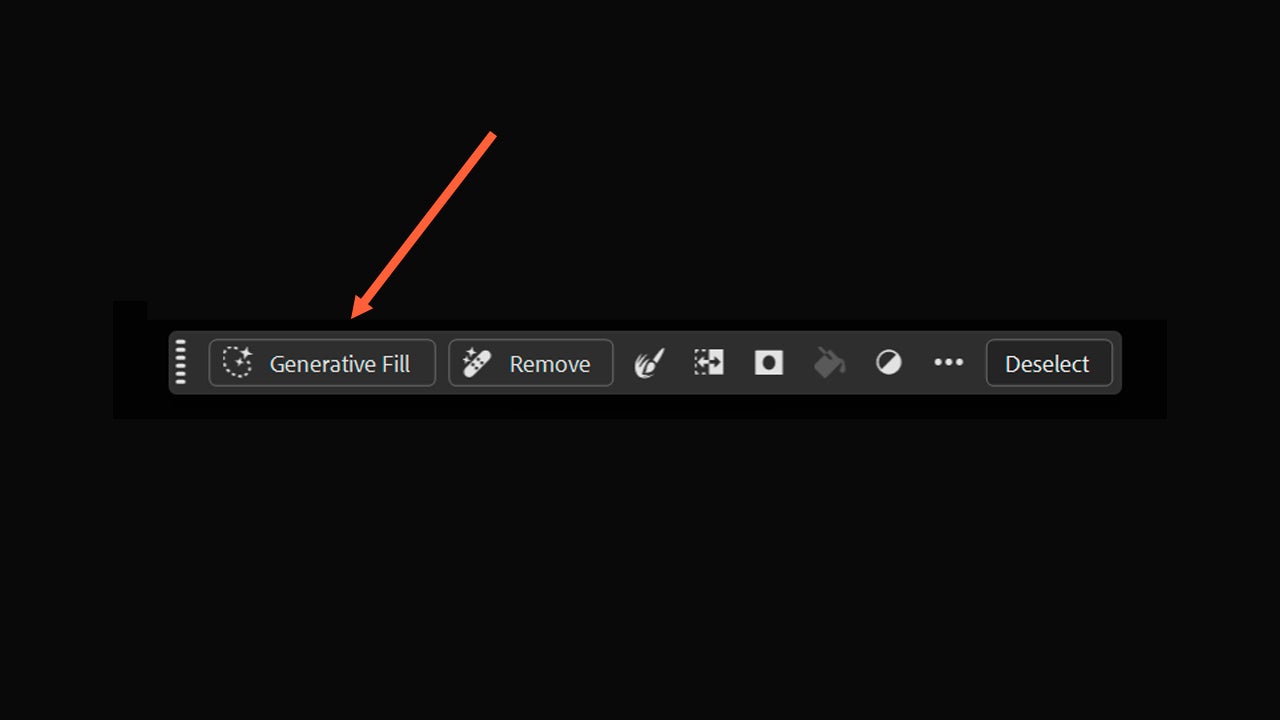
With your selection active, click Generative Fill in the contextual toolbar at the bottom of the canvas. If the toolbar isn’t visible, go to Window > Contextual Task Bar.
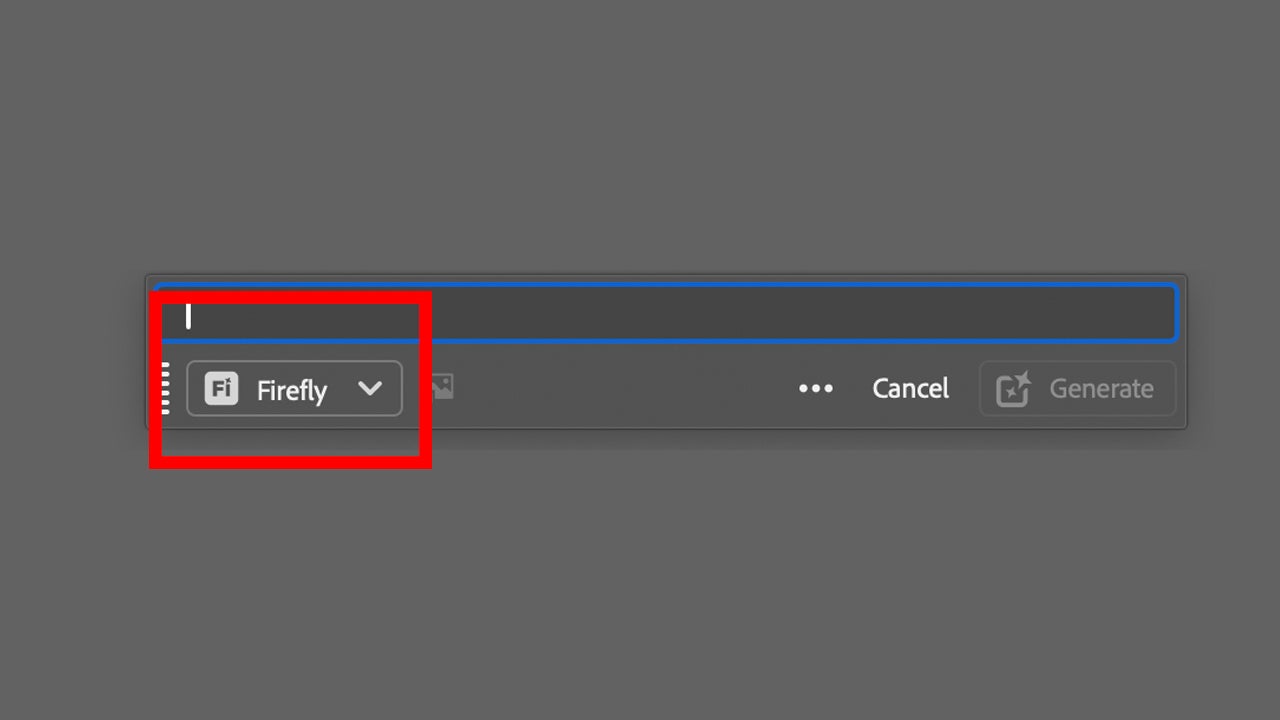
A text field appears. Describe the color change you want. If you need an exact color, include its hex code in the description.
To find the hex code for a specific color, open an image that contains it in Photoshop, sample it with the eyedropper, then double-click the foreground color swatch to open the Color Picker. Both the RGB values and the hex code are there.
Select Firefly Image 5 as the generative model and click Generate. The results adapt lighting, shadows, and texture on their own. The color change integrates cleanly.
Use each method when it fits
Classic adjustments are fastest for broad changes. When you need to nail a specific tone, Replace Color is what you want. And Generative Fill is in a different category entirely: it doesn’t just change the color, it rebuilds the way light falls on it. Try all three on the same image and you’ll know quickly which situation calls for what.
