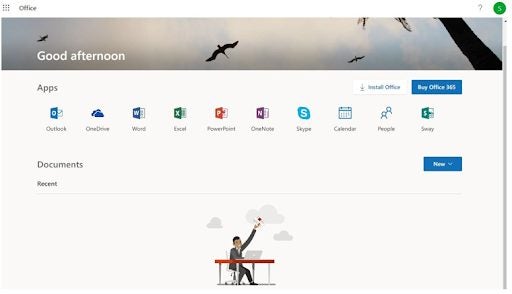
PowerPoint is one of the most popular programs in the Microsoft Office suite, alongside Word and Excel. This powerful presentation tool is available on Mac, Windows, Android, and iOS.
However, when opening Microsoft PowerPoint for the first time, you will see a lot of tools and settings, which can be pretty overwhelming. Don’t let the fear of a new program overcome you. With the beginner’s guide, you’ll soon be able to create striking presentations with PowerPoint quickly and easily.
What Is Microsoft PowerPoint?
Microsoft Powerpoint is a robust program for creating slideshows and presentations. If you have a big sales pitch coming up, you might want to consider adding a Powerpoint presentation to visually illustrate what you are pitching. The same goes for other business meetings, lectures, and seminars.
You can include various media into your presentation, such as graphs that display data visually, videos to add more clarification, and more. This means that you have helpful visual aids to add to your arsenal of tools.
What Is PowerPoint Used For?
Many people have asked what a PowerPoint presentation is? And what can it be used for? A PowerPoint presentation is a term given to those slideshows created in the program that can be used for presentation purposes. The software is often used by businesses, lecturers, public speakers, and even students. It is a great way to enhance any information that you present.
The Basics of Using PowerPoint
Now that you have a better idea of what Microsoft PowerPoint is let’s look at how to get started with the program.
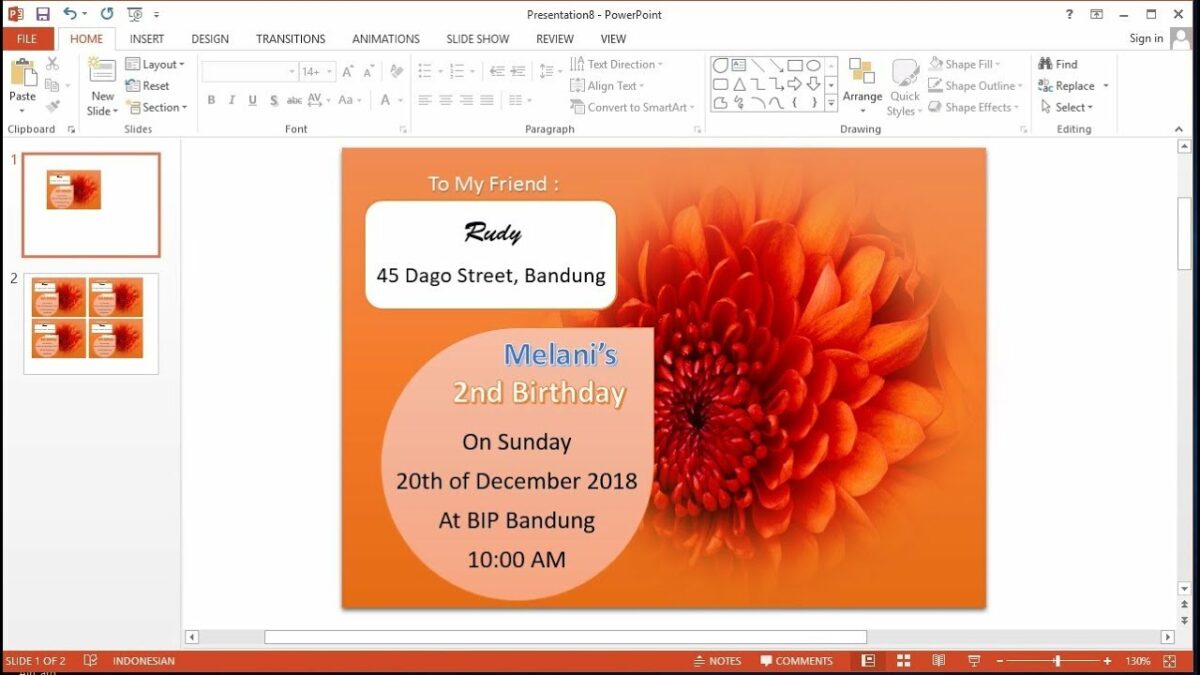
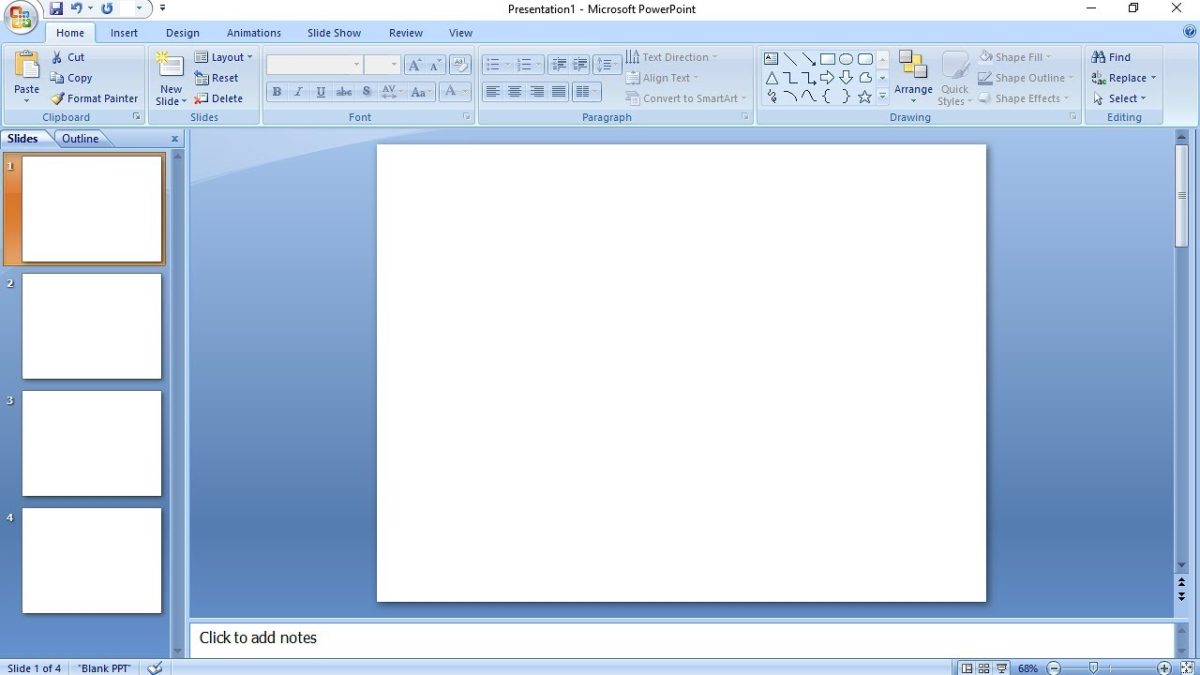
Using the PowerPoint Ribbon
You will find the ribbon menu across all of Microsoft Office’s programs. It is located at the top of the screen, just below the main menu. It is essentially another menu that contains all the specific tools which can be used on your slides. By clicking on a different tab in the main menu, you will see different tools become available in the ribbon. The ribbon makes it faster to access specific tools such as adding slides, transitions, images, and more.

Starting a Project
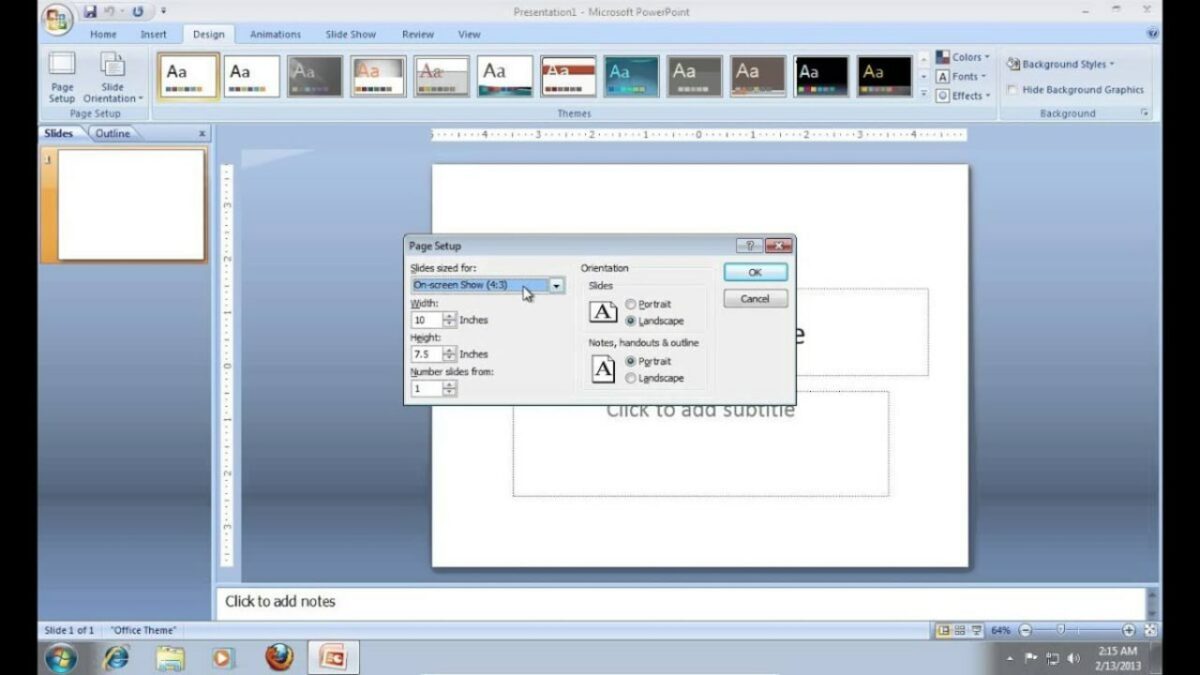
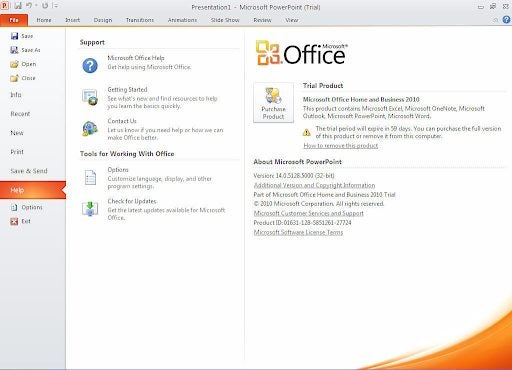
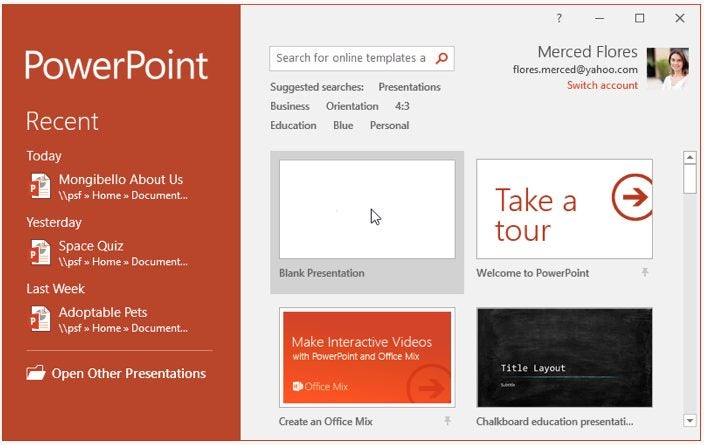
When you open PowerPoint, the first window you come across will be asking you if you want to open an existing project or start a new one. If you start a new project, you can choose a blank presentation or use one of the many templates to help you get started. There is even a helpful tour that you can take that walks you through using the program.
Inserting a New Slide
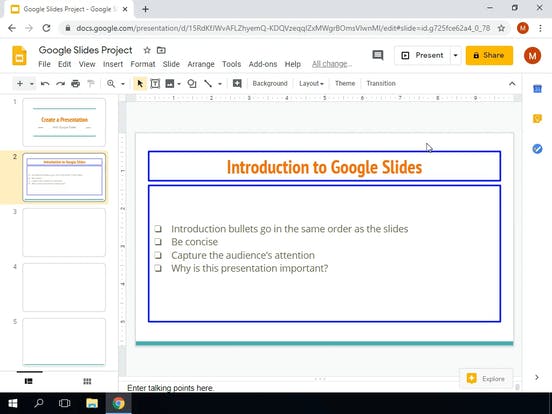
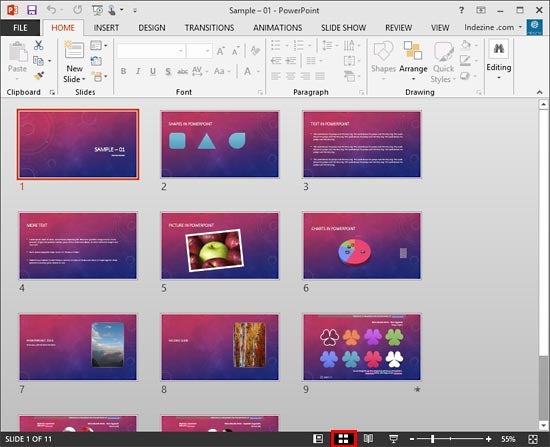
Slides are the individual sections of your presentation where you can add your content. One slide will be displayed, and then it will move on to the next one in a slideshow. You don’t want to have all your content on a single page. Instead, you want to spread the content over different slides.
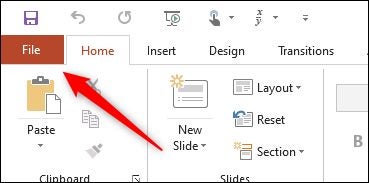
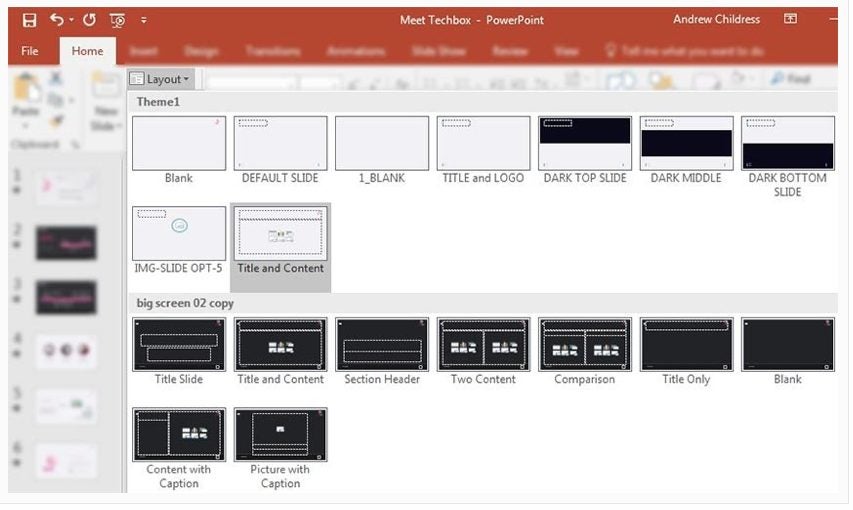
You may often find that you have to add slides to your current presentation. To do this, click on ‘Home’ in the top menu, and then in the ribbon, click on ‘New Slide’. By clicking on the down arrow below the ‘New Slide,’ you will see different slide options which you can choose from.
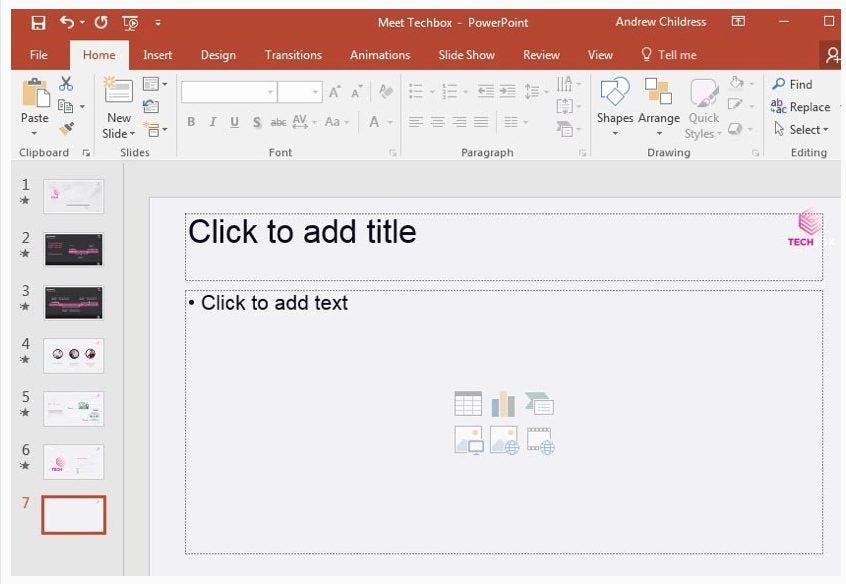
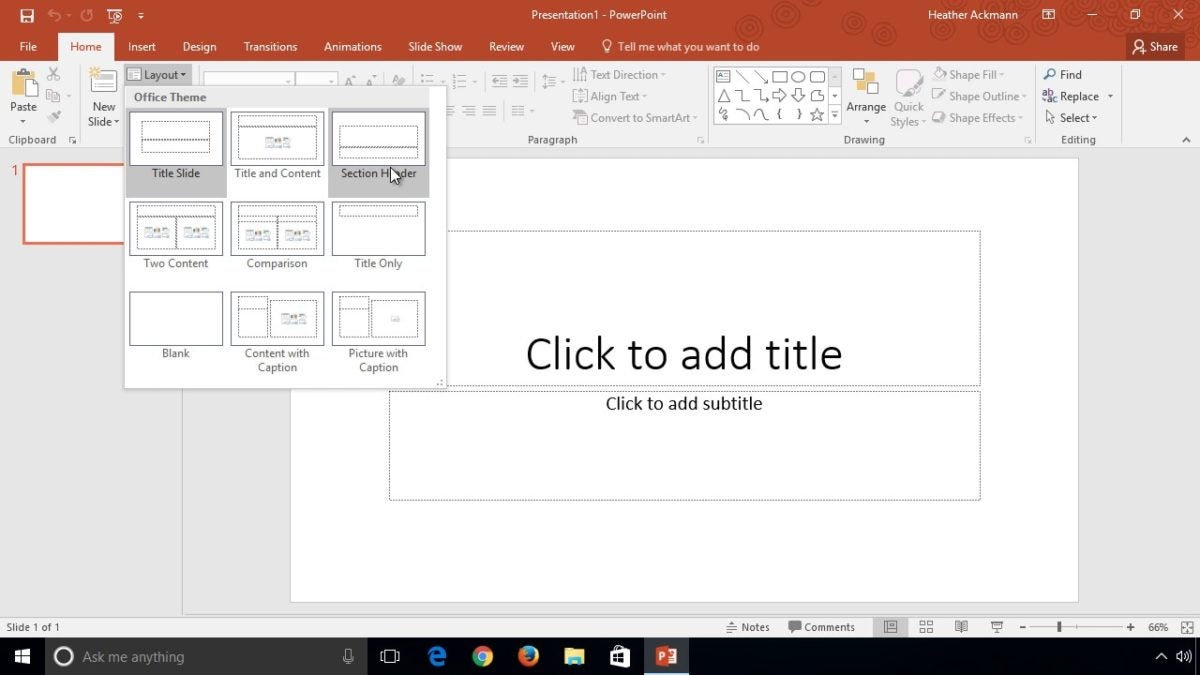
Inserting Content
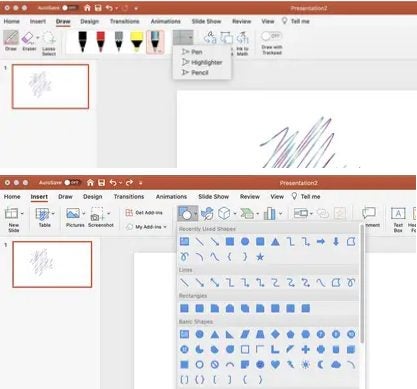
You could choose to add content manually by inserting images, text boxes, etc., from the ‘Insert’ tab. Or you can choose to click on a slide to select the one you are busy with, then click on ‘Home’ in the menu and then ‘Layout’ in the ribbon. This will give you different layout templates that already contain text and image boxes that you can use.
Inserting Graphs and Diagrams
Graphs and diagrams are a great way to display a lot of data visually. To add a graph or diagram to your presentation, click on ‘Insert’ in the menu and ‘Graph’ in the ribbon. A new window will open up, asking you what type of graph you’d like to add.
Choose the option that makes the most sense for your data, and click ‘Ok’. Don’t worry; you can change the graph type later if you’re not happy with it. Now you’ll be taken to an Excel spreadsheet where you can insert the data to be used in the graph.

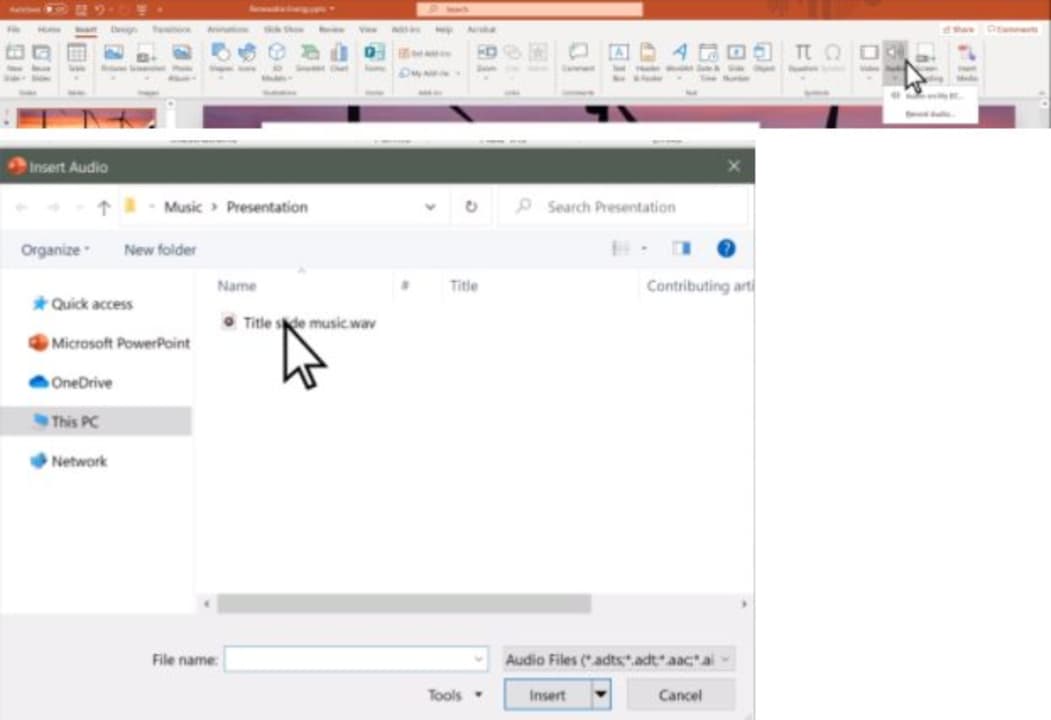
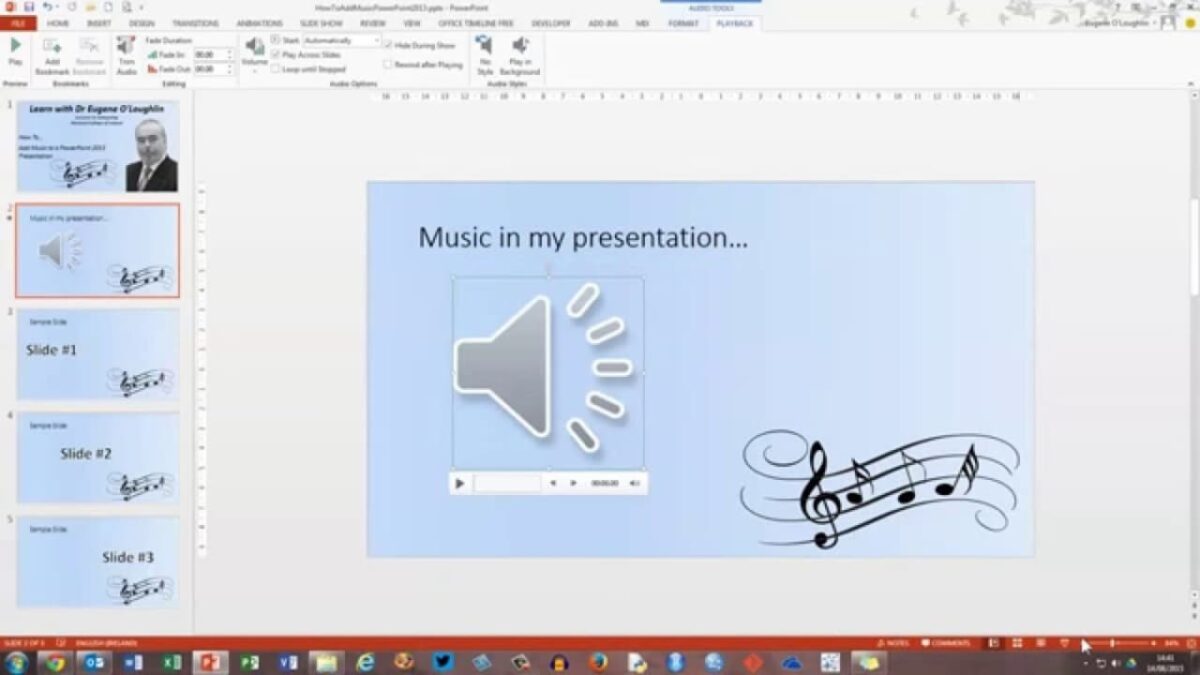
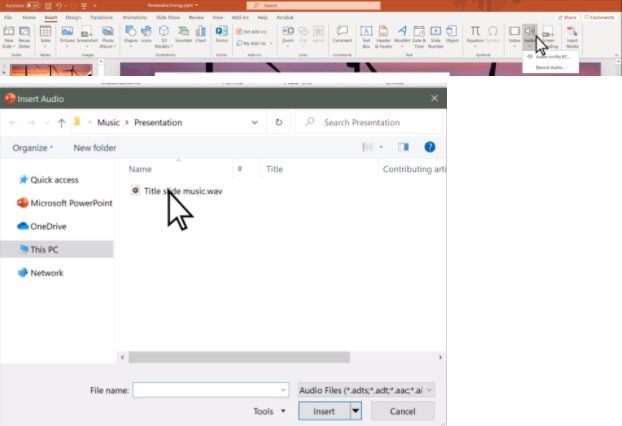
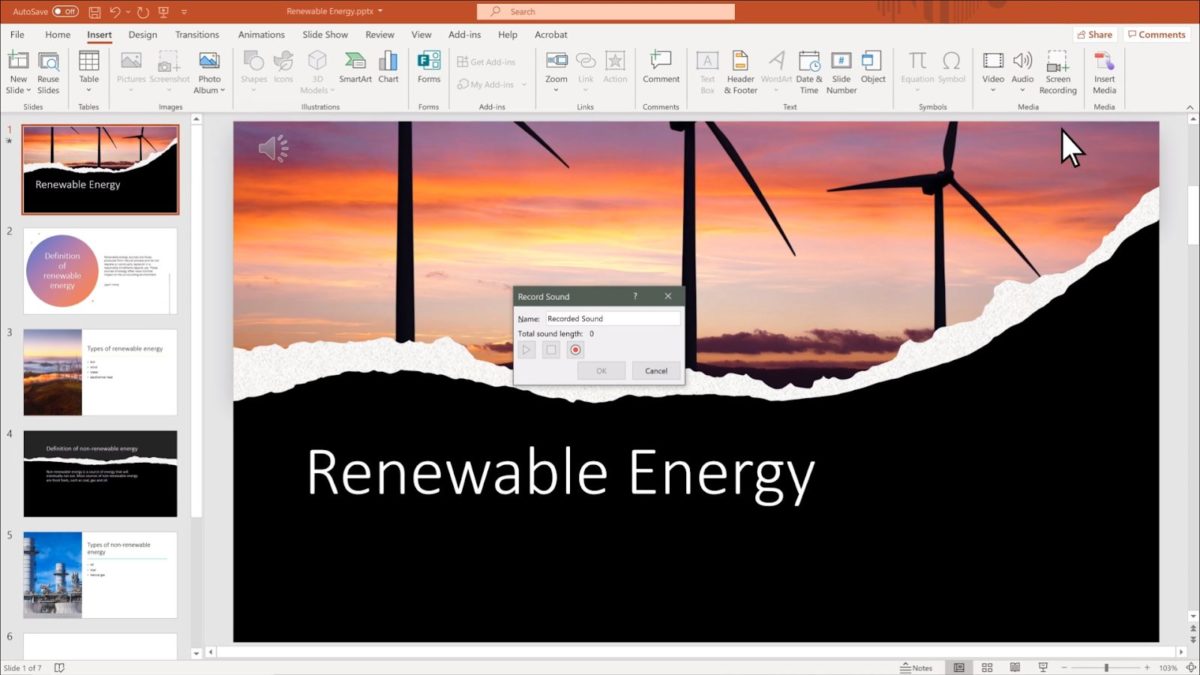
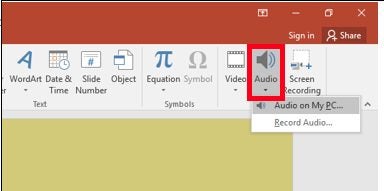
Inserting Audio
If you want to add audio such as music to your presentation, you can do so from the Insert menu. Here, you can click on ‘Audio’ in the ribbon and choose the audio file you want to add.
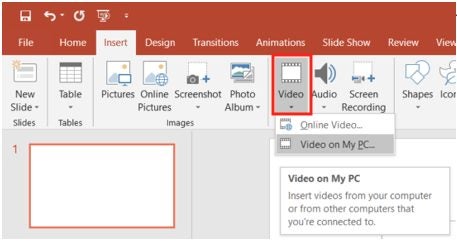
Inserting Video
You can also add videos to your slides. You can do this from the ‘Insert’ menu as well. Here, you can click on the ‘Video’ option to add your video file to the slideshow.
More Tips and Tricks for Microsoft PowerPoint
If you want to start using PowerPoint for your slideshows and presentations, here are a few more guides to get you started with the powerful software.
- Top 3 Microsoft Powerpoint tips
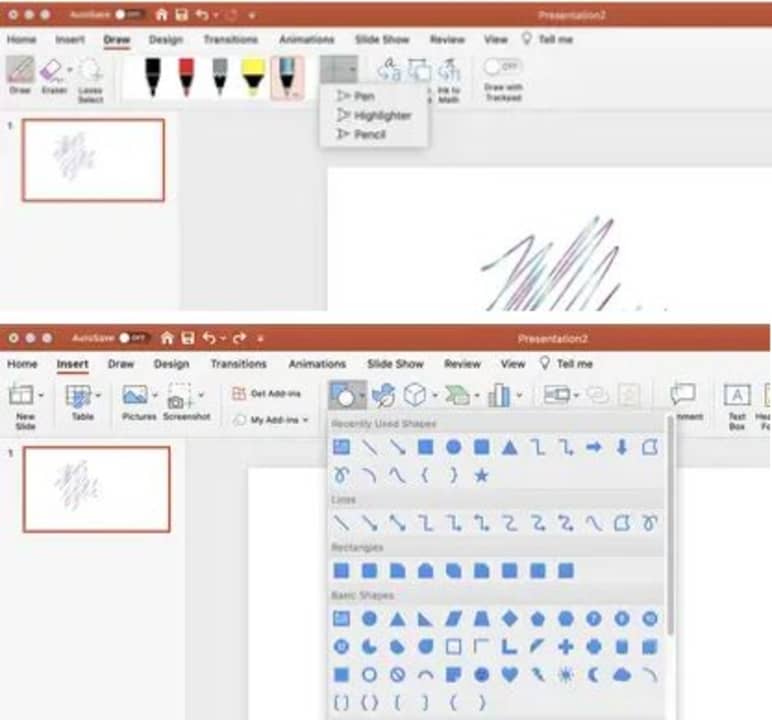
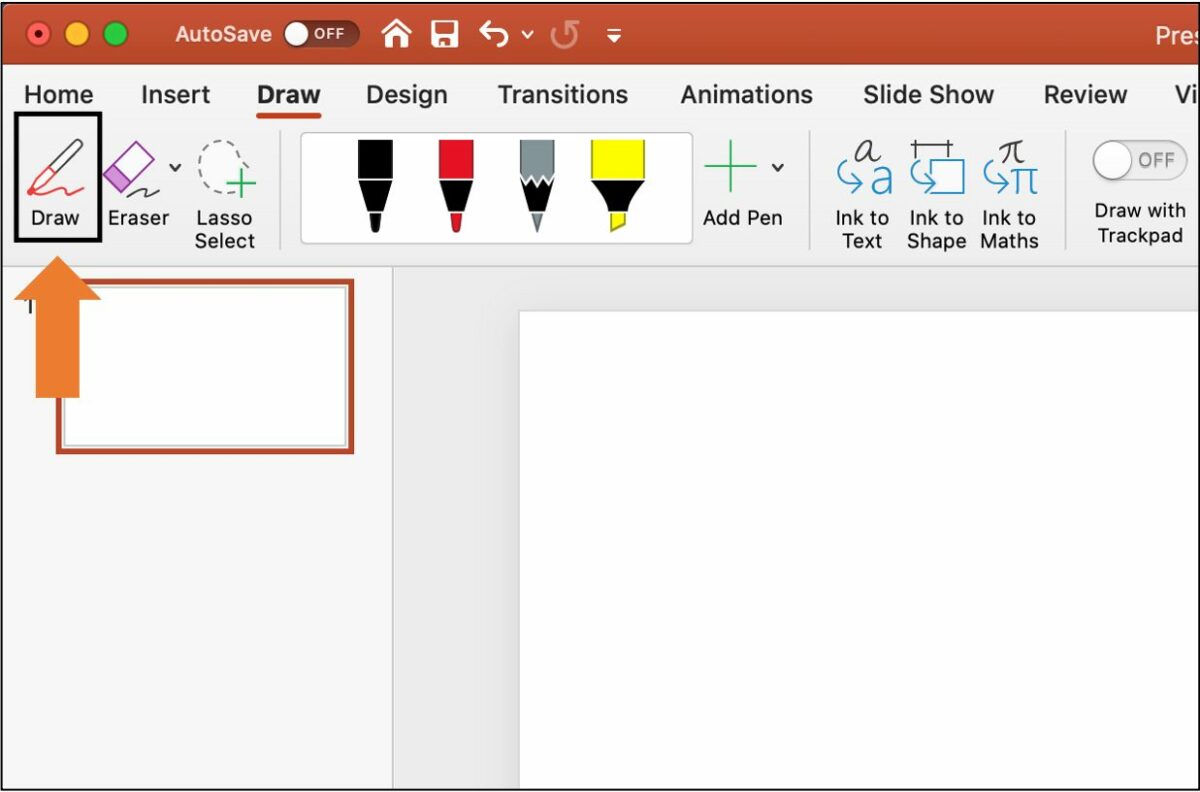
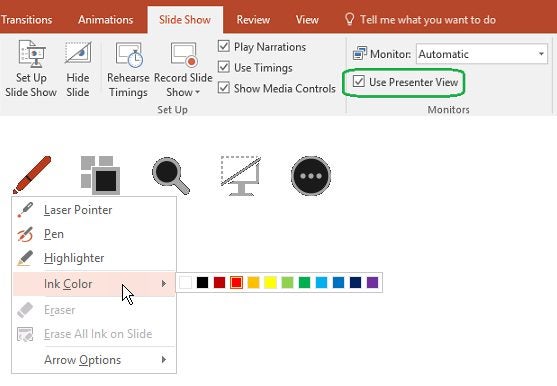
- How to draw on Microsoft Powerpoint
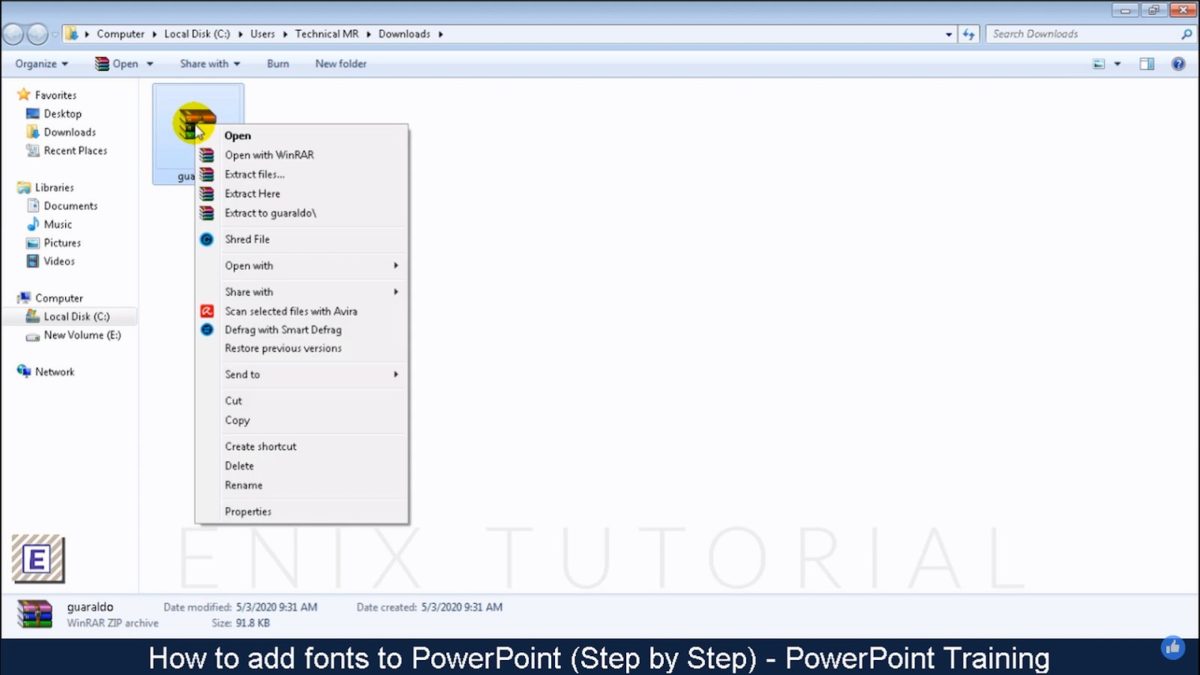
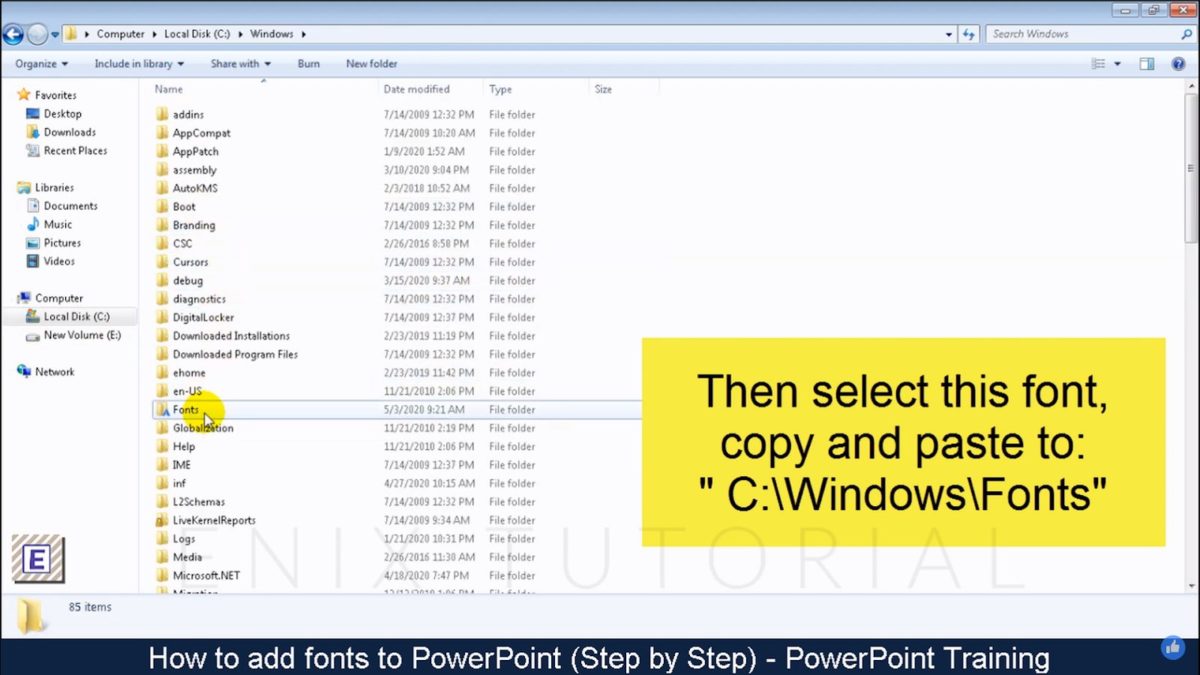
- How to add fonts in Microsoft PowerPoint
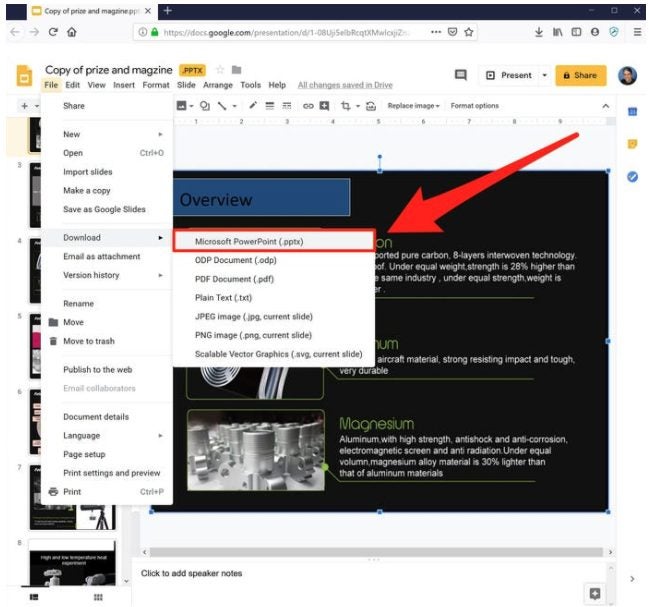
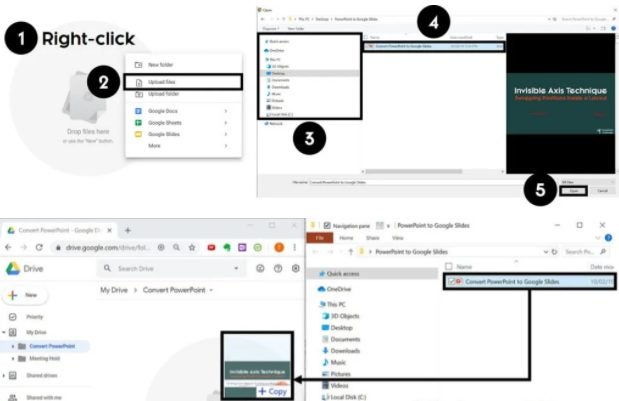
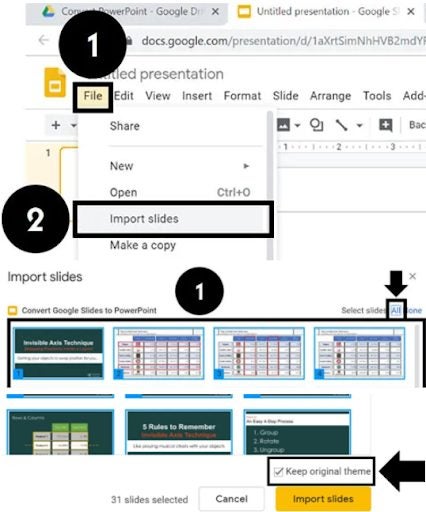
- How to convert Google Slides to Microsoft PowerPoint
- How to use Microsoft PowerPoint
- How to make an infographic on PowerPoint
- How to add free templates
- How PowerPoint packs a punch
- How to create a PowerPoint presentation from a Word document
- 6 Essential tips for creating the perfect PowerPoint presentations


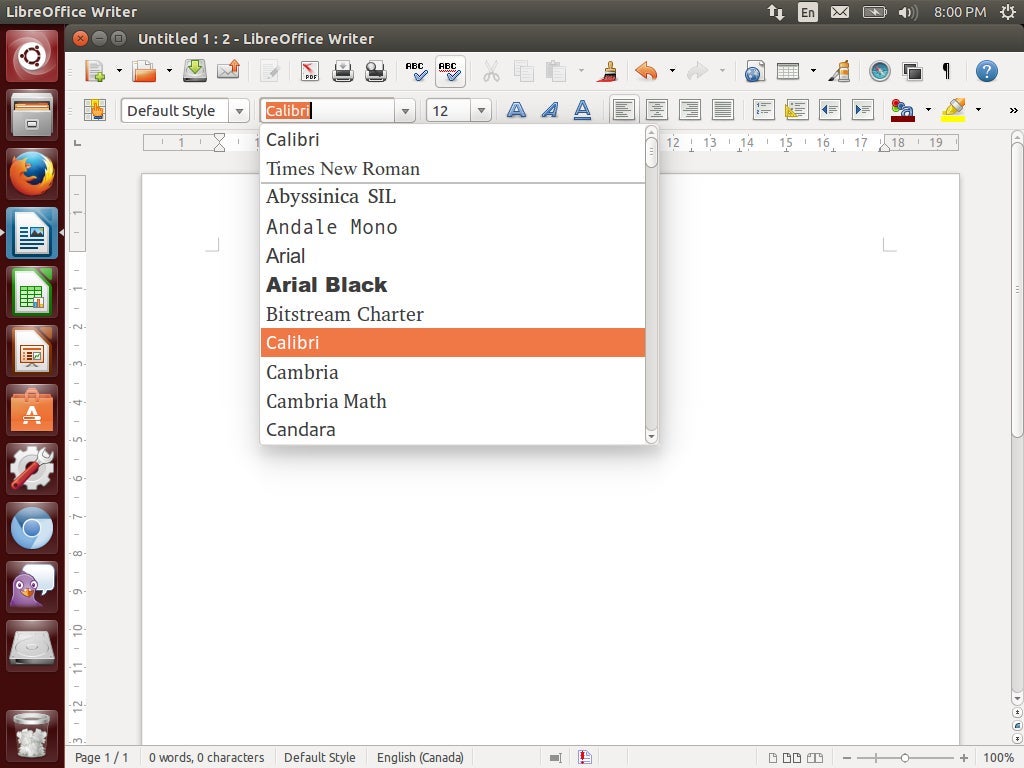
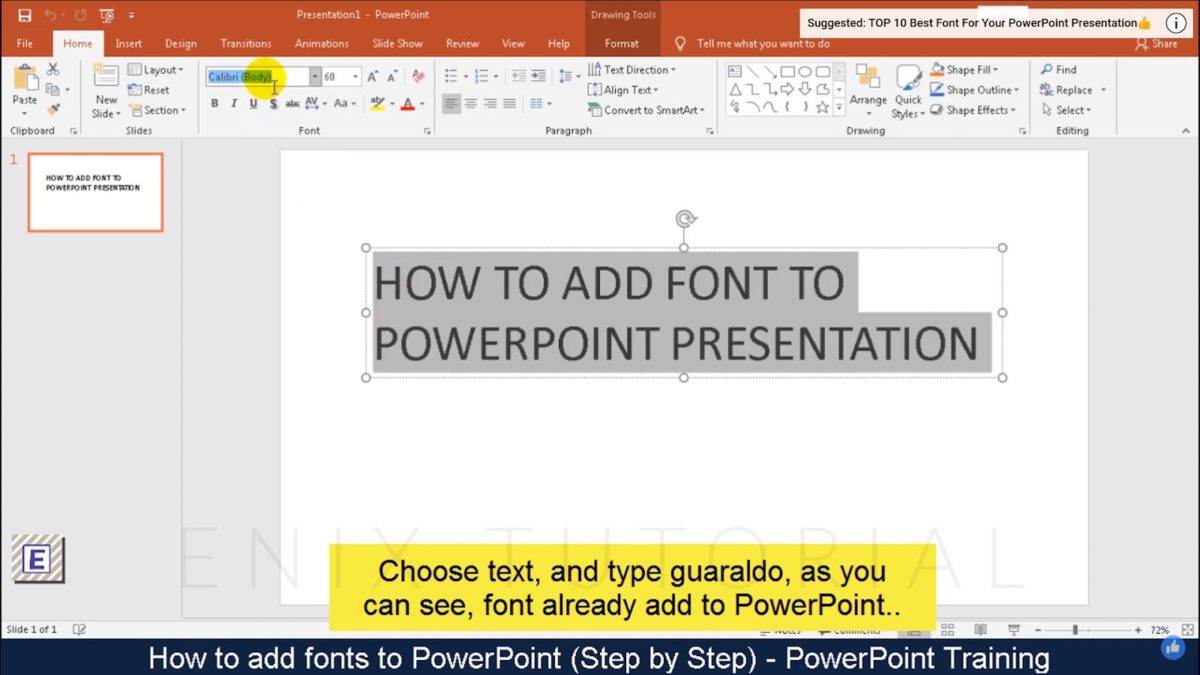
 Now, it’s time to move to the presentation program itself. If you search the font at once, it might not appear. Restart PowerPoint, choose the text, go to the “Font” panel on the “Home” tab, and search for the downloaded type. This will apply the style to the selected text.