
Creating quality content is a challenge, regardless of who is in charge. The difference is that, with artificial intelligence, producing is no longer a problem. We can generate texts, images, or sounds in a matter of seconds. However, it is easier to fall into the trap of being generic and mediocre.
That’s why the key lies in knowing how to use what AI offers us. Adobe Photoshop has been and continues to be one of the most used programs in the creative industry, precisely for knowing how to use technology to assist and enhance rather than replace.
Precise editing with a purpose, the true challenge to follow
There is something more complex than using Photoshop, and that is having clear ideas. Conceiving ideas for advertising images, designs, or any type of illustration is a process where you start with sketches and prototypes before materializing your final idea.
In addition to Photoshop, you can use other programs like Adobe Firefly, a platform that you can access through a web browser or from the mobile app.
This is how you can use Adobe Photoshop’s AI assistant in its web version
One of the latest innovations that Adobe has launched is the AI assistant within Photoshop. It is a conversational AI that will allow you to quickly edit your images without sacrificing quality.
And it’s as easy as you imagine: you just have to describe the changes you want to make. These can be color changes, light adjustments, background changes, etc. As a quite interesting novelty, the assistant not only executes the action but also teaches you step by step how it was done.
You can do this from the web version of Adobe Photoshop and the app available for iOS and Android. When accessing from the web, you will see a toolbar just below with the AI markup (beta).
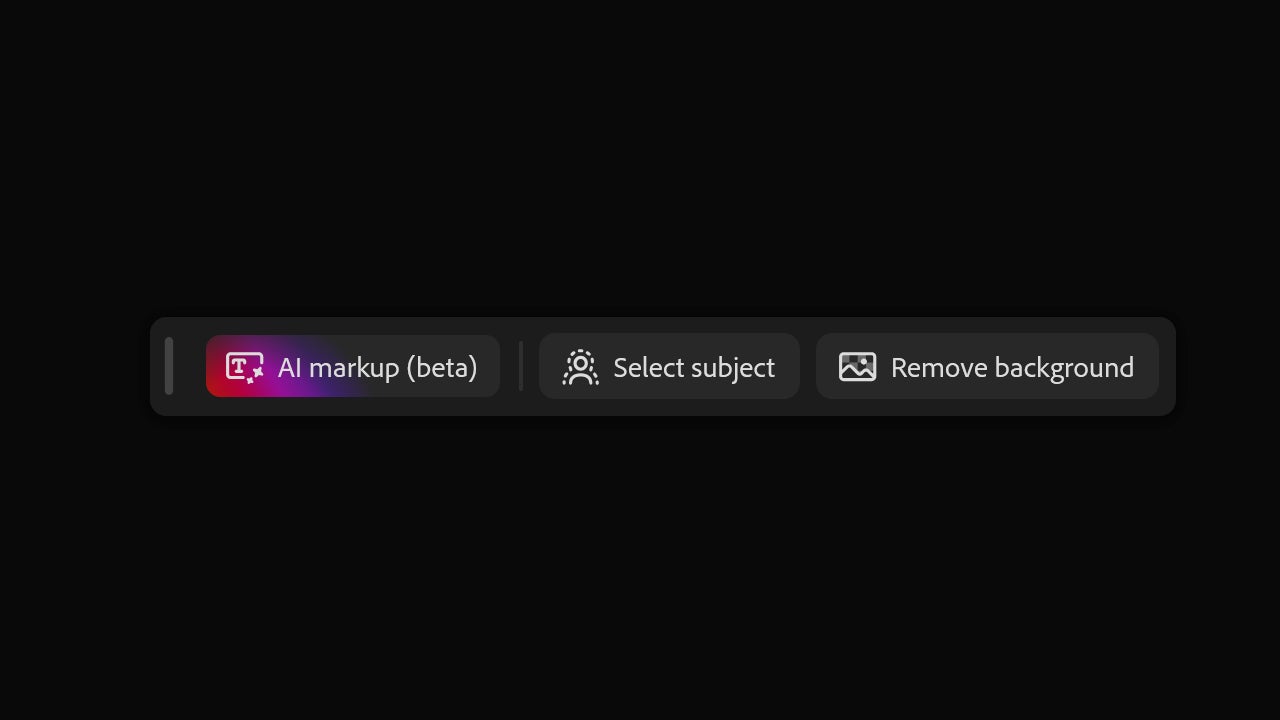
By clicking on it, we will see a new panel where we will have two options: to leave notes or to draw directly on the canvas. The latter option is represented by the symbol of a brush. With it, you can lightly sketch what you want and add instructions to control how the changes are made.
On the left, you will see how you can also modify the brush settings, which will allow you to make more elaborate drawings in the long run. In this case, we have drawn some hearts around the image and described below that they should float and be realistic.
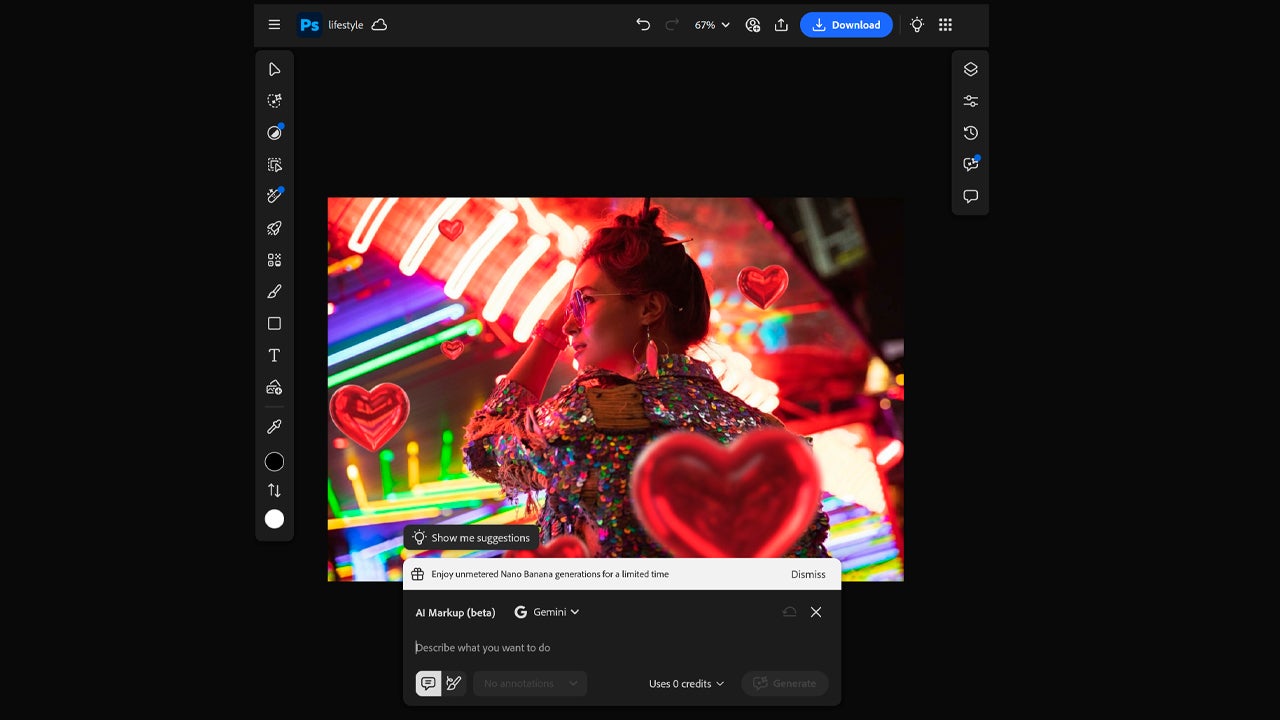
Currently, you can choose between Gemini 2.5 and Gemini 3.0 as generative models for the edits. The former is free for now, but the latter costs generative credits. Specifically, it is 40 credits for each variation. If you are one of those who use the free version of Photoshop Web, you can start with 20 free generations.
In the mobile application, we will have a clearly visible button to access the AI Assistant from where we can write exactly what we want to edit. It couldn’t be easier. Its beta version is now publicly available and accessible to Adobe users.
Generative Fill: this is how it works
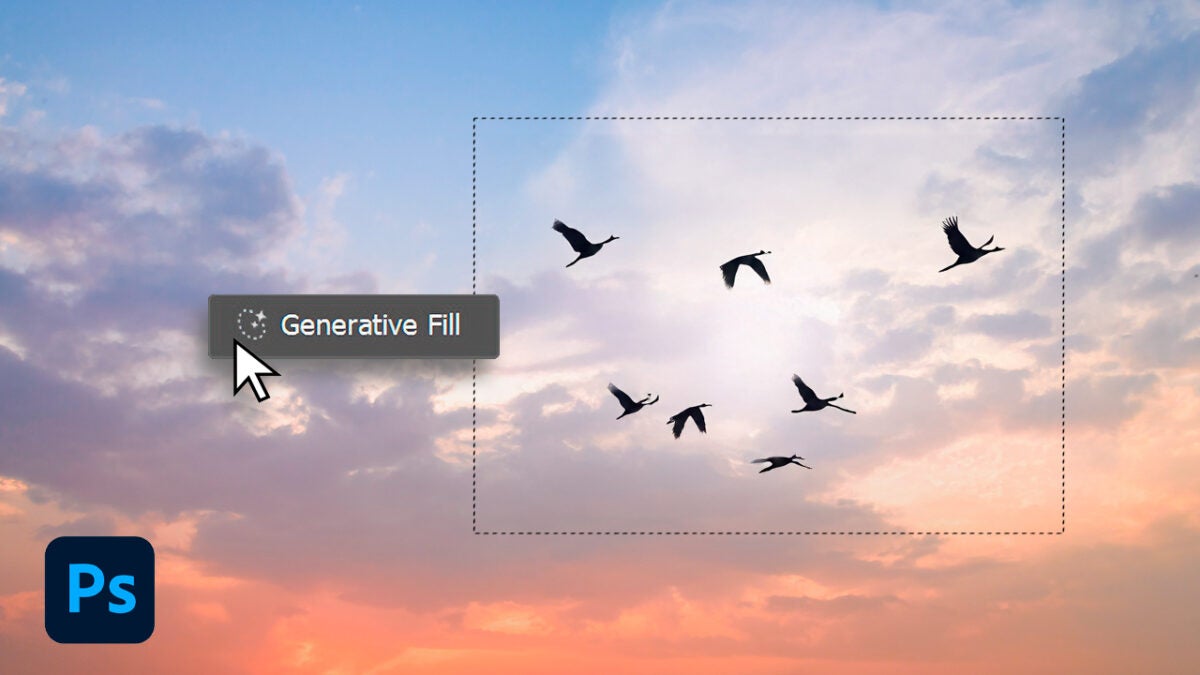
The classic Photoshop, the desktop version, will always be the most comprehensive tool for carrying out your projects. Among its many functions, there is one that will be very useful to you, Generative Fill. With it, you can make a selection in an image, describe what you want to add, and then Photoshop will generate new content non-destructively (on a separate layer).
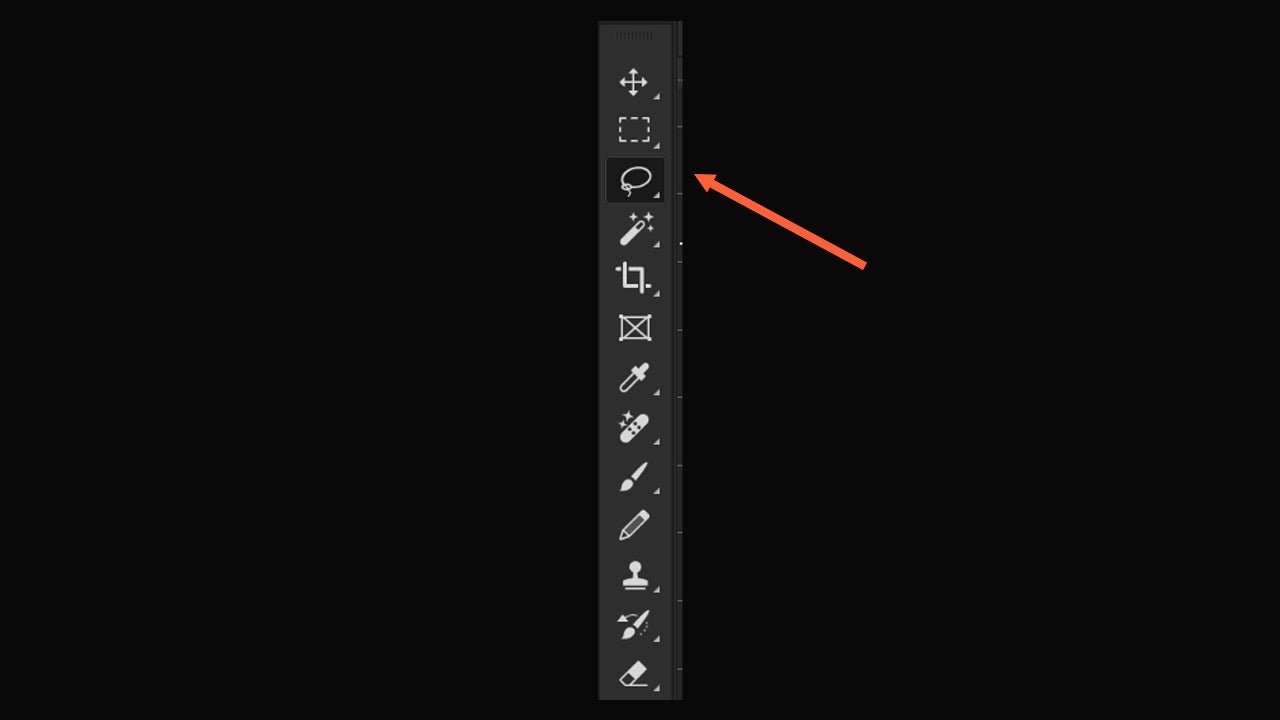
To use it, open an image in Adobe Photoshop and decide which area you want to change. Then, use the selection tool on that area. You can use Lasso, Selection Brush, Rectangular Marquee… any selection tool is valid.
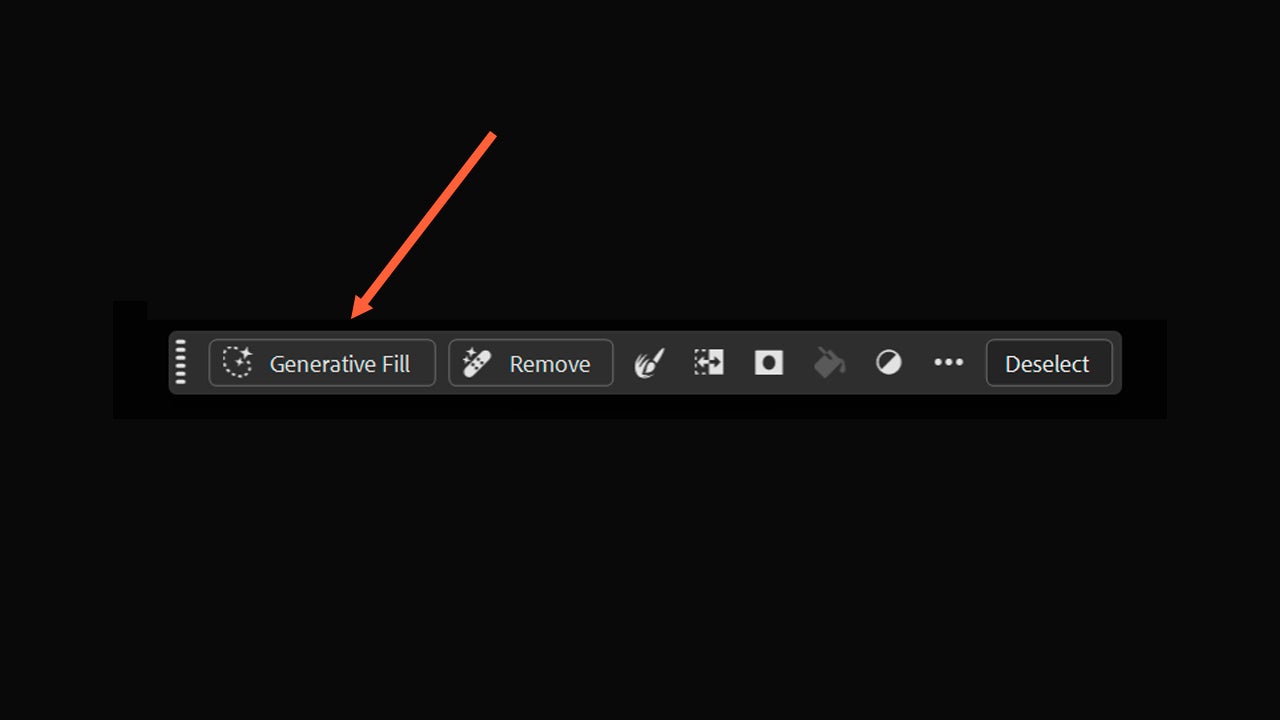
Once you have made your selection, click on Generative Fill in the small contextual menu that will appear next. From there, you can also choose the AI model you want to use, selecting from Firefly’s own models and third-party models (Gemini, GPT Image, etc).
Then, you can do two things. The first is to write a prompt, which is the description of what you want to generate. The second option is to leave the prompt text box empty. The latter will help Photoshop fill in the area of the image coherently, ideal for removing objects or people. Decide what to do and, when you are clear, press Generate.
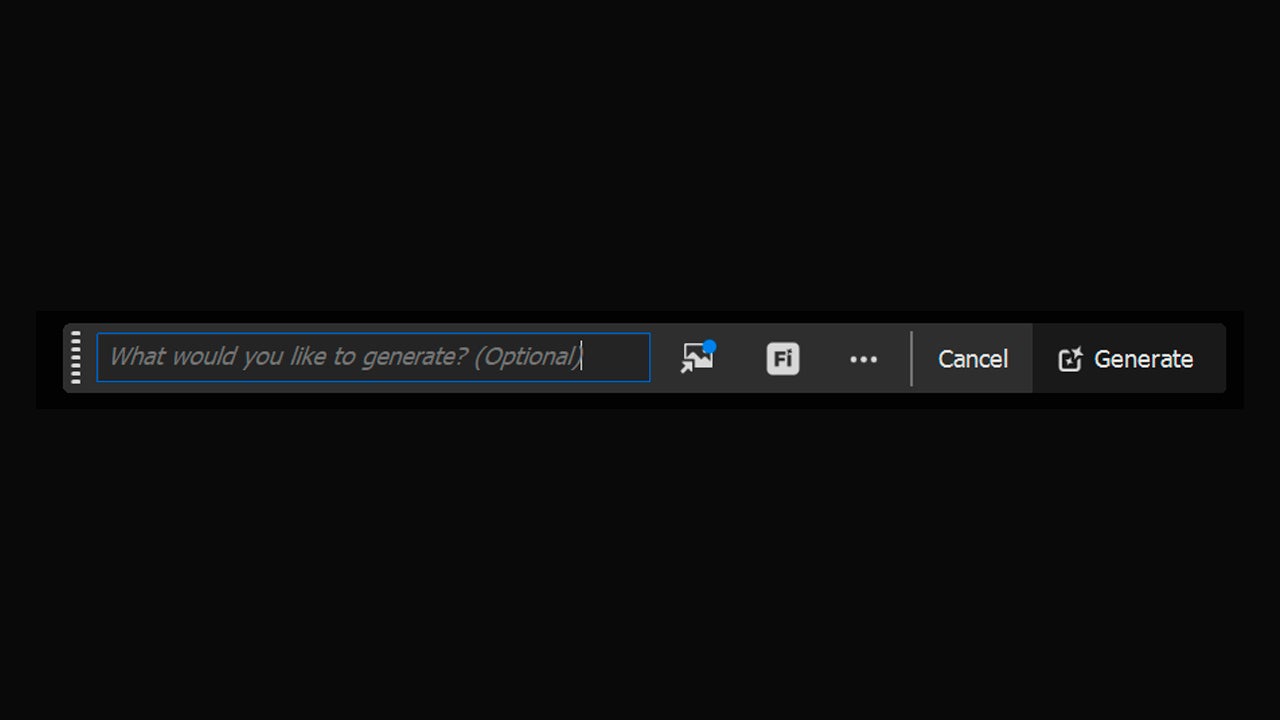
Photoshop will generate several options and you can choose the one that suits you best from the Properties panel. If none of them appeal to you, you can generate more. Don’t settle for the first one if you don’t like what you see; the generations improve as you create more.
With Generative Fill you can remove things, add new objects, replace elements of the image… experiment and try it for yourself.