The constant search for new, more immersive experiences has made virtual reality and augmented reality technologies with great appeal. Thanks to Adobe Aero, combining the digital world with the real one is easier and more accessible than ever: you only need a mobile device to get started.
Next, we will see what Adobe Aero is and how we can take our first steps to design more interactive and original projects.
What is Adobe Aero?
Adobe Aero is a platform that allows us to create augmented reality (AR) experiences easily and without the need to know programming.
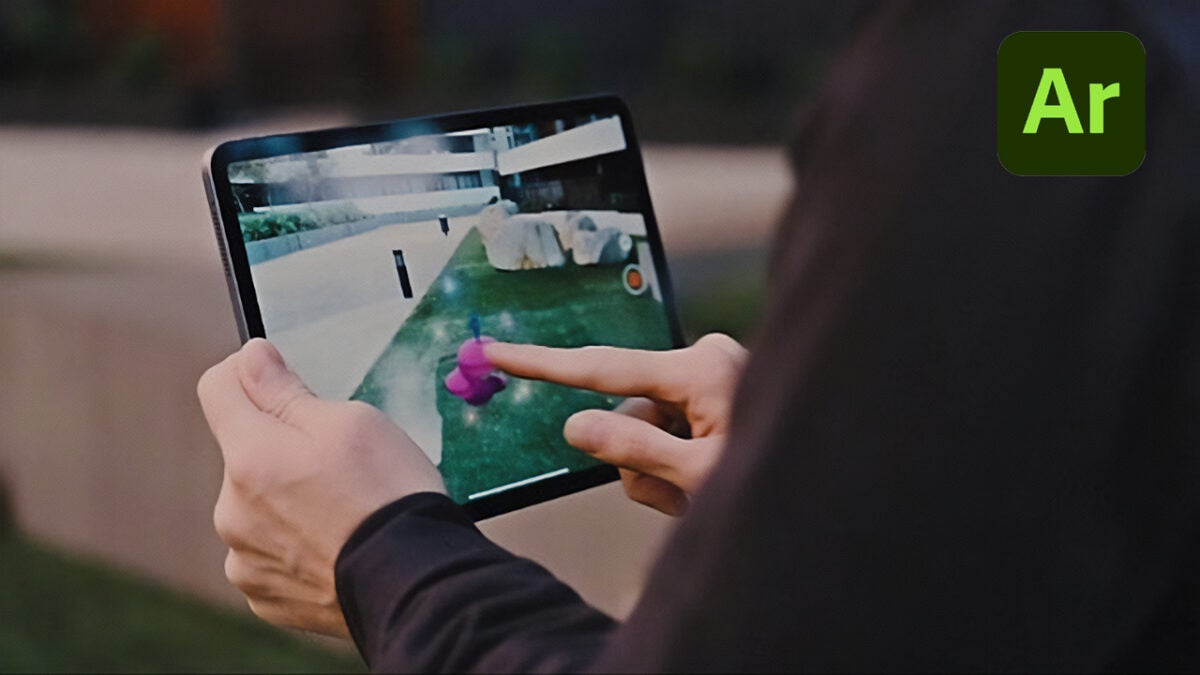
But, what exactly is augmented reality? Essentially, it is a technology that allows us to integrate digital elements into the real world, such as images, objects, or animations. To experience this blend, we need a device like a mobile phone, a tablet, or special glasses, such as the Meta Quest, for example. Through these, we can “place” a digital object in our environment and see it as if it were real.
The great advantage of Adobe Aero is that it is designed for anyone to use. For example, you can import any asset you have created in Photoshop, turn it into an interactive object, and place it in a real location. You can also animate it to move, change color, or do anything when someone touches it. Here, your imagination is the limit.
Aero integrates especially well with other Adobe programs, such as Illustrator or Substance, for example. This gives you a lot of options to customize your projects and make them unique.
At the time of writing these lines, Aero is only available on iOS. In the case of Android, we have Aero Player in beta version, an application that allows us to view and interact with the experiences created in Aero. On the other hand, Aero can also be installed on PC and Mac, but in its beta version.
Prepare the resources to use them in Adobe Aero
One of the points we previously highlighted about Adobe Aero is its ease of use, as you will see now. However, before starting, we will need to prepare the resources that will be used later in Aero.
If you want to use flat images in your AR project, with Photoshop CC you can do it easily.
- Within the program, you just need to open your image and select File > Export > Export to Aero.
- If it is a PSD with layers, you can choose between merging all the layers or keeping them separate. Keep in mind that it is most advisable for your file to have less than 6 layers and weigh 50 MB maximum.
- Click on Export > OK. Remember to save the file in a location accessible by Aero (Creative Cloud or any cloud service, for example).
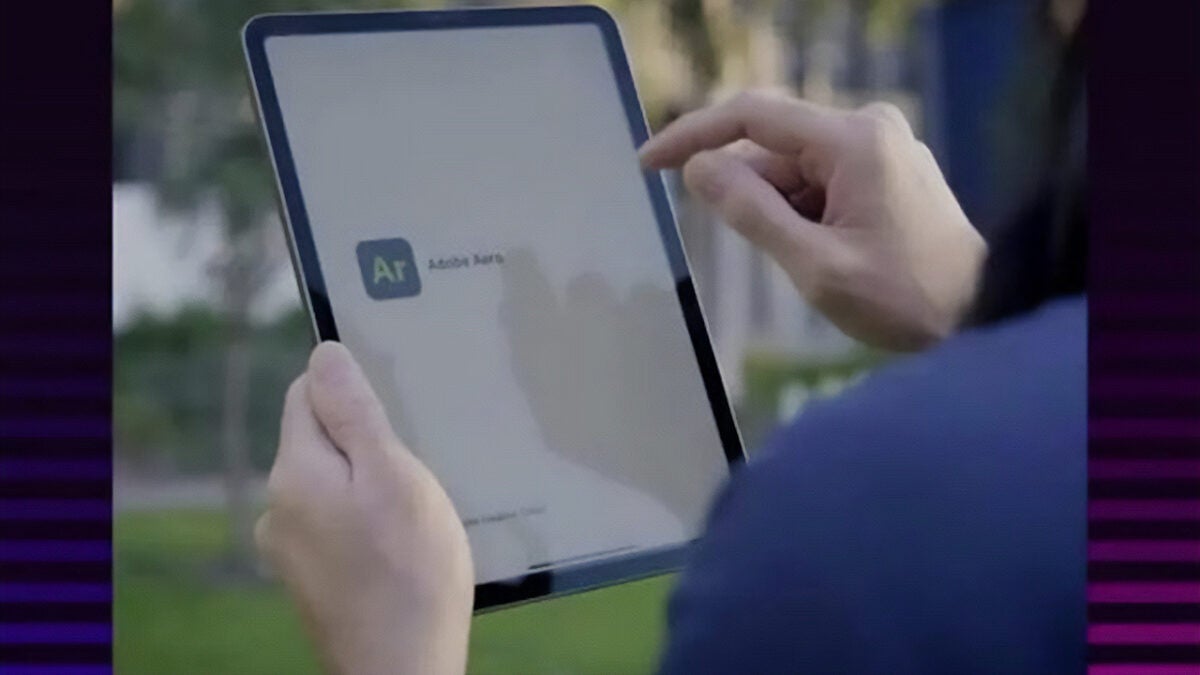
- Finally, open Aero on your device and import the resource you previously created in Photoshop.
To do it from Illustrator, you will need to export your file with the SVG extension. Important: keep in mind that the vectors will be rasterized and it will be exported as a flat image. If you want to maintain the layers in Aero, you will need to save your file in PSD from Illustrator.
Create a project in Adobe Aero
At this point, it’s time for the most important step (if you haven’t done it yet): download the app on your device. Log in with your Adobe account or your Facebook ID, Apple or Google:
- When starting Adobe Aero, we will find the Home page. From here, we can quickly access projects we have previously created and also start creating a new one from scratch.
- As we mentioned before, you can use images and 3D models to design your own augmented reality experience. Aero also includes a resource library that you can freely use in your projects.
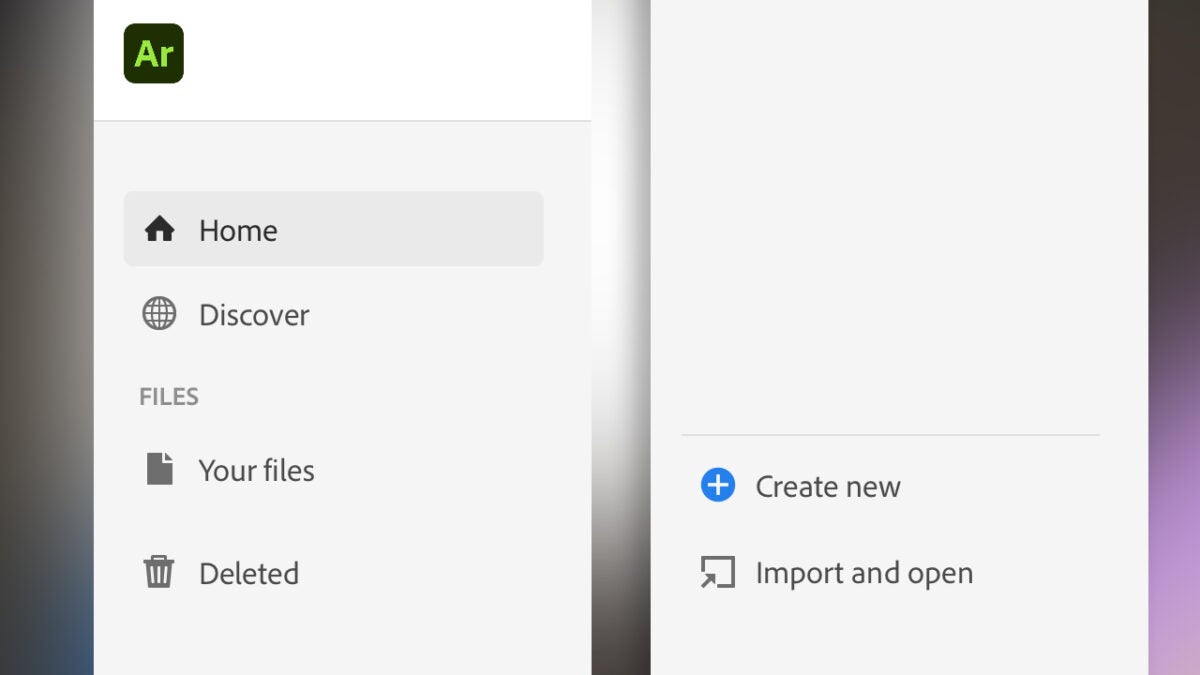
Next, we will see how to create our own project in Adobe Aero:
- To start, tap on Create new.
- Now you will need to scan the surface where the objects will be placed with your device’s camera.
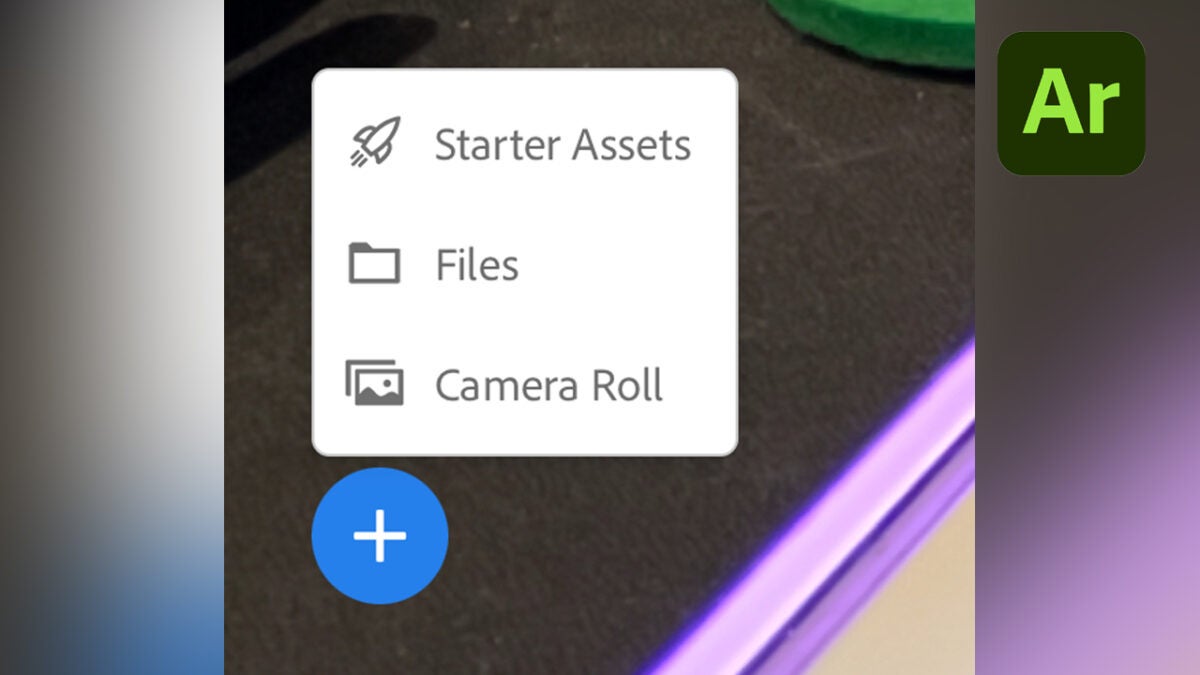
- Tap on the + symbol. From here, you can choose between Starter Assets, Files, or Camera Roll.
- From Starter Assets we can choose resources from Adobe’s own library.
- From Files we can access our own resources, whether they are saved on the device or in the cloud.
- Camera Roll will allow us to upload photos or images that we have in the camera roll.
- Once we have chosen our resource, place it in the space. You can scale it, rotate it, and move it wherever you want.
To export your project, go to the top right and select the share symbol. From here, you can record a video, share your project with a link, move it to your Behance portfolio, or export it as an Aero Experience.
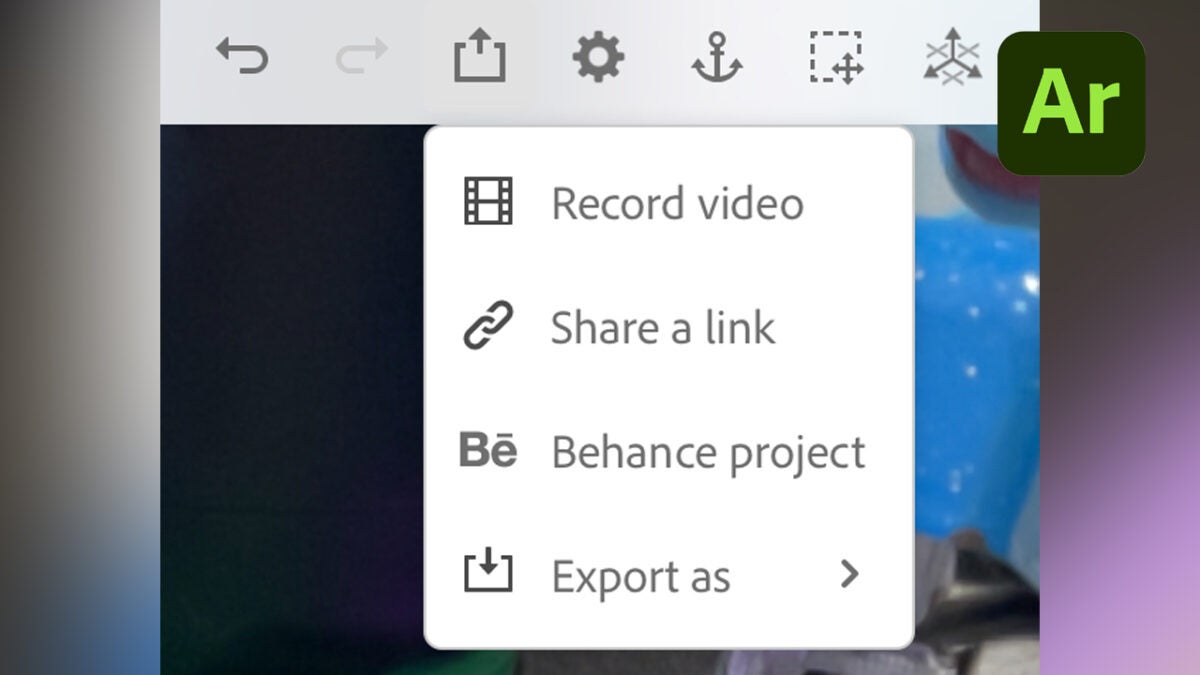
If you share your Aero creation with a link, any device that supports augmented reality will be able to play it without the need to install any additional application.
