4 apps for Kindle that all book lovers need

You’ve got a Kindle device, and you don’t know how to make the most of it, right? Don’t worry: it’s happened to us all. When we get a new device, in general, we only use it for the basics, in this case for reading downloaded books from Amazon. However, did you know that with your Kindle you can do wonders beyond reading ebooks?

Pay attention to this article, since we’re going to show you the apps and web pages for Kindle that all book lovers need. You’ll take advantage of your “gadget” more than ever.

Pocket

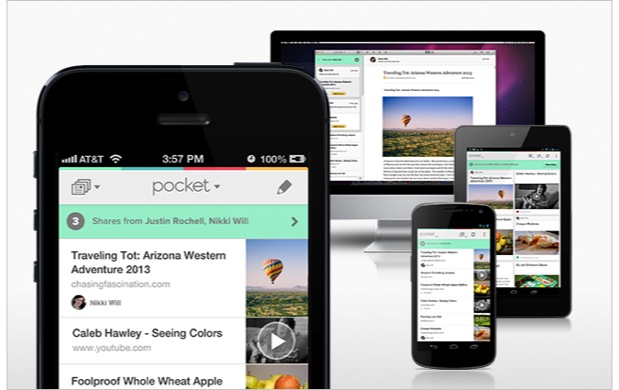
In our opinion, Pocket is a must-have. This app makes use of the cloud to optimize your movements online. Chill, we’ll give you an example: you read half an article online, and you’d like to save it for later. With Pocket, you can save it in two or three clicks. That’s it.

Free
Pocket

From: Amazon

Pocket’s compatibility earnt even more kudos when we found out can install it on your PC. This way, if you’re interested in a video, article, text, etc., and you’d like to read it later on your Kindle, you only have to store it using Pocket, and the cloud will synchronize with your account on your Kindle. It works like a charm.
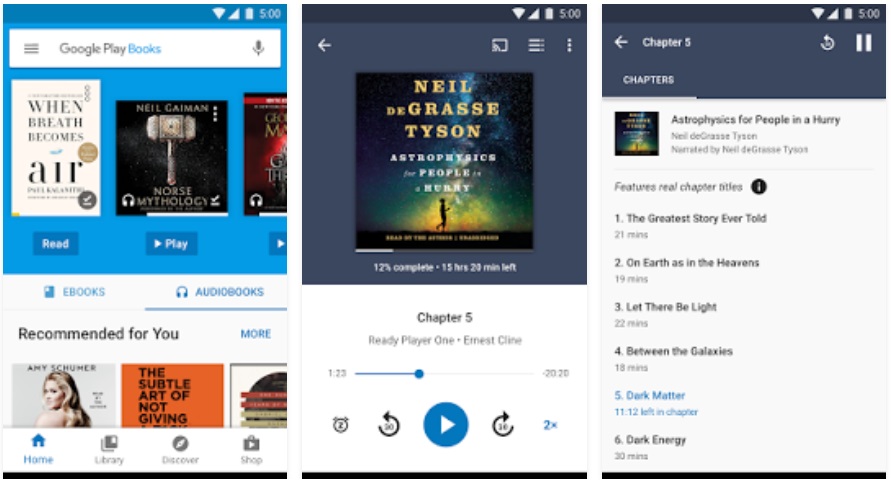
Google Play Books

No need to present this one, right? Google offers a literary selection thanks to Google Play Books, an app that has millions of books (literally) available to any user.

Google Play Books Download Now
8

The best part of this tool is that it not only lets you read but also listen since it has thousands and thousands of completely free audiobooks. There are paid audiobooks too, of course, just like regular books, but the database that’s available at no cost is extensive, so you don’t have to worry one bit.

One thing to keep in mind is that Google is behind this app, constantly improving it. This is a seal of guarantee for finding all the latest books and many classics as well (free and in all possible languages).
Ebook Search

Flight search engines manage to get all the info online about airlines and put them on their platforms, right? In general, it works pretty well, and the idea is to simplify the user’s next trip by finding the most affordable flights. Well, Ebook Search is the same, but with ebooks.

Ebook search Download
6

This app, which is completely free, collects books from all over the Internet that are available without copyright. It’s a search engine, in other words, that so far has nearly 9 million books, a number that speaks for itself.

Goodreads

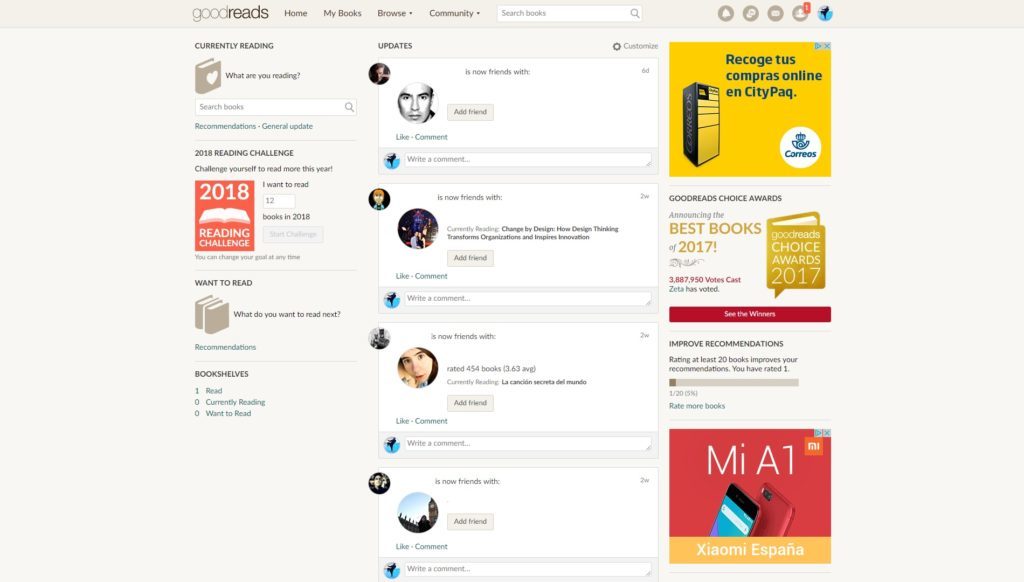
By far, this is the largest literary, social network in the world: Goodreads. Millions of users are registered on it, which means the book database is sick. If there’s a magazine or book published on this planet, it’s very likely on Goodreads.

Goodreads Access
8

Thanks to the open interaction among readers on the platform, this service is constantly being updated, with reviews from everybody, ratings, comments, etc.

Also, like all good social networks, you can see what your friends read, create reading groups or stay updated about certain publishing houses or authors. Add it to your Kindle ASAP.
5 tips to make your Microsoft and Outlook accounts more secure

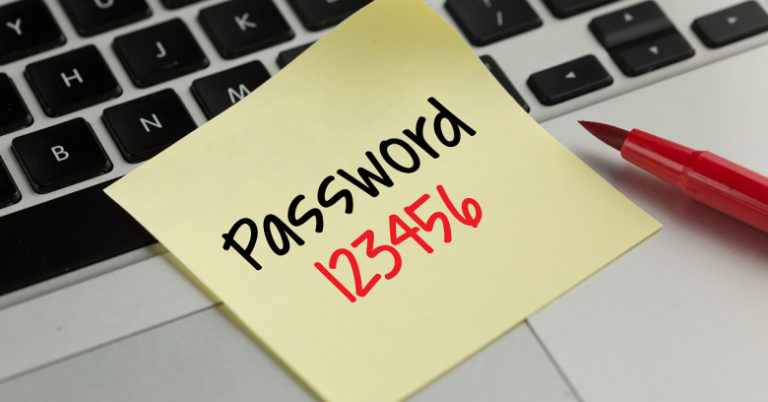
Cybersecurity studies say the most common password in the world is 123456. If you’re reading this article and you have that password for any of your accounts, here’s some advice: change it right now.

Users don’t spend enough time creating good passwords to protect their personal services. What happens next? Well, now more than ever, all accounts are vulnerable to possible attacks by hackers (after all, 123456 isn’t very difficult to try out…).

7

In today’s Softonic post, we’ll show you five tips to better secure your Microsoft and Outlook accounts. Of course, these apply to any system where a password is required.

Tip 1: numbers and letters

Although many services already require you to have a password with numbers and letters, there are still many that don’t. And that’s a mistake: using this mix is the best way to secure your account better. And if letters and numbers are interspersed, the complexity of the password increases exponentially.

5 Mistakes that put your Internet Security at Risk

Tip 2: avoid your birthday

If 123456 is the most common password on the planet, the second is the person’s date of birth. Thanks to the Internet, it’s not hard to get access to somebody’s birthday. So, if a hacker knows your email address and also your date of birth, you’re toast. Avoid putting your birthday as your password. And if you do, at least change the digits (year, day and month, for example, instead of day, month and year, as is common).

Tip 3: recovery

If you’ve lost your password or somebody tries to access it, the next step the system takes is the “security question. Finding out who your mother, father or brother is can be easy, but is it as simple to find out who your childhood best friend was? Choose a question with more complexity behind it. Only you will know the answer, which guarantees above-average security levels.

Tip 4: trust in secure PCs

This is a classic: you’re on a computer that isn’t yours, and you enter in your email address. Have you stopped to think if it’s secure? Many PCs that we access daily may not be well protected… and we’re leaving all our info right there. Make sure that every time you log onto a device, it has an antivirus installed, it’s looked after by a trustworthy person and it undergoes periodic updates, etc.

Tip 5: log out of your session

It seems like a joke, but it isn’t. Many users log onto a PC that isn’t theirs… and on top of that, they leave the session open! Be very careful with this. It’s not just that the computer isn’t yours, but also that you’ve left the session open for anybody to see. Yup, you’ve definitely had access to an account or left yours open at some point.

One option for avoiding this problem, if you’re an absent-minded person, is to use incognito mode:


How to recover your PIN or password from the Windows 10 lock screen

You start up your PC after a long time and don’t remember your Windows 10 PIN or password. Don’t worry, you’re not screwed, really. It’s happened to all of us at some point. Suddenly, your memory magically fails on what that combination of numbers and letters is. Luckily, there’s a solution, like almost everything in life (almost, sadly).

Windows 10 Download Windows 10
8
The latest and greatest version of Microsoft's operating system.

Today from Softonic, we’ll show you how to recover your PIN or password from the Windows 10 lock screen.

Easier than it looks

Recovering your PIN or password on Windows 10 is easier than it seems. However, we’ll explain it step by step, so you don’t miss a single detail.

The first thing you have to keep in mind is that the basic version of Windows 10 doesn’t easily allow recovery. However, with the latest updates, specifically the Windows 10 Fall Creators Update, the option of recovery from the lock screen was introduced. So, our first advice is that you update your operating system to the latest version to avoid the possible issues we’ve just mentioned (and also to correct possible bugs or even security breaches, which are pretty typical).

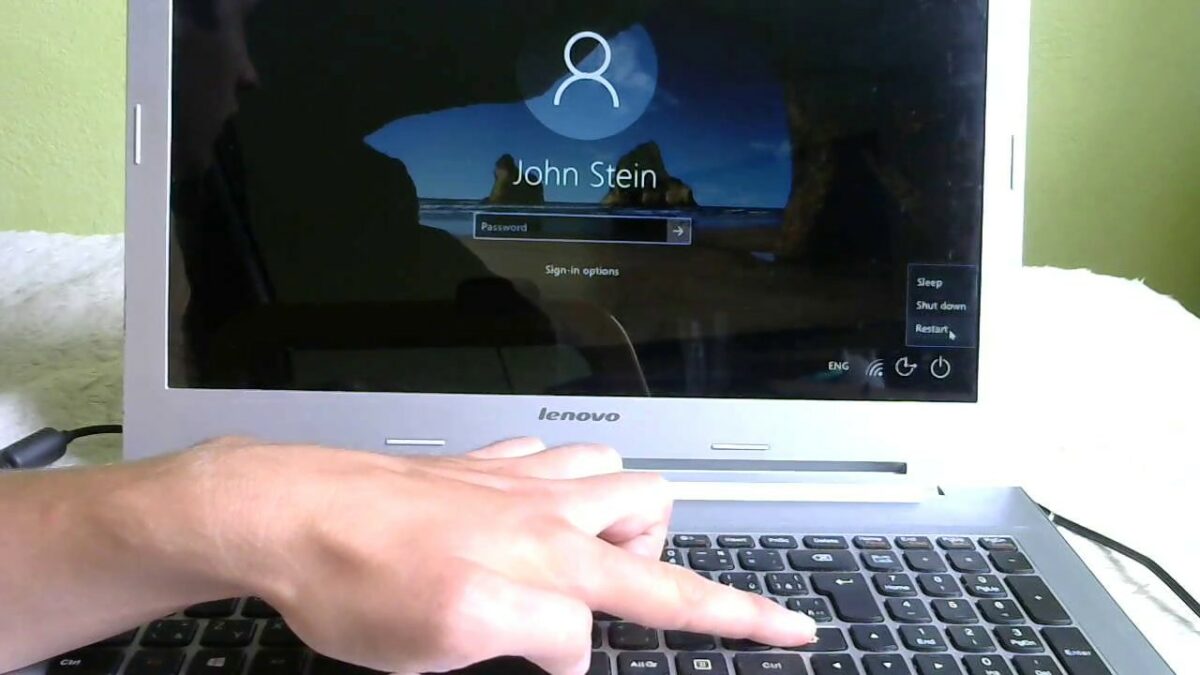
That said, recovering the PIN or password is very easy. If you look, there’s an option called I forgot my password on the login screen. Done and done. Click on it, so it redirects you to a screen where it asks When was the last time you initiated a session? It’s a guiding menu, so by clicking Accept, you’ll get to what interests you: the recovery menu.

The first thing it asks us for is the email you’ve linked to Windows 10. Enter the specific address and put in the captcha so the system can confirm that you’re not a robot. Once the process is verified, the second security layer comes into play, which is where you want to receive the code to be able to change the PIN or password. You’ve got two choices: by clicking on an associated email address, or by sending a text to an associated cell phone. Once you choose one, you’ll click Send code; you’ll then receive it by email or by cell phone, and fill in the corresponding field. If the code is correct, the system will give you the opportunity to enter a new PIN or password for our new Windows 10 system. Easy-peasy.

As we’ve mentioned before, the process is pretty simple, though the irritating part may occur when Windows 10 isn’t updated with the latest version. Without a doubt, it’s something we recommend you do before anything else. Oh! And if you don’t have a cell phone linked to your email account, do that ASAP: there’s nobody better than you (and your smartphone) to keep your personal info safe.

More about Windows 10 here:

How to change your email address without losing contacts

If there’s anything sure in this life, it’s that we regret creating our first email account. Simple as that. There’s no need to be ashamed: those were other times. Over the years, we’ve realized that “brunette_lover_95@hotmail.com” isn’t the best email to put on our resume, or for handing in an essay to a professor, so we should switch accounts ASAP.

What typically happens next? Well, we usually have stored contacts that we want to save: friends, family members, job offers, professors, web pages and a long list of options to keep in mind. That’s why today we’re going to show you how to change your email address without losing contacts.

In this guide, we’ll give you a step-by-step look at saving your contacts both for Gmail and Hotmail, the top two email services in the world. Let’s get started with Google.

From Gmail

Gmail Access now
8

Once we’ve logged into Gmail with our brand new account, click on the gear icon that appears in the upper right-hand corner, just under the profile photo. Click Settings” and it will take us inside Gmail.

As you can see, there are numerous options. Yup, it’s chaotic, but we’re here to help. Of all the menus, the one you want is Accounts and Import. Here, you’ll find a second box that says Import mail and contacts.” Click on that link.

As soon as you click it, a pop-up window will appear for you to enter the email from which we want to import everything. We’ll do that and select the first option: Import contacts (and if you want, you can also choose Import mail and Import new mail from the last 30 days. Click Start import and ta-da. Easy, right?

From Hotmail/Outlook

7

Importing in Hotmail is a little more work, but not too complicated. Just like Gmail, the gear icon is the key to everything, so click it without fear to open a drop-down menu. Once there, click Options to get to the heart of Hotmail in all its glory.

Just as chaotic as Gmail, we want the sub-menu that appears at the end of the long list, which says ContactsImport contacts. As soon as you click on it, several options will appear; Gmail, Outlook (2010, 2013 or 2016), Yahoo! Mail and Windows Live Mail.

Importing from each one is different, but don’t worry: clicking on each option will open a mini guide to complete this task. Follow the steps one-by-one (just like you’ve been doing in this guide), and you’ll have the solution in no time.

Now that you know how to import from the two major email systems, you can say goodbye to your old account forever.

Little known Microsoft programs and services that are really useful

Do you know that Microsoft bundles in some cool tools with Windows? Check out the best below:

Snipping Tool

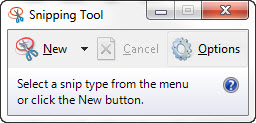
This default feature on Microsoft is so hidden that many don’t even know it exists: the Snipping Tool. What can you do with it? Well, as its name suggests, with a simple square you can crop any part of the screen you want. Type this name into the taskbar, and you’ll see the icon pop up like magic.

In general, the method we typically use is to press the “Print screen” button on our keyboard and then go to the screenshot in Photoshop or Paint. That’s also how Gyazo became famous, for taking screenshots and giving us direct links. However, with the Snipping Tool, we skip all these steps and go directly to cutting out the best from the screen. Easy, right?

Try it out soon and tell us what you think. It changed our lives when we discovered it.

Microsoft Mathematics

Have you ever wondered how to insert mathematical equations into a document? It’s an issue that regularly comes up if you use a text editor. Today we’ve got the best solution: Microsoft Mathematics.

This extension has been around for a while (nearly a decade), but it’s one of the great unknowns for almost all users. You can download it for free, and it will be installed as an extension of Microsoft Word. Give it a chance; it won’t disappoint.

Microsoft Mathematics Download now
7

Video streaming

Windows 10 introduced the possibility of video streaming in a straightforward way. Yup, the operating system comes with its own software, so you only have to add a compatible tool.

If this is the case, type streaming into the taskbar and click on it. Once all compatible media appears, select “Access device, and you’re ready to go live.

Virtual desktops

We’ll wrap up this post with one of our favorite options: virtual desktops. With Windows 10, you can have several desktops instead of just one. What for? Well, imagine you want to have a place only for games. Then you can make a custom desktop, where you’ll only find game-related apps or titles. 

You just have to access Task View, on the side of the taskbar, to add them. The rest is as simple as browsing through different desktops you’ve created. If you’re messy, perhaps this service can help you out.

7

How to easily use emojis on your PC

What would life be like without emojis or emoticons? It’s incredible how popular these symbols have become since messaging services introduced them into our day-to-day lives. Messenger saw the height of the emoji madness, but now it’s spread to social networks and other programs like WhatsApp and Telegram (along with GIFs, but that’s a subject for another post).

Today at Softonic, we’ll show you something easy that you’re sure to like: how to use emojis on your PC easily.

Keyboard shortcuts

Did you know that your numeric keyboard is capable of adding emoticons? This may seem like magic, but we’re not kidding: with different shortcuts you can get the same emojis on your cell phone. What, you don’t believe us? In a Microsoft Word doc, type the following command: ALT + 1. (the 1 on the numeric keyboard). What did you get? That smiley face is now yours.

The list of shortcuts for emojis is endless, so here’s a link for you to consult all the possibilities at your fingertips.

Adding them manually

With the latest updates from Windows, as well as significant word and online programs, the possibility of emoticons has been added effectively: with combinations on the regular non-numeric keyboard.

If we ask you right now what is the combination for a smiley face, you’ll say a colon and a closing parenthesis. Before it did nothing, but now word programs translate this combination and make an emoji. Cheers for that!

Touch keyboard

This is the final great way to add emoticons to your PC. And for us, it’s by far the easiest: using a touch keyboard. The only problem is that you have to get Windows 8.1 or up since previous Microsoft versions don’t have it.

If you have this version, the next point to emphasize is that you don’t need a touchscreen. Yes, with it things are more straightforward, but the combinations are also available if you’re using a mouse and keyboard. To use them, go to the lower taskbar and right click. When all possible options appear, you’re sure to see the most important one: Show touch keyboard button. Click to enable it.

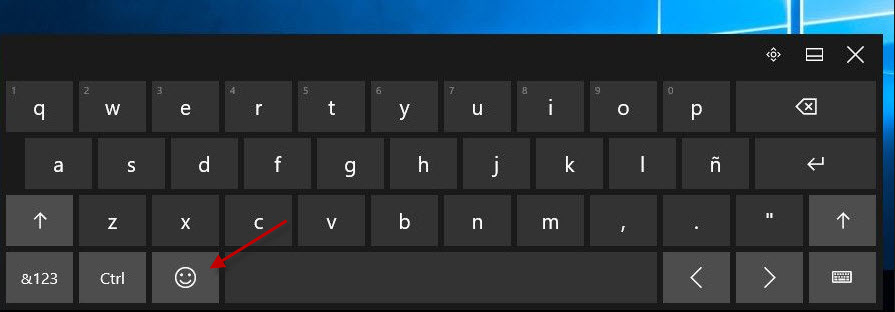
The next step is as straightforward as clicking on the taskbar icon you want, and the touch keyboard will appear. Click on the emoticons icon and ta-da.

We told you it was easier than it seemed, were we wrong?

If you liked this article, don’t miss…

The 4 best uses for a Raspberry Pi

“I don’t know why you bought the NES Mini; it’s nothing more than a Raspberry Pi.” If you like video games and you keep up-to-date with the industry, you’ve undoubtedly heard this before. Is it wrong? Well, not really, since the Nintendo Classic Mini has a Raspberry Pi 2 inside of it (with some changes,  since Nintendo also wants its own brand identity).

These motherboards have become some of the most demanded technological gadgets in recent years. Though their beginnings go back to education, today it’s pretty easy to buy one on Amazon, so we bring you today’s post: 

The four best uses for a Raspberry Pi

Retro-gaming

This is the Raspberry Pi’s key feature: it can be used to emulate old consoles. In other words, to play all those video games from our childhood.

Nowadays most people buy the mini-PC for this reason. After all, isn’t it nice to have all those titles from your youth in the palm of your hand? We recommend you dig a little on Youtube to find different installation tutorials. It’s not hard, but it’ll take longer than a few seconds, to find what you’re after.

Multimedia center

Using a Raspberry Pi motherboard to emulate video games is the top reason these days, but the second most popular has to do with converting the “gadget” into a multimedia center.

The idea here is to convert the motherboard into a multimedia center that you can link to your TV. For example, you may have an SD card with lots of space (or an external hard drive), full of movies, TV shows or even music. Through the Raspberry Pi, you can create an all-in-one device of audiovisual material to plug into your TV. And it’s worth it. We recommend you go to Kodi, essential software for carrying out this task.

Kodi (previously known as XBMC), is an excellent free and open-source entertainment center that calls itself a High Definition Hub for all types of media.

7

Mini-PC

As a motherboard, Raspberry Pi has an unexpected idiosyncrasy: why not use it to build a tiny PC? It’s true you won’t be able to play games or do complex tasks with this device, but you can use some effortless and straightforward features, such as playing multimedia files (ahem, as we mentioned above) or even browsing the Internet.

For programming

We’ll end this post with a widespread use for students, the central origin of these motherboards: programming Yup, Raspberry Pi is a fantastic gadget for those diving into the arduous and wonderful world of programming. Thanks to its simplicity, you can use it as a learning tool when adapting lines of code. The program you should take a look at is called Scratch.

What are Facebook’s image restrictions?

Have you ever uploaded a photo to Facebook and the social network rejects it? It’s very likely that this has happened to you since the platform has strict policies when uploading content (though we’ll admit off the bat that sometimes what’s prohibited makes no sense).

In today’s Softonic article, we’ll discuss Facebook’s restrictions for images. In other words: this is what you’ll never be able to upload to the social network unless they change their guidelines in future updates.

Nothing pornographic

This is one of Facebook’s key points: pornography is completely prohibited. The social network states that images of a sexual nature are restricted on its platform, whether explicit or not. So, there’s no chance of erotic photography. Likewise, and this is noteworthy, Facebook doesn’t allow pornographic drawings, so forget about uploading hentai or your own work (if you’re that kind of artist).

Nothing violent

If you like uploading scenes with explicit violence, forget about it: Facebook prohibits uploading any image with highly violent content. What’s the limit here? Well, for example, snapshots with bloody or dismembered bodies, or anything that the community may be wary of.

We should note that you can upload images that involve sports. So, anything to do with UFC, boxing, martial arts, etc. has the green light on Facebook. But beware, this is a very narrow exception.

Nothing copyrighted

This is one of the most repeated warnings by Facebook: copyright must be heeded. If you happen to upload videos or images that belong to other users, beware: the social network may give you a warning for using third-party content.

Likewise, copyright protection also influences other issues, such as removing those people whose identity may be harmed, as well as their dignity.

Yup, breastfeeding is ok

This is one of the most debated issues at the Facebook office, though logic has finally won: yes, you can upload images of you breastfeeding your baby. In fact, their rules and regulations say: “Yes. We agree that breastfeeding is natural and beautiful and we’re glad to know that it’s important for mothers to share their experiences with others on Facebook. The vast majority of these photos are compliant with our policies. Please note that the photos we review are almost exclusively brought to our attention by other Facebook members who complain about them being shared on Facebook.”

In other words, don’t worry a bit about this.

How to change your name on Facebook

There’s over a 30% chance that you have a Facebook account. It’s that simple. According to the famous blue group, more than 2 billion people worldwide have a profile on the most popular social network ever, i.e., almost a third of the world population has an account there. Not bad, huh?

With numbers like that, it’s pretty likely that you’ve found your name repeated like crazy in the profile search, especially if you have a common last name. Did you know you can change it? Yup, the platform lets you rewrite your most personal label, so today we’ll explain how to change your name on Facebook.

Facebook Access Facebook
7

Simple steps

Though you may think it’s a long, tedious, and complex process, the reality is that changing your name on Facebook is easy. To do it, just click on the upper right-hand arrow and select Settings.

Once you’ve done that, next click on Name and write the new one you would like to have. Click on Review change, enter your password when Facebook asks for it and finish with Save changes.

It’s that easy. Awesome, right? Now the problem is that you have to be original with your new name and Facebook has to approve it. So that’s the second point of this tutorial.

Quirks

This system has a few “buts.” For example, you can’t change your name whenever you feel like it. So, you can only change your name once every 60 days, so think carefully about every change.

Likewise, no name can include symbols, numbers, unusual capital letters, repeated characters or punctuation marks. Also, Facebook doesn’t allow characters from different languages, adding positions after last names, using place names or, of course, insults.

How to boost your home Wi-Fi signal

You’ve signed up with a reputable Internet Service Provider, but your connection is still as bad as the dial-up days, right? Believe it or not, this is one of the most common problems in any home. The internet can fail for many reasons, but when glitches reoccur, it might not be a malfunction; instead, the Wi-Fi signal might not be strong enough.

Today, we’re bringing you three tips to boost your home Wi-Fi signal. The first two are quick fixes, while the third goes to the heart of the matter. Let’s get started.

How to improve your home WiFi signal

1. Optimize router placement

Typical situation: You’ve put the router in the corner of the house. Not good. For the Wi-Fi signal to reach everywhere, we recommend placing the device in the center of your home. This way, the signal will be evenly distributed around the space, with fewer “dead spots.”

Of course, we have to add a “but.” For example, if you work daily on the internet, maybe your home office would be the best place to put the router. It all depends on how far you want the signal to reach, though we should stress: Except for work reasons, it’s best to put it right in the middle of your home.

Also, if your router has an antenna and you can move it, it’s best for it to point up. However, if your router has a second antenna, place one horizontally and the other vertically. Easy-peasy.

2. Add a password

Another classic: adding a password to the router. Many people leave their internet connection open. That’s dangerous; it’s not just neighbors who can steal your bandwidth. Others can do more criminal damage with an open line.

In general, all routers today already come with passwords, but you may need to change it. In this case, type 192.168.1.1 and press Enter. If it asks for a username and password and you don’t know what it is, the solution may be Admin for both fields. Once you’re in, search for “Password” and add the one you like best. Numbers and letters, please.

3. Use an extender

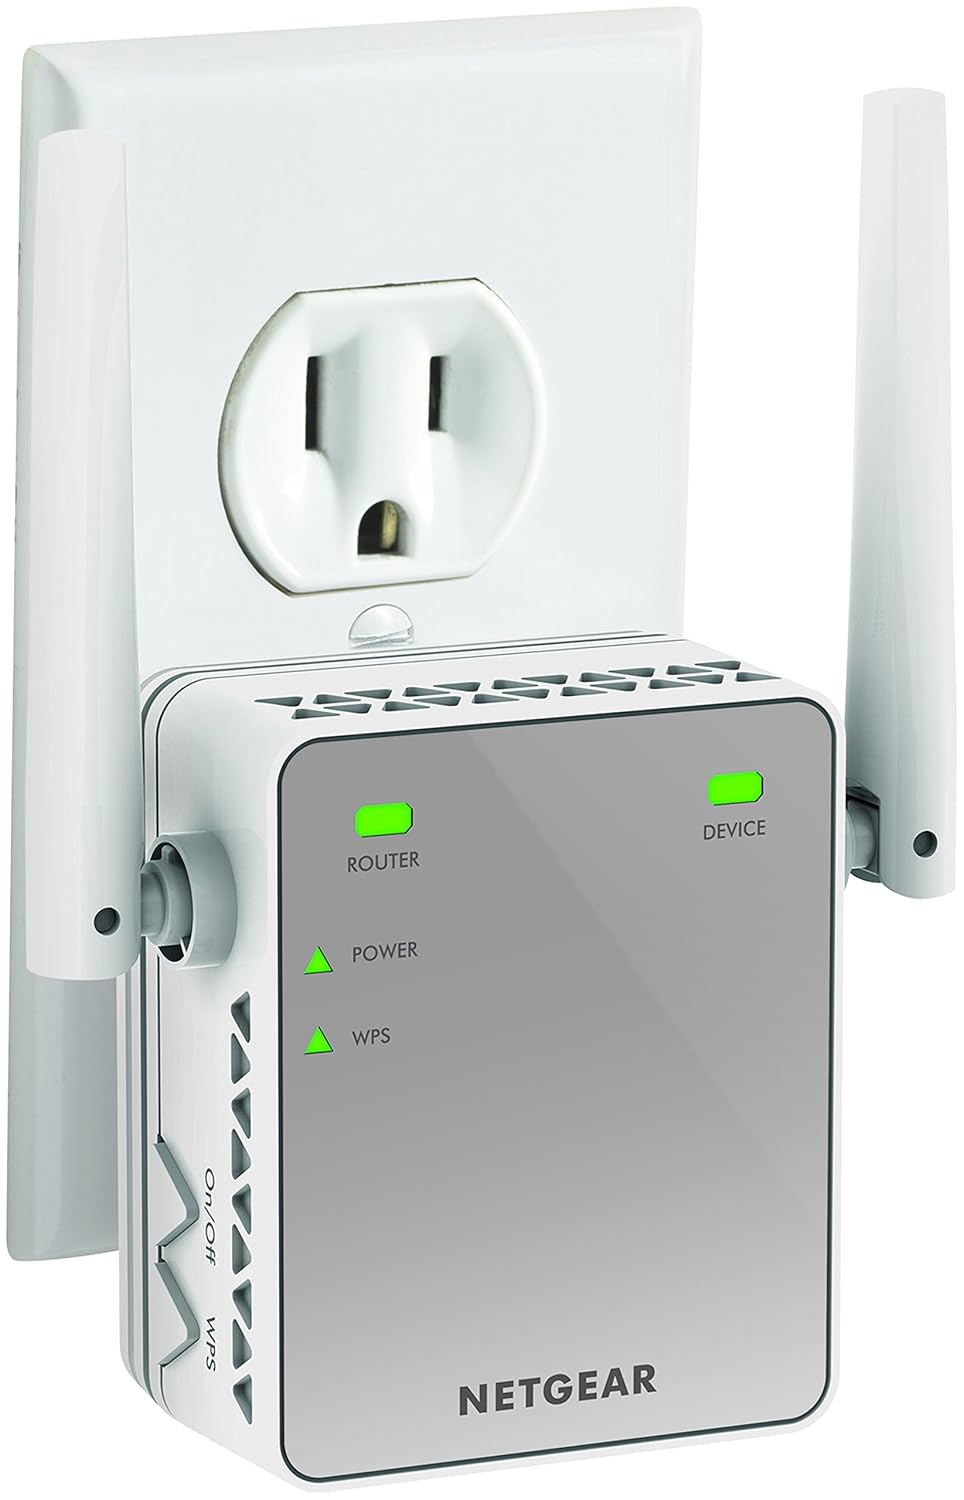
The solution that never fails: an extender. The previous methods are great if your house is small or you’re very absentminded, but as soon as you have a long hallway at home, your connection may go south. For these situations, it’s best to buy an extender.

With this, it’s possible to boost the base Wi-Fi signal. And installing it is as easy as connecting it to an outlet, linking it to the router and ta-da. Below, Amazon’s highest rated WiFi extender. This move will change your life.

42%
NETGEAR N300 WiFi Range Extender

From: Amazon

$29.00 $49.99