How IFTTT works and its top features: part 2

Earlier we told you all about IFTTT, so now it’s time for the second part of our guide: how IFTTT works. Have your paper and pencil at the ready – or save this post in your favorites, another nice option – and take a few minutes. Here comes the good stuff.

How to create applets

As we mentioned in the first part of this guide, what’s important about IFTTT is its functions and applets, i.e., the linking mechanisms created between different services. Is it hard to do? Not at all: in fact, you can do it in a matter of seconds.

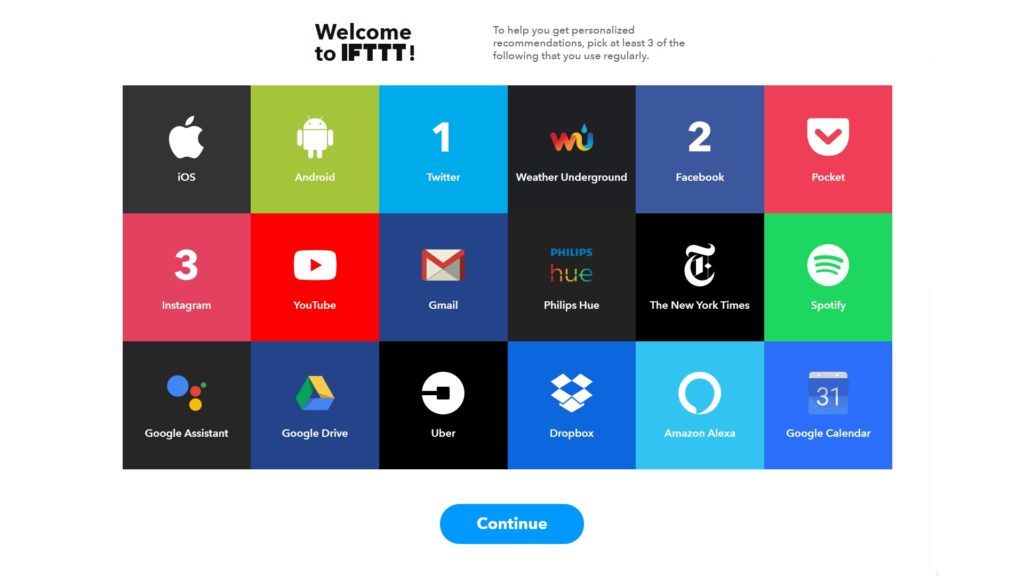
First of all, open an account with IFTTT. There are three ways to do this: with an exclusive username, logging in with your Google account or getting access through Facebook. You call the shots, of course. Once this is done, a welcome screen will pop up where you can choose three platforms you regularly use. We’ve opted for Twitter, Facebook and Instagram, the three most popular social networks in the world at the moment.

IFTTT Try IFTTT
7

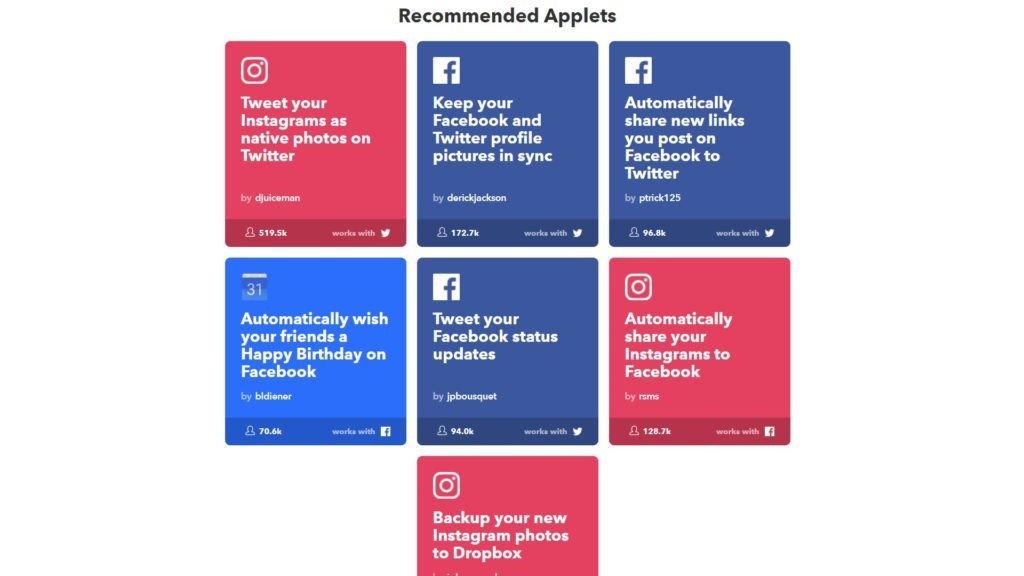
Once you’ve chosen the networks, IFTTT will bring you back to a screen where you can choose the most recommended applets for these apps. For example, the first one that appears in our recommendations is great: “Tweet your Instagrams as native photos on Twitter.” With this applet, every image on the first social network will be published on the second as a full image and not a link (which is common). Click on it and simply toggle the Off button to On. No tricks here.
If you click on the top where it says search, you can look for all the applets that are already created by the community. This way, you can streamline your processes and also discover new applets that are very original. However, can you create a function from scratch? The answer is yes.

To do this, we have to go to creation mode, which is nothing more than adding /create to the end of the main URL (here you’ve got direct access). From here, the following screen will show up:
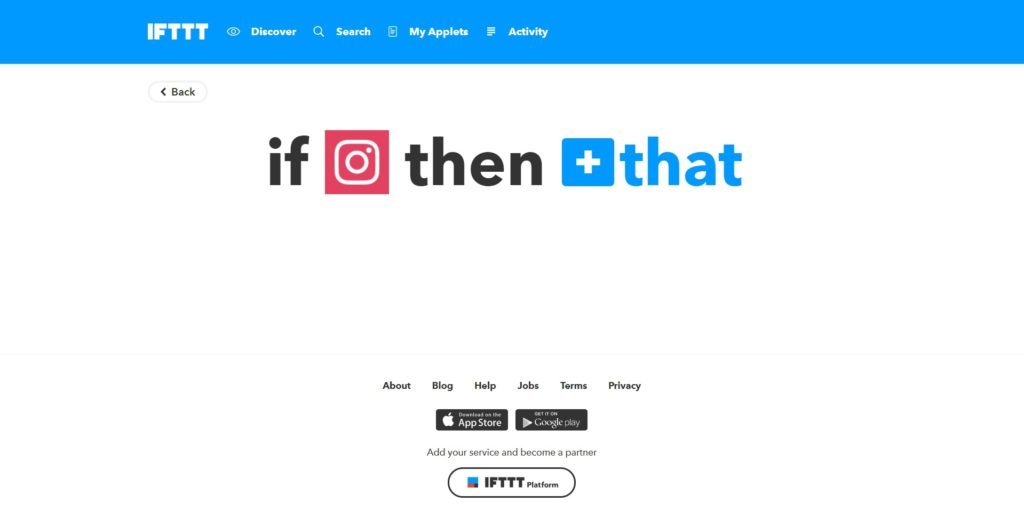
As you can see, everything is pretty intuitive. In the first section, we put the service where this will occur and the second where that will. So, if we wanted to recreate the previous example, we would only have to select Instagram for the first and Twitter for the second.

We should mention that every time you click on a specific social network, it will show you applets already associated with it. Returning to our example, when we first chose Instagram, it will take us directly to this function on a long list. This also happens with the second platform involved, though with more personalization options (you can add how the tweet looks, the link placement, etc.)

Once this is done, click create and don’t forget to switch the button to ON so it works perfectly. In fact, we encourage you to publish a test image on Instagram to see it post directly to Twitter as a native photo.
All about IFTTT and its purpose: part 1

Have you ever wondered if it might be possible to combine your social media, messaging services, and email into one, so you could spend less time switching between them? In fact, you can.

Though several tools link these services, the best known is IFTTT. This web page is for those who spend all day online for work. Today at Softonic, we’re bringing you the first part of a guide dedicated to this service so that you can make the most of it in no time: What is IFTTT and its purpose?

IFTTT Try IFTTT
7
IFTTT allows you to mashup different programs together. For example, you can program the app to have your post-exercise Fitbit activity saved to a Google Drive spreadsheet.

What is IFTTT?

The first part of our guide is dedicated to getting to know a little more about IFTTT, which stands for “If This Then That.” The key to this phrase is the programming concept of the “if” function, where different functions are grouped together to simplify everything.

When the creators of IFTTT launched this app, they created this simple slogan that sums up their purpose perfectly: “A world that works for you.” The idea is that everything is connected and direct, so you save a lot of time.

Why use IFTTT?

As we’ve mentioned before, the purpose of IFTTT is to streamline the most basic services that exist for major web or mobile apps. Here’s a quick example.

Imagine that you’re in charge of your company’s Twitter account and would like everything that you tweet to post directly to Facebook. You can do that by copying the message and pasting it into the other social network, but if you publish several texts a day, you’ll waste a lot of time in the end.

With IFTTT, you can streamline this process with a simple function: “If Twitter then Facebook.” Meaning that if you tweet a new update on Twitter, then it will be published on Facebook.

The platform’s algorithm and code automate this, not just for these two social networks but many other services too. For example, we can create outlandish sequences, such as “If a multimedia file is posted on Twitter, Google Drive or Dropbox will save the link for the future.” In this way, a simple interface is developed, allowing much more interactivity between apps that at first seem completely separate.


In our next installment in our IFTTT series, we’ll explain how to use it and what features are best to save you time at work. You’ll thank us for this next one.

For now, you can start looking at the web page or install the IFTTT version for your mobile device. You have them both here:

IFTTT FOR ANDROID Download IFTTT for Android
7

IFTTT FOR IOS Download IFTTT for iOS
6

Now that you’ve had an overview of IFTTT let’s take it to the next level: finding out how it works and its top features.

Tips to master WhatsApp in 2018

WhatsApp is the leading messaging app worldwide, boasting more than 1.5 billion daily users. According to the stats, this number is expected to surpass 2 billion this year, i.e., one in every three people on the planet will have this popular communication tool.

In spite of these incredible figures, very few know how to make the most of this app, so we’ll give you four tips to master WhatsApp in 2018.

WhatsApp Messenger Download WhatsApp
8

Top tips for WhatsApp

1. Install the web version

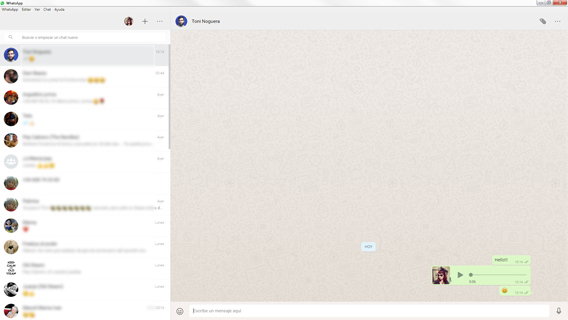
It’s one of the great unknown features, and it works better every day (without major issues): the web version. WhatsApp implemented its web tool a few years ago so that you can use the app from your PC.

8

If you use WhatsApp as a work tool, this installable version (also executable from your browser) is an essential feature, since you’ll avoid picking up your cell phone every two seconds. From the tool, we can access all groups and people, as well as user statuses. Also, you can start new conversations, since our cell phone contacts are available from this tool (which is wonderful).

2. Disable automatic downloads

This is our most important tip every time we talk about WhatsApp: disable automatic downloads for the app. The messaging service has all downloads enabled by default, meaning images, videos, and audio files will be downloaded to your device without your knowledge.

To disable automatic downloads, just go to “Settings” and click on “Data and storage.” Here you can remove any features you don’t like. Our advice is to disable the general setting straightaway, i.e., so nothing is downloaded. Your smartphone’s memory (and performance) will thank you.

3. Use WhatsApp to send files

To use this feature in all its glory, you must have the web tool that we mentioned in the first point. Once you install it (or open it from the browser), it’s as easy as using WhatsApp’s “send” feature to share files.

After several updates, the messaging service offers the possibility of sending all types of files and up to large sizes. We can assure you (from experience) that it’s a great way to send documents quickly and easily.

4. Configure your privacy

Don’t want somebody to know you’ve read their messages? Remember that WhatsApp has an important feature for avoiding the famous blue tick, i.e., so others don’t know if you’ve read their messages.

To enable this privacy feature, just click on “Settings,” go to “Privacy” and disable “Read receipts.” Of course, there’s one downside: if you get rid of this option, remember that it also works in reverse (you won’t know if somebody has read your messages either).

Top password managers

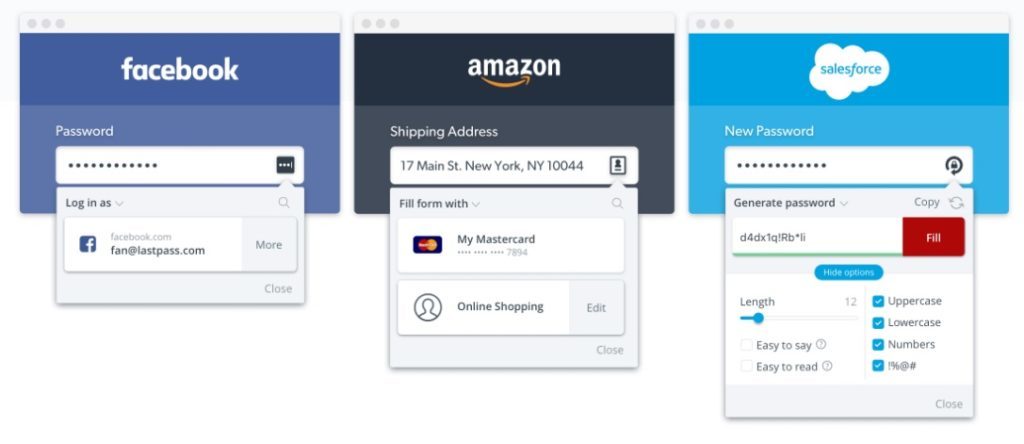
Hated by many, loved by others. “Password manager” is a constant buzzword for security experts. The pros and cons are well-defined: on the one hand, we’ve got access to all the passwords we need, which is critical (especially when we forget them). However, on the contrary, anybody who gets access to this system can logically make off with all our stored passwords.

In today’s post, we’ll stick with the positives, so here you’ve got what we think are the three best password managers.

1Password

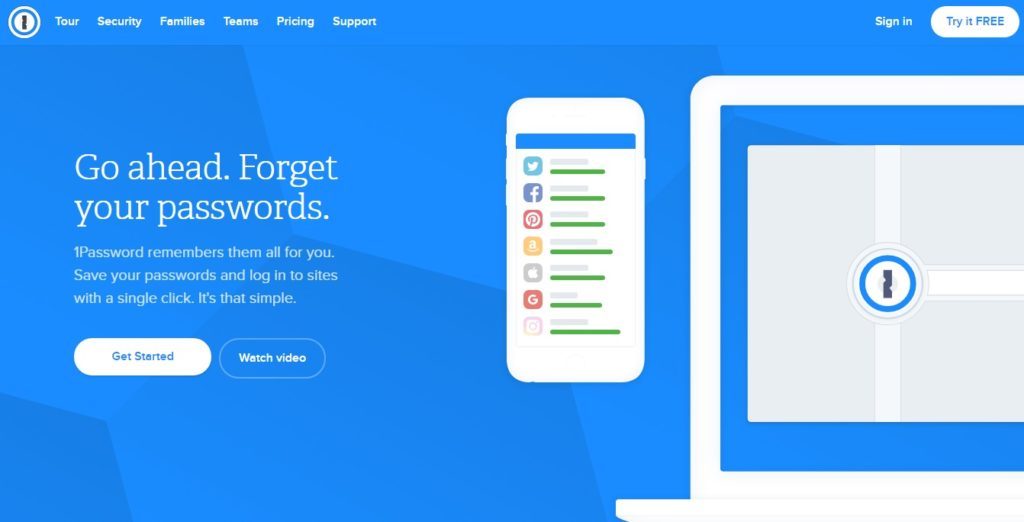
We’ll start off this list with one of the most used services, thanks to its security and solid performance: 1Password. Behind this name is a great paid tool, although it also offers a 30-day free trial.

1Password Download 1Password
6

1Password is a popular password manager known for its ease-of-use and integration with systems and web browsers.

It’s pretty fast, intuitive, and even provides a password generator to figure out if the one you’re using is good enough. Also, it offers an interesting feature called “Travel mode”: pressing this button withholds sensitive info when you’re traveling to another part of the world (in case of theft, loss or unwanted access to your smartphone). Not bad.

It was chosen by Android Central as the Best Password Manager for Android, so its 30-day trial is highly recommended.

LastPass

One of the most used apps in recent years (downloaded by millions of people). With LastPass, you can create secure passwords, as well as maintain a comprehensive record of all the personal info that you leave behind online.

8

LastPass is a password manager with the necessary resources and options to securely and remotely store all accounts, users and passwords you enter on your PC.

An important detail: you can download it for free, and it allows excellent synchronization with other devices, whether cell phones, tablets or even PCs. Also, the design is very straightforward, so in a few minutes, you can master all the possibilities that the app offers (an excellent thing). We should note that for only two dollars a month, you can upgrade to the Premium version with more features at your fingertips, though we admit the free version is more than sufficient.

Password Safe

We’ll wrap up this article with a completely free password manager, which is open source and maintained by a large community: Password Safe. The main feature of this software is exactly this last point: it’s updated thanks to users.

Password Safe Download Password safe
8

Password Safe is a tool that will help you store your passwords in a secure environment, much safer and cleaner than leaving them on the table or writing them on a sticky note.

This program uses 256-bit AES encryption, one of the most secure. So, don’t worry if you’re wondering if this free service is secure. Also, it includes a secure password generator, where you can enter certain variables you want (capital letters, numbers, time of availability and a long list of other features).

The best hidden games on Facebook Messenger

Do you use Facebook Messenger? The popular messaging system from the social network has more and more followers worldwide, to the point that last year, its numbers skyrocketed. Why this surge? Well, Facebook has given it more importance than ever, combined with seductive changes that it copied from WhatsApp (which after all, is also part of the Facebook Group).

With these changes, Facebook Messenger has become a very comprehensive app. And did you know that it has secret mini-games on its chat screen? Today, we’re bringing you the best hidden games on Facebook Messenger. You can now waste a little time when talking to your friends.

Basketball

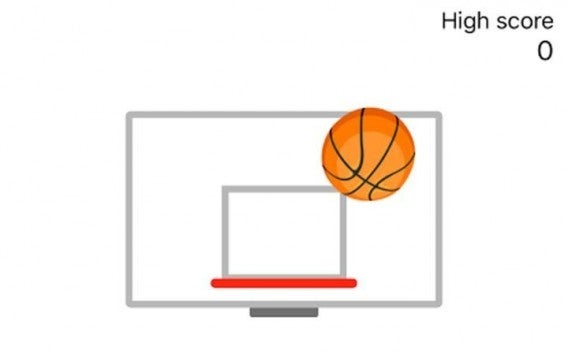
This mini-game is one of our favorites, as its interface is straightforward. How do you access it? Well, first you have to download the mobile version of Facebook Messenger. Yup, it doesn’t work for the web version, so go ahead and download the mobile version for your phone.

Messenger Download Messenger
7

Once you’ve linked your account, the next step is as simple as sending the basketball emoticon to a contact. Tap on it, and a new window will pop up.

The goal of this mini-game is to score as many baskets as possible. To do this, just slide your finger in the direction of the hoop and ta-da. The touch system is very similar to Pokémon GO, where you have to toss a Pokeball to the Pokémon located in the middle of the screen.

We should note that after ten points, the hoop begins to move left and right. It was never going to be that easy.

Soccer

If sending a basketball makes a hoop pop up, we know something will happen with a soccer ball too. When you send the soccer ball emoji to somebody, click on it to start a mini-game. Of course, just like basketball, this app is exclusive to smartphones, so don’t even try it from your browser.

Once you’ve got it, it is easy to play: you have to kick the ball as many times as possible. Put your finger on it and good luck! This mini-game is complex and challenging, so you’ll need all the luck you can get.

Chess

We’ll wrap up this list of hidden games on Facebook Messenger with the most entertaining of them all since there’s another player: chess. In the chat screen, type in @FBCHESS PLAY and suddenly a chessboard will appear before you.

Don’t expect an intuitive mini-game, i.e., where you can move pieces on a touchscreen. For this mini-game, you need letters, and it’s not exactly easy to use. Of course, if you get the hang of it you’ll waste lots of time, we guarantee it, from experience.

How to legally download YouTube videos

At some point, you might have liked a YouTube video and thought to yourself: “Can I download it onto my cell phone?” The answer, of course, is yes: You can download a video onto your smartphone to watch later. Still skeptical?

Today we’ll show you what we think is the best app for legally downloading YouTube videos. It’s easier than you think.

YouTube Go

Welcome to YouTube Go. With this program, not only can you learn to download the videos you want, but you can also use it as a default app to watch clips from the popular streaming platform. Why? It’s better – much better – than the regular version of YouTube. However, before explaining its features, let’s teach you how to download videos.

YouTube Go Download YouTube Go
8

YouTube Go lets you save your video data so you can watch it later with complete freedom. To carry out this task, just click the video you want to download and a tab like this will pop up in front of you.


Choose low quality if you have a poor connection or a poor data plan. Choose standard or high quality if you’re on a good connection.  Each video can be played or downloaded. Click Save and the video will end up on your SD card or phone memory. Nothing could be easier.

What YouTube Go offers

Now that we’ve shown you how to download a video, it’s time to explain what YouTube Go brings to the table compared to the regular YouTube app. First of all: a smaller size. YouTube Go only takes up 9.4 MB, far from the 120 MB of Google’s main YouTube app. A smaller size will positively impact your memory and, above all, performance time.

The future of Download websites is… ? Know some and its alternatives.

Another great aspect of the Go app is that it asks for the quality you want to watch the video. Sure, the official YouTube app can set a default streaming quality, but this method lets you choose on a per-video basis. 

It goes without saying that any video downloaded to your phone doesn’t need an internet connection to work. When you save a clip to your memory, the app uses it directly and doesn’t buffer it, so it doesn’t use up data. In fact, you can watch it without being connected at that moment.

Now that you know everything YouTube Go offers, do you dare to try it? We guarantee that once you use it, you won’t want to go back to the main YouTube app (especially when you discover other features, like sharing videos among friends or its link previews).

If you liked this article, these other options might also interest you:

How to know if somebody has blocked you on Facebook

Users, beware: Social media is a double-edged sword. On the one hand, it lets us connect with friends, family members, coworkers, etc. But on the other hand, we’re also exposed when changes take place in our lives. Yup, you know what we’re talking about: Everybody knows if you have a girlfriend you love or a friend you go partying with too much, but suddenly relationships break off, and the famous blocking feature comes into play on social media.

Facebook Access Facebook
7

You might not notice for a few days, or you might never discover it. That’s why in today’s post, we’ll show you how to know if somebody has blocked you on Facebook.

No magic, just instinct

It’s hard to believe, but there’s no program to tell us if somebody has blocked us. In fact, if you ever find one, our advice is to run like the wind, because it’s likely this platform wants you to enter your info so it can take over your account.

That said, there are several different ways to know if somebody has blocked you. Here’s the first: look at your chat history with this person. It’s one of the most effective tests to know if a user has blocked you on Facebook. To do this, you only have to search for a conversation you had with the person in question and see what appears. If it doesn’t let you send a message, they’ve blocked you, plain and simple. On the other hand, if they appear as Facebook User, then they’ve deleted their account.

Another tip for knowing if somebody has blocked you is to search for them on Google. Put their name and last name in the famous search engine and look at the profiles that show up in the results. If clicking on one of them gives you an error, then they’ve blocked you too.

Finally, another foolproof method is photo tagging or comparing searches. The first is as easy as searching for a snapshot that has you both tagged. If their name appears, but the link to see their profile doesn’t, it’s likely because they’ve blocked you. For the second, ask a friend to search for the name of the person you think has shunned you. If his/her account appears for your friend, but not for you, it’s clear you’ve been blocked.

Do you have another way to find out if somebody has blocked you? Let us know in the comments so other users can see this info too. The community is always happy to get help.

Learn more about Facebook in this article

:

How to manage Android permissions to prevent apps from spying on you

“You agree to the terms of use and…” Accept. As a general rule, when the “terms of use and conditions” show up, we click yes or accept. Very few of us stop to read every one of the terms, and the problem is that some of them may hold surprises.

In the specific case of apps, every time we give one of them access to our phone, we’re exposed, a lot. Camera, calendar, messages, photo gallery. The number of features that we allow apps to access is insane. And what if they’re spying on us for those so-called cookies?

In this guide, we’ll show you how to manage Android permissions to prevent apps from spying on you. Pay attention; it’s easier than it seems.

Step by step

Since Google updated the Android operating system to the Marshmallow version – this was a few years ago – the general trend has been the same: the user can see permissions granted within the apps. It was one of the most demanded requests from the community and Google didn’t hesitate to provide it (and didn’t take it out of later versions).

To see app permissions, just go to the gear icon of your smartphone, i.e., Settings and click Applications. Here, a list of all the programs you’ve installed on your cell phone will open, so it’s a simple matter of seeing those you want. Is Facebook accessing more data than you thought? Well, manually adjust the permissions.

Go to the app, and you’ll see Uninstall, Force stop, Storage, Data usage, and a long list of other options. However, the one we want is called “Permissions. If you click there, the system will reveal what features are intruding on your privacy.

As a general rule, it’s typical to make use of popular features such as camera, contacts, calendar, location, storage, etc. The button that appears on the right-hand side is what you need to enable or disable them. If it’s green, that means it has access; if it’s grey, it doesn’t. Easy peasy.

Remember that although many apps can spy on you this way (to give you similar searches or know your preferences when recommending sites), some need specific features to work. For example, if Google Maps doesn’t have access to your location, there’s little the software can do to take you to the place you’ve specified.

Use common sense when you go to disable permissions.

Quick-and-easy ways to organize your digital and physical books

Have you kept all your New Year’s resolutions so far? We hope that reading more books, whether physical or digital, is one of them. After all, there’s nothing better than immersing yourself in the pages of fascinating stories (fictional or real). If your library continues growing, you need a book manager.

In today’s Softonic post, we’ll show you how to organize your digital and physical books in quick-and-easy ways. With this, you’ll know which books you already have and avoid those famous repeats.

Calibre

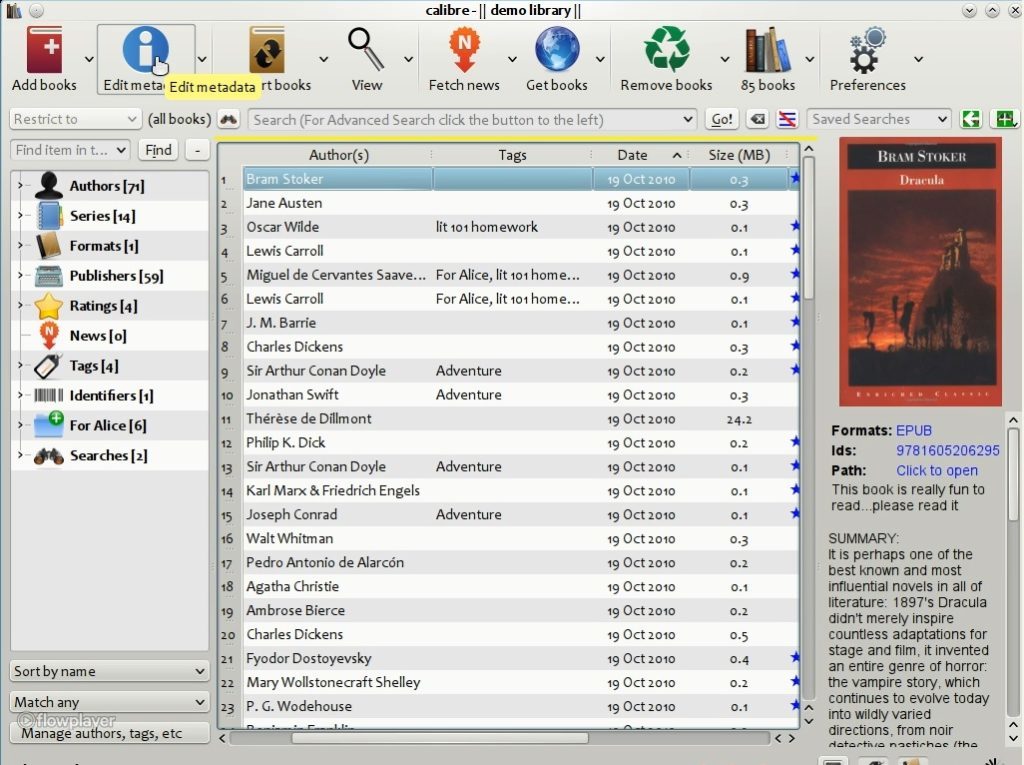
This is by far the most popular app devoted to the literary world and everything in it. Calibre is a program available for Windows and Linux, as well as iOS for cell phones. The mechanism it uses is very basic: it lets you add all the books you want to buy or access from the library.

What’s so special about it? Well, it has all features related to adding: evaluating books once finished; adding notes if the book is loaned (or borrowed); tagging them by categories; or even using the most valuable feature of all: changing the format if you can’t read the ebook (our savior).

7

Anobii

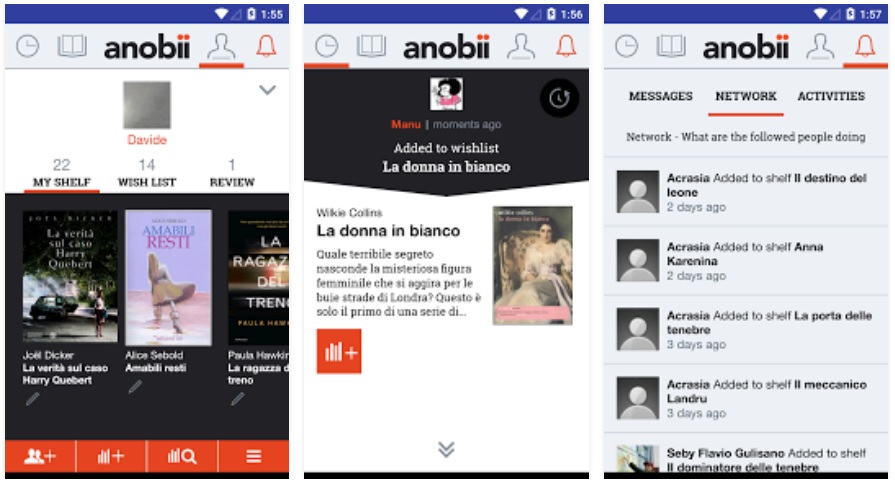
The next tool is designed for cell phones and is perhaps the best medium for keeping your books organized. It’s called Anobii.

Behind this name is an app with millions of readers connected to it. How is this possible? Well, there’s excellent interaction among profiles, and you can recommend books. For example, if you have a friend registered, you can see what he/she is reading at that very moment (or what he/she has recently finished).

Anobii also has a particularly fascinating feature: scanning barcodes. We’re not kidding; you can do this, and the book is automatically registered in the virtual catalog without needing to enter the info.

6

Goodreads

If Calibre is the most popular program and Anobii is one of the most recognized cell phone apps, now it’s time for the top literary website: Goodreads.

This platform is best known for its cataloging of books, whether digital or physical. Its database is huge, so you’re guaranteed to find everything from magazines to fanzines made by amateurs. It also has comics, manga, academic projects and a long list of other options.

It has excellent interaction among users, to the extent that it could be considered a literary social network rather than a book manager: you can make friends, send messages, comment on your friends’ book lists, leave reviews and many other features.

The only downside is that the platform is only in English. But it’s so intuitive that non-English readers won’t have any trouble getting the hang of it.

Goodreads Visit Goodreads

How to post on Instagram from your PC

Instagram’s popularity won’t stop growing. In 2017, it doubled the number of users it had to date, meaning that in one year it grew more than the entire history of the social network up until that point. However, the audiovisual app has many cons, and one of them we never get tired of repeating: you can’t upload images from the PC version.

If you log into the web version of Instagram right now, you’ll see that you can view photos, like them and even see stories (recently added). However, you still can’t upload images. Is it banned? Nope, which is why we wrote this post: we’ll show you three ways to post on Instagram from your PC.

Via managers

If you’re used to social media (with accounts on several platforms), you surely keep up with multimedia managers on the market. Thanks to them, you can have all your social networks just a click away, which makes your work or personal activity much easier.

One of them is Socialgest, a manager that includes Instagram among the social networks it handles. Think about it, since this tool lets you upload photos from your PC. Its free trial allows this, though the only limitation is that you can’t upload more than one a day.

Via extensions

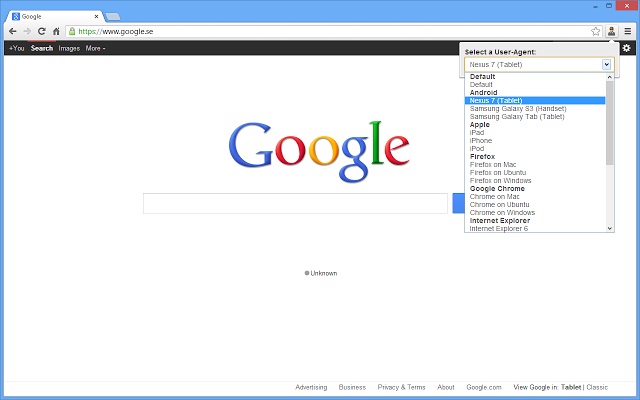
This method never fails and is direct: to trick your PC into thinking it’s on a mobile version via extensions. To achieve this, we’ll make use of an extension: User-Agent Switcher. Its job is as simple as making the browser believe that it’s on an iPad, iPhone or Android phone. It’s available for both Google Chrome and Mozilla Firefox.

User Agent Download Now
8

Once you install it, you’ll see that a new icon appears on the top right, i.e., where all your extensions are. Click on it, and a long list of all the different devices for the browser will appear. Once you click one, reload the Instagram page, and you’ll see the design changes completely. You now have the version simulating the mobile app and everything on it.

Via shortcuts

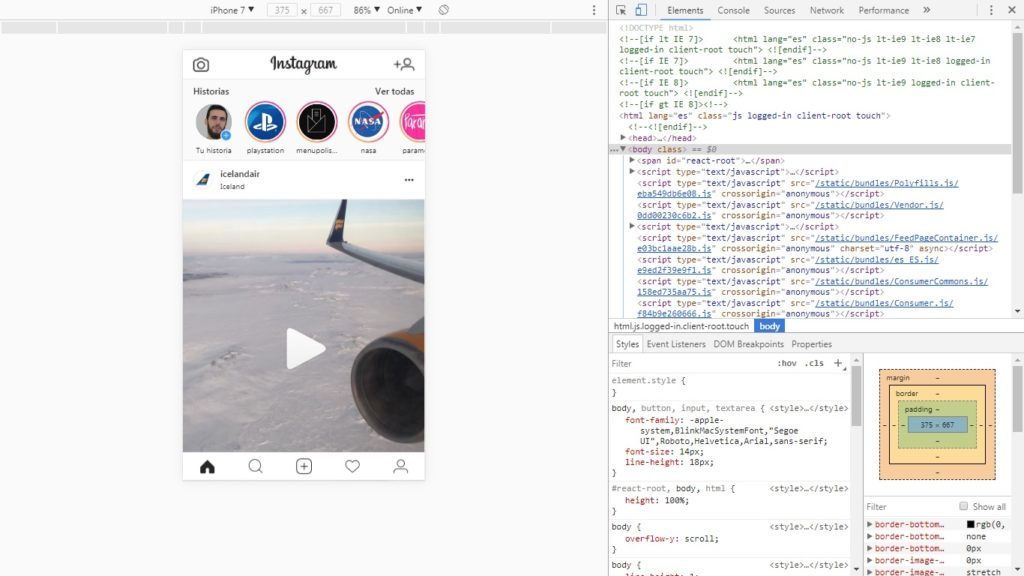
A sure-fire trick. If the method above simulates the mobile version via an extension, now we’ll tell you how to do this directly with two keyboard shortcuts on Google Chrome.

The first one is by pressing “Control + Shift + i.” When you do that, you’ll see the developer mode pop up, right? Then press this new combo, “Control + Shift + m.” With this, the mobile version will open automatically. Switch to the device you like best, and you’ll be good to go.

By the way, if it doesn’t load, you may have to go directly to the creation mode using this link. This method is the easiest, quickest and most direct if you don’t feel like installing an extension. And we promise: it works great, without any trouble.