At some point, you must have wondered how to create (or edit) any of the Youtube videos you watch often. The answer is that numerous editing programs come into the equation, which require months of experience to learn to use. However, here’s the important part: Youtube also has its own production tools for doing all the most accessible tasks and within minutes.
The most famous video streaming platform in the world has very basic options for editing that clip of your friend’s birthday or your last vacation without making you feel like shooting yourself in the foot. We’ll go into how they work.
Step by step
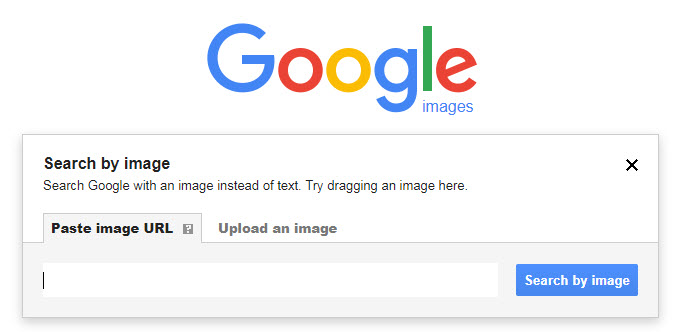
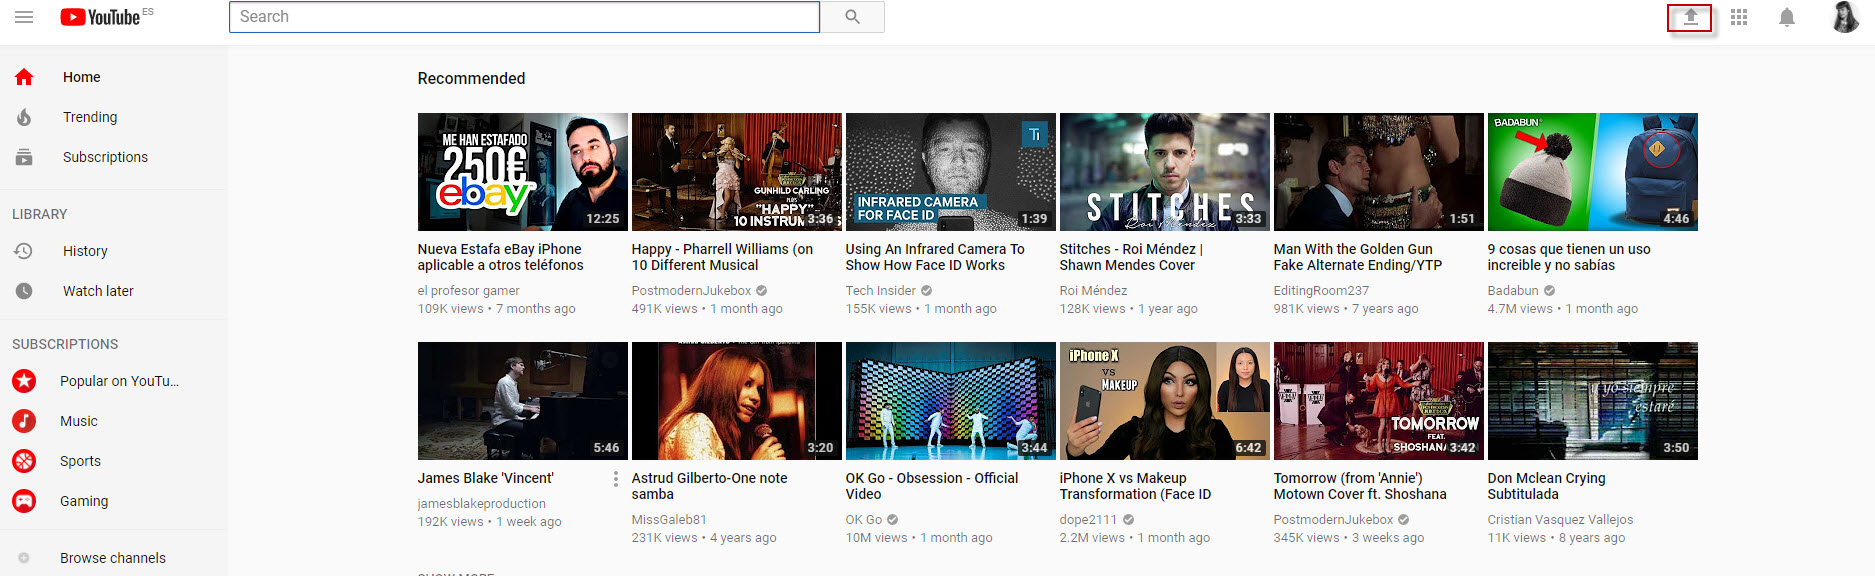
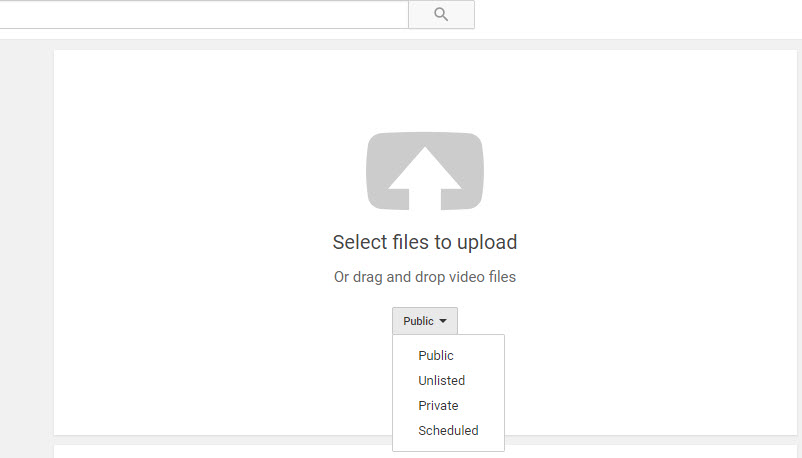
The first thing you must do when creating a Youtube video is upload the respective clip. To do this, type Youtube in the URL and click on the arrow that appears just right of the search bar (as long as we’re logged into Youtube, of course).
The next screen isn’t too mysterious: we can drag or select the file we want to upload to the platform. However, if it’s a video that you want to edit, our advice is that you change the default settings and add the clip as “Private” or “Unlisted.”
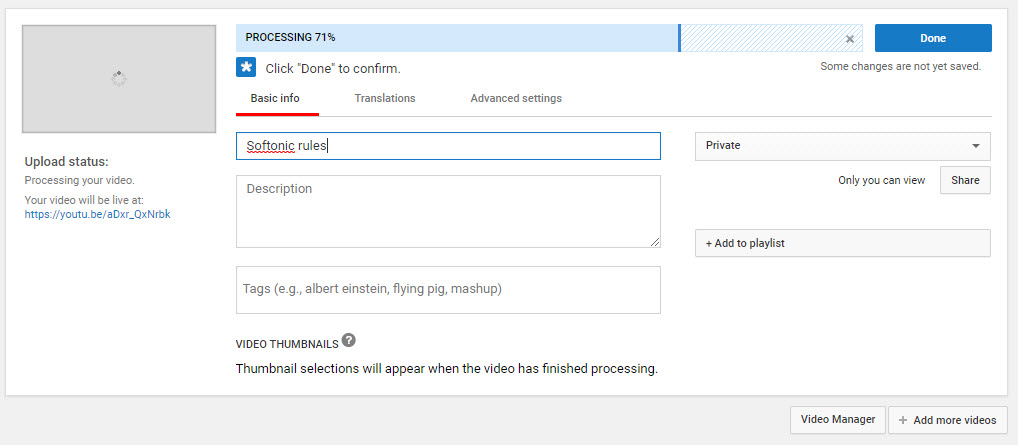
Once we’ve selected the video to upload, Youtube will send us to a new screen like the one you can see below. Here we’ve got several options, though they’re easy to understand: the title of our video; the description of it; tags that must be separated by commas (not phrases but keywords, e.g. birthday, Christmas, New Year’s); and the possibility of adding it to a playlist (if we’re going to upload many videos on the same subject, e.g. “Summer 2017″).
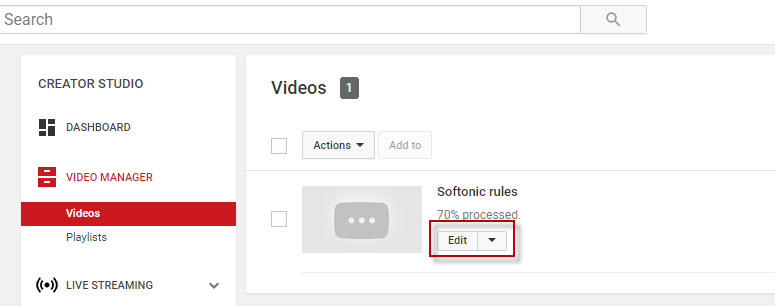
Once the video is uploaded, click below on the “Video manager” tab and it will take us to where we have all the clips we own. Click on “Edit” to use one of Youtube’s strong points.
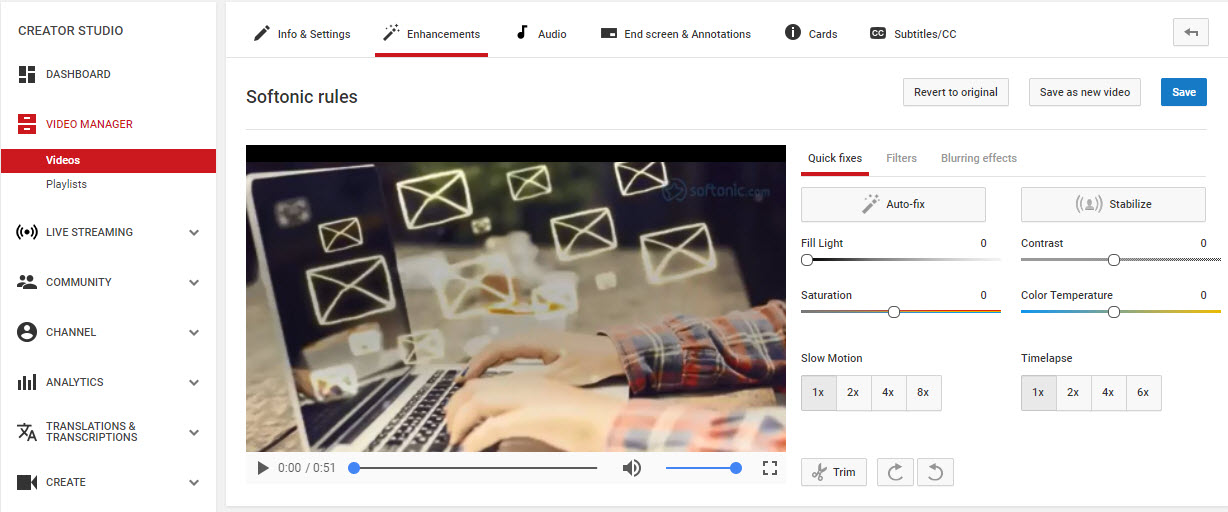
As soon as we enter, we’ll have the possibility of editing the video in front of us. The default field is “Information and configuration,” but we have to click on “Enhancements.” We can modify light, contrast, saturation, color temperature, put the video in slow motion, time lapse and most importantly: cut out the parts we don’t want.
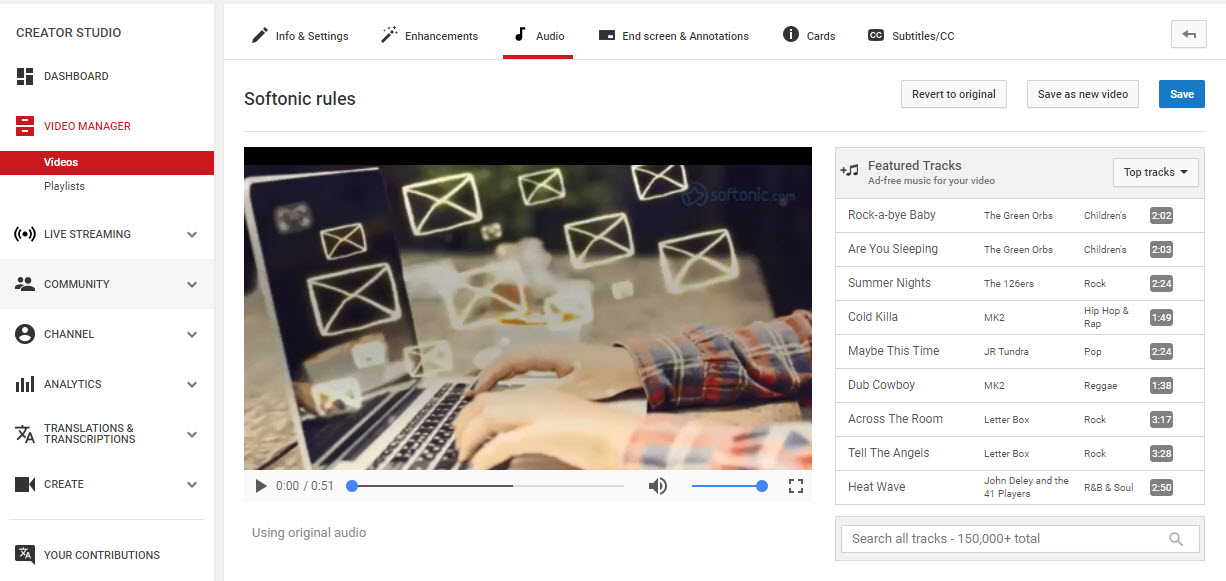
On the other hand, we have the “Audio” tab. As its name suggests, it gives us the chance to add a song from Youtube’s extensive music bank. Best of all? The available songs are copyright-free, i.e. they don’t have ownership rights and you can use them freely (it’s not the same to add a song by Justin Bieber, who has his own monetization system within the platform, as one of the songs that are there for this purpose).
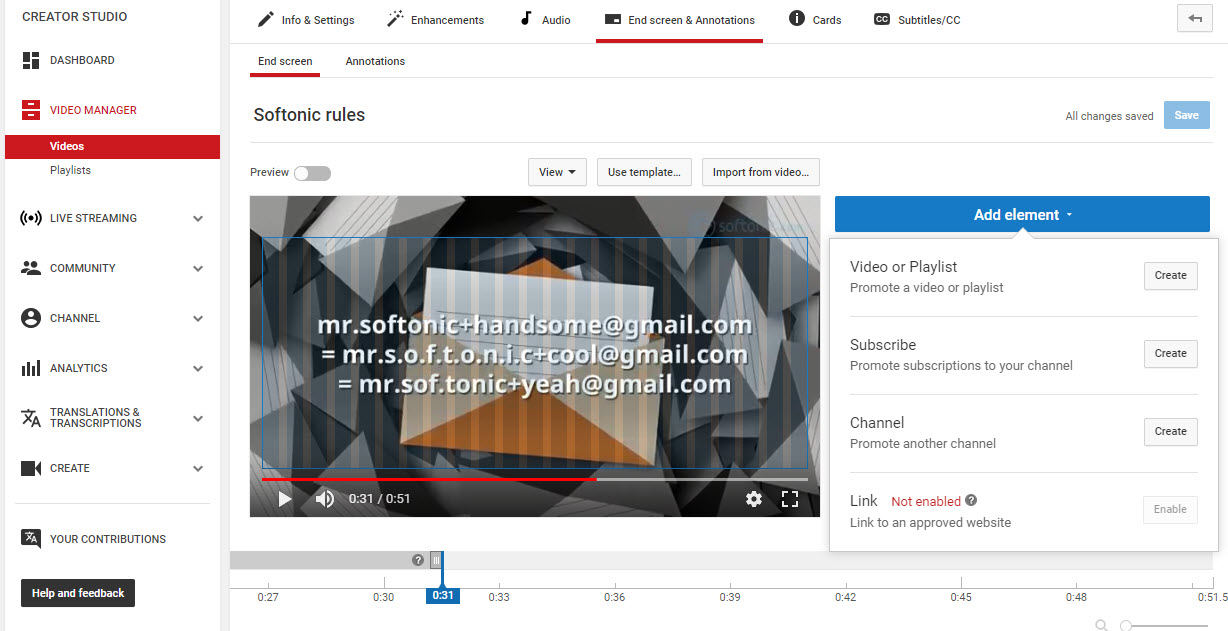
To wrap up, go to the “End screen and annotations,” where you can add all the text you want on the video, as well as annotations with links to other videos or webpages.
Our little guide to create videos on Youtube ends here. Try it out and leave your creations in the comments!