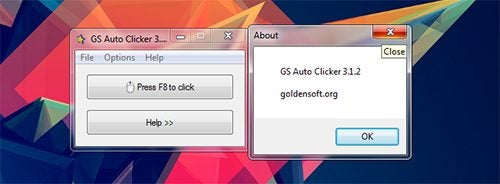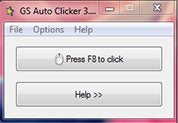
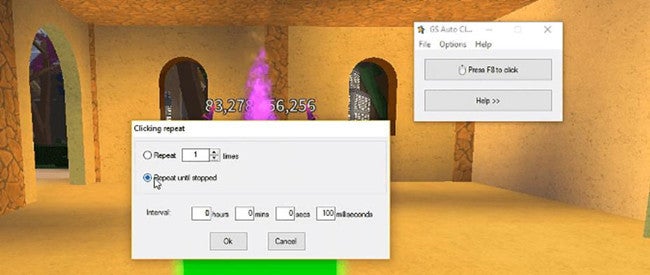
As with most software, sometimes errors can occur when you are using GS Auto Clicker. It is important to note that some games don’t allow you to use auto clickers as it is seen as cheating. So if your auto clicker works fine in other applications, but doesn’t work in your game, check to see if the games allow auto clickers.
If GS Auto Clicker doesn’t work in different applications, then you might be experiencing a real error. Let’s take a look at how you can fix your GS Auto Clicker if it’s not working.
Restart Computer
If you are experiencing any software issues, it is good to restart your computer first and see if the problem persists. If this solves the problem, great! If not, you can try the next solution.
Run Gs Auto Clicker as Administrator
Sometimes running a program as an Administrator can help to solve many different problems. To run the program as the Administrator, you right-click on the program icon and then click on ‘Run as Administrator’.
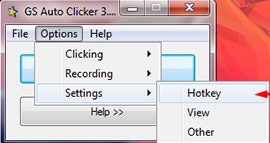
Update Your Gs Auto Clicker

Check to make sure that you have the latest version of the auto clicker installed on your computer. Outdated software can cause many different issues on your computer. If your software is outdated, you will need to install the latest version.
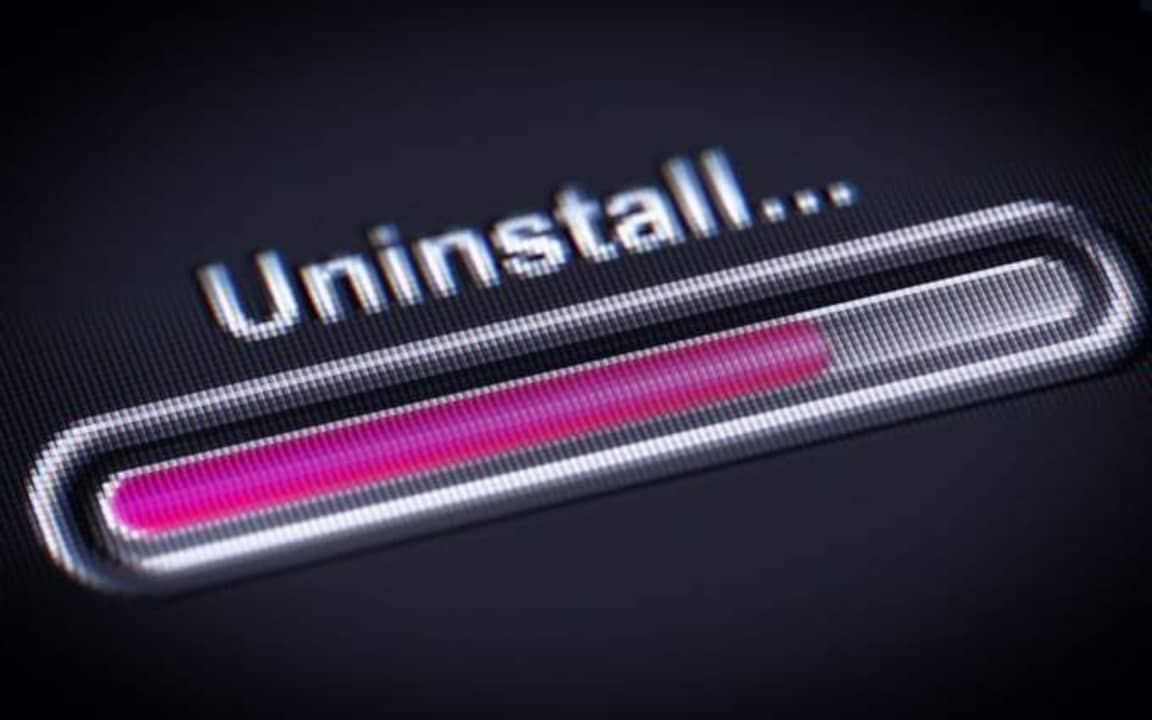
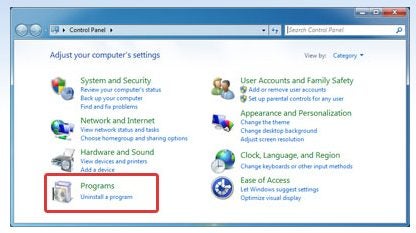
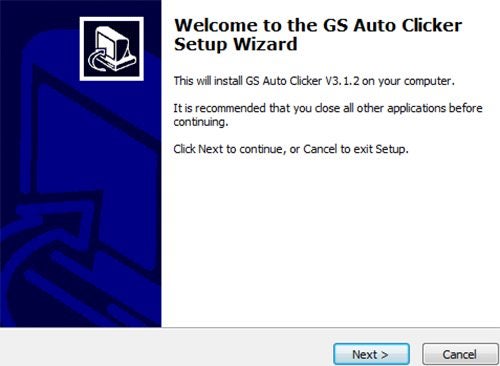
Uninstall and Reinstall Gs Auto Clicker

If the problem persists, then you may need to uninstall GS Auto Clicker from your computer. Once it has been completely uninstalled, you can reinstall the clicker and solve the issue of the program not working.
Fix Your Gs Auto Clicker Quickly and Easily
By implementing the following solutions, you can get your GS Auto Clicker back to a working condition so that you can continue automating your clicking.
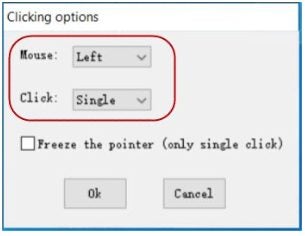
How to Get Gs Auto Clicker to Hold Down Left Mouse
MORE TIPS