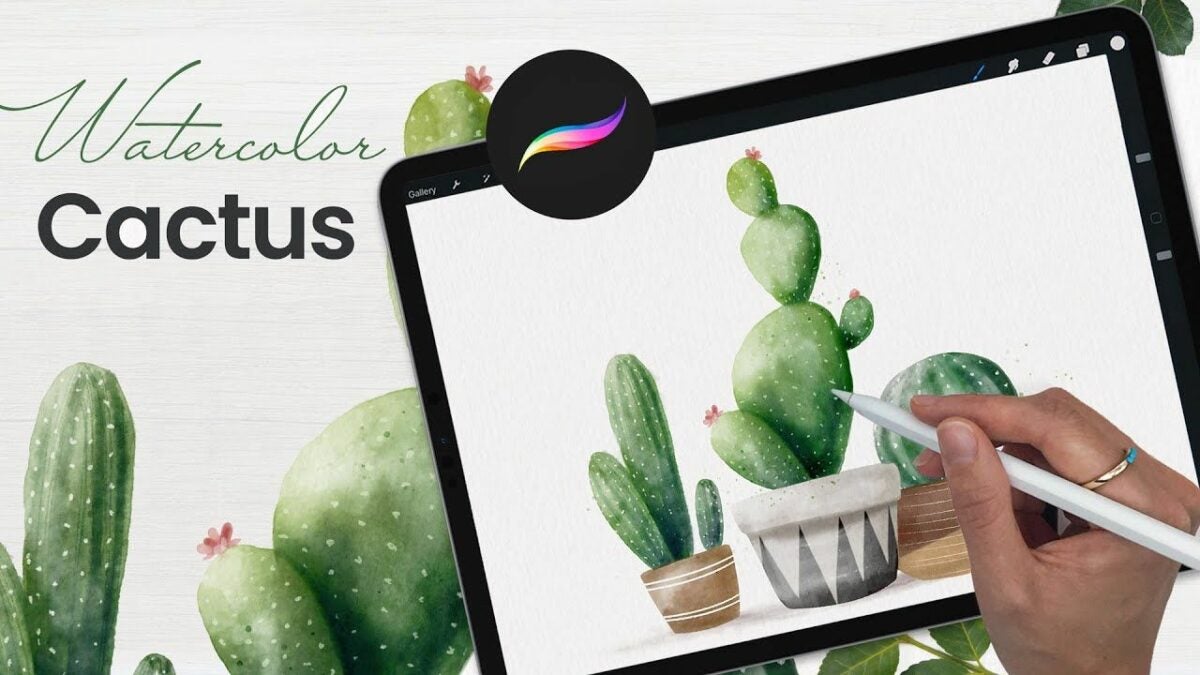
While it’s arguable that there is no replacement for the rich and dynamic results an artist can achieve with real paint on canvas, the Procreate application certainly comes close. The strongest upside of any digital illustration app is that you can create your artwork on the go. And Procreate is an excellent choice for tablet and iPad users who want to make realistic watercolors from scratch without the burden of a messy paintbrush and easel.
In this Procreate tutorial, we’ll look at a few techniques for creating authentic-looking digital watercolors within the app. We’ll show you how to make the best use of the tools and digital paintbrushes in Procreate to achieve stunningly realistic watercolors. To get started, all you need is a tablet, stylus, and the latest version of Procreate.
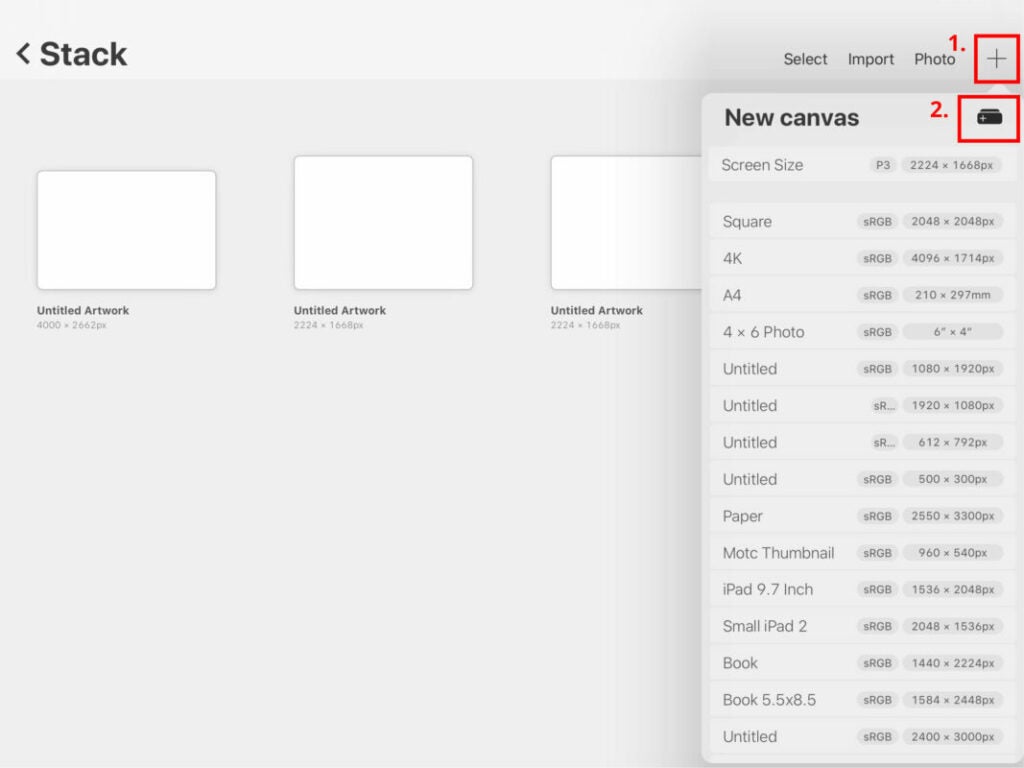
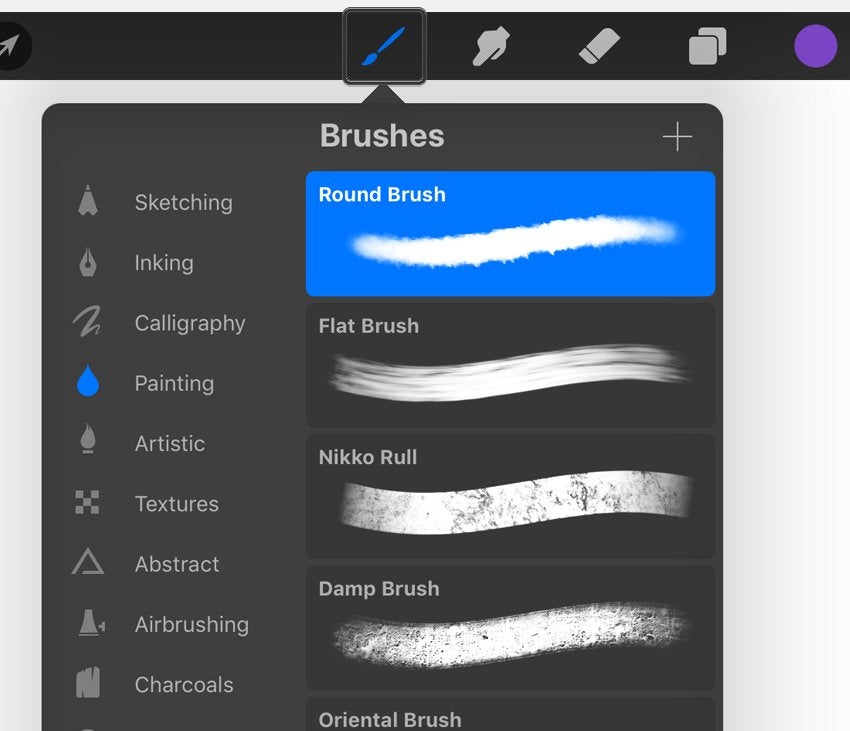
Select your watercolor brush kit
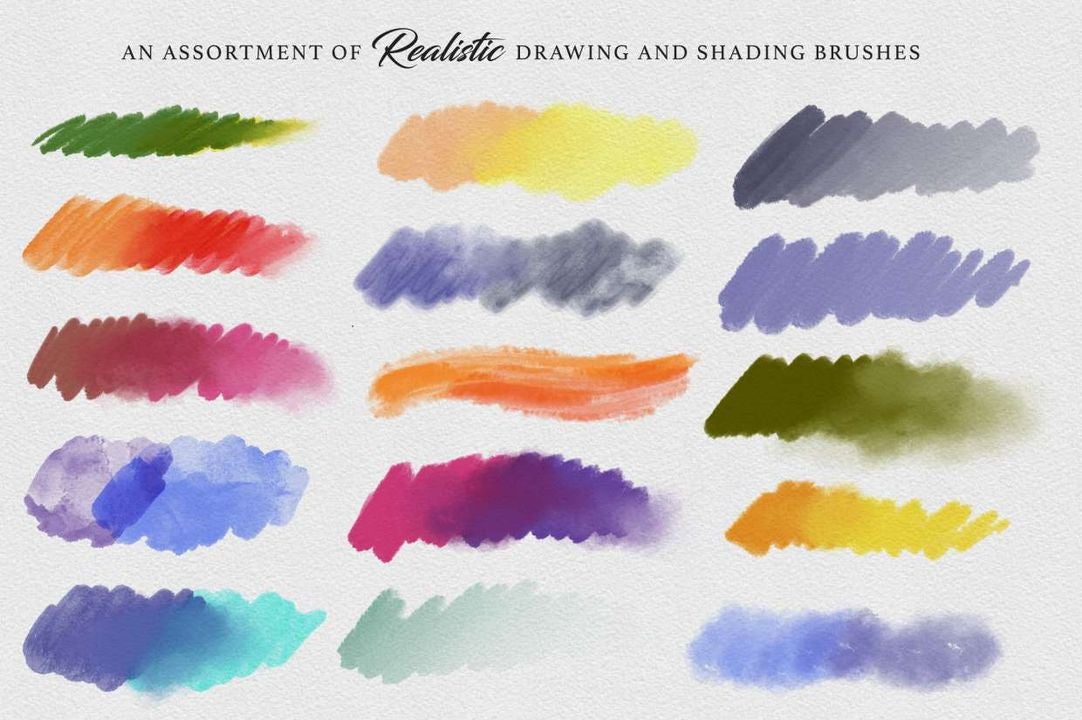
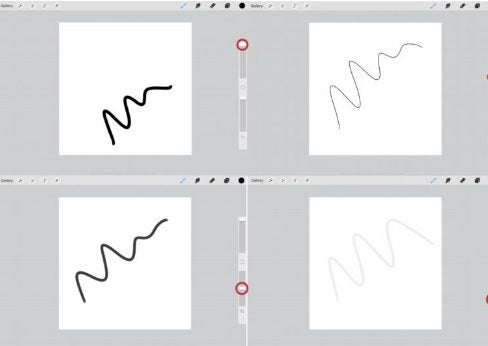
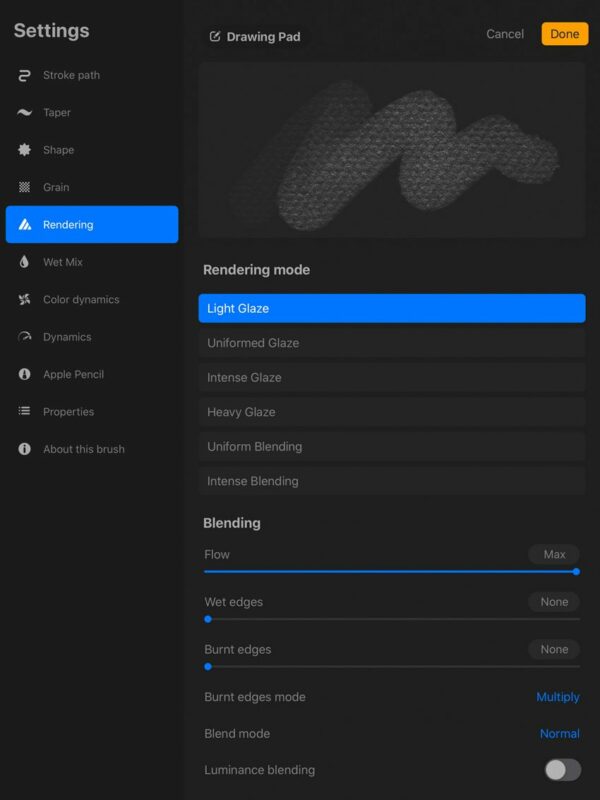
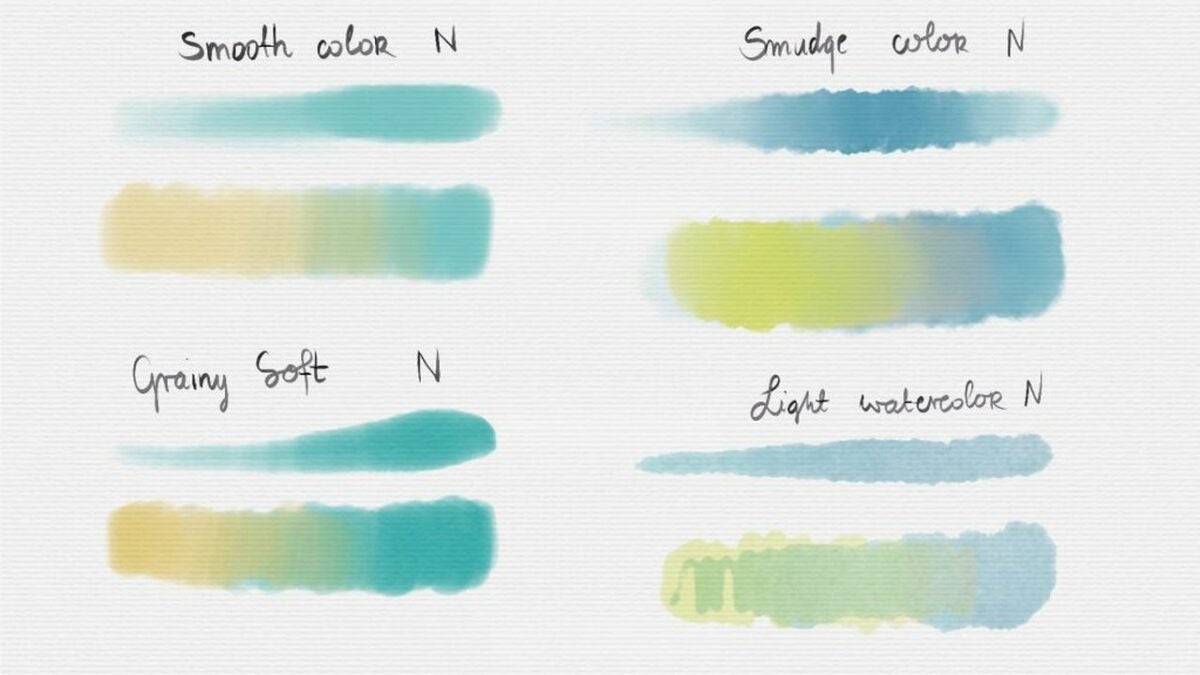
If you want to create a realistic-looking watercolor in Procreate, your final product should appear dry. To accomplish this, brush selection is crucial. Several brushes in Procreate will leave your finished piece looking wet, thus, hampering your ability to replicate a true watercolor painting.
Whenever you generate a watercolor with paint, the canvas dries, producing the abstract and imperfect look that most of us immediately recognize. The best way to accomplish this in Procreate is by choosing painting and blending brushes that give your digital watercolor the perfect finish. Procreate offers a range of free and premium digital brush bundles and kits to help you find the precise look you’re after. The brushes by Rowwenic and BasicX are both excellent free options for blending gorgeous, true-to-life digital watercolors.
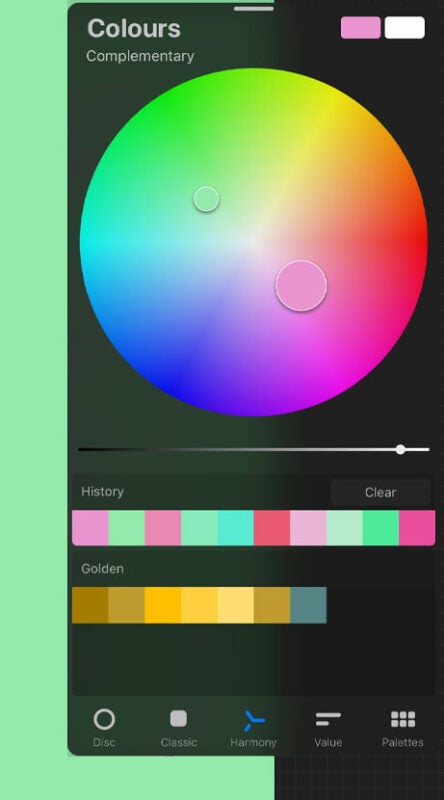
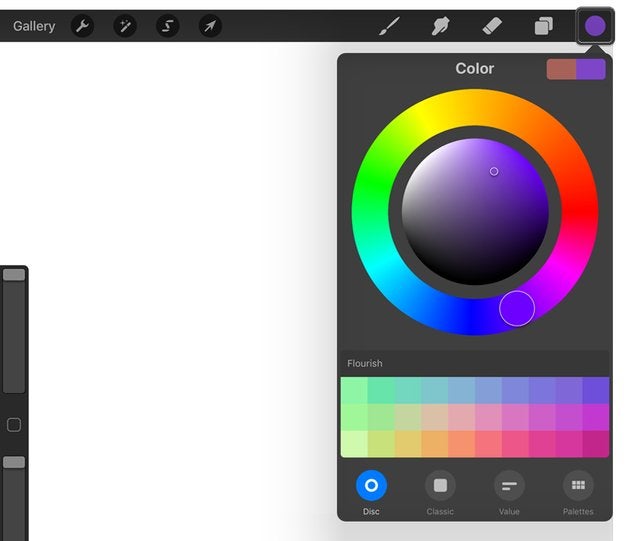
Choose a light base color
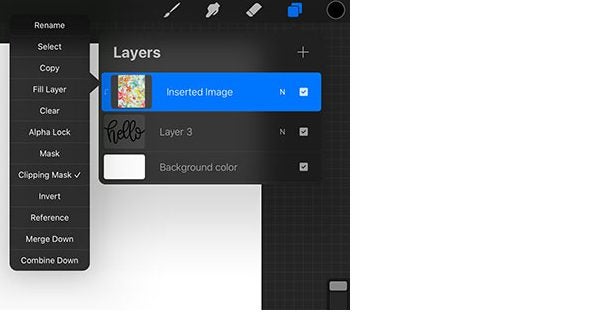
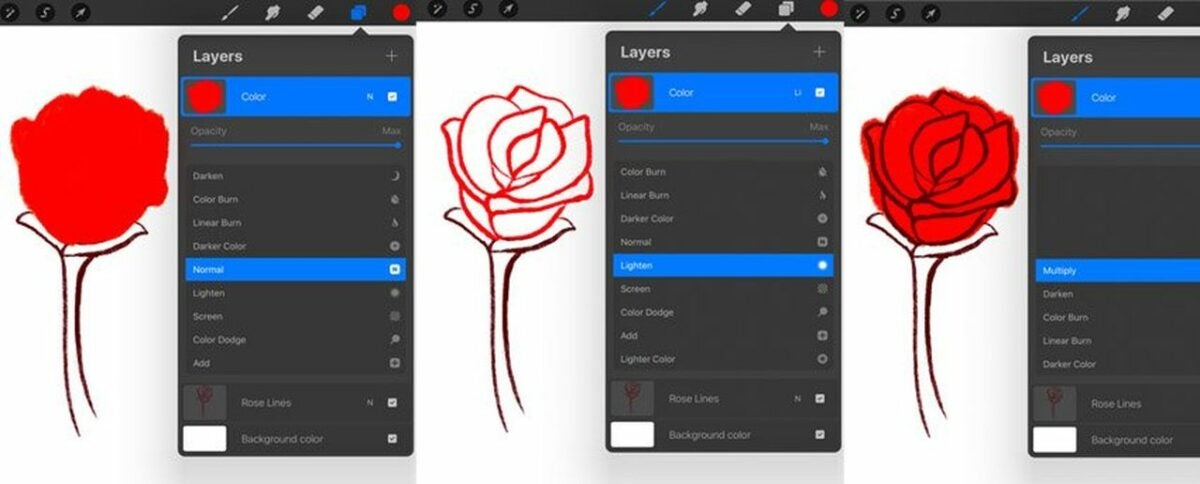
If you’re familiar with watercolor painting, you know the process requires the heavy use of a stamp brush. There’s a similar method in Procreate. Once you’ve selected your ideal brush kit, begin by layering your chosen base color with your stamp brush. The process requires Procreate’s clipping masks and blending modes for optimal results.
You can also experiment with the Multiply in Procreate feature, which amplifies the luminosity of the base color by the blend color. The effect helps you render a darker, more intense-looking image as it multiplies the various levels of darkening on the blend layer’s luminosity. Multiply similarly helps with creating splatters and shadows for more image depth. Minimizing your color palette selection will also produce the dry look of a real watercolor painting.
You ideally want to select a light base color at the outset. When you deploy the stamp brush tool to add stamps, your base color only gets darker. A light base color helps to avoid a wet-looking finished piece and gives you the intense color variation of an actual watercolor painting. The nice thing about watercolors is that they allow for imperfection. Don’t be afraid to get creative with your Stamp and Smudge tools. Use them generously to add more shadows and contrast to your digital painting.
Sketch in your subject
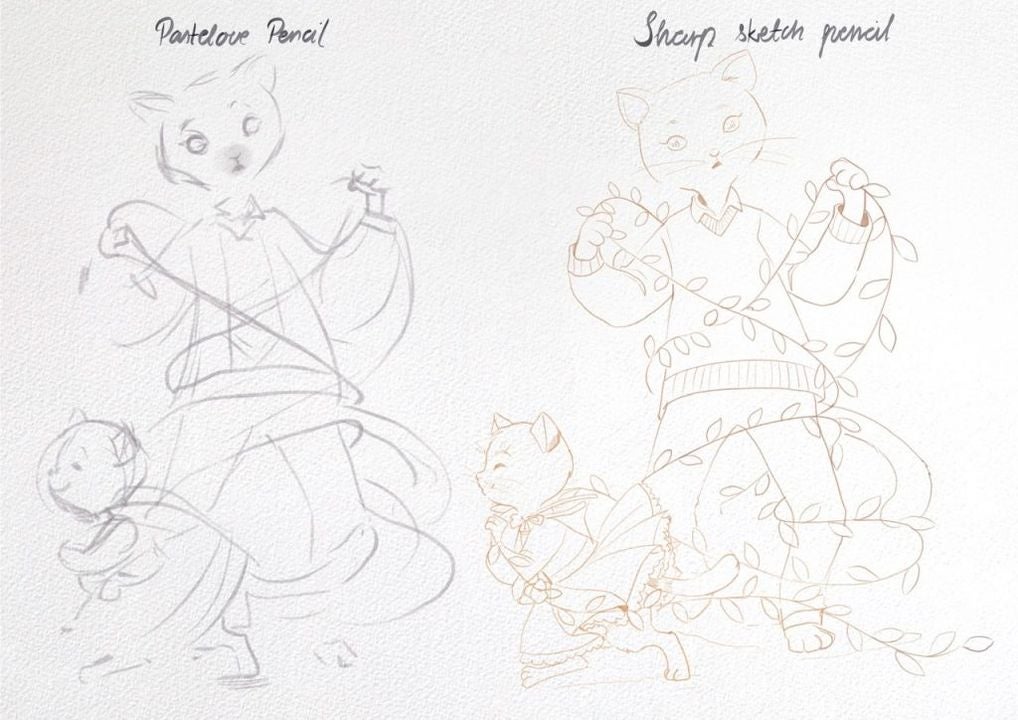
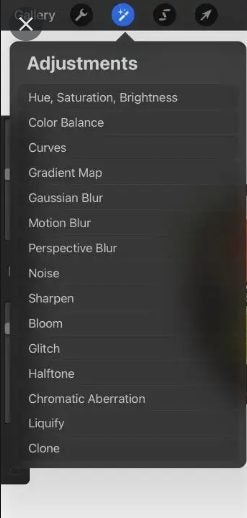
Procreate isn’t a template-based app, so you can create whatever you want. Watercolors don’t have to be symmetrical. The medium allows for a considerable degree of abstraction. For example, if you wish to paint a cactus, gradually ease the figure into your painting by drawing a centerline with your pencil or stylus, rendering loose curves along both sides.
Now, access the Liquify tool to continue rendering the stems and additional shapes. Once you have the cactus roughed in, use the All-Rounder Shape to complete your desired contour. Next, use your selected watercolor brushes in Procreate to continue the piece without lifting the stylus. Access your brushes to start filling in the cactus with a natural green color, keeping it roughly within the lines of your initial sketch.
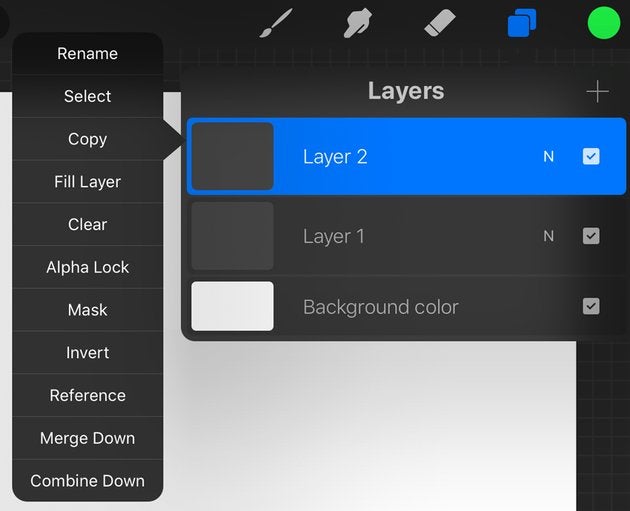
Add a new layer
The final step, which you’ll repeat successively to complete your image, is to add a New Layer and choose a clipping mask. Set this layer to Multiply, and select a large sketchy stamp from your digital paintbrush bundle. Use this tool and a smudger to start fleshing out your cactus figure. Continue with the blending modes, and select a darker color to add depth to the image.
Consider placing shadows off to the sides of your cactus to establish mood and the time of day. Procreate lets you rotate and resize your figure as much as you like. Now, stamp around your cactus with the Blooms Stamp Brush while adjusting the scale until it fits the perfect dimensions. Finally, go back to your base layer, and access the Smudge tool to make your watercolor look as authentic as possible.
Continue adding in details as desired, and lower your brush size to blend in abstract spines within the cactus. Use Bloom Effect to introduce more dynamic color to your figure. Next, access the stamping brush to blend the image. This step allows the most vibrant elements of the pigment to bleed out like an authentic watercolor.
Continue experimenting in Procreate
Painting digital watercolors with the Procreate app can be tremendously rewarding for amateurs and professionals alike, especially after familiarizing yourself with the impressive tool suite. Want to learn more about the Procreate basics? Check out our guide to taking your first artistic steps in Procreate.