When taking photographs, you’ve likely noticed that capturing a scene’s details isn’t as easy as it seems. For instance, imagine you want to capture a landscape in all its glory. If you try photographing the clouds in the sky, you’ll most likely sacrifice details in other parts of the image. Fortunately, Adobe Lightroom offers a perfect solution for this: HDR.
Adobe’s program has become an essential tool for photographers, not only because of its powerful editing capabilities but also for its HDR function. You’ll see that you don’t need high-end equipment to take spectacular HDR photos.
What is HDR?
Let’s continue with the landscape example. Normally, if you expose the image so that the sky looks good, the ground might be too dark. Conversely, if you expose the image to detail the ground, the sky might be overly bright.
In this case, HDR helps eliminate this issue at its root. HDR stands for High Dynamic Range, a photography technique designed to capture more details in both the lightest and darkest areas of an image.
How to Apply HDR in Adobe Lightroom
This technique aims to solve one of the major limitations of current digital cameras: their reduced dynamic range. But how does Adobe Lightroom apply it?
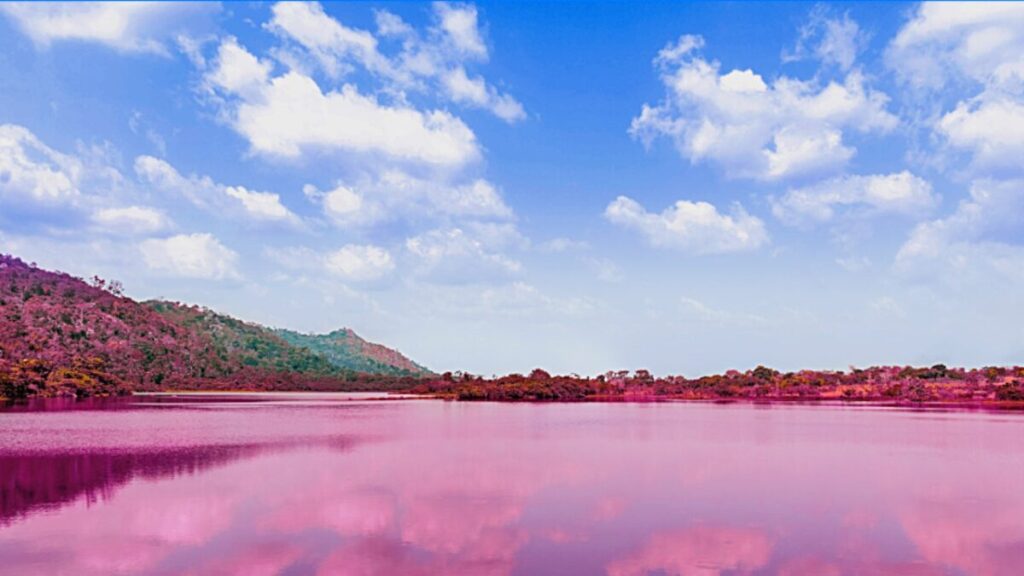
Generally, the HDR effect is achieved by using several photos of the same scene but with different exposure levels. Adobe Lightroom analyzes the light and shadow areas in the images, selects the best elements from each exposure, and merges them into a single photo. Ideally, you should have at least three photos of the same scene: one overexposed, one underexposed, and one normal.
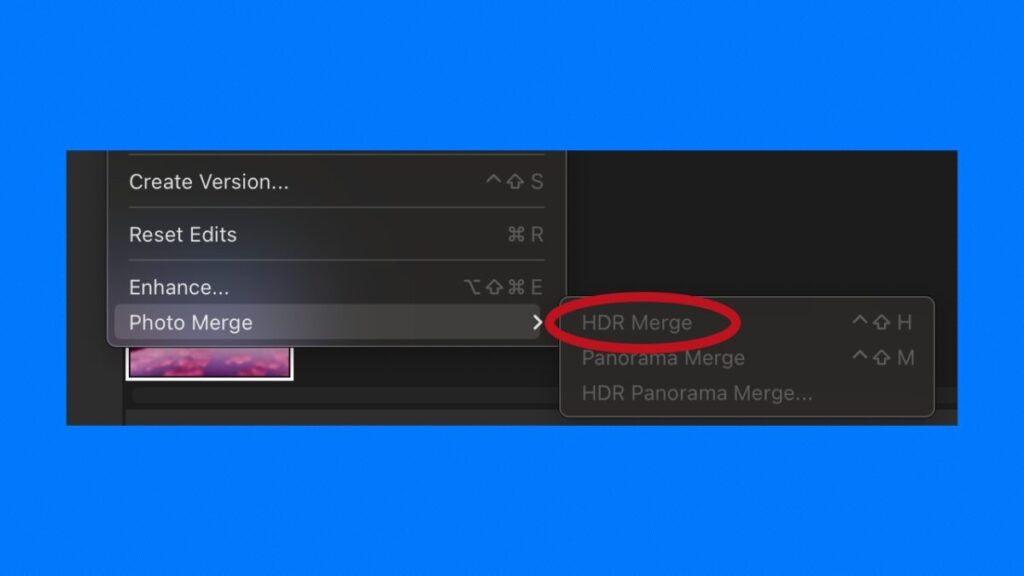
To merge multiple images into one, first select them to open in Adobe Lightroom and then click on Photo > Photo Merge > HDR Merge. You can also create panoramas by selecting the Panorama Merge option.
Requirements for Working with HDR
Programs like Adobe Lightroom have made it unnecessary to have expensive cameras to get photos with a wide dynamic range. However, you should consider these requirements to apply the HDR Output function:
- Your operating system must be Windows or macOS.
- For PC, you need Windows 10 (64-bit) version 22H2 or later. Apple computers must have at least macOS Monterey (version 12.0) or later.
- Have an HDR-compatible monitor, preferably certified with VESA DisplayHDR 1000. Here’s a list of models.
- Both Windows and macOS require at least 8 GB of RAM.
- Have 10 GB of available hard drive space.
- On Windows, you’ll need a GPU compatible with DirectX 12 and 2 GB of VRAM. On macOS, the GPU should be compatible with Metal and have 2 GB of VRAM.
Enhancing a Landscape with Adobe Lightroom
Editing photos in Lightroom is easier than you think. Let’s edit an HDR landscape capture to show you the steps:
- Open an image that has HDR data. This can be a single-exposure RAW photo, a HEIF image taken with an Apple device, or a single file with multiple exposures previously created with Lightroom.
- In the Edit panel, select the HDR button.
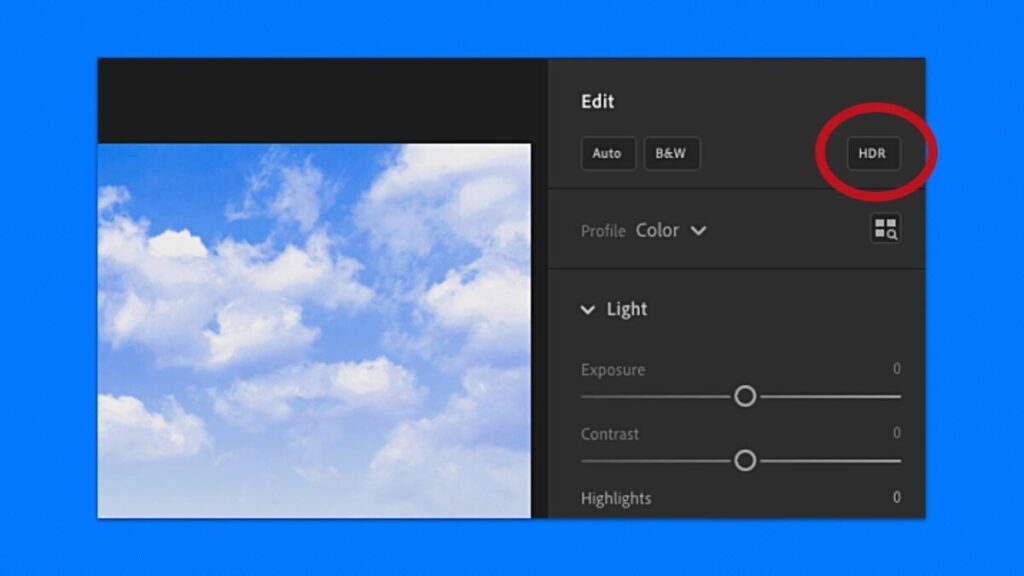
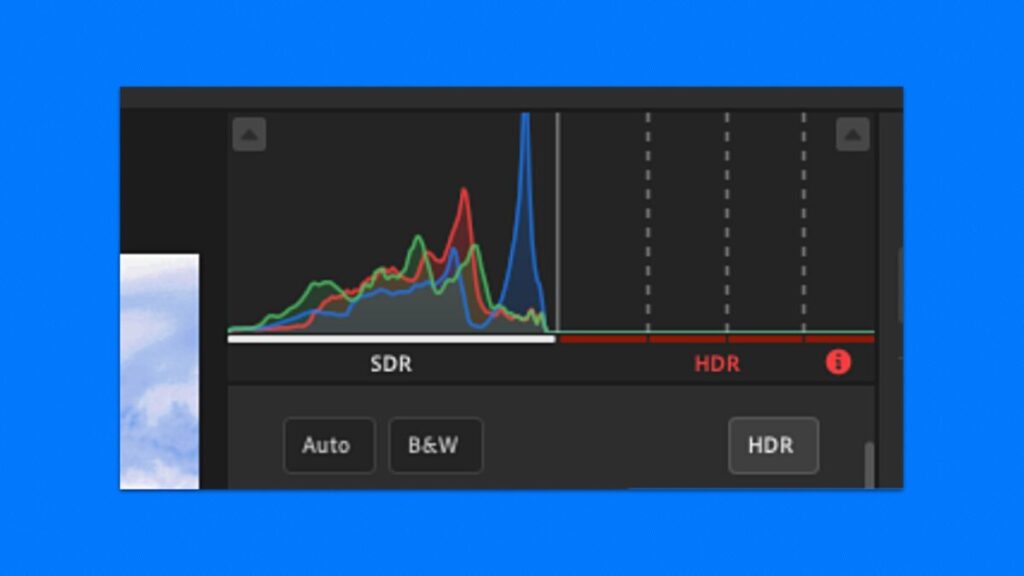
- When selected, the histogram will display automatically. If this panel doesn’t open, go to the three-dot symbol in the right-hand toolbar and choose the Histogram option.
- Select the Visualize HDR checkbox to view the image data. Then enable Preview for SDR Displays to control how the image would look on SDR screens.
- From here, edit the image as you like: adjust lights, contrast, brightness, shadows… the sky’s the limit.
You’ll notice that the HDR button is disabled by default. To enable it as soon as you enter Adobe Lightroom, go to Adobe Lightroom > Preferences > Import > Enable HDR editing by default for HDR Photos.
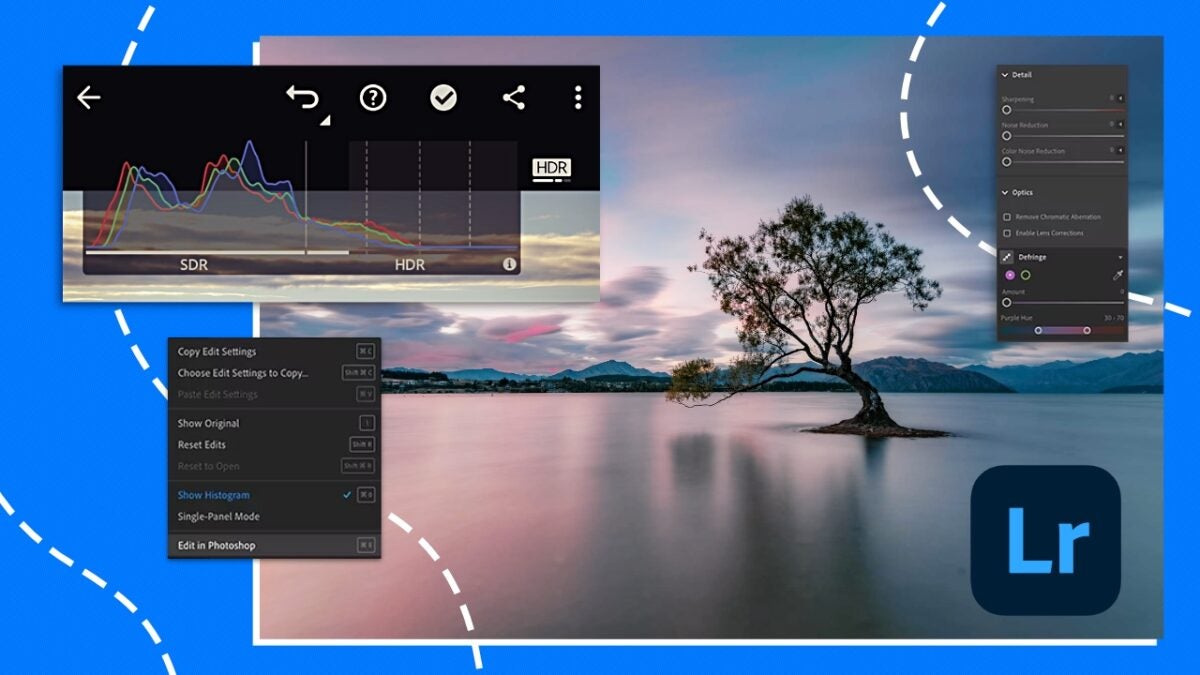
When editing a photo in HDR mode, you’ll see the histogram split into two parts: SDR on the left and HDR on the right. A gray line separates both parts; this line is the standard white limit (SDR), the white visible on your monitor. If the graph exceeds the line to the right, the photo will have HDR content. It’s crucial to have an HDR-compatible monitor to properly view the content.
How to Save Your HDR Image
Once you’ve finished editing your photo, it’s time to export it to your computer. This is a straightforward process where you need to follow these steps:
- Select File > Export > File Settings.
- Choose the format of your file from the menu and then enable the HDR Output checkbox.
- Finally, click on Export. Supported HDR file formats are RAW, AVIF, JPEG XL, TIFF, PSD, and PNG.
- If you plan to publish your photos online, using AVIF or JPEG XL formats is best. For other workflows, it’s advisable to use TIFF or PSD. In any case, experiment to see which format best suits your needs.
How Can I Access Adobe Lightroom?
To access Adobe Lightroom, you’ll need to subscribe to one of Adobe’s paid plans. Here are the different options available today for individuals:
- Free Trial Period: If you’ve never used Lightroom, you can enjoy a completely free 7-day trial. You won’t be charged until the trial ends. Choose wisely when to activate it as free periods can’t be repeated.
- Lightroom Plan with 1 TB: This subscription provides Adobe Lightroom for PC, mobile, and web versions. It also includes 1 TB of cloud storage and 100 monthly generative credits.
- Photography Plan: This plan is more expensive but includes Adobe Lightroom and Adobe Photoshop. It gives you access to Lightroom on PC, mobile, web, and Photoshop on desktop and iPad. Generative credits increase to 500 monthly.
Remember, if you’re a student or teacher, you can get special discounts.
Some of the links included in the article are part of affiliate campaigns and may represent benefits for Softonic.
