Scammers have been hiding malware in the Windows logo!

Malware seems to be everywhere these days with scammers hiding it in everything from fake job offers to LinkedIn Smart Links. Today, however, we have news of malware being pumped into even the most inconspicuous of places, the Windows logo itself. It seems that malicious actors have shipping out dangerous malware hidden in image files and that even the Windows logo has been affected in this manner. Here is what you need to know.

Windows 11 Download Now

Cybersecurity experts at Symantec have discovered a new way that threat actors have been trying to catch out unsuspecting victims. The malicious method is called steganography and involves hiding malware code into images.

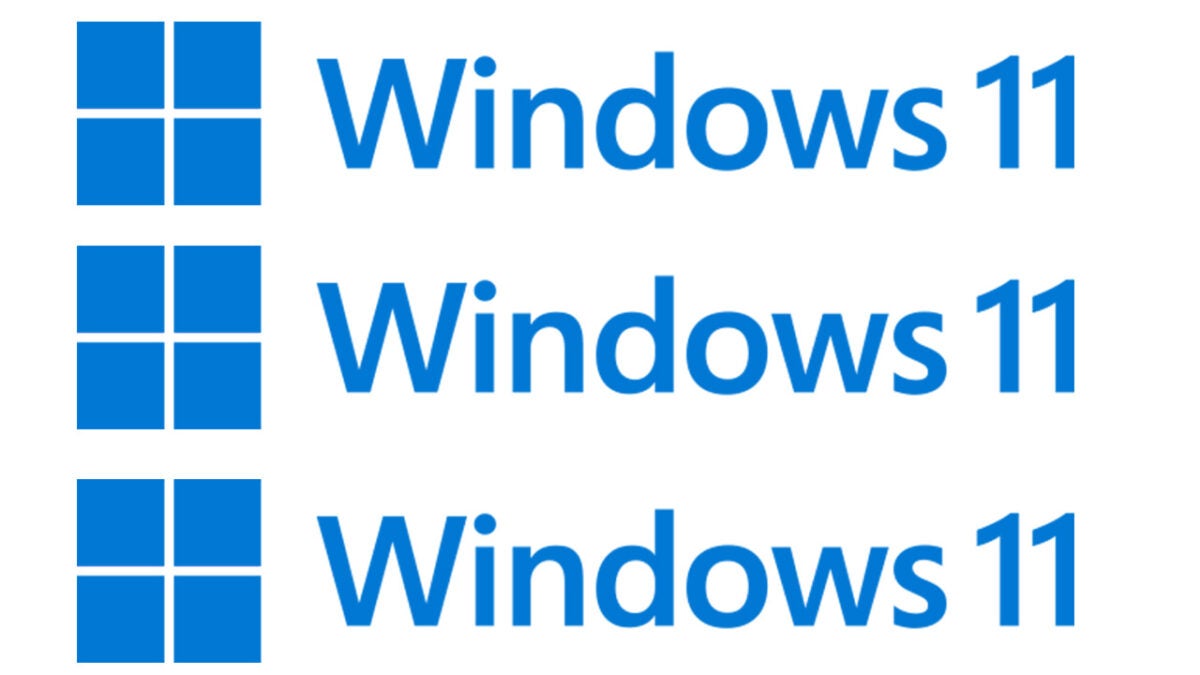
According to the Symantec report the campaign, which is being perpetrated by a cybercriminal gang called Witchetty hides an XOR-encrypted backdoor malware in a bitmap image of an old Windows logo. Interestingly, the compromised file is hosted on a cloud service that wouldn’t normally be flagged as being suspicious, which is what allows it to evade security scanners.

The XOR-encrypted backdoor allows the scammers to perform various actions, which will cause the victim harm including altering and editing files and folders, starting and terminating processes, downloading further infected files onto the device, stealing files and documents, and even messing around with the Windows Registry.

Incredibly, it seems like this type of attack has successfully targeted several institutions including several governments in the Middle East and even the South African Stock Exchange.

Again, however, this is just another example of why you need to be more careful than ever these days when you are using your computer and online. With malicious files even infiltrating mundane elements of our digital experience such as Windows logos and basic image files, we really do need to be up to date with how to spot these types of scams and prevent them ending up on our devices. To help you do this we recommend consulting with our guide to spotting phishing scams and fake emails.

WhatsApp update bringing polls and surveys to the app

We’ve been covering a lot of cool updates that will be coming to WhatsApp over the next few weeks and months. These include a new camera, new avatars, and even a new Communities feature. Well today we have another new feature to report on for you, as it looks like WhatsApp has been working on a new survey and polls feature. Let’s check it out.

WhatsApp Download Now

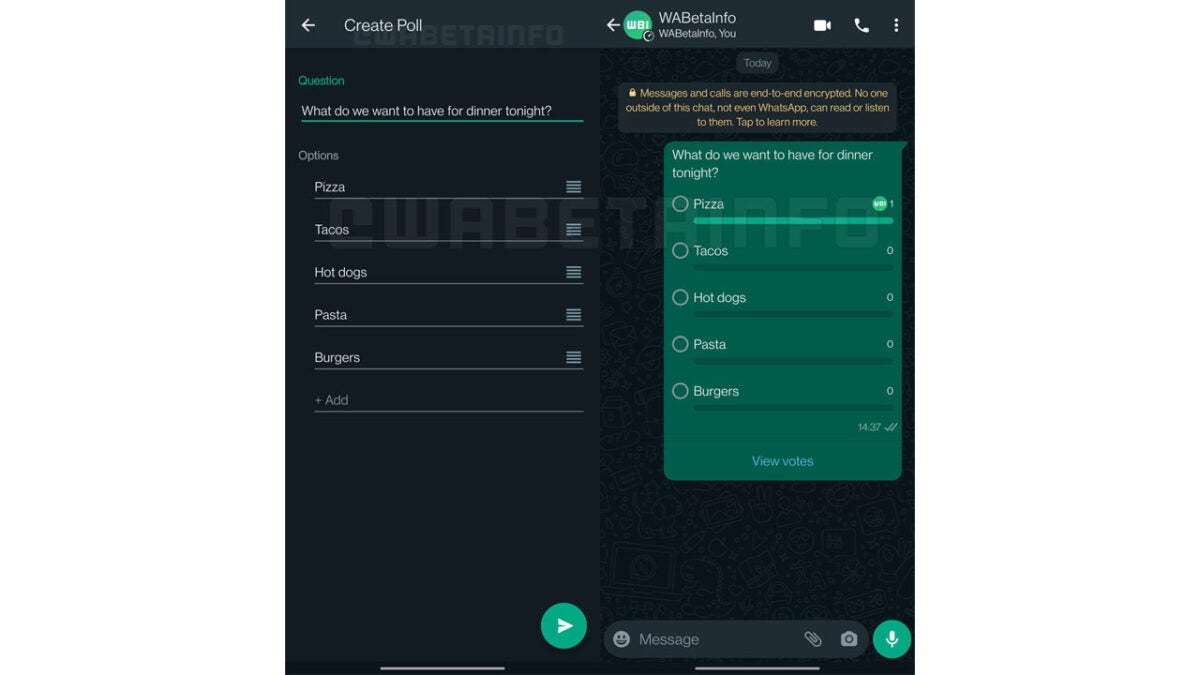
The latest beta version of WhatsApp for Android, version 2.22.21.16, has shown up an interesting new feature that will give users the chance to share surveys and polls with friends and families using WhatsApp Groups.

The feature is already quite far along the development path and looks like it is already complete for implementation. The polls feature is found in the chat share options of a group, and it looks as though it will be available for all members of the group and not just group admins. It will include the ability to ask questions and then provide up to 12 different response options, which will be available to the other group users to respond with. It also looks like group participants will be able to respond with more than one option.

Once the polls and surveys are complete, the group participants will be able to find out the details of who voted and for what by clicking on the “view votes” option.

Even though the feature does appear to be fully formed and usable, this is the first time it has really been spotted on a beta version of WhatsApp, which means it likely still has a lot of testing and maybe further development to go before it will receive a wider rollout. This means it could be a while before we all get it on our versions of WhatsApp and that it may have different options and features available when we do.

In other recent WhatsApp news, a new update will make it easier to talk to yourself on the messaging app.

3 ways to disable website not trusted message in browser

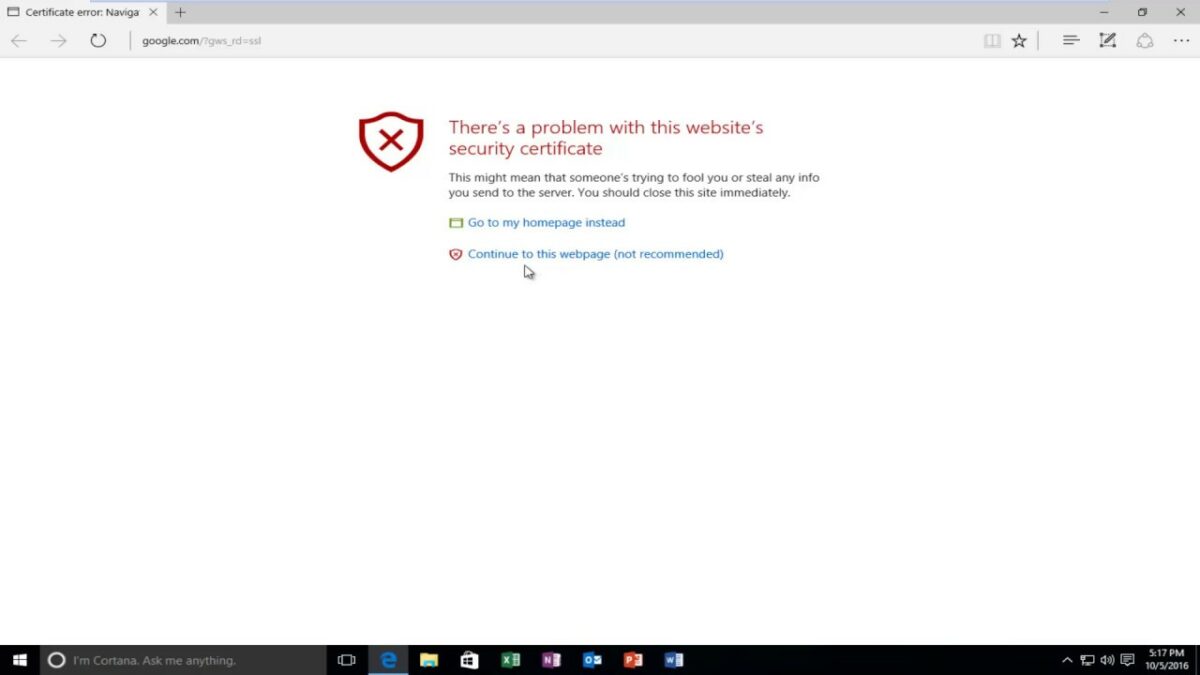
We all know that feeling of unease when we see a message on our screen telling us that a website is not trusted. It’s enough to make even the most computer-savvy among us click away instantly. But what does this message really mean? And is there any way to disable it?

Unfortunately, there’s no easy way to do it. The best thing you can do is to ensure that you only visit websites that you trust and that have a valid SSL certificate. If you’re unsure about a site, take a moment to research it before entering any sensitive information. By being cautious and informed, you can help to keep yourself safe online. This article is for you if you still want to access a site with a ‘not trusted message.’

What is the website not trusted message?

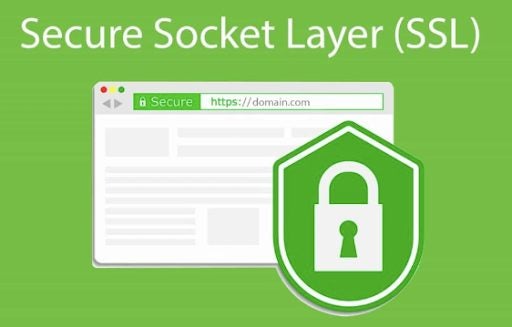
In short, the message tells you that the website you’re trying to visit may not be safe. This can be for several reasons, but typically, the site doesn’t have a valid SSL certificate. SSL stands for Secure Sockets Layer, a protocol that helps keep your data secure when browsing the web. A website with a valid SSL certificate means that the connection between your browser and the site is encrypted, making it much harder for someone to intercept and steal your data.

How to disable the website not trusted message in your browser

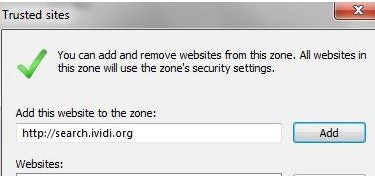
  1. Adding the website to the trusted list

    disable website not trusted message in browser

    In most cases, you can simply add the website to your browser’s trusted list, and the message will go away. This is an effective way to disable the certificate error message, but it’s essential to understand why it appears in the first place. You can also try using a different browser like internet explorer. Websites that are not on a trusted list are typically less secure than those that are, so it’s essential to be cautious when visiting them. If you’re unsure about a website, it’s always best to err on the side of caution and avoid adding it to your trusted list.

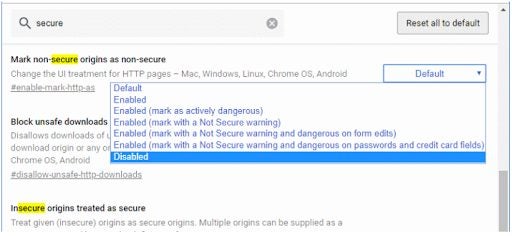
  2. Disabling the HTTPS warning

    disable website not trusted message in browser

    Disabling the HTTPS warning is an effective way to disable this error. This error message can be caused by various factors, including incorrect time and date settings on your computer. If you frequently see this message, your computer’s clock is likely inaccurate. Check your computer’s date and time settings and ensure they’re correct.

    If you continue to see the message after correcting your clock, you may need to clear your browsing data. Choose “Clear browsing data” from your browser’s settings and select “cookies and other site data.” This will remove any stored cookies that could be causing the problem.

    Finally, if you’re still seeing the error message, your DNS cache may have become corrupted. Try flushing your DNS cache to see if that fixes the problem. If none of these steps work, it’s likely that the website you’re trying to visit is not trustworthy. In this case, it’s best to avoid giving them personal information.

  3. Contacting the website admin

    disable website not trusted message in browser

    Asking the website admin to use a valid SSL certificate is another effective way to disable this message. When I tried to access my bank’s website, I saw this message and found out that the site wasn’t using a valid SSL certificate.

    I contacted the bank, and they told me they had already rectified the situation and now used a valid security certificate. Asking the website admin to use a valid SSL certificate is usually the simplest way to avoid getting the error message.

Visit the site, but remain safe

I hope this article helped you understand how to disable your browser’s “website not trusted” message. This is a common problem that several different things can cause, but the most likely cause is that your browser’s security settings are set too high. If you still see the message after following the instructions in this article, please contact the website’s support team; they’ll be happy to help. Be sure to check out our article on how to remain safe online.

GTA V player fails driving test and takes the bus

Most of us who play GTA V start out the same way; we spend at least 10 minutes trying to be law-abiding citizens before we let all hell break loose on the roads and pedestrians of Los Santos. While for most of us, being a law-abiding citizen means stopping when the traffic light is red and only stopping to pick up a prostitute where it is safe to do so. However, one GTA player has taken the concept of being a law-abiding citizen to the extreme. 

GTA V DOWNLOAD

Most of you will know that GTA V has a driving test like GTA San Andreas had once you got to San Fierro. However, neither of the games have any real consequences for not taking – or not passing – these tests. That hasn’t stopped MotorDesigner from instating his own punishment. 

The GTA V Driving test is quite standard in terms of driving tests in the continental United States. To pass, you must know all the basics, such as the right method for picking up a prostitute and the procedure to follow if you’re first on the scene of an accident. MotorDesigner didn’t get these parts of the test right and thus failed.

GTA V player fails driving test

According to the laws upheld by the San Andreas DMV, should you fail the test, you’re not even licensed to drive a Faggio, much less the Enus Deities that most players currently have in their many garages. Of course, law enforcement in the game couldn’t be bothered that most players are driving around unlicensed, but apparently, one player does. 

Upon failing their test, MotorDesigner decided that they would not set foot behind the wheel of a vehicle again, and thus headed over to Reddit for ideas about how to get around the city. First, MotorDesigner made heartfelt pleas for lifts around the map from other players. These please fell on deaf ears. Some players did give propose a few solutions, however.

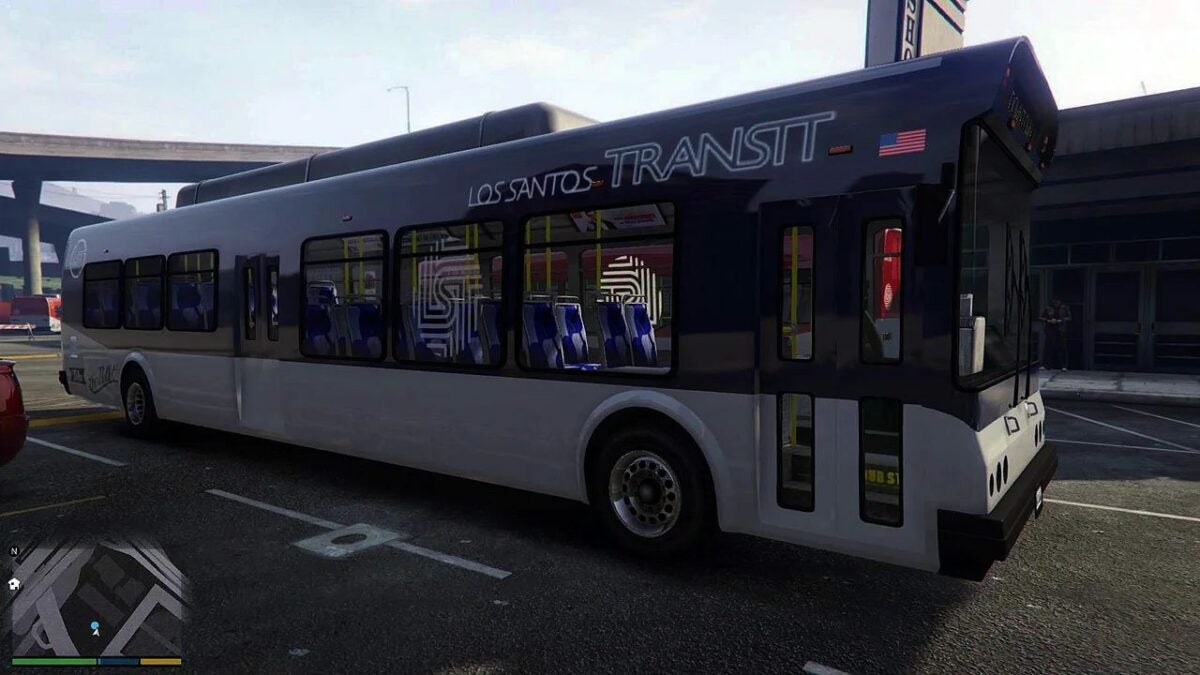
One player suggested trains as the trains in GTA are famously indestructible and thus you’d have ample protection and two free hands for weapons. However, the solution that MotorDesigner appreciated most was to use the bus. 

To the untrained eye, this might be a strange choice to make. However, if you’re familiar with GTA V’s vibrant role-playing community, MotorDesigner simply looks like one of the countless people who have taken to treating GTA V as a life simulator. This is an excellent way, it turns out, to squeeze one last little bit of variation and fun out of the game while waiting for GTA VI to drop.

Among Us is turned into a battle arena fighting game

The multiplayer deduction game from Innersloth, Among Us, has entertained players since its release in 2018. So much so that the mobile original was brought to consoles in 2020 and 2021, giving fans more ways to enjoy the game. A new battle arena game is being released based on the popular deduction game.

Among Us DOWNLOAD

A fan of the original developed the new Among Us battle arena game. This spinoff is titled Among Us Arena Ultimate and is available for free on the distribution platform Itch. Players should be aware that this is a fan-created game and has no connection to the original developers, Innersloth. 

The fan responsible for creating this new battle arena game is known on Twitter as Startcutter and is a game developer themself. In fact, his team is working on their own fighting game, as is evident from the support notes in Among Us Arena Ultimate. These notes ask players who enjoy the game to consider donating to their project. They also note that players should support Innersloth, the original creators of Among Us.

So far, Among Us Arena Ultimate has received a rather warm welcome despite there still being a few bugs for developers to address. CommanderDemon commented on Itch that some of the AI is glitchy and makes it appear like the game is cheating. He mentioned a few situations where he would hit enemy players straight on with attacks that should have destroyed them; instead, the enemies received counters despite being hit after they flashed.

Among Us is turned into a battle arena fighting game 1

Among Us Arena Ultimate is very much inspired by the original game from Innersloth, and if you weren’t aware, you might not even realize it’s a fan-made game. Still, if you love the quirky art style and characters of Among Us and battle arena fighting games, this could be a match made in heaven. However, Innersloth is still keeping the original game alive as they’re currently working on a VR version of Among US with beta testing happening soon.

How to merge layers in Photoshop: 5 ways

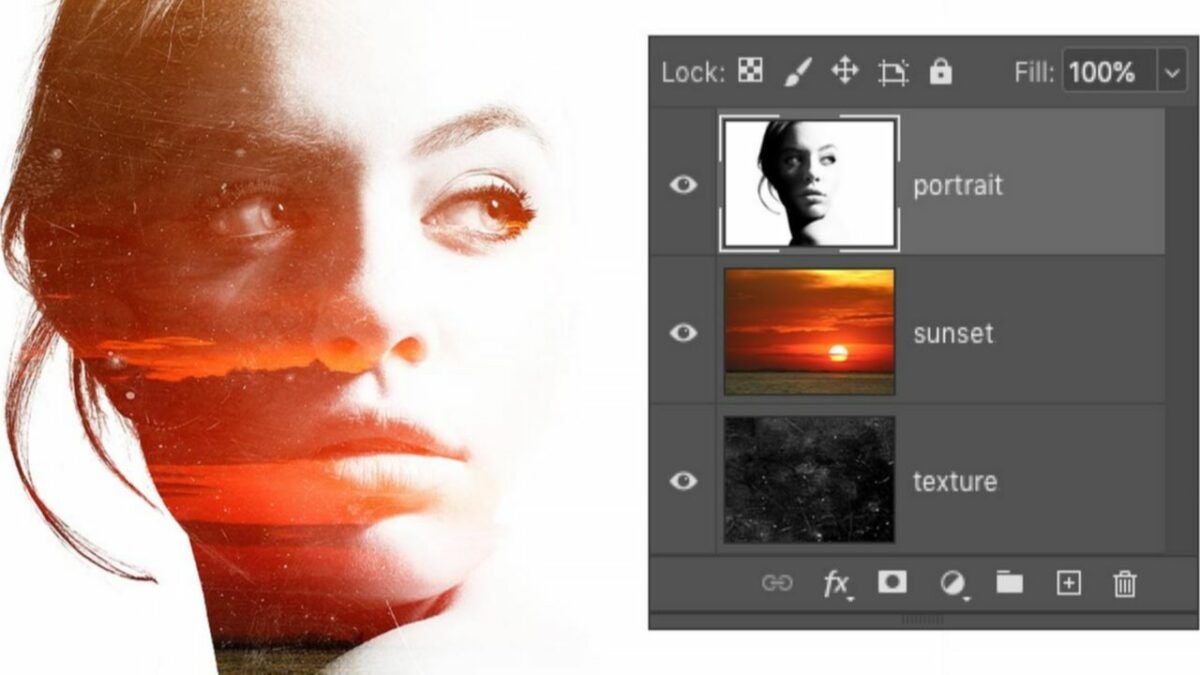
Layers in Photoshop have several valuable applications. And this unique feature is primarily what distinguishes the software from the basic photo editing application included with your standard operating system. Layers allow you to do things like composite multiple images into one document, overlay text, and introduce vector graphic shapes to your image without significantly degrading your original file.

Adobe Photoshop DOWNLOAD

Understanding how to manage the Layers in Photoshop is the best approach for maximizing the application’s impressive design capabilities. Familiarizing yourself with Layers will also help you deliver stunning, professional-looking results after minimal effort. In this brief tutorial, you’ll learn how to merge layers in Photoshop documents. First, make sure you download Adobe Photoshop.

  1. Merge multiple layers from the layers menu

    Merge multiple layers from the toolbar at the top of your screen in Photoshop.

    Any Layers-based project in Photoshop will, by definition, have at least two layers. Adobe engineered the program this way to let you work with specific elements of your image without changing the others. This type of workflow is considered a non-destructive approach to digital image editing because it helps preserve your file’s original characteristics.

    Once you’ve finished all your edits in your project, you’ll need to merge any layers that no longer require individual attention. This point could mark the completion of your project or just a specific stage. Merging the multiple layers ultimately reduces the overall size of your image file and makes your Photoshop project easier to manage.

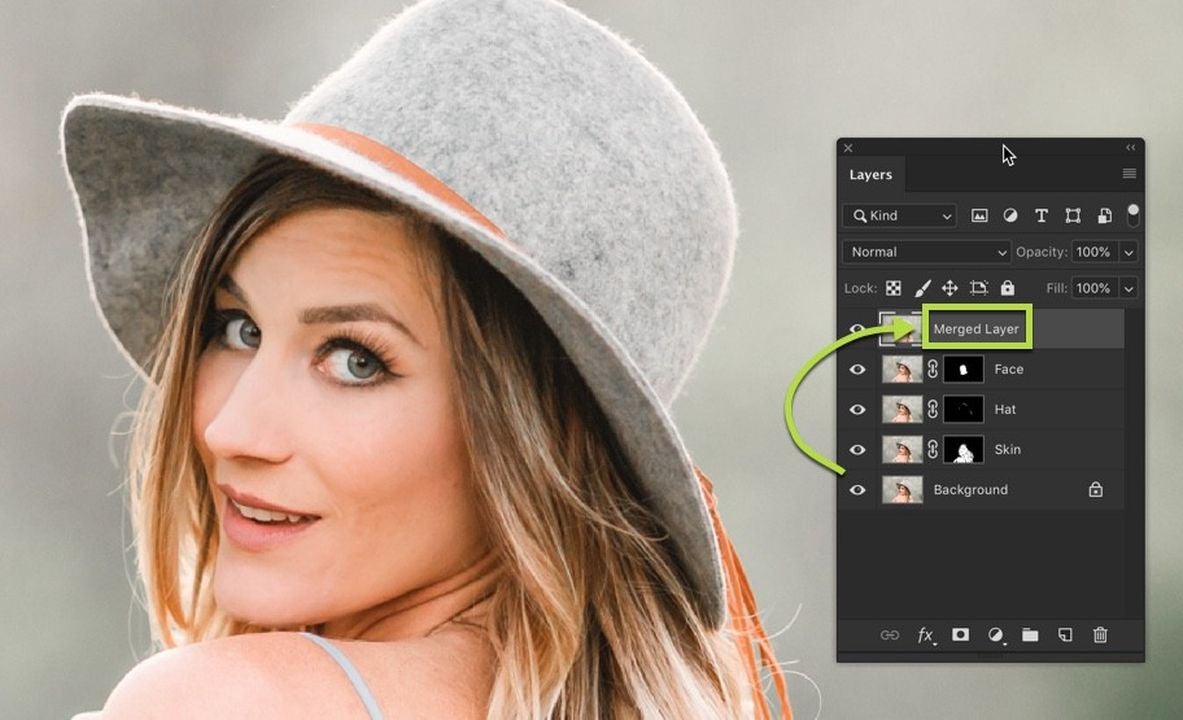
    To merge multiple layers, start by ensuring all your layers are visible in the Layers Panel. To show or hide your layers, press Alt + the Layer Visibility icon for Windows or Option + the Layer Visibility icon for Mac. This shortcut lets you toggle between hiding and revealing every layer in your current project.

    After you’ve set all your layers to visible, you’ll notice they each have Eyeball icons enabled to the left of the layer name. If you can see these graphics, then all your layers are visible. An empty checkbox means the layer is marked hidden. Click the empty boxes to add the Eyeball and render the layers visible.

    Next, choose the layers you wish to merge. You don’t have to combine them all, and you can continue adding new layers to your project after bringing them together. To merge your layers, hold down Ctrl on your keyboard while selecting each layer you want to merge.

    If you’ve grouped your layers, follow this same procedure to merge these sets. They will conjoin as a single layer. After the layers merge, the Layers Panel will display the merged file as the topmost layer and retain the same name as the initial primary layer in your project.

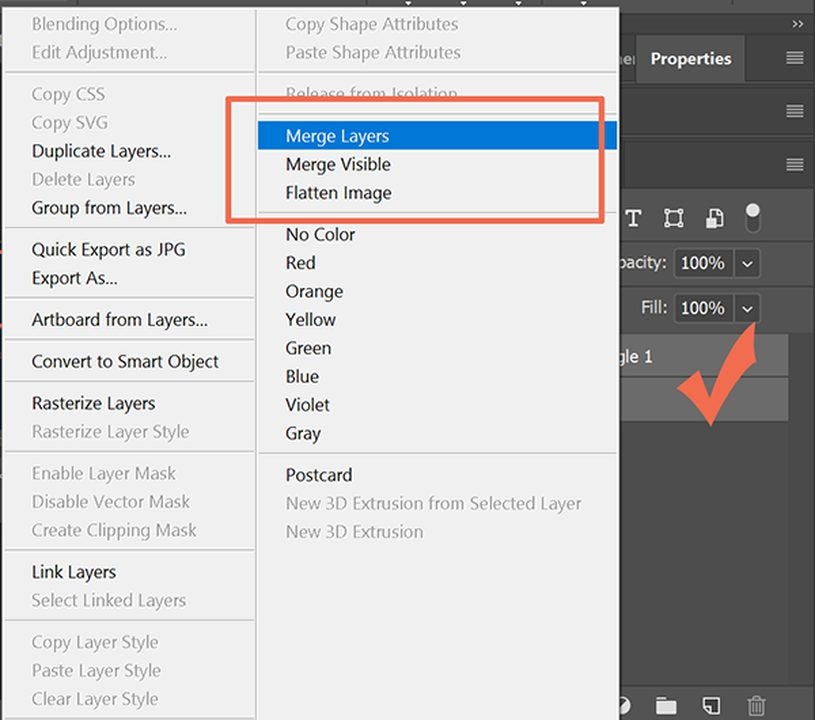
    Navigate to the Layer menu option at the top of your screen. From the dropdown list select Merge Layers. Alternatively, you can type in the shortcut Ctrl + E to execute this same step. Your selected layers will now coalesce into one, retaining all the previous edits you made thereto.

  2. Merge all layers

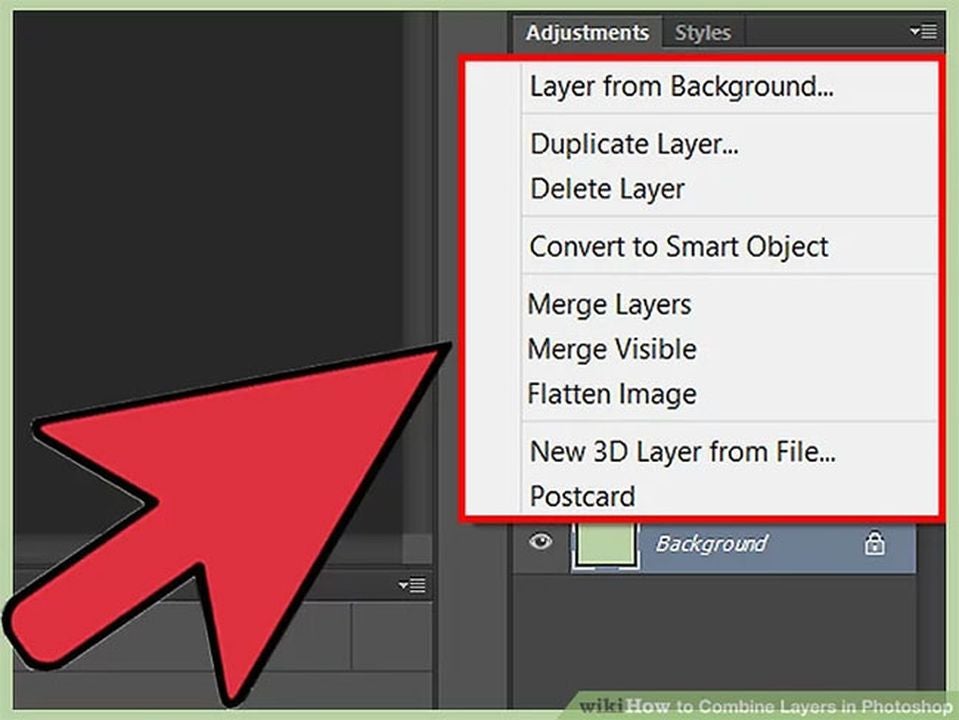
    Arrow pointing to photoshop menu that allows you to merge all your visible layers at once.

    Follow the steps above to confirm all your layers are visible. Remember, the Eyeball icon indicates whether or not they’re hidden. Select the layer menu at the top of the screen and, from the dropdown, click on Merge Visible.

    The shortcuts for this step are Ctrl + Shift + E on a Windows device or Cmd + Shift + E on a Mac. This action will merge all your visible layers. If you need to merge any hidden layers, choose Flatten Image from the layers menu instead.

  3. Combine selected layers into a new layer

    Graphic showing how to combine select layers to form a new one from the Layers menu.

    Again, confirm all your layers are marked visible. The nice thing about the Photoshop Layers feature is that it allows you to merge your existing layers in multiple ways without impacting the ones you want to leave alone. This comes in handy when you’re working on a complex project that requires several layers or more.

    To combine a select set of layers into a new one, press Ctrl + Alt + E on your PC or Cmd + Option + E for Mac. This will generate a new layer containing all the elements and edits of the layers you chose to merge.

  4. Merge within a clipping mask

    Graphic showing if you're working in a Photoshop Clipping mask, the Ctrl + E shortcut combines them into one.

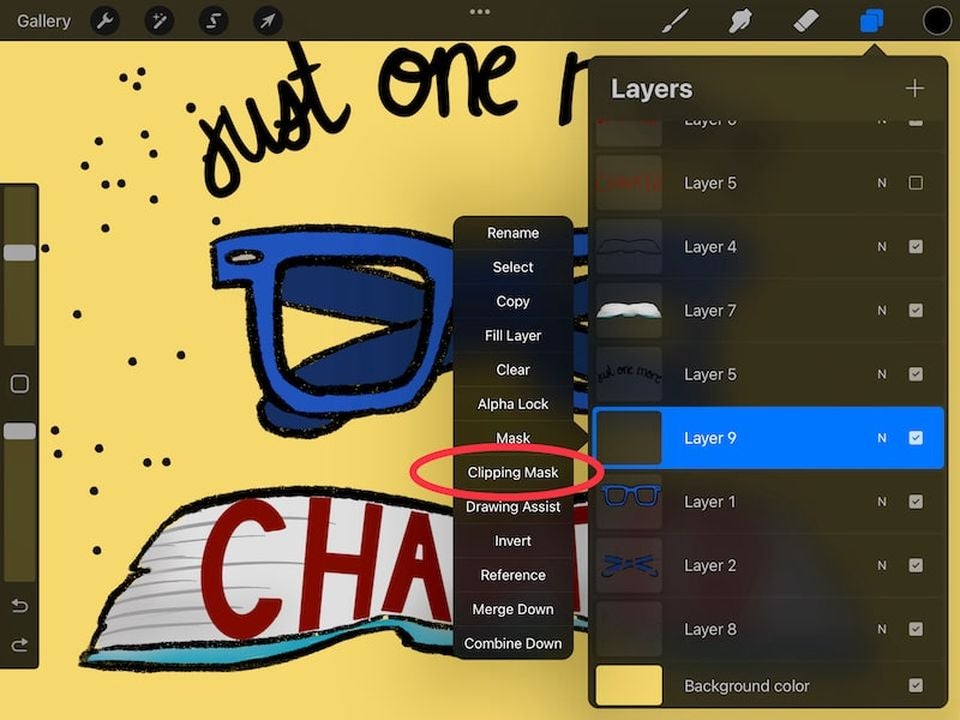
    Working with a Clipping Mask means you are dealing with a group of layers with a mask applied to it. This method of merging requires you to hide any layers you want to keep unmerged.

    To hide your layers, uncheck the box to remove the Eyeball icon. Now, navigate to the bottom layer in the Clipping Mask with the underlined name. Select Layer from the menu bar at the top of your monitor. Scroll down to Merge Clipping Mask or press Ctrl + E to combine all your Clipping Mask layers into one.

  5. Alternative approaches to merging layers

    Arrow showing how to form a Layers Group in Photoshop.

    One way to combine your layers without actually merging is to link them. This will allow you to continue editing the layers as one. When you link a set of layers, any adjustments you make to individual layers will apply to all its other connected layers. To link them, select the layers you want to connect before clicking the Link icon in the layers panel.

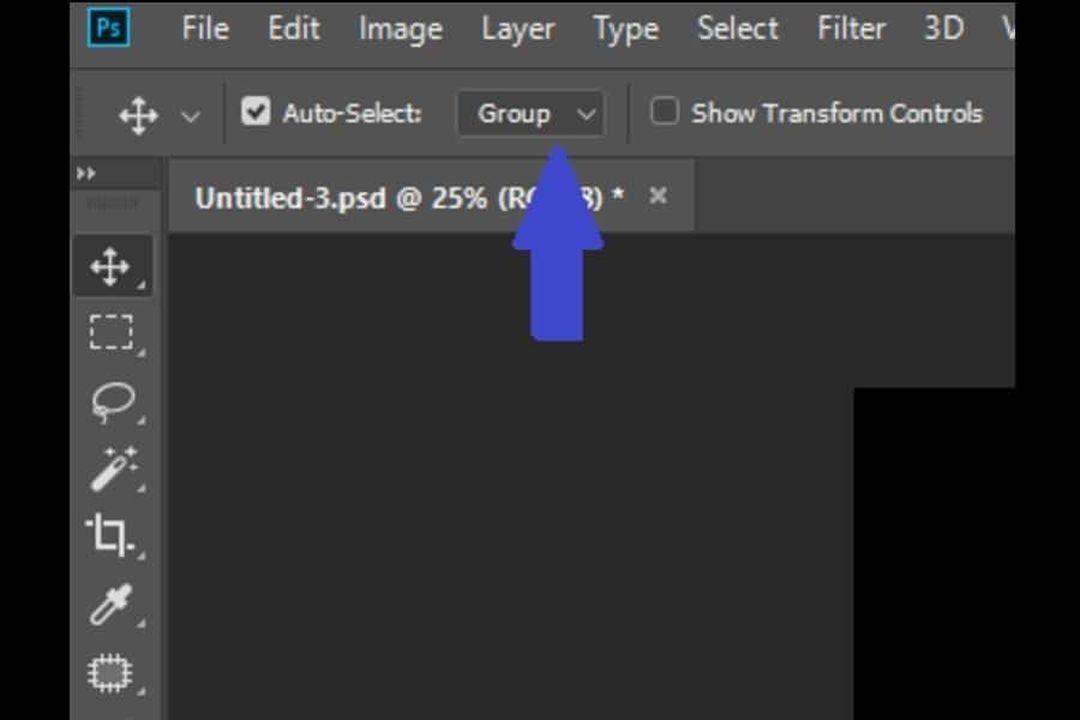
    You can also create a Layers Group in Photoshop. This will have a similar effect as merging or linking the layers. To create a Layers Group, press Cmd + Shift + G on your Mac or Control + Shift + G if you’re running Photoshop on a PC.

Organize your design projects better with Photoshop layers

Layers in Photoshop might seem tricky at first, but familiarizing yourself with how they work and using them frequently is the only way to optimize your projects. The Layers feature offers an efficient way to organize your work, and it allows you to deliver impressive results with the least amount of hassle. For more info on Adobe innovations, read about Photoshop and its latest updates.