Paint Tool SAI review: not like Photoshop in the best way

No Paint Tool SAI review is complete without breaking down its core features and comparing it to rival programs. Let’s learn all about this digital art program from its surprisingly small size to its even more surprising capabilities.

PaintTool SAI Download Now
Download Now

What is Paint Tool SAI?

Systemax first launched this software in 2008, but it still clocks in at just 2 MB. The raster graphics painting and editor software works on Windows PC running 2000 or later. Updates to the base program require Windows Vista or later instead.

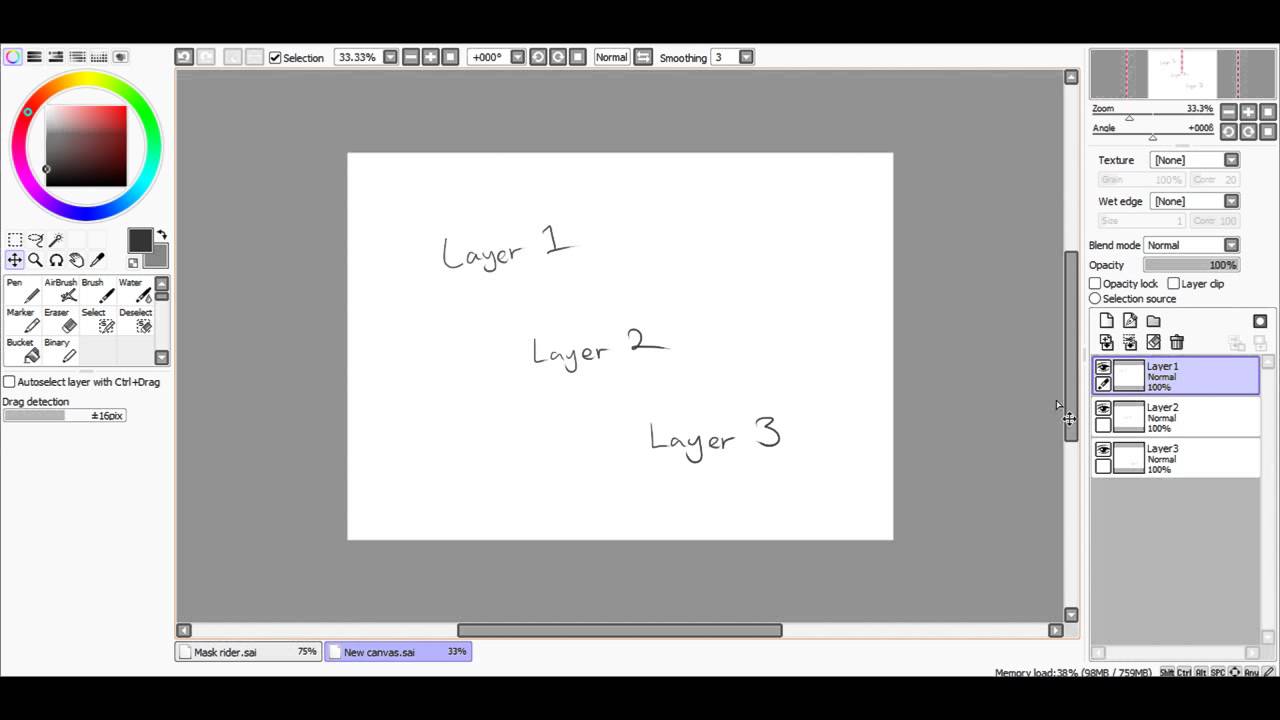
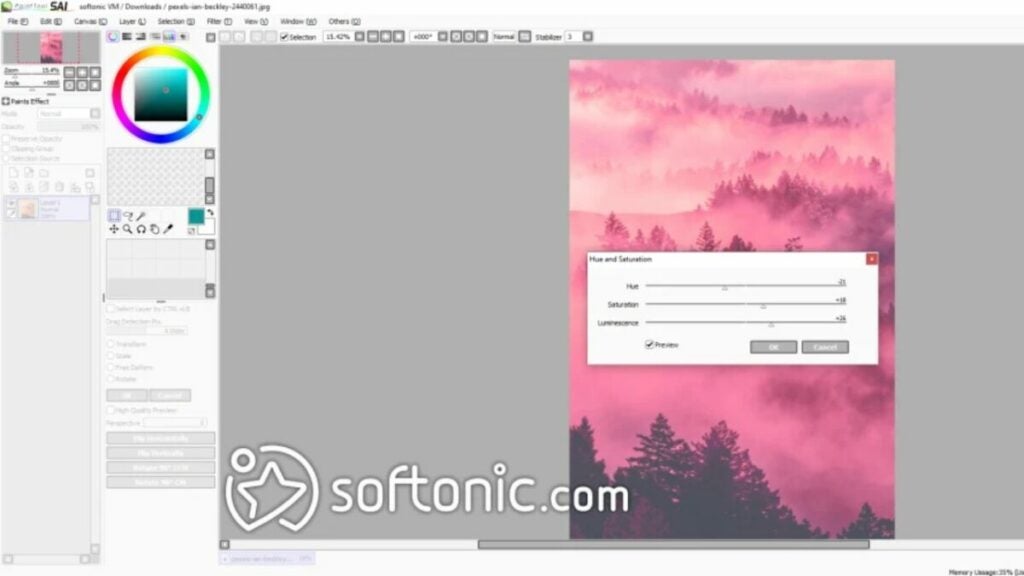
The program allows users to draw and develop layers using various tools to create digital art. Though mainly focused on painting and drawing, SAI does provide some image editing with Brightness/Contrast and Hue/Saturation adjustments.

Is Paint Tool SAI free?

While free to download, Paint Tool SAI is not totally free. It requires a one-time payment of $50.81 USD or 5500 JPY for a software license after a trial period of 31 days. However, after this purchase, you’re good to use the program as you see fit.

image of the Paint Tool SAI user interface

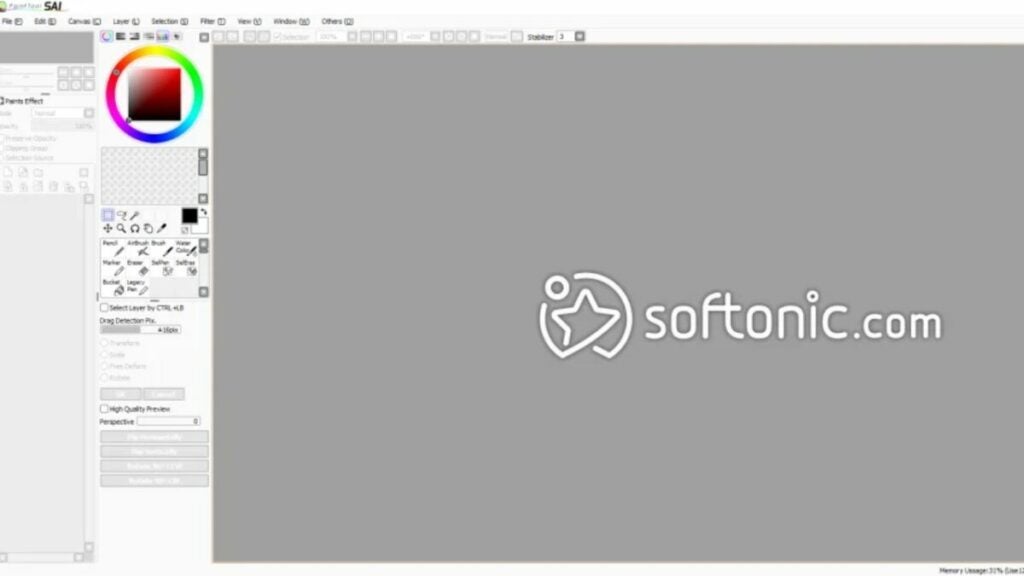
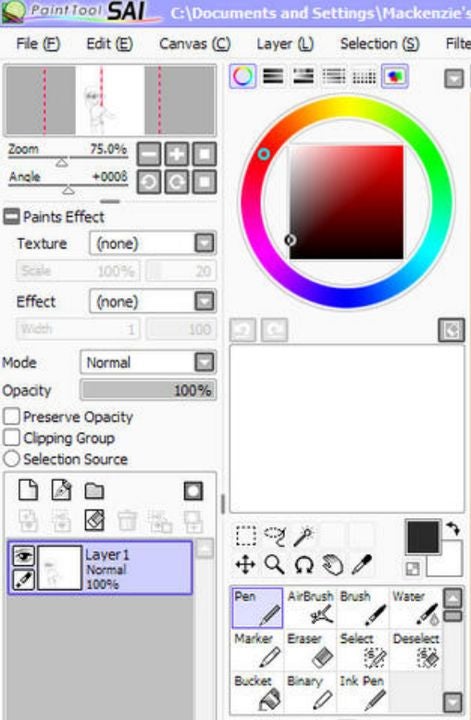
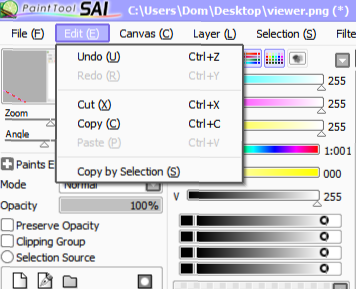
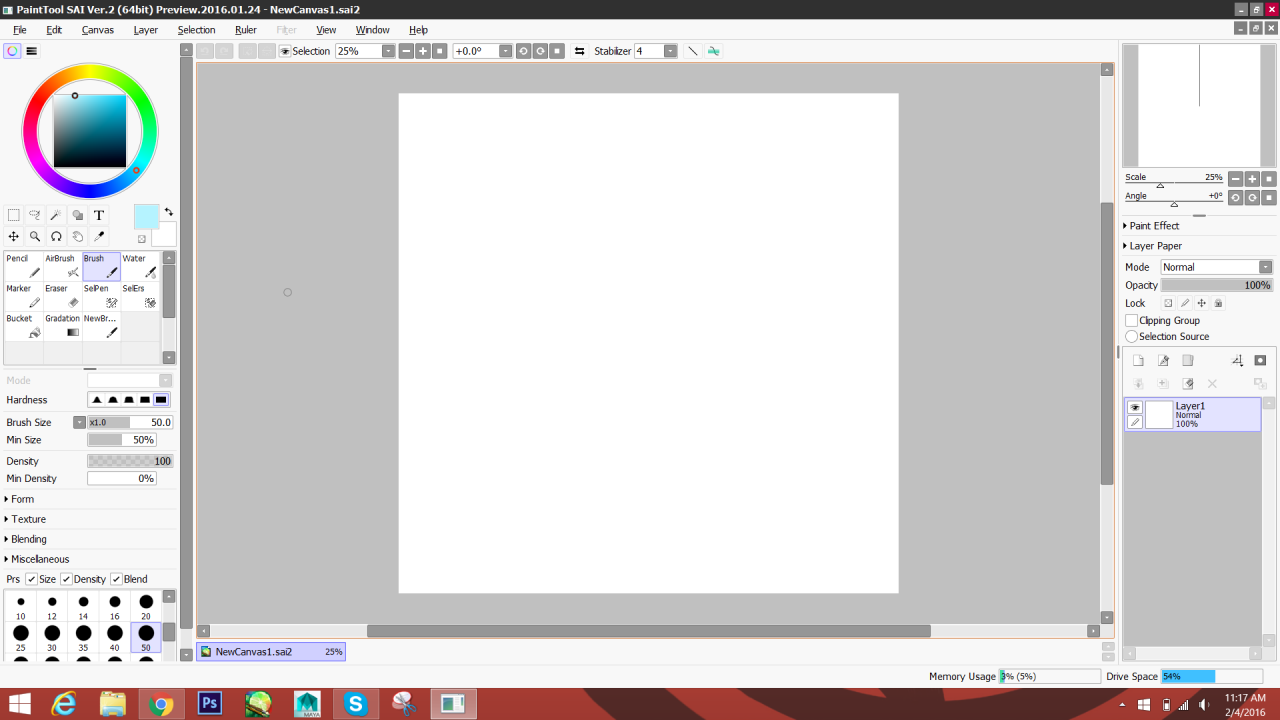
Simple interface and small size

Due in part to its no-frills UI, Paint Tool SAI maintains a very small digital footprint. No rival program comes close to its size of just 2 MB. What’s more: it only requires 128 MB of RAM to operate. If you are editing and creating on a lower spec piece of hardware, this program may be the best option for you.

Other competitors, as reviewed below, take up significantly more space or require more RAM to operate.

image of art for Paint Tool SAI review

Key features for a Paint Tool SAI review

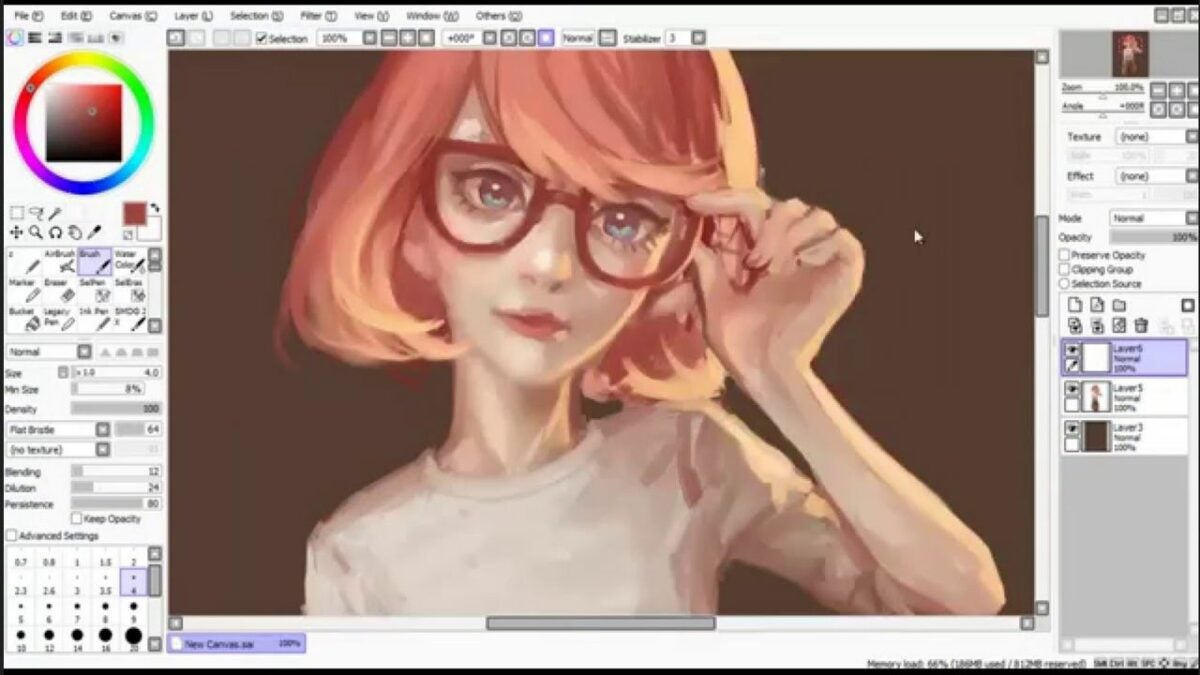
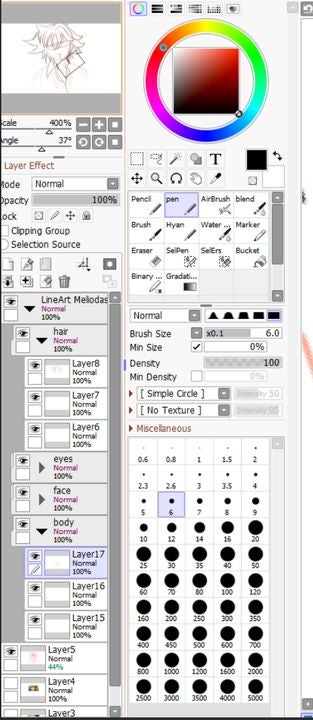
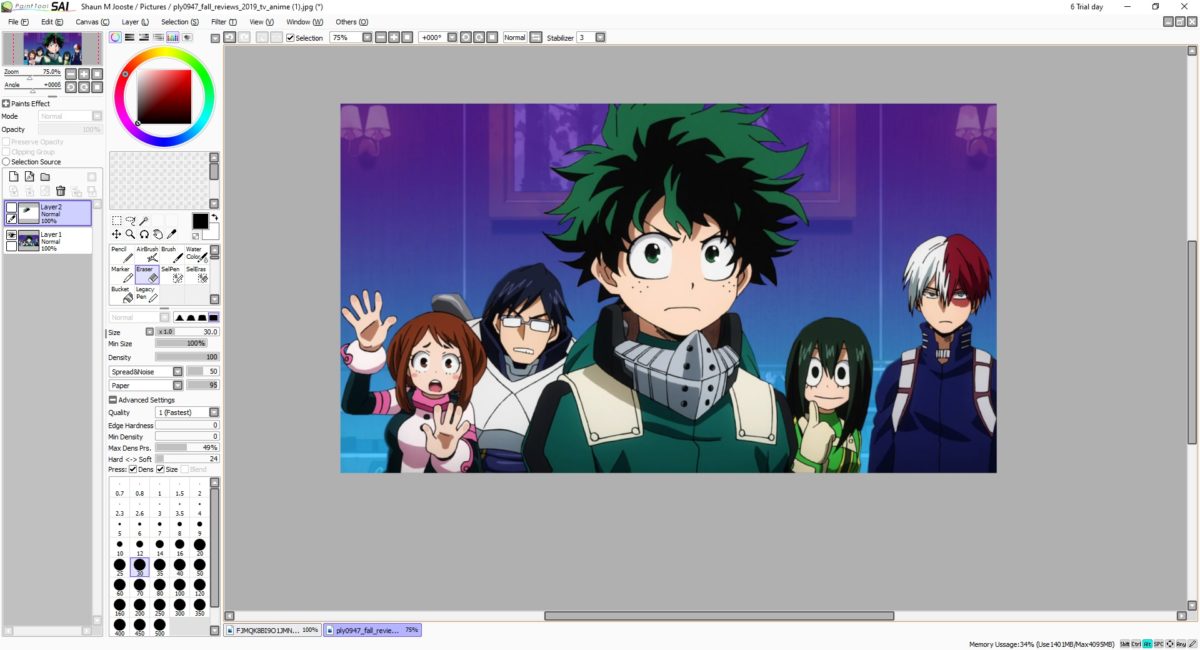
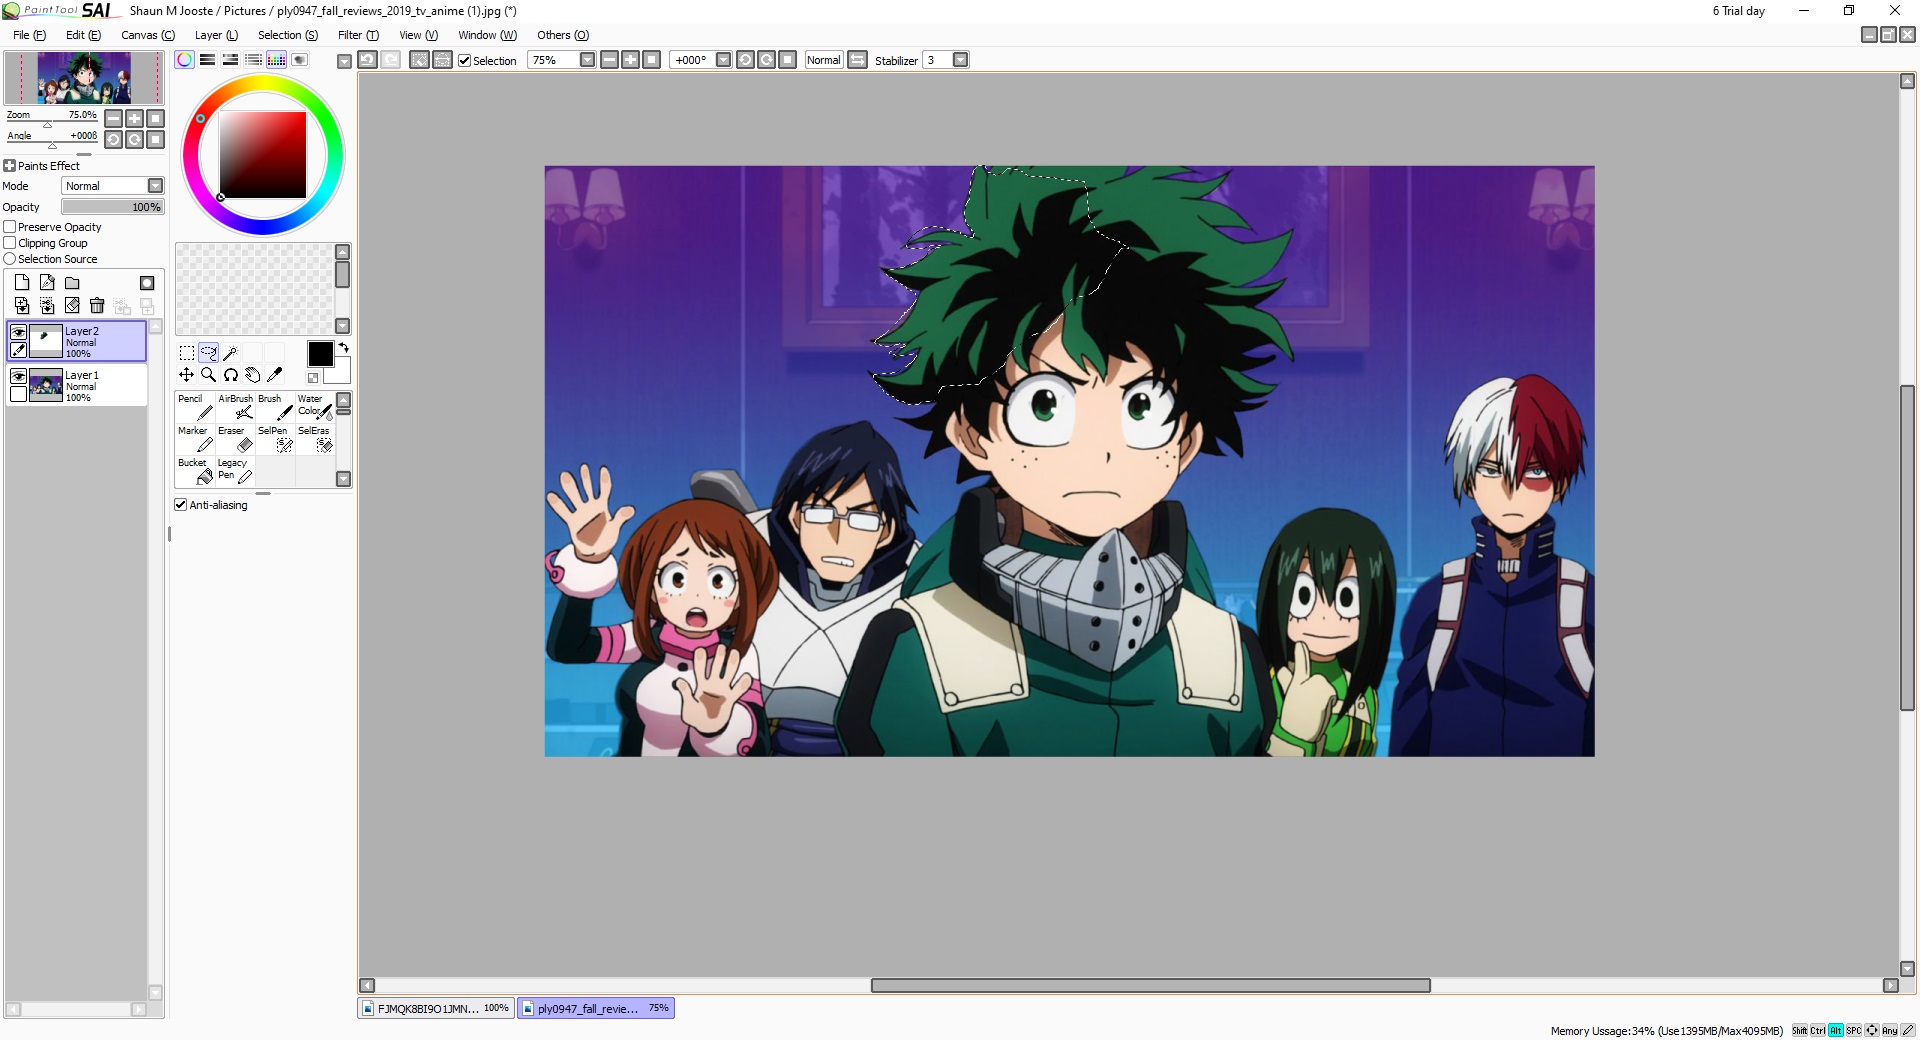
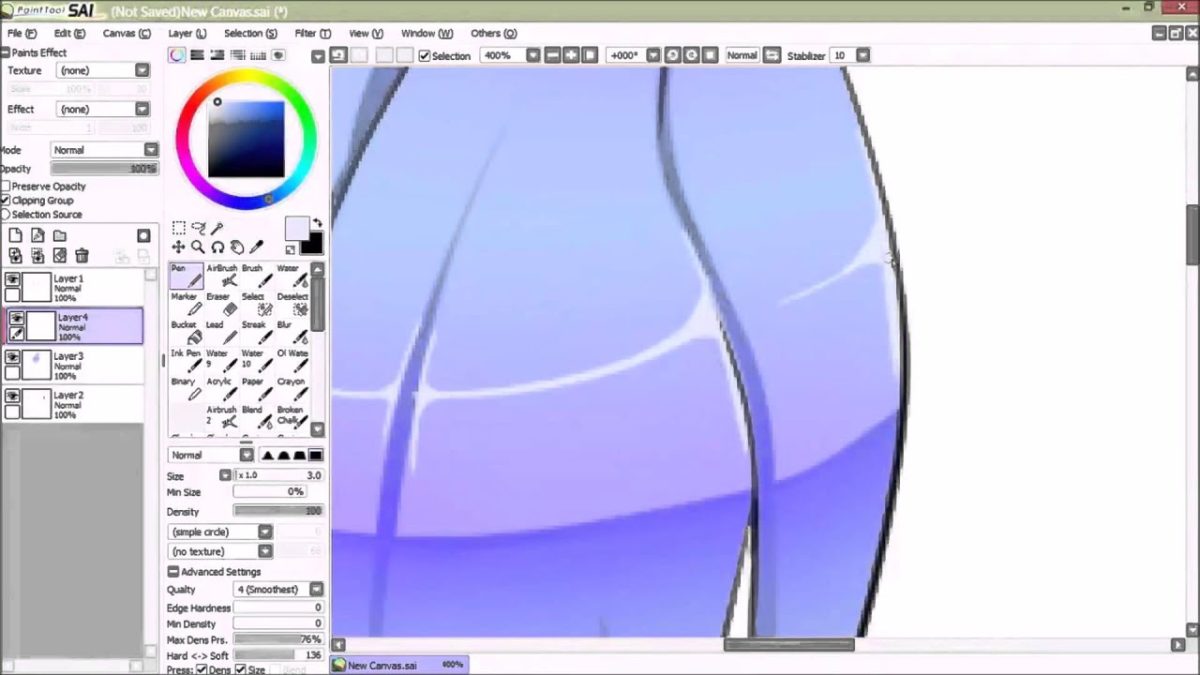
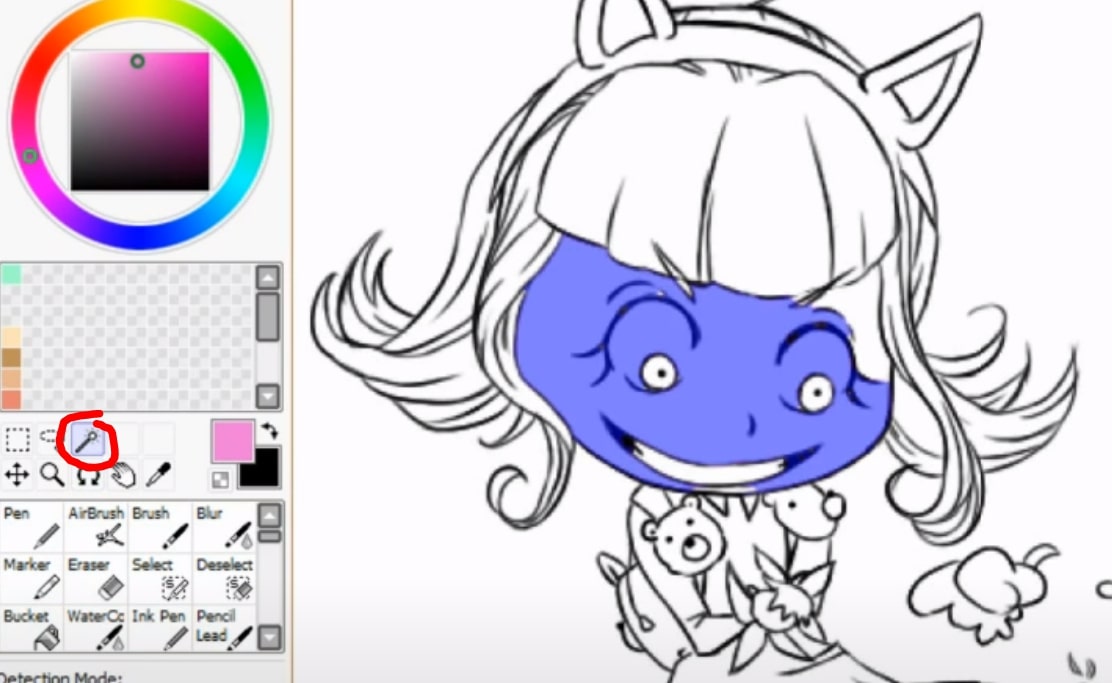
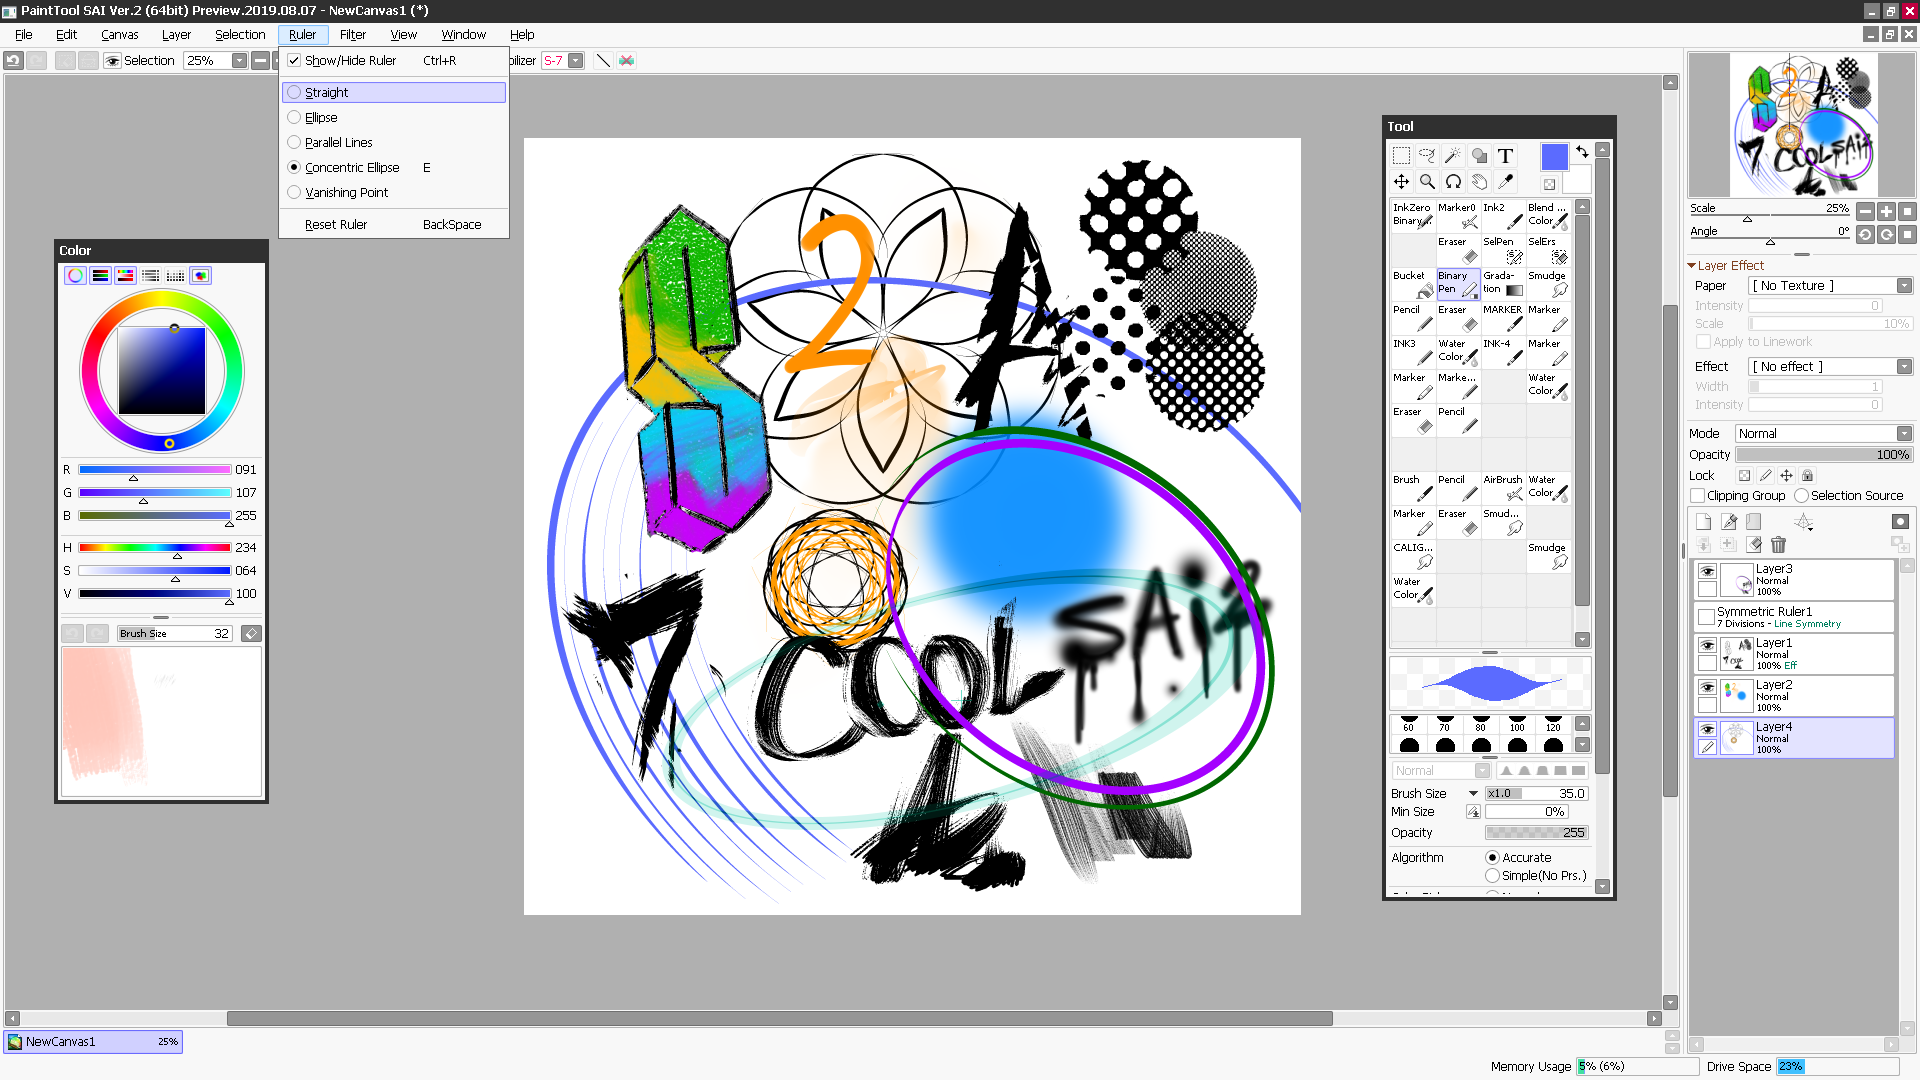
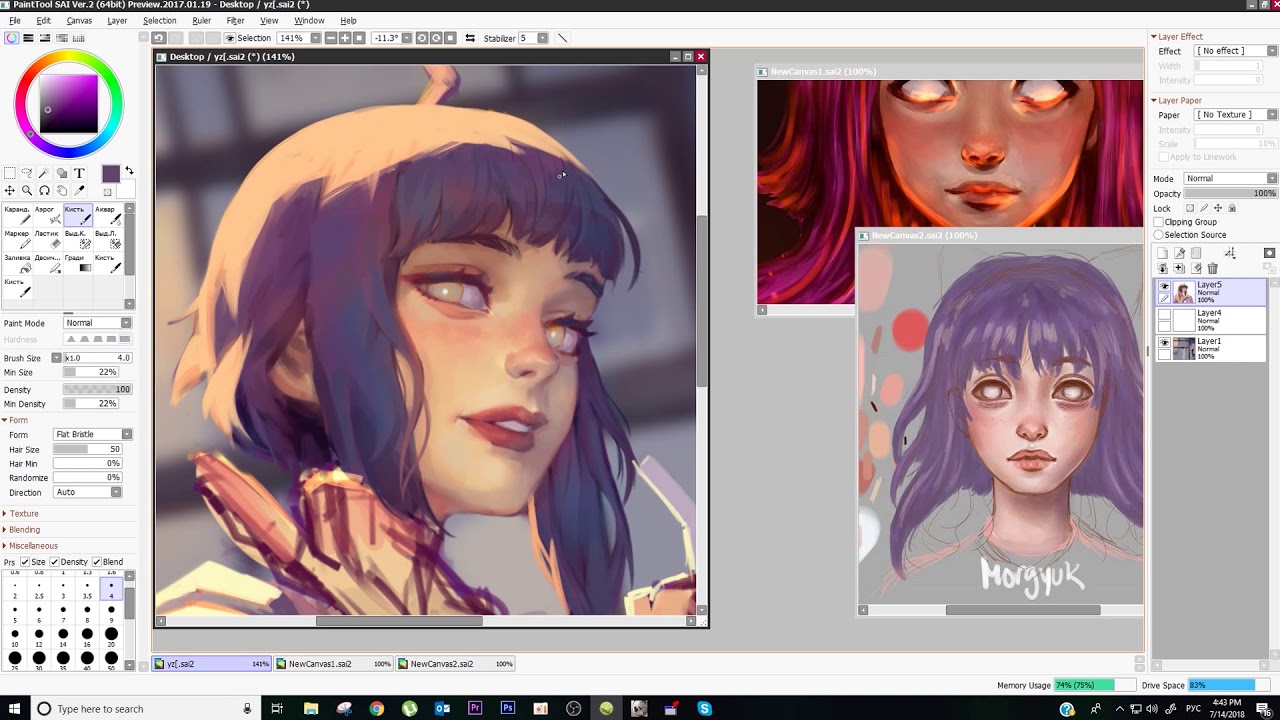
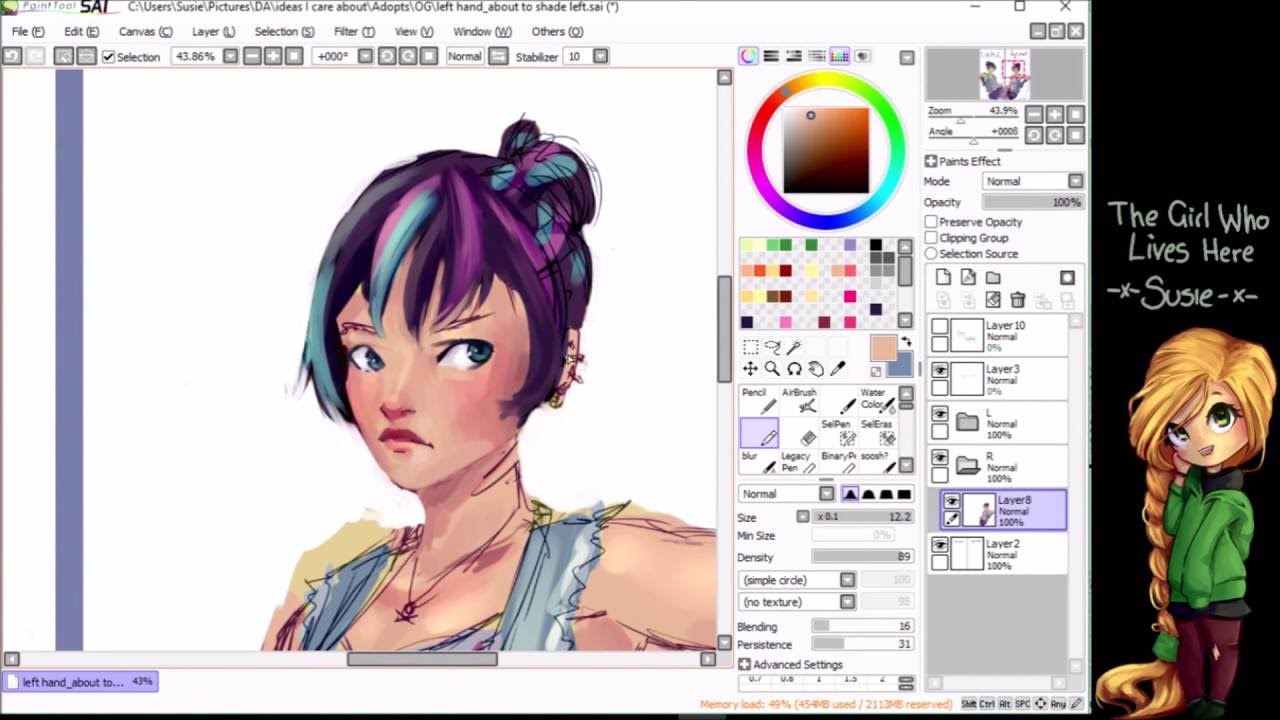
As you can see in the image above, this program is not limited in scope when it comes to artist imagination. YouTuber Mirey’s showcased the program’s features in a Paint Tool SAI review for a commission. As with any kind of digital art creation software, SAI includes all of the features you’d need to do so.

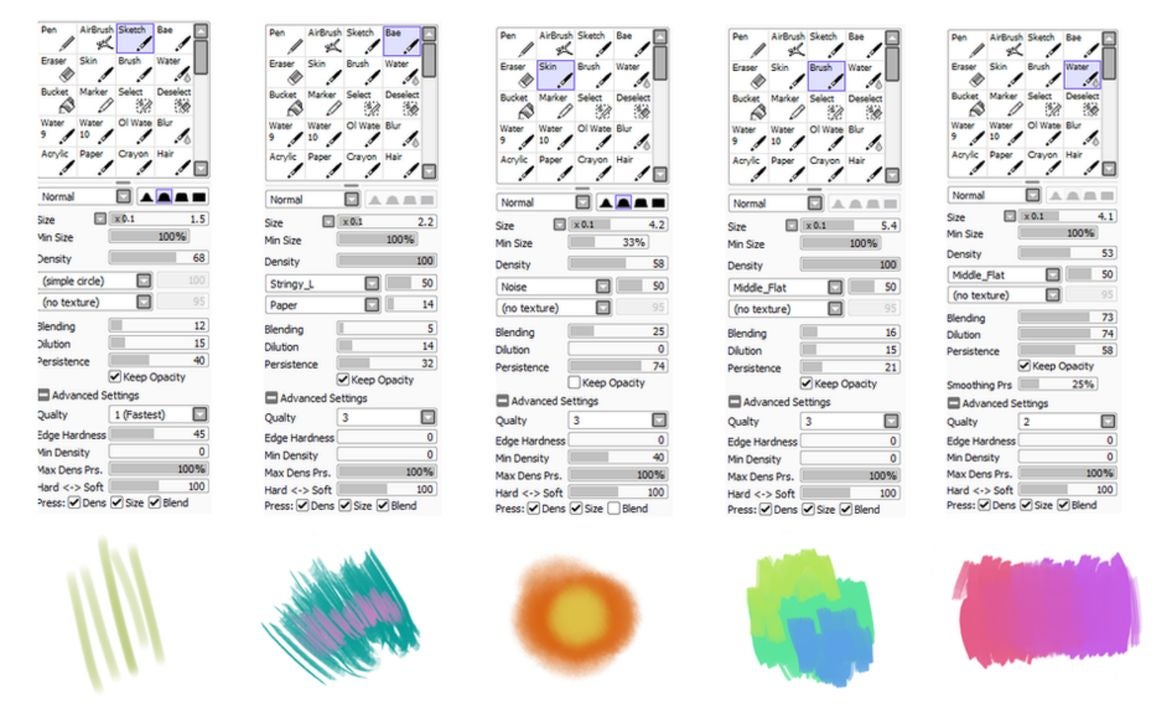
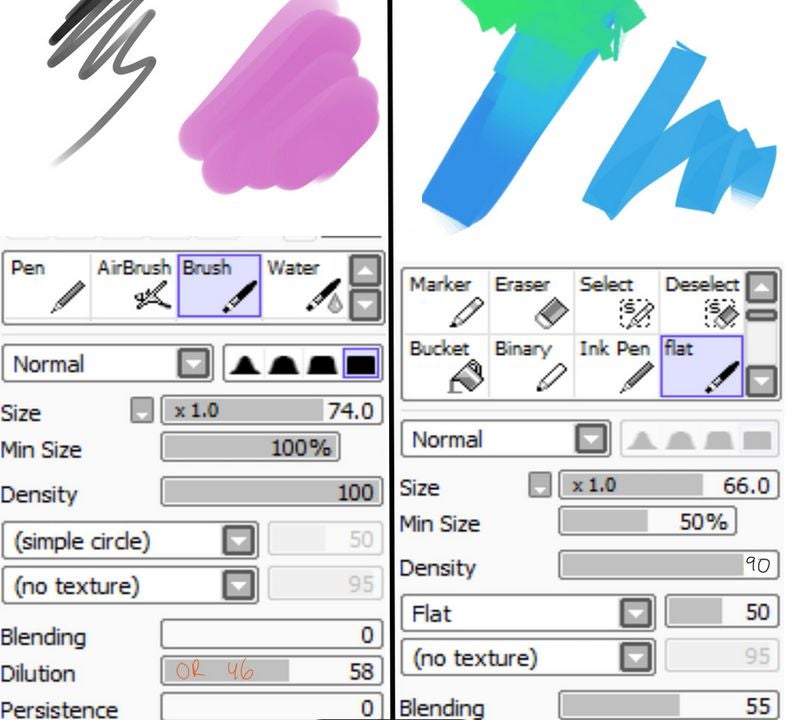
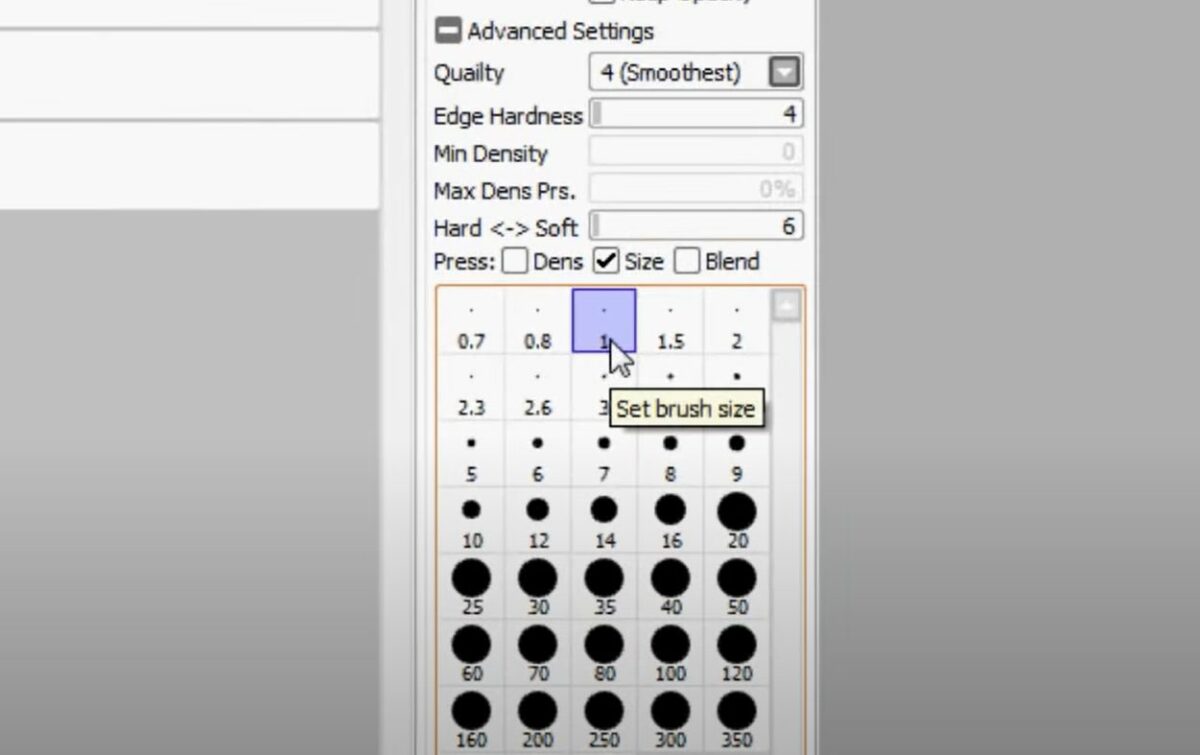
Here is a list of key features that stood out for this Paint Tool SAI review:

  • Full digitizer support
  • Anti-aliased drawings
  • Data protection for layer tools
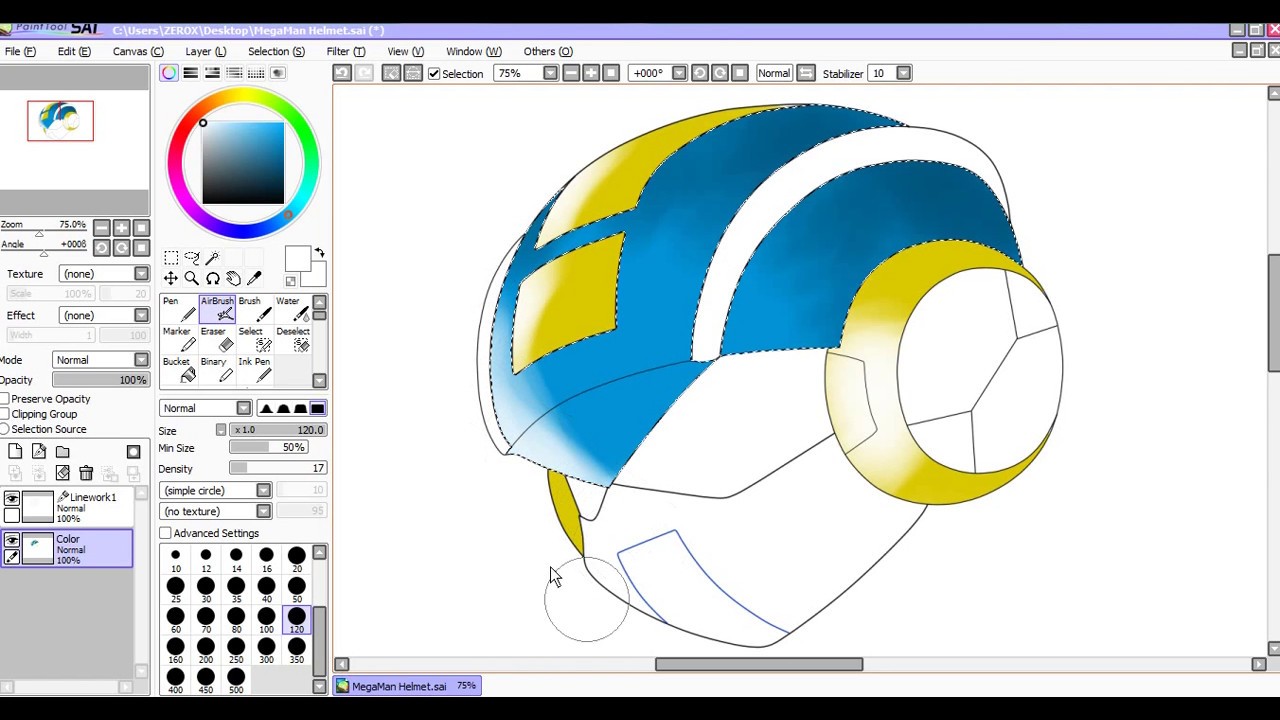
  • Airbrush and brush
  • Able to adjust color luminescence and saturation
  • Able to view small versions of drawings
  • Intel MMX technology support
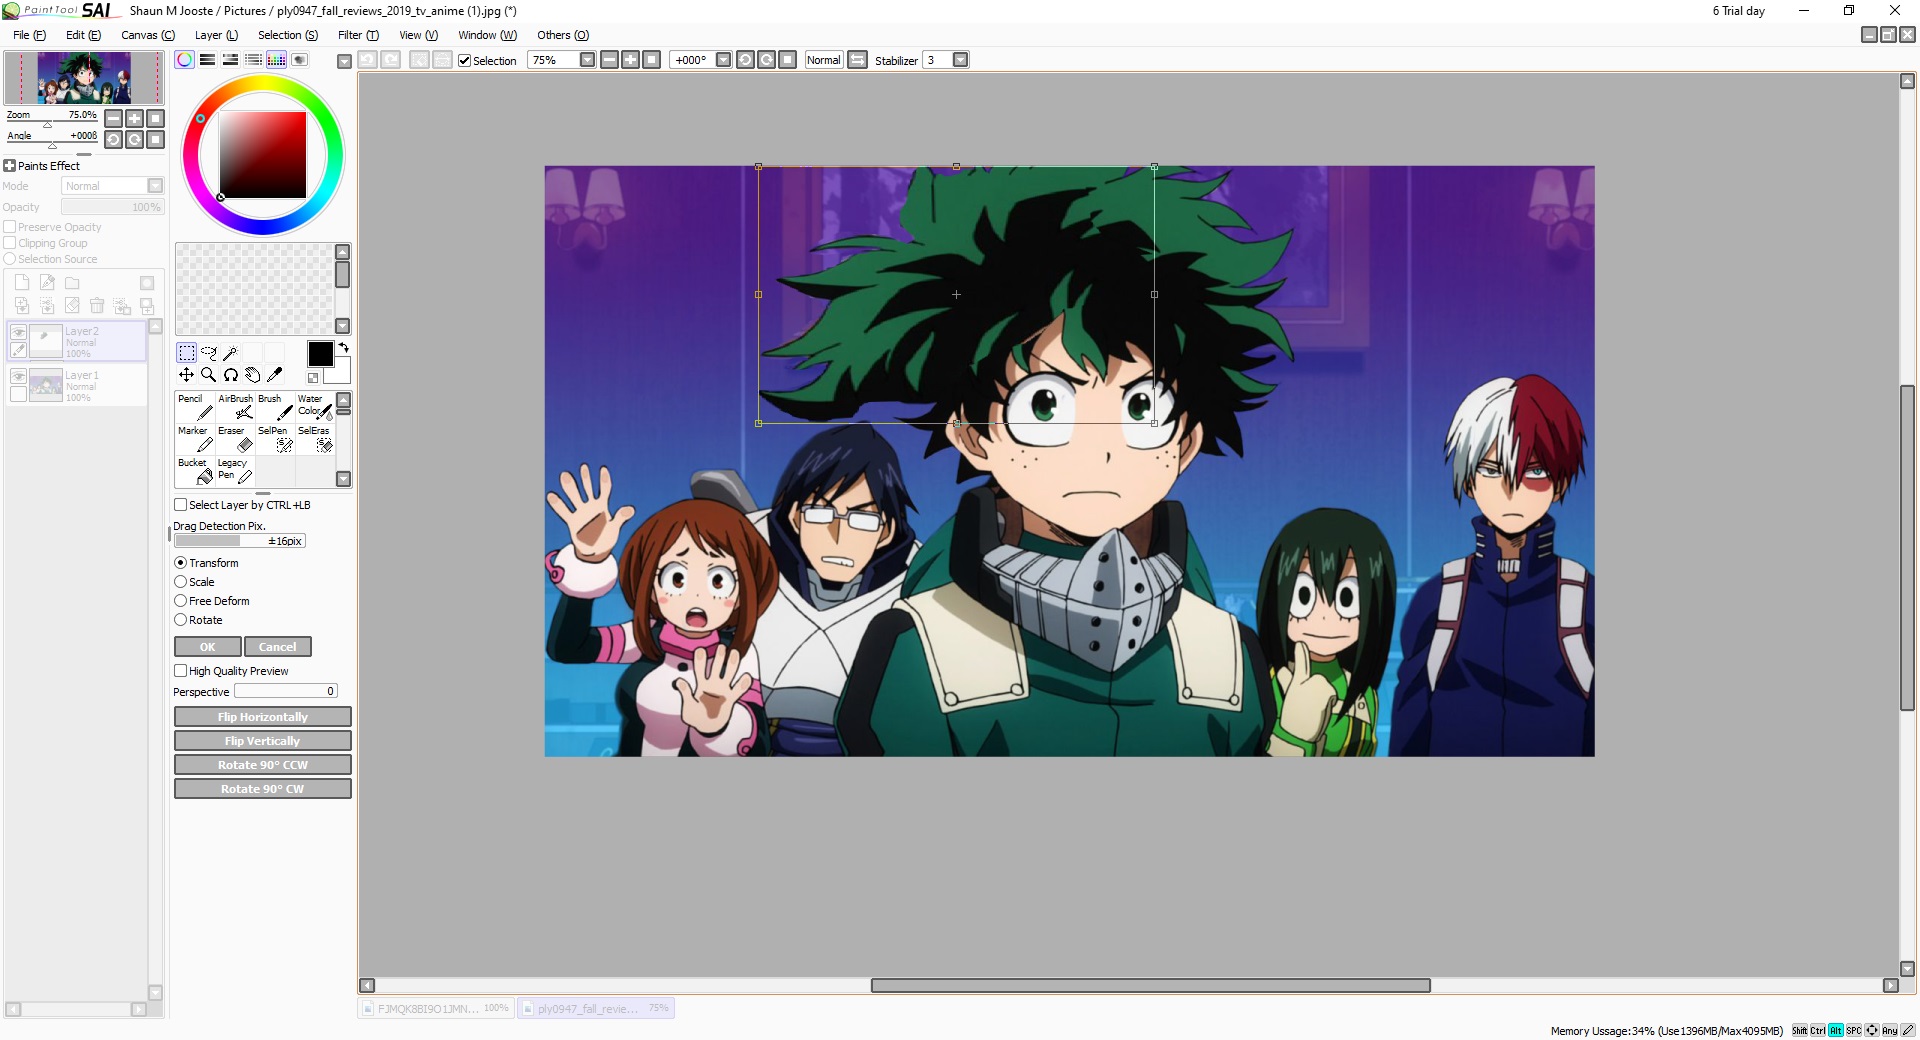
  • Selection and drag tools
  • Can move and lock layers
  • Touch-sensitive pencil tool
  • Large color spectrum
  • Very lightweight software in terms of required hardware specifications

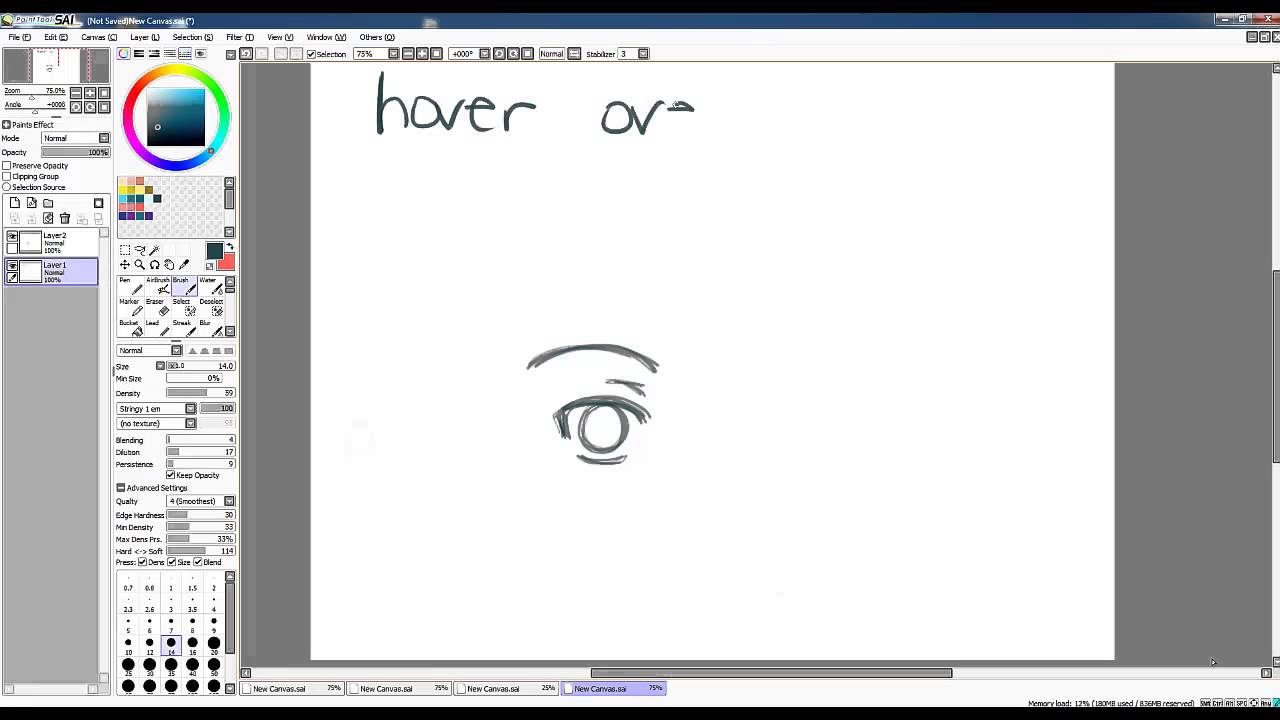
Perhaps the best feature is how Paint Tool SAI empowers you to draw with a digital pen. Illustrating using mobile devices or tablets allows artists to feel more free and uninhibited while creating animations like cartoons or anime.

image of Paint Tool SAI review rival logos

Paint Tool SAI review: competitors

Adobe Photoshop

This program is significantly more powerful than Paint Tool SAI, but that’s by design. Paint Tool SAI is focused on drawing and painting while Adobe Photoshop can do far more. It features more format types, text layers, shape tools, gradients, transparency, and lots more. It is ~710 MB in size with a required 8 GB RAM minimum to operate.

Photoshop also offers better image editing options than Paint Tool SAI. However, it costs significantly more as a one-time purchase. The monthly subscription fee for just Photoshop is $20.99 USD per month or $19.99 USD per month for Lightroom and Photoshop with 1TB of storage.

Adobe Illustrator

This program has some of the same issues as Photoshop regarding price. Though a powerful program, Illustrator is $20.99 USD per month, so users will hit the comparable price of Paint Tool SAI quickly. However, it offers better versions of all of the illustrating capabilities than Paint Tool SAI.

If cost is not an issue for you, then you may consider Adobe Illustrator instead. It is ~1.76 GB in size and requires at least 8 GB of RAM to operate.

Gimp

This open-source raster graphics editor is free-to-use having debuted all the way back in 1998. While Paint Tool SAI is fantastic in some areas and lacking in others, GIMP is more well-rounded overall. It is also available for macOS, Linux, and Windows PCs.

Many users consider GIMP one of the best free tools available thanks to features like color mixing, layering, gradient features, and more. If you want a real contender against Paint Tool SAI, consider giving GIMP a try — especially if you don’t have a Windows operating system. It clocks in at 250 MB in size and recommends at least 128 MB of RAM to run.

Krita

Similar to GIMP, Krita is more well-rounded than SAI when it comes to the services offered. The biggest benefit Krita offers is a more intuitive interface. It also features HDR editing support, mirroring tools, PSD compatibility, and a more robust color palette.

It is also free and open-source as developed by the Open Source Raster Graphics Library project. Krita requires at least 2 GB of RAM and 300 MB of storage space.

Canva

Many people may be familiar with the originally browser-based editor known as Canva. It has a free option available to all with an intuitive interface, thousands of templates, an image cropper, various pay structures for paid subscriptions, and more.

However, it does lack things like full digitizer support and tools that make drawing with a tablet more natural. This may be due to the fact that Canva focuses more on design for things like social media posts, posters, and other graphics vs. creating digital art.

When using the desktop or mobile app, Canva recommends that you have at least 150 MB of storage space free. For the desktop app, Canva requires 1 GB of RAM minimum on Windows and 2 GB of RAM on Mac.

image of the UI for the Paint Tool SAI review

Verdict on Paint Tool SAI review

Though not the most robust program for creating digital art, Paint Tool SAI remains one of the most lightweight options out there. If you want to paint, draw, or otherwise create art, it is fantastic. Download Paint Tool SAI for free and try it out yourself.

However, if you are looking to make collages or edit photos, you should consider other programs.

PROS

  • Not very taxing on hardware so it’s great for lower spec setups
  • Great option for use with a tablet
  • No frills interface
  • Includes linework layers to reduce the amount of manual linework required
  • Very affordable when compared to some alternatives

CONS

  • Only available in English and Japanese with German translation
  • May lack the variety of tools that other similar (but usually more expensive) programs have
  • Only dedicated support is via email at support@systemax.jp

Developer: Systemax Software Development

Publisher: Systemax Software Development

Top Features: Full digitizer support, low hardware footprint, and great for tablets

Platform Reviewed: Windows PC

How to make custom brushes in Paint Tool SAI

Paint Tool SAI is an excellent platform for creating sketches and other art projects on your Windows PC. The numerous default options provided are enough for anyone to get started. However, you may decide that a custom brush is needed to serve a specific purpose later in a project. In these unforeseen circumstances, you can turn to the custom brush menu in Paint Tool SAI.

PaintTool SAI DOWNLOAD

With a little tinkering, you can create brushes capable of solving any design problems you come across.

  1. Navigating your free trial

    The free trial ends with this message in a dialog box

    Although Paint Tool SAI requires longtime users to pay for a license, new users can enjoy all the features of this software completely free for the first 31 days it is installed on your PC. The best part is that this offer is automatically in effect as soon as you open your first instance of SAI. Note the trial days remaining text at the top right of the screen. Once this number reaches 0, you will need to pay for a license to keep using the installation. You could keep installing fresh files to restart your trial, but you would lose each of your custom brushes each time you reinstall the program. If you create many digital drawings, it is worth keeping the full version permanently installed.

  2. Drafting a new brush

    This section is where you can select new brushes

    Once you have Paint Tool SAI in an open window, check the tools section on the left side of your screen. Here, you will see blank white squares listed next to the default brush options. Right-click on an empty square to bring up the custom brush menu. Choose between a pencil, eraser, marker, watercolor brush, regular brush, or an air brush by left-clicking on your selection.

  3. Enter brush information

    Examples of different custom brush settings for each utensil category

    Your new brush will appear in the previously empty white square you clicked in the previous step. Click your new brush twice to open a window that allows you to add custom details. There is a custom naming field that allows you to label each brush for quick access. In addition to a title, you can also write a concise description of the brush that jogs your memory later. This is perfect when you know you will be away from the PC for an extended period. Write a description that, when paired with the brush, will ensure you remember what you were last working on.

  4. Making quick edits and adjustments

    Make swift adjustments to each brush with these settings

    As you create a collection of custom brushes, you will want to be able to keep track of them efficiently. Creating keyboard shortcuts for each brush is the ideal way to have each one at your fingertips. This same technique can also be used to quickly adjust the degree to which SAI stabilizes your utensil when drawing. Double-click on the brush you wish to edit in the tools section. In the options menu, scroll down and click on add shortcut. Press an unused key that you would like to use to quickly summon the brush. Right underneath this setting, you will find the pressure stabilization settings. Move the sliders as you see fit to compensate for your specific hand gestures when drawing.

  5. Access advanced customization settings

    Advanced settings are found at the bottom of this box

    When the above methods fail to produce the specific results you desire, there is one more menu to try. With your brush selected, look at where you choose line size to the left of the canvas. Directly above this box is the advanced settings tab. Click on it to access the final list of options. This is where you can change crucial details of your brush such as density and texture. There are also options for adjusting the shape, softness, and hardness of the lines you create. After making your selections, click anywhere away from the settings tab to return your view to the main canvas.

Always be designing

Creating a custom brush with Paint SAI gives you the power to let your imagination run wild when it comes to graphic design on your computer. And, it’s easy to use. Keep the power of the paintbrush going when you’re on your mobile device with by downloading Procreate APK for Android.

How to shade with PaintTool SAI to give your characters depth

PaintTool SAI is a lightweight painting application that’s beloved by digital artists who specialize in animated characters. This software for Windows comes with a broad array of useful tools, most of which are easy to learn.

In this tutorial, we’ll show you how to separate a character’s outline and flat colors and use them as a mask to draw and then blend nondestructive shadows and highlights inside the lines. We’ve laid out a few simple tricks that you can use if you’re short on time as well as some more detailed methods if you prefer to do it yourself.

  1. It’s all about the layers

    Layer settings in PaintTool SAI.

    Once you’ve finished your characters’ outlines and filled in their basic flat colors, it’s time to bring them to life with shading. There are a few different ways to polish your characters and make them look at home in their environments. However, most of these methods involve creating a shading layer.

    – Start by merging the levels that contain your outlines and flat colors. Select the relevant layers, and click the bottom left button in the Layers Panel showing a plus sign and a down arrow. You can separate them later if you need to.

    – Select this merged layer, and click its Preserve Opacity box, which is displayed in text above the Layers Panel. Preserve Opacity locks all the lines and fills you’ve already drawn, making it easier to keep your shading neatly inside the lines.

  2. Creating new shading layers

    Layer modes in PaintTool SAI.

    In general, more layers will give you more control over your shading. Here’s how to create new shading layers in PaintTool SAI.

    – Click on the New Layer icon at the top left of the Layers Panel, which shows a blank piece of paper. This layer is where you’ll draw your shading, so make sure it’s above your outline layer. Leave Preserve Opacity off for this layer, but click the Clipping Group box right below it. That will clip your shading layer to the outline layer below so it can act as a mask when you shade.

    – Right above the Preserve Opacity box that you left unchecked, you can set the transparency of this shading layer. Anywhere from 10% to 50% opacity will let you see the outlines below clearly.

    – Above the opacity meter, you can set your layer’s mode, which is how this shading layer will blend with your outline layer. Normal Mode will completely cover the layer beneath it, but almost any other blending mode will work, depending on your shading style. The Multiply, Shade, Screen, and Luminosity modes are popular options to darken or lighten your characters. Overlay and Lumi&Shade work both ways, allowing you to make shaded areas darker and highlights lighter at the same time.

  3. Adding fringe effects

    Fringe effect in PaintTool SAI.

    For a quick shading, follow these steps for adding fringe effects.

    – Open the Paints Effect drop-down menu, and select the Fringe Effect option. That will add a thin band of automatic shading to all your edges.

    – You can change the effect’s opacity and width to modify the darkness and length of the generated shadows.

  4. Adding shadows

    Setting brush size in PaintTool SAI.

    If you want to add detailed shadows in PaintTool SAI, you can do so from the shading layer.

    – First, select a darkening mode like Shade or Multiply. Select a brush size and color that you feel comfortable with, and use it to darken the areas on your character opposite your light source.

    – Once you’ve painted on the shadows, you can smooth away any rough edges by giving them a once-over using the Oil Water brush.

  5. Add highlights

    Another great way to improve your visual dynamics is to add highlights in PaintTool SAI.

    – Add a new layer above your shading layer, and use a lightening mode like Screen or Luminosity.

    – Pick a thin brush size and a bright color to touch up the areas where the light hits your character.

    – You can also add thin dabs of white to make glossy or metallic surfaces shine. Use the Oil Water brush to blend the edges if necessary.

Develop your own shading style in PaintTool SAI

Once you understand the basics of using PaintTool SAI’s brushes and layer modes to blend in your shading, you can play with your technique and develop your own shading style.

If you like to get into the details, you can create separate layers for each flat color you work with and then clip new shadow and highlight layers directly to each color layer. This method lets you use specific color shades that are slightly darker and lighter than each original flat color.

If you prefer to keep it simple, you can leave all your colors in the same layer and add just a single layer for your shadows. Make sure your shadow layer is in Multiply mode, fill in all the shadows using a general-purpose color like gray or purple, and adjust the opacity till it looks good to you. If you want to add highlights, you can do this using another single layer set to Screen. Paint with a white brush, and blend and fade to taste.

Ready to try out some more PaintTool SAI design techniques? Check out our guide on how to do a disintegrate effect in PaintTool SAI.

How to do a Disintegrate Effect in PaintTool SAI in 3 Easy Steps

Ever since Avengers Infinity War erupted on screens worldwide and the might entity Thanos snapped his fingers to wipe out half of the Marvel universe, artists have been attempting to replicate the disintegrate effect. While most do so on Photoshop, performing this task on PaintTool SAI isn’t as easy.

Fortunately, you have us to show you a quick trick in how to do a disintegrate effect in PaintTool SAI.

How to do a Disintegrate Effect in PaintTool SAI

Until more brush effects for PaintTool SAI becomes available, you’ll have to be a bit innovative in your design if you want a disintegrate effect. We’ll show you the basics, but it’s up to you to master this technique.

Step 1: Layer the disintegrate area

Firstly, select the image you want to use. Photo’s with light backgrounds work better, but you can challenge yourself to something more difficult if you choose. Once the image is loaded, select the Lasso tool and clip the area you want to disintegrate, turning it into a new layer by copy-pasting.

Step 2: Stretch it out

With the layer and area still highlighted, got to Layers in the top menu and Transform. Move the shape outwards to stretch while still maintaining the attachment to the base. You’ll want to ensure that the new layer still looks good, unless you’re going for a crazy effect.

Step 3: Erase select parts

Once completed, you’ll have the stretched layer superimposed over the original. Head to Eraser on the side, and change the type to Spread&Noise. Also, ensure you have the right size for your selection. You can start randomly erasing parts to make them vanish, showing the original layer underneath. Continue performing this task until you reach the desired effect.

Vanishing into thin air

Of course, an easier way would be to download a brush textures pack online and using the appropriate brush to create the disintegrate effect. However, we thought you’d have more fun using the basic tools on PaintTool SAI to have more artistic control. If you have a better way of creating this effect, please let us know.

How to Refine the Magic Wand Lines in PaintTool SAI in 3 Easy Steps

PaintTool SAI is a fantastic art tool but can be confusing to use when you’re just getting started. There are so many tools that you can feel a little overwhelmed even when trying to do basic things. Today, we’re going to show you how to deselect or move lines made by the Magic Wand tool.

What is the Magic Wand?

The Magic Wand is used when you want to start coloring in your image. It auto-selects the area you want to be colored, which is great because it saves you a lot of time. However, it sometimes doesn’t select everything, or it picks too much, and you’ll need to figure how exactly to refine this to ensure that the area is colored in all the right places.

Enter, the Select and Deselect Tools

Let’s take a look at how you’d go about refining the lines after using your Magic Wand.

Step 1: Select the wand

You’ll first use your Magic Wand tool to select the general area. To do this, select the Magic Wand and click on the area you want to be selected. Don’t panic when it turns blue; this is to show the area that’s been selected.

Step 2: Refine your selection

As you can see on the image shown in Step 1, most of the area was selected by the Magic Wand, but it also selected the character’s eyes (which we don’t want to color here), and it didn’t cover a part of the character’s face. To fix this, you’ll want to click on the Select tool. Use ctrl+alt to resize the brush and start coloring in the area manually that the Magic Wand missed.

Step 3: Deselect options

Now you’ll want to select the Deselect tool. This function will allow you to remove parts of the selected area that you don’t want to color at the moment. Again, use ctrl+alt to resize the brush and start coloring the areas that you want to deselect. You’ll see that the blue is now removed from that area.

It’s just like magic!

When producing any form of art, we always want it to be perfect, and it can be extremely frustrating when the tools that we’re using don’t do what we want them to. Luckily, there is a way to refine this and ensure that you produce the image you see in your mind’s eye.

How to Copy Something in PaintTool SAI in 4 Quick Steps

If you’re a budding artist, professional graphic designer, or a mom looking for creative ways to keep your kids busy, take a look at what Paintool SAI offers. It’s a superb app with user-friendly tools for free-hand and automated works of art on a digital platform. You can make use of the 30-day free trial version before purchasing the app from your preferred provider.

How to copy a layer in Paint Tool SAI?

Step 1: Create a folder

Group all the layers you want to copy into a folder.

Step 2: Select the folder

Once you’ve moved all the layers to the folder, close it and click on the folder to select it.

Step 3: Select the ‘Layer’ button in your top toolbar

Now head to the toolbar and click on ‘Layer.’

Step 4: Click on the ‘Copy’ button to finish the task.

To finish the task, select ‘Copy.’

How to copy and paste a picture on Paint Tool SAI?

Step 1: Choose the image you want to copy

Navigate to ‘File’ and click on ‘Open.’ Open the image you want to copy in Paintool SAI. 

Step 2: Crop or copy the image

Once the image is open, you can select to crop or copy it. Click on ‘Copy.’

Step 3: Move the image

You can now go to the page where you want the image copied to and ‘Paste’ it.

What else can I use? 

There are interactive and beneficial online communities where you can chat with other users and experts in forums to get answers and help. Deviant Art offers a precise approach with many pro tips and advice to read through. 

Although PaintTool SAI is a very user-friendly app, you can also endeavor into other software products to expand on your arty capabilities. Why not explore and see what programs such as Google Web Designer, LEGO Digital Designer, or Diagram Designer offers you?

How to do Pixel Lines on PaintTool SAI in 3 Fast Steps

Many artists worldwide enjoy working with pixel art, which is something that PaintTool SAI lets you design. Drawing pixel lines can be tricky though, especially if you’re used to pen tools or freestyle designs. It’s relatively easy to set up and do, though, so don’t be put off by the number of settings and functions at your disposal.

For today’s fun, creative activity, we’re going to show you how to do pixel lines on PaintTool SAI.

How to do pixel lines on PaintTool SAI

Before you can start designing with pixel lines on PaintTool SAI, you’ll need a drawing you can work on to proceed further. Let’s begin!

Step 1: Design with the pen

Since pixels are small, you should set up a small canvas of about 450 x 450 px. Select the Pen tool and design anything your heart desires. Ensure that you keep the lines clean and tidy, as it will make the next step easier.

Step 2: Overlay with the pixel tool

Now, create a new layer and make the opacity 20-30%. Depending on which PaintTool SAI version you have, select the Pixel or Binary Tool function. Turn the color to black with 100% opacity and a size of 1 px. Zoom in and do smooth pixel lines over your original design.

Step 3: Merge layers

While drawing over different sections, make sure you create various layers so you don’t have to start completely over if you have to delete the initial level. Once you’re done, you can merge all layers into one so that you can have a single, complete design to show your fans.

The pixelated artist

There’s so much you can do with pixel lines in PaintTool SAI, but you need to get the basics right first. We’ve seen some drawings that started off with exceptional pixel designs, transformed later with brushes and various layer effects into masterpieces. It’s the perfect tool for beginners who want to showcase their creative talents. 

If you’d like to show us your pixel art, please feel free to tag us on Facebook, Twitter, and Instagram.

How to Drag the Canvas in PaintTool in 3 Easy Steps

Artists and graphic designers worldwide are downloading the Paint Tool SAI software and reveling in the expressive freedom it offers them. If you’re also looking for ways and apps to express your creativity, you should have a look at this superb app. It’s free and safe to download a 31-day trial version, and you can get drawings and sketches with exciting vector tools without delay. There are very interactive online support platforms, such as Deviantart, where users share tips and advice. 

PaintTool SAI DOWNLOAD

Today we’re looking at three tips to help you move the canvas in Paintool.

How to drag the canvas in PaintTool

Alright, so let’s jump right in!

Step 1: Zoom out to make your canvas fit your screen

If you zoom out, everything on your screen will fit better without overlapping. It takes some time to get comfortable with all the features and functions, but this will help you to focus more on your work at hand. It’s easy to use the Zoom tool on your screen’s R top corning—Press L on the tool to zoom in and R to zoom out. You can also change the % of the Zoom tool in the bottom R corner.

Step 2: Use the hand tool to move your canvas around

Click on the hand tool if you want to move your canvas. You simply select the tool and then click and drag your canvas. You can also use it to get from one side of your canvas to the other without using the Zoom tool.

Step 3: Rotate your canvas

You can opt to turn your canvas around by using the simple Rotate tool. You can rotate your canvas when you have difficult angles to draw and re-center it once you’re done.

That’s it, folks

Paintool SAI tools are incredibly straightforward to use, as opposed to many other graphic design software. You might feel the urge to overcomplicate potential mechanisms but don’t. If you enjoy the user-friendly software of Paintool SAI, you can take a look at other apps such as Paint.NET and Krita. Krita is an excellent open-source app that lets you draw free-hand with life-like materials.

How to use PaintTool SAI: a beginner’s guide

PaintTool SAI is a paint tool for Windows that will help you unleash the artist in you. However, if you’re a beginner you may find this program a bit difficult to use. In this video tutorial we will show you how to get started:

How to use PaintTool SAI – a beginner’s guide

1. First, open PaintTool SAI. Do be aware that during the installation process several additional software will be offered to you, so if you don’t want to install them or change your browser settings please opt out by unticking the corresponding boxes.

2. Go to File and select New to create a new canvas. You will be able to name it and to choose the preset from the drop-down menu. Once selected, click OK.

3. As soon as you see the canvas in the middle of the screen you’ll be able to start drawing! You’ll find a wide range of options available to choose from: including the color you want to use, the tools you want to work with from a range of pencil, airbrush, brush, water color, marker, bucket and more. You’ll be able to select the edge shape and size, density and texture of what you’re working with. You can test every setting on the scratchpad before implementing it on the canvas. While you can use this program with your mouse in order to get the most out of it, we recommend using a drawing tablet.

4. You can drag, rotate and zoom the canvas anytime to work more comfortably. In case you forgot a color you previously used, click on Color picker to use it again.

5. If you click on Layer you’ll be able to add more layers to your creations. Just click on Show / Hide Layer to see which one you’re currently working on. You can also clear or delete specific layers if you’re not happy with the results.

6. On the Filter tab you’ll be able to change the hue and saturation as well as the brightness and contrast of the last line you’ve drawn.

7. Finally, on the File tab you’ll find the option Export as” letting you save your drawing in several formats. This will allow you to share your art and edit it with other programs.

8. Don’t forget to save your drawing before closing PaintTool SAI!


Get to Know Paint Tool SAI

Paint Tool SAI is one of the most affordable, yet effective, graphic design tools available; however, if you’ve never used a graphic design tool before, you may feel a little bit overwhelmed by Paint Tool SAI at first. To get you used to its interface, here’s a handy guide to some of its main features:

The Canvas

The Canvas in Paint Tool SAI is where your main composition is created. In this area of the screen, you can use the various drawing and painting tools that are found in the Tool List. When working with the Canvas, you can zoom in and out to create finer details using the Zoom Tools located at the top of the screen. In addition, you can rotate the Canvas if you prefer to work on a specific section of your creation in a different way.

Layer List

One of the best parts about working in Paint Tool SAI is that you can create layers for your work. Layers sit on top of one another and their order can be changed in the Layer List. You can use layers to create effects, such as shadows, but you can also use them to blend objects. The Layer List also offers you the ability to mute layers or make them solo, giving you the ability to see what each layer looks like separately or what your creation looks like without certain layers.

Layers

Drawing Tools

The Drawing Tools are the main way you create in Paint Tool SAI. You can use things like the Pen Tool, the Airbrush Tool, and the Sketch Tool to draw out your ideas on the Canvas, but you can also use tools like the Blur Tool and the Pixel Tool to create effects. You can customize each tool by changing various options in the Drawing Tools section, adjusting for size, density, texture, and other variables.

Paints Effect

In the Paints Effect section, you can select various effects that change the way your layers look on the Canvas. For example, if you apply the Multiply effect, the affected layer will mix the colors of the layers that it sits on top of. If you select the Overlay effect, the affected layer will create a screen effect and mix the colors of the layers underneath. If you want to go back to the layers simply sitting in the order that they were at first, you can simply choose the Normal option and no mixing will occur.Effects

Ever wanted to animate stick figures on your computer? Now you can with Stykz for free!