How to Delete Google Search History with 2 Simple Solutions

Google is now conveniently available on your mobile device, both Android and iPhone. You can use the app to search through your chosen browser. This, however, does mean that Google stores your search history, which you may want to delete now and again.

But how do you delete your Google search history? Let’s take a look at your options.

  1. Delete Google Search History on Android

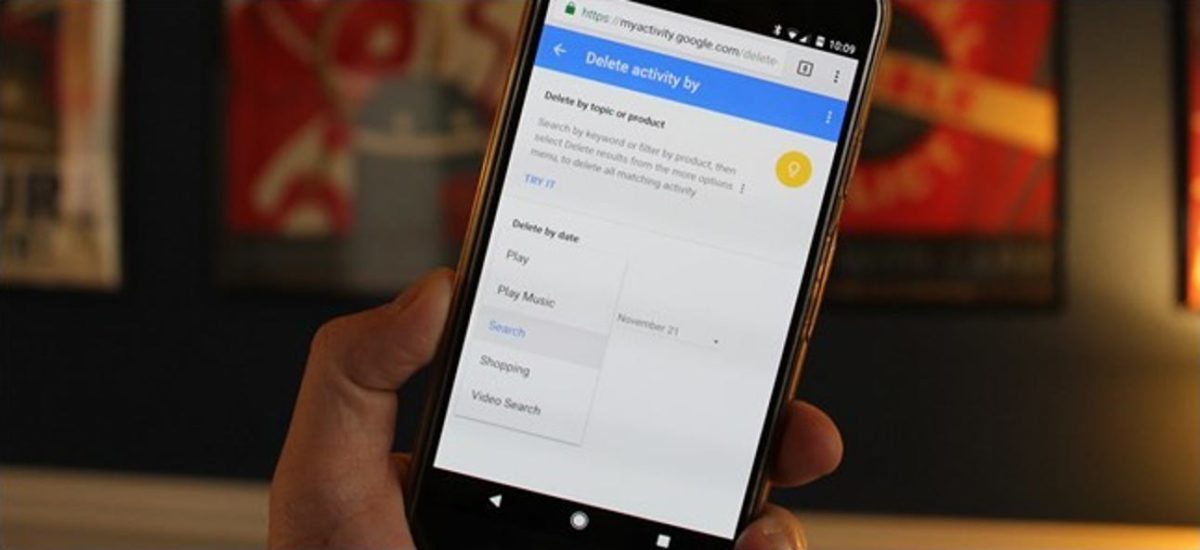
    How to Delete Google Search History

    You can implement the following steps to clear your activity on your Android phone or tablet.

    – On your Android device, open the Google app by tapping on the app icon in your app menu.

    – At the bottom of the screen, tap the settings option represented by three horizontal dots.

    • Now tap on ‘Search History’.

    You can choose to delete all your search history for a specific period, day or month. Tap on the option you want to use by tapping on ‘Delete’ next to the appropriate option.

  2. Delete Google Search History on iPhone

    How to Delete Google Search History

    You can implement the following steps to clear your activity on your iPhone or iPad.

    – On your iOS device, open the Google app by tapping on the app icon in your app menu.

    – At the top of the screen, tap on your profile picture or initials.

    – Next, tap on ‘Search History’.

    Choose the search history that you want to delete. You can choose to delete all your search history, or you can be specific and choose a certain period, day or month. Tap on delete next to the appropriate option.

Keep Your Search History Private

If you want to keep your history private, then deleting your search history and data now and then is essential. Luckily if you follow the steps above, this process can be easy as well. Why not try to delete your Google Search history now?

How to Uninstall GS Auto Clicker in 2 Easy Ways

There’s no telling how helpful GS Auto Clicker can be for specific jobs and actions. Still, using it might cause strange errors, especially if you’ve tested its limits or put weird multi-step clicking combinations.

In this case, the only thing you can do to fix the glitches is to uninstall the application. This article focuses on two methods that will help you to get rid of all the residue files of the program.

  1. Use the Windows Add/Remove functionality

    How to uninstall GS Auto Clicker

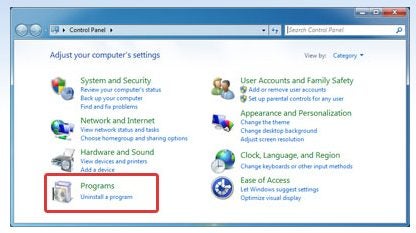
    All operating systems, including Windows, have an install/uninstall option built-in. You can accomplish deleting the auto clicker by accessing the Control Panel. Follow these instructions for success:

    – Click “Start”

    – Navigate and click “Control Panel”

    – Find the application

    – Click Change/Remove

    • Go through all the prompts on the screen
  2. Use the program’s uninstaller

    How to uninstall GS Auto Clicker

    An alternative option to remove the application is to use the built-in file system.

    – Access the application from the “Start” menu

    – Open the program folder and click the uninstaller to initiate the process

    – Follow prompts of the “Uninstaller Wizard”

Do a thorough registry cleanup

You might still have a use for this program later, but if it’s slowing down your computer and causing Windows to crash, a thorough cleanup is in order. Access “Registry Editor” and delete all the files manually. If you still need GS AutoClicker, you can always reinstall it.

How to Turn Off GS Auto Clicker in 4 Steps

GS Auto Clicker is very useful when you need to do repetitive clicking, such as when you are installing multiple programs or in some games. However, you may be wondering how to turn off the clicker when you are done?

Let’s look at how you can stop the clicker when you are done with your repetitive work.

  1. Check/Set the Hotkey

    How to Turn Off GS Auto Clicker

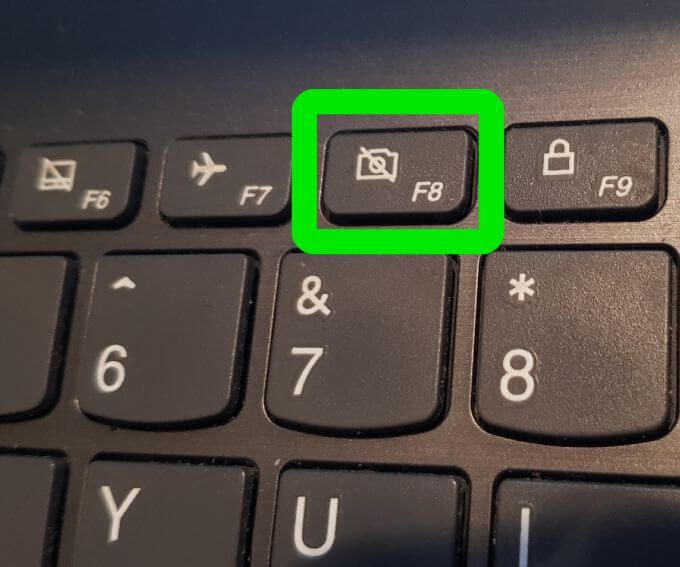
    You will first need to launch the program as you stop the clicker from within the program itself. The default hotkey to use with this program is F8. You can change this from within the settings by taking the following steps:

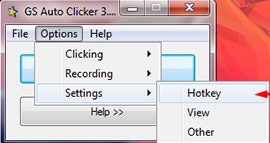
    – Click on ‘Options’

    – Click ‘Settings’

     -Click on ‘Hotkey

    Choose which hotkey to use by pressing the keyboard shortcut you prefer

  2. Use Auto Clicker

    How to Turn Off GS Auto Clicker

    Now that you know what the hotkey is, all you need to do is press the hotkey, for example, F8, if using default settings. This will start clicking if you’ve set multiple clicks.

  3. Stop the Auto Clicker

    How to Turn Off GS Auto Clicker

    If you want to stop the clicker, all you do is press the hotkey again; if using the default settings, that would be F8.

Click With Ease and Stop at the Press of a Button

Using GS Auto Clicker is easy, and all it takes is a few simple hotkeys to start and stop the clicker. Why not try using this type of clicker now and experience the ease of clicking automation.

How to Multi Select With GS Auto Clicker in 3 Simple Steps

GS Auto Clicker is popular automation software that allows you to automate your clicking without manually clicking on the computer mouse.

You may be wondering how you can set GS Auto Clicker to multi-select specific points on your screen? Let’s take a look at how you can set up that function within the program.

  1. Launch the Program

    How to Multi Select With GS Auto Clicker

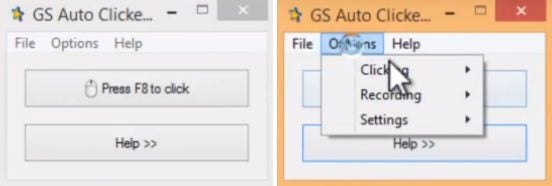
    Launch the auto clicker by double-clicking on the icon on your desktop. Alternatively, you can also select the program from your program menu when clicking on ‘Start’. In the program window, click on ‘Options’ in the menu bar at the top of the window.

  2. Go to ‘Recordings’ and Then Select ‘Multiple Clicks’

    How to Multi Select With GS Auto Clicker

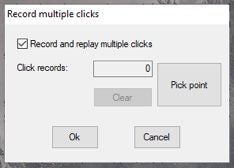
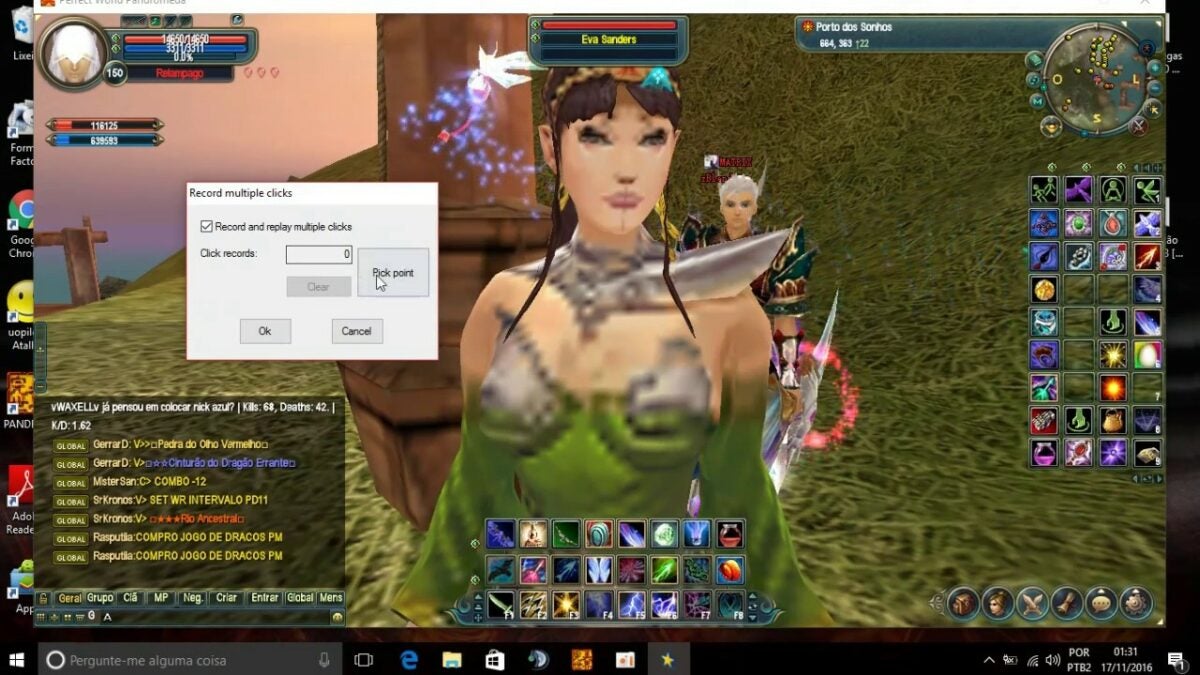
    In the drop-down list that appears, click on ‘Recordings’ and then on ‘Multiple Clicks’. This will take you to a new window where you will record the multiple areas on the screen you wish to select. The first option in the new window has a checkbox titled ‘Record and Replay Multiple Clicks’, make sure that this option is selected.

  3. Set Pickpoints

    How to Multi Select With GS Auto Clicker

    Now click on the ‘Pickpoint’ option and move the mouse cursor to the area on the screen you wish to select. Click with the mouse to record this pickpoint. Repeat the process until you’ve selected all the areas on the screen that you need. Press ‘Ok’ when you are done to save this macro or recording. 

    Now you can press F8 on your keyboard (or your hotkey if you changed it) to run the recorded macro you have set up.

Easily Set Multiple Select Options

With GS Auto Clicker, not only can you automate your clicking, but you can also easily set a macro to click and select multiple areas on your screen as you wish.

How to Make GS Auto Clicker Click Fastest in 2 Easy Steps

Whether you’re a gamer that needs to perform hundreds of repetitive clicks on the mouse button or someone whose work is connected with repetitive patterns, GS Auto Clicker can help you out. 

This autoclicker program is an excellent find that Reddit nerds and gamers are swearing their lives on. It has a sweet and simple interface that makes interaction with it a breeze. Let’s see how below.

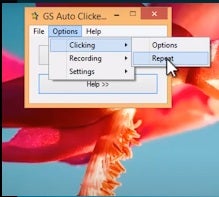
  1. Access the “Clicking” menu

    How to make GS Auto Clicker click fastest

    There are just three menu options in this program, and all the clicker functionality is embedded in the “Options” tab. Click it to access the “Clicking” menu from the drop-down.

  2. Modify the interval

    How to make GS Auto Clicker click fastest

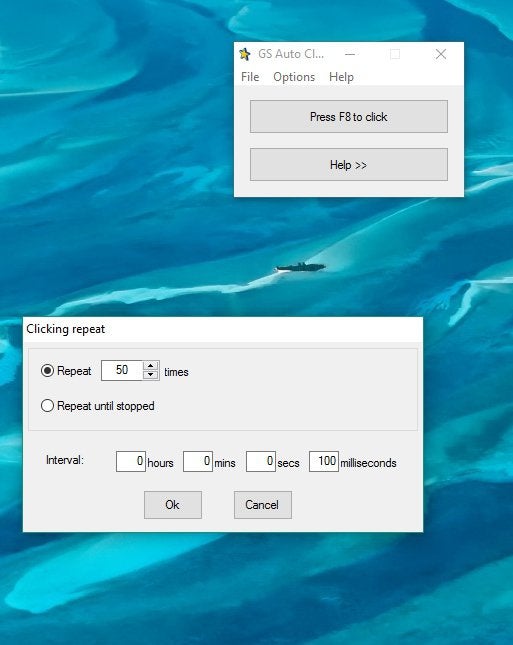
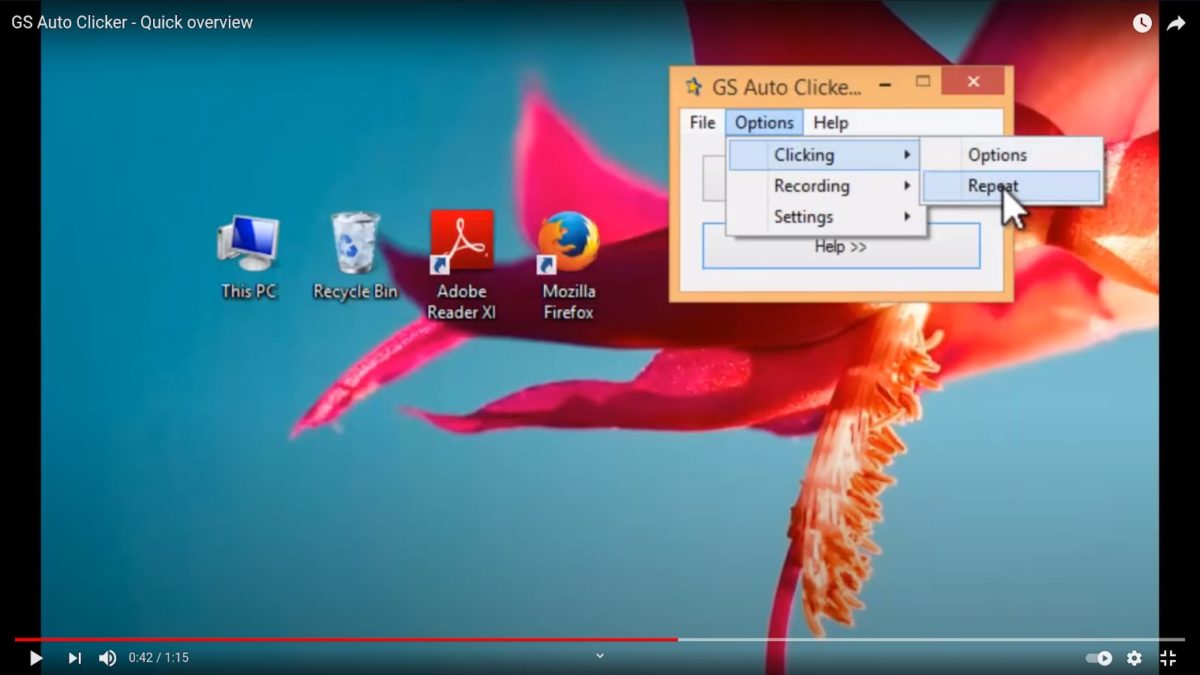
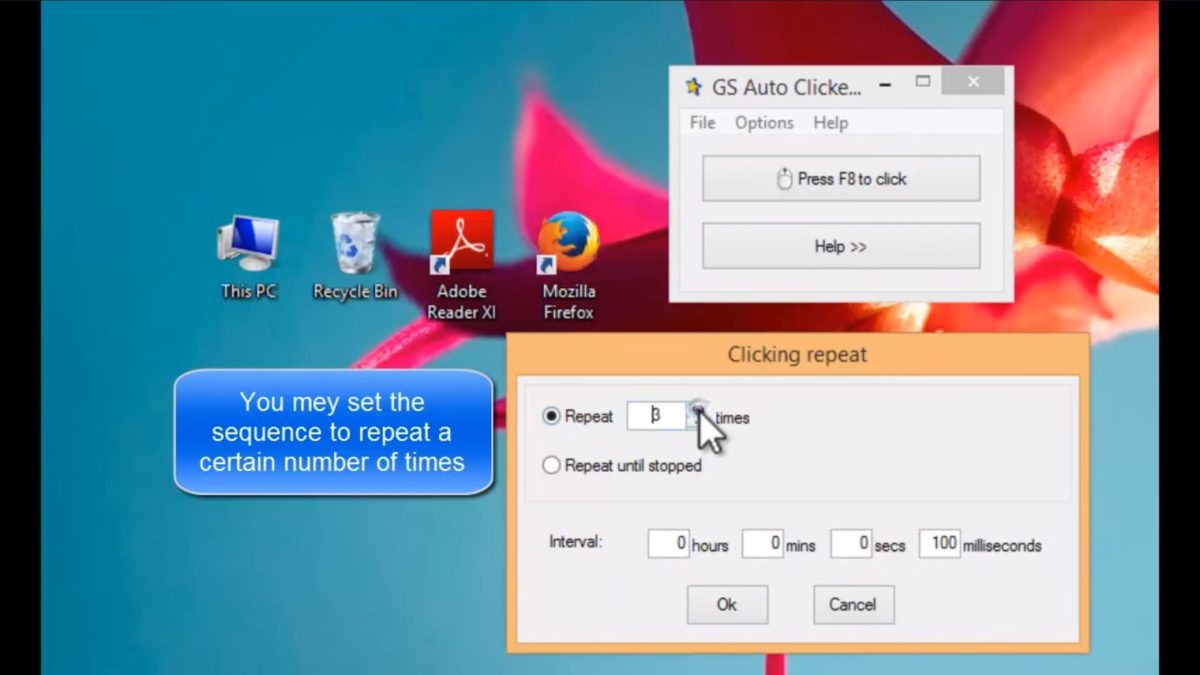
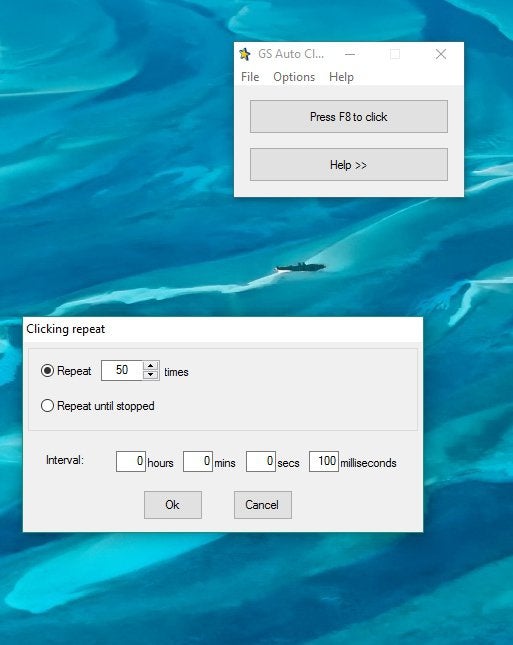
    Once you hover on it, another sub-menu will open on the side, showing you two options. Choose the second one, “Repeat.” A window will open containing the number of repetitions and the interval in hours, minutes, seconds, and milliseconds. For the fastest clicking, input a high number and click “Ok.”

Test the limits!

Here is when you can let the numbers get crazy high. Make the program sweat by inputting the highest number it allows you to and watch your mouse go mad. Good luck catching the clicks!

How to Increase Clicks in GS Auto Clicker in 3 Fast Steps

As you might know, GS Auto Clicker is a useful tool that clicks for you in a preset sequence. Depending on your intent, you can make the program click on multiple coordinates on your screen and repeat the loop as many times as you need. 

This article will help you figure out how to make it go through the same sequence multiple times.

  1. Open the program and select “Options”

    How to increase clicks in GS Auto Clicker

    Go to navigation, find the application, and click it to open the interface. At the top of the window, in the main program menu, you’ll see “Options.” Click it to open the drop-down menu.

  2. Navigate to “Repeat”

    How to increase clicks in GS Auto Clicker

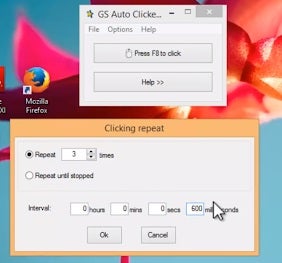
    When you hover over the first choice on the top, “Clicking,” two selections will open in the sub-menu. Select “Repeat.” It’ll open a window where you can select the number of times and the interval. It also offers an option of repeating until stopped manually.

  3. Set the number of reps

    How to increase clicks in GS Auto Clicker

    Use the arrows near the number to increase it or just input it. Once you select how many times the loop should go through, click okay.

Sit back and relax!

In addition to complicated patterns, the program gives some rest to your hands while it clicks the mouse button as many times as you want.

How to Do Keyboard Macros GS Auto Clicker in 2 Fast Steps

GS Auto Clicker is a very convenient application for those who have to do repetitive tasks that include mouse clicks. However, it can be tricky working with the current keyboard macros if you don’t know how.

This article will teach you how to find and change the default hotkey on your program.

  1. Open the application

    How to do keyboard macros GS Auto Clicker

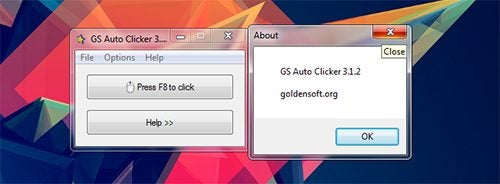
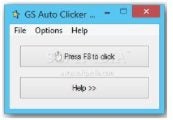
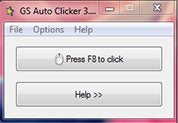
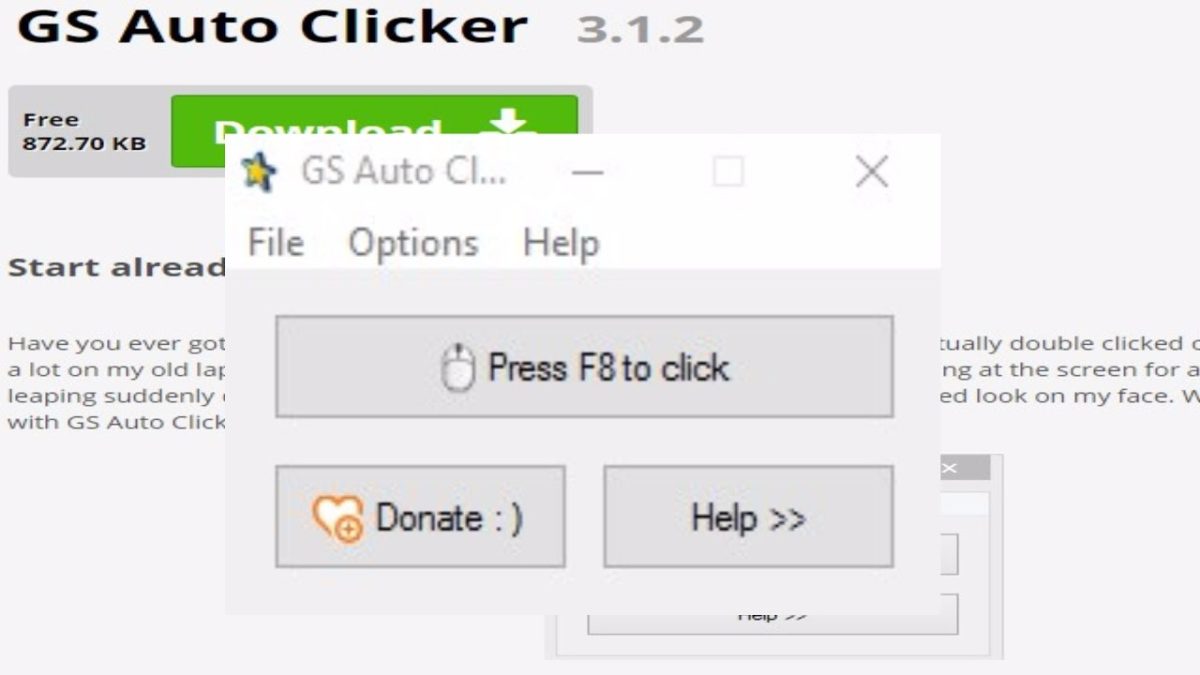
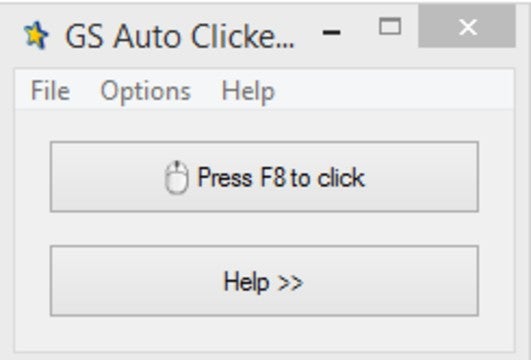
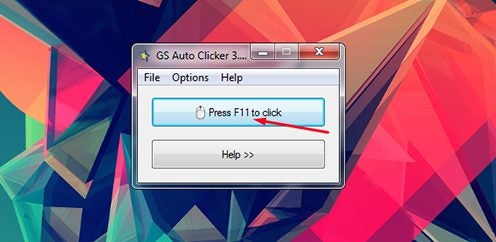
    If you already have the program installed, navigate to the program icon and double click it to open. You’ll see a straightforward interface with only three menu items and two buttons. One of them shows the default hotkey (F8) you can use to initiate the app’s functionality.

  2. Navigate to the Hotkey menu

    How to do keyboard macros GS Auto Clicker

    On the main menu line, choose the “Options” dropdown element, go to “Settings”, and click hotkey. Once you do that, another window will open, prompting you to set your function key. Whatever you choose, it will replace the original F8. After setting it, click OK.

Use the new key during your next loop

The new key will do all the same functions as the original one, so you can use it next time you need to run the saved mouse clicker script. Ensure that the key is free from any other functionality not to confuse the operating system.

How to Install GS Auto Clicker in 4 Easy Steps

GS Auto Clicker is a useful task automation software that enables you to save your computer mouse from repetitive wear and tear. This type of program is ideal for users who use a mouse often and within regular intervals, such as gamers who need to click to gain points continuously.

The program has been developed for Windows computers, and you may be wondering how you can install this program so that you can start saving your mouse and increase your clicking efficiency.

  1. Download GS Auto Clicker

    How to Install GS Auto Clicker

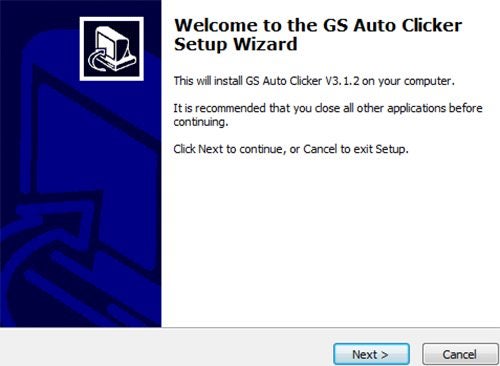
    First, you will need to download GS Auto Clicker from a reputable website, such as Softonic. In your download folder, you will find the executable file for the program. Double-click to automatically start the installation wizard.

  2. Click ‘Next’ in the Installer

    How to Install GS Auto Clicker

    – Click ‘Next on the installation wizard window to start with the installation process. 

    – Then you will have to click ‘Next’ again on the ‘Destination Location’ window. 

    – And again on the ‘Select Start Menu Folder’ window. 

    And finally, for the last time on the ‘Select Additional Tasks’ windows, you can choose to have a desktop icon for the program installed.

  3. Click on ‘Install’

    How to Install GS Auto Clicker

    Click on the ‘Install’ button and wait for the program to finish installing on your Windows computer.  When it is done, you will get an option to launch the program at the end of the installation. Click ‘Finish’ to complete the process.

Install an Auto Clicker to Increase Your Clicking Productivity

Installing GS Auto Clicker is easy to do and will increase your clicking efficiency while also sparing your mouse from constant wear-and-tear. 

How to Use GS Auto Clicker in 3 Easy Steps

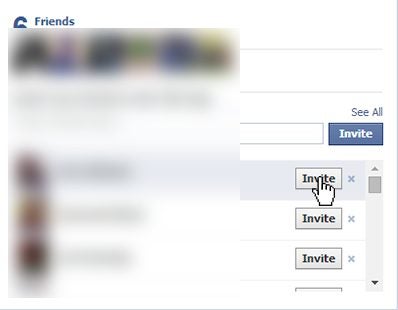
GS Auto clicker is a useful app that allows users to set an auto clicker feature when needed and frees up their hands and computer mouse when having to do a lot of clicking. This can be very useful when playing games or when you need to do repetitive clicking when installing games or accepting friends requests on Facebook. 

The program is available on Windows computers, but how does it work?

  1. Have GS Clicker Downloaded and Installed on Your Computer

    How to Use GS Auto Clicker

    First off, you need to ensure that you have the program downloaded and installed on your computer. If you are stuck on the installation process, you can refer to our guide on installing GS Auto Clicker. Launch the program by double-clicking on the program on your desktop.

  2. Navigate to Another Program

    How to Use GS Auto Clicker

    Now you can navigate to another program or game, and when you want to start auto-clicking, you can hover with the mouse and press F8 (default) to start using the auto clicker.

  3. Change the Hotkey

    How to Use GS Auto Clicker

    If you want to use another hotkey and not the default F8, you can easily change that. 

    – Click on ‘Options’ and then ‘Settings.’

    – Next, choose ‘Hotkey.’

    • Now press any other button you want to use and click on ‘Ok’ to set it.

Start Using GS Auto-Clicker and Click More Efficiently

Whether you are gaming, sending multiple invites or accepting friends requests, you don’t need to wear out your hands and computer mouse anymore. With GS Auto Clicker, you can start clicking automatically with just the press of a keyboard key.

How to Convert a Recorded AnyDesk Session in 3 Easy Steps

AnyDesk remains a popular remote desktop application that allows you to gain access and control over another computer remotely and record your sessions. This is great as these recordings can be used for various things, such as training support staff on fixing specific issues remotely. 

AnyDesk DOWNLOAD

You can download AnyDesk can be used cross-platform on Windows, Mac, iPhone, and Android devices, making it ideal for support services. But, how do you convert a recorded session to another file format?

Issues with converting AnyDesk session recordings

AnyDesk is able to record any session from both ends of the connection automatically. This is extremely useful if you work in the support industry and need to keep a log of your sessions or to use it for training. However, one problem is that the program only records these sessions in its native file format .ANYDESK.

Unfortunately, this limits users to only being able to watch recordings in the AnyDesk player, and most other players will show an error when trying to play the file. So, if a client requests a copy of the session recording, and you send a file with the .ANYDESK extension, chances are they won’t be able to watch it easily.

Another issue is that AnyDesk doesn’t have a built-in feature to convert the recordings file format to something more universally acceptable, such as MP3. This means users will need to make use of third-party software in order to convert the file format.

How to convert a recorded AnyDesk session?

Despite having to use third-party software, the process to convert a recorded AnyDesk session is still fairly easy.

  1. Download a Video Converter

    How to Convert a Recorded AnyDesk Session

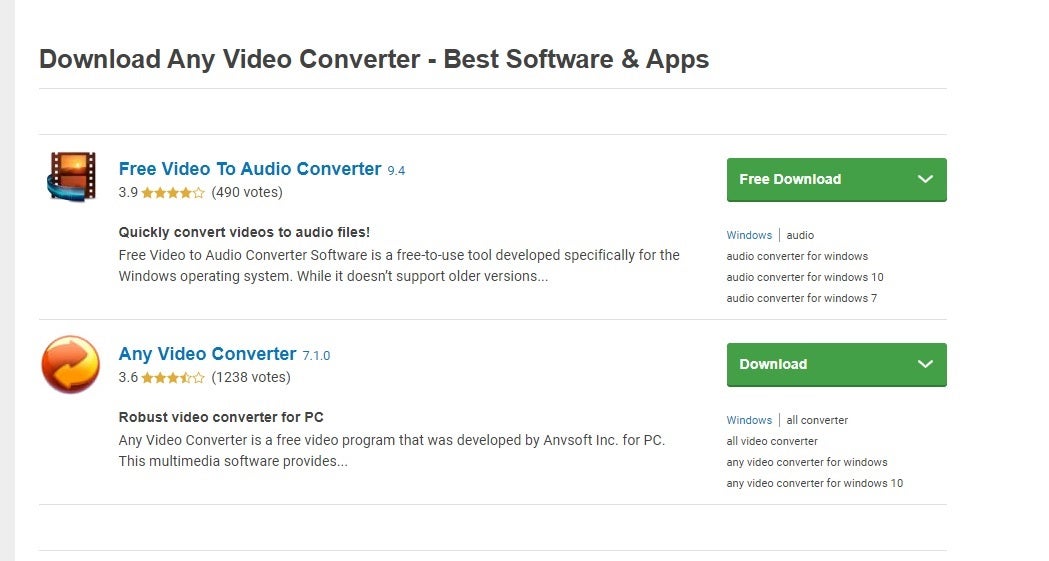
    You will have to download a video converter as AnyDesk does not have the option to convert recordings or save them in another format. You can search our website here for some options. Always make sure that you use a reputable site when downloading programs.

    Before you download one of the suggested converters, always ensure that it supports AnyDesk sessions records. Take a look at which formats the converter supports, and check it against the saved file extension. You can also ready up reviews for the program to see if anyone else has successfully used it for the same purpose.

  2. Install the Video Converter

    How to Convert a Recorded AnyDesk Session

    Next, you will need to install the video converter. You can do this by running the executable files from the program you downloaded and following the installation wizard prompts. In most cases, this should run smoothly, and you only need to select a few options.

    One of these options may be to indicate the storage location on your PC or an external hard drive. Remember, if you choose the latter, you won’t be able to use the converter if you remove the external device or it becomes corrupt. You can also create a shortcut to your desktop for easy access.

  3. Upload Your AnyDesk Recording

    How to Convert a Recorded AnyDesk Session

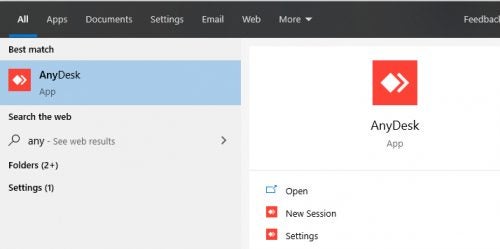
    Launch the video converter to start converting your AnyDesk recordings. Upload your AnyDesk recording to the open file converter. You can find your recordings under “Session” and then “Recordings” in your AnyDesk folder. Choose which format you would like to convert your AnyDesk recording to, such as mp4 or avi. They are usually both good options as they are universally accepted by most media players. Now start the conversion process. Wait while the session recording is being converted.

    If you don’t see the option to select the AnyDesk file, that means that the video converter you selected isn’t compatible with the format. When this happens, you’ll have to go back to step 1 and try with a different program. It’s best to only use free apps so that you don’t waste any money while trying to work out which is the best one.

    When you succeed in converting your video, you can now watch it on any platform or share it with your colleague or meeting members. As a general rule, you can only watch AnyDesk videos on AnyDesk, so converting it for someone else is essential.

Changing session recording settings

You can change the default settings to start a recording as soon as a session starts, or only record when they are incoming or outgoing sessions. If you prefer to keep it off by default, you can just hit the record button found in the AnyDesk toolbar, when you want to start during an active session.

You’ll also need to keep tabs on how much storage space the videos are taking up and delete a few that aren’t needed or look at either cloud or storage backups if you’re required to log recordings for work purposes.

Convert Your Recordings and Watch Them Anywhere

Converting your recordings is an easy process when using a reliable file converter and will allow you to send and watch these recordings anywhere and through most media players. No more struggling with your recordings not playing as the file format isn’t supported.

Remember, you can find your AnyDesk recordings under “Session” and then “Recordings” in your AnyDesk folder. You can change the default settings to start a recording as soon as a session starts, or only record when they are incoming or outgoing sessions. 

While the program works quite well on Windows, you can also install AnyDesk on Ubuntu or put AnyDesk on a Kali device. Also, remember to keep the app updated so it can always function properly.
How to update AnyDesk READ MORE