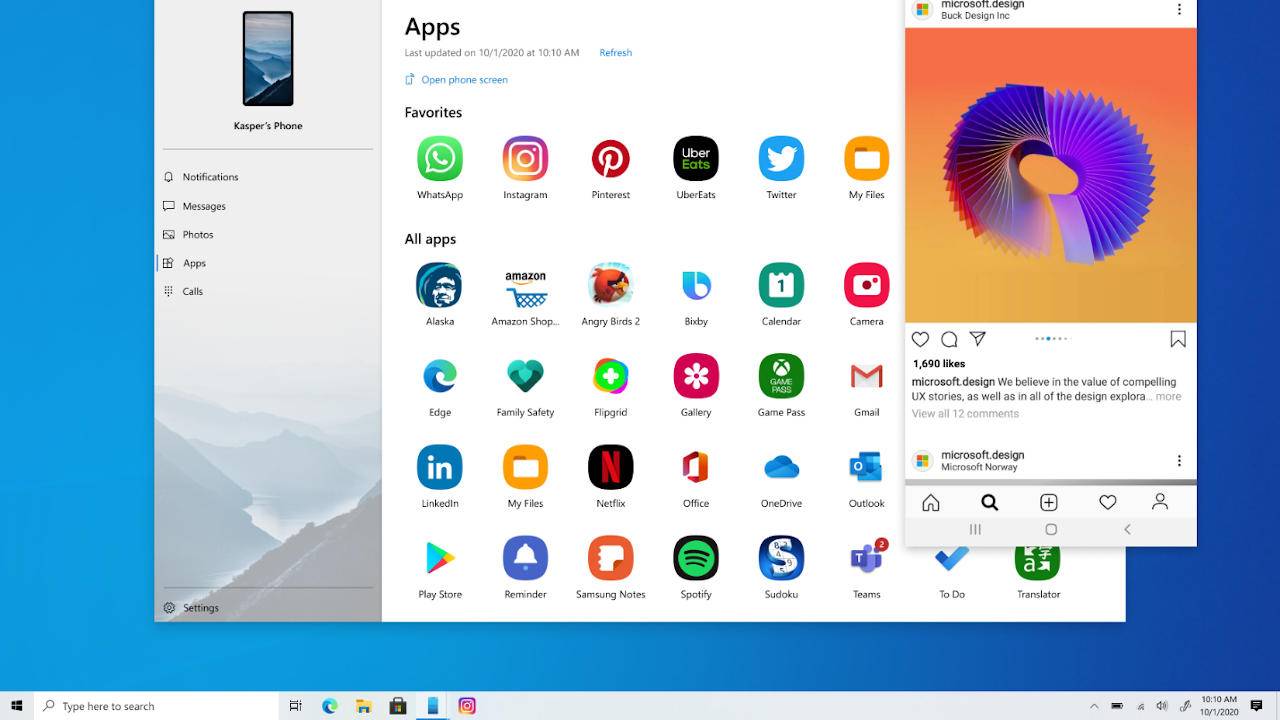
Yesterday was a significant day for Apple as it held the 2021 Worldwide Developers Conference. The keynote address went well, with plenty of new features and apps presented for the coming year. Of these, one of the most notable news included FaceTime becoming available for Android and Windows via web browsers.
Previously only available for Mac and iPhone, Apple is looking to present FaceTime in a similar way as Zoom. You can share a video conference link with others so that they can attend your meeting online. It’ll also let you schedule calls so that they can prepare in advance and arrive on time with calendar appointments.
No launch date is available as yet, but Apple seems to indicate that it may appear during the same period as the iOS 15 release. Of course, the new web version isn’t the only FaceTime news, as the FT iOS app will also receive plenty of new features. We can expect some of these to integrate with the new web modular design so that you can easily connect to meetings from Android or Windows members.
One new feature called SharePlay will follow in Teleplay’s footsteps. You’ll be able to watch movies and listen to music with friends. For all intents and purposes, it looks like Apple wants FaceTime to become the new place you chill and hang out in your free time.
To keep your Firefox working optimally and securely, you will need to update your browser. Updating your browser can help improve speed and web security, and it is free to update your browser.
So, let’s look at how you can update your browser easily on either Mac or Windows.
Manual Update on Windows
– Open your browser on your computer.
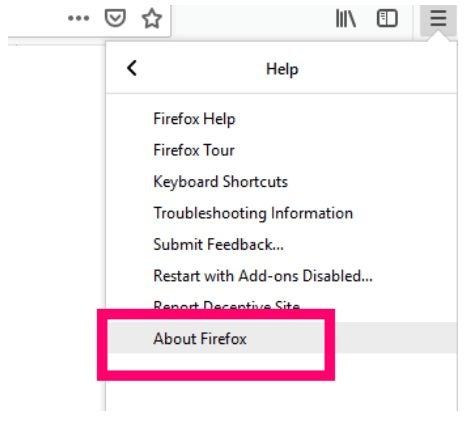
– Click on the three horizontal lines or hamburger icon in the top right of the screen.
– Click the ‘Help’ option near the bottom of the drop-down list.
– In the Help menu, choose the option ‘About Firefox’.
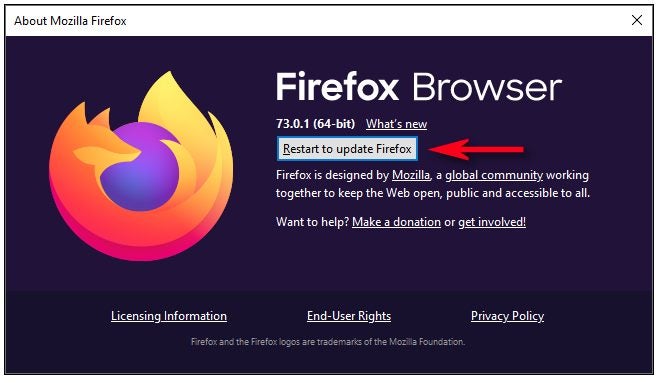
In the new window that opens, you will have the option to click on ‘Update Firefox’. If an update has already been downloaded, you can choose ‘Restart to UpdateFirefox’. If there are no new updates available, you will see the message ‘Firefox Is Up to Date’ in this window.
Manual Update on Mac
– Open your browser on your computer.
– In the top menu bar, click ‘Firefox’.
– In the drop-down list, choose ‘About Firefox’.
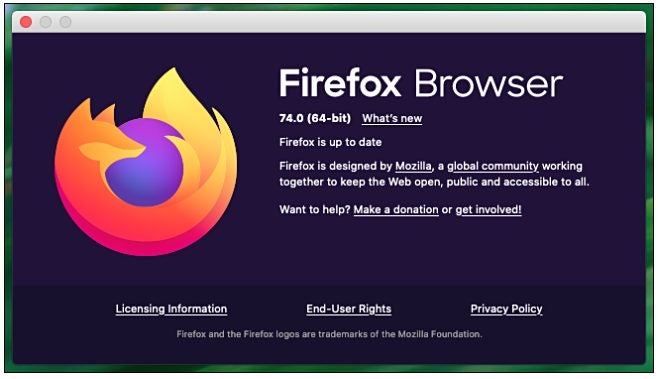
In the new window that opens, you will have the option to click on ‘UpdateFirefox’. If an update has already been downloaded, you can choose ‘Restart to UpdateFirefox’. If there are no new updates available, you will see the message ‘Firefox Is Up to Date’ in this window.
Update Firefox to Continue Browsing Safely
Keeping your browser up to date is very important to ensure that you have the best and safest browsing experience. Make sure to check your Firefox for new updates every so often to ensure you continue working securely.
Fortnite Rumors and News Abound With the Approaching Season 7
Well, Fortnite Season 6 has drawn to a close with the start of Season 7 today. The Battle Pass is over with a new one about to begin. Can you feel the excitement in the air as every gamer waits for the new update to appear on their computers and consoles?
There have been many speculations and hints as to what is coming this season in Fortnite. With the arrival of aliens late in Season 6, many are expecting more of this theme to appear. The main source of this concept is with players receiving gifts that had crop circles and alien symbols on them.
However, we’re also seeing some interesting thoughts appear on Instagram. Some gamers are expecting some Marvel content to appear, with hints of Loki in the shadows. One Instagrammer even guessed that the glasses that make you unrecognizable could indicate a Superman theme. While Epic hasn’t confirmed any of these, it’s clear that the gaming world is excited.
One easter egg that most players agree on is Butter Bot that appears on the show Rick & Morty. With the series about to start Season 5, it seems to coincide with Fortnite Season 7. Still, the Epic Games tweets and teasers seem to revolve around the aliens, so get your Battle Pass and guns ready as outer space comes to a TV near you.
Mozilla Firefox is a very popular browser that is known for its speed, lightweight build, and security. It is also available cross-platform, meaning you can use it on Windows, Mac, iPhone, and Android devices. However, like with most browsers, Firefox can start to slow down after some time.
This can be very annoying, and you may be wondering how you can speed up your browser? Let’s take a look at a few things you can do to increase the speed of your Firefox browser.
Update Firefox
Ensure that your version of MozillaFirefox is updated to keep it running fast, smoothly and without issues.
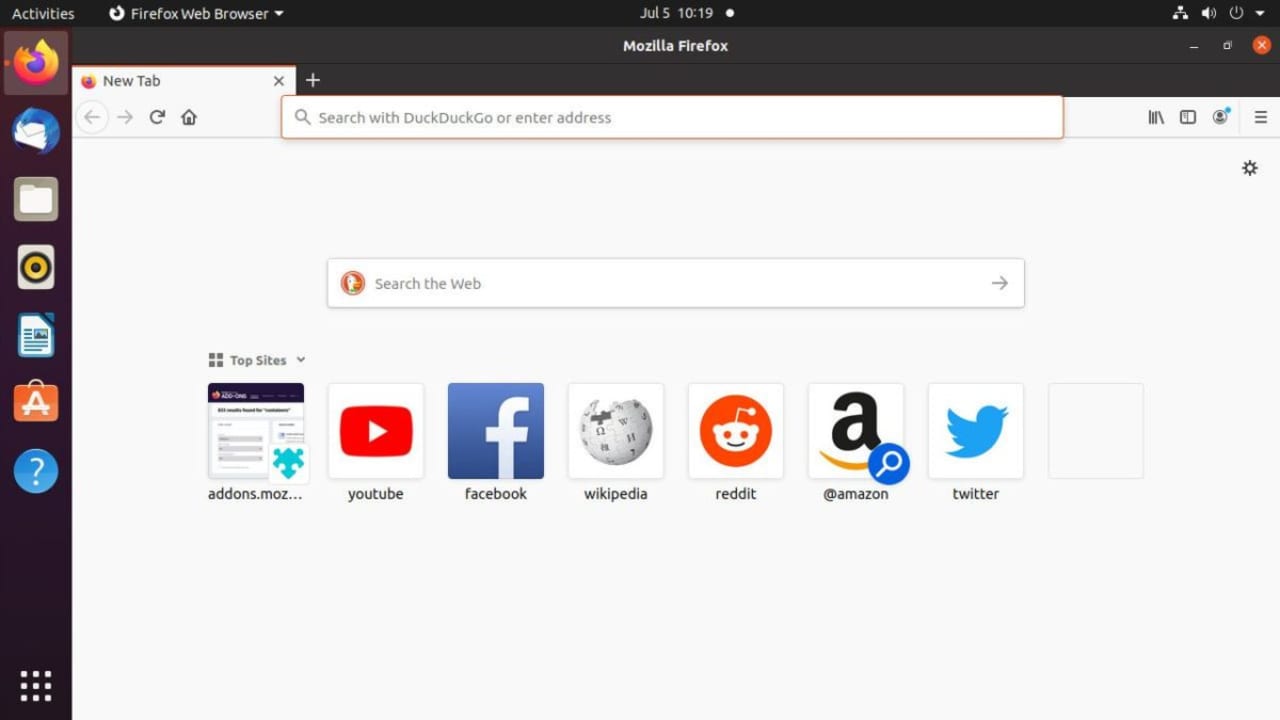
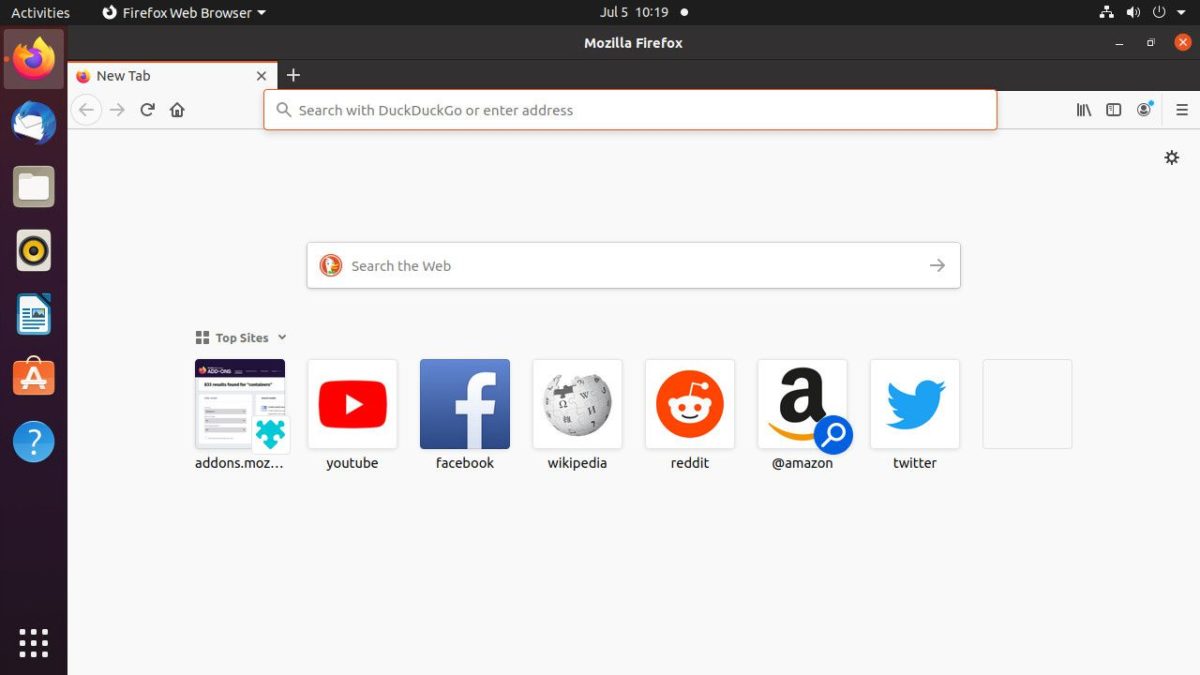
– Launch Firefox.
– Click on the burger icon or three vertical lines at the top right of the screen.
– Click ‘‘Help’’.
– Choose ‘‘About Firefox’’, and the update will begin automatically.
– Press “Restart Firefox’’ to complete the process.
Free up Memory and Space
Freeing up the memory and space used by your browser can instantly increase your speed.
– Launch the browser.
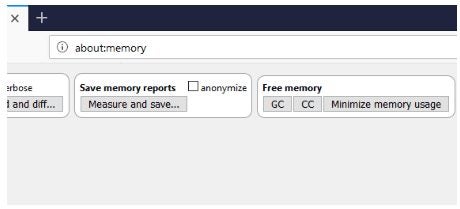
– In the address bar, type about:memory.
Click ‘‘Minimize Memory Usage’’.
Clear Cookies, Cache and History
It is good practice to occasionally clear your cookies, cache and history to keep your browser working optimally.
– Launch Firefox.
– Click on the burger icon or three vertical lines at the top right of the screen.
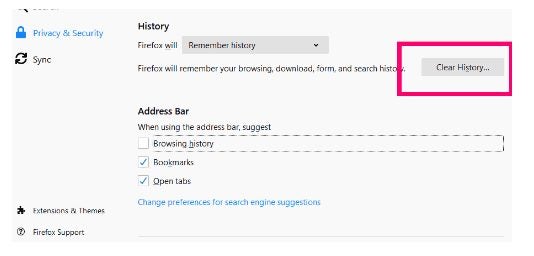
– Click ‘‘Options’’ and then ‘‘Privacy and Security’’.
– Scroll down to ‘‘Cookies and Site Data’’ and choose to clear data.
Finally, scroll down to ‘‘History’’ and choose to clear history.
Disable Add-Ons
Having add-ons enabled on your browser can also cause it to slow down. Try disabling some or all of your add-ons and see how it affects your speed.
– Launch Firefox.
– Click on the burger icon or three vertical lines at the top right of the screen.
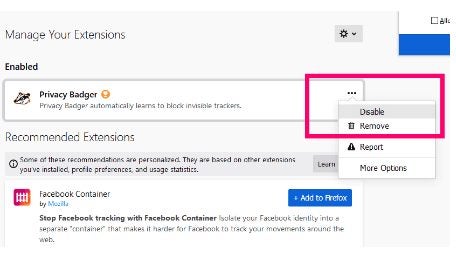
– Choose ‘‘Add-ons’’.
– Click on ‘‘Extensions’’.
– Next to each extension, click the three dots and choose to disable the extension.
Speed up Your Browser to Enjoy Seamless Browsing
You can use all or just some of the above steps to start increasing the speed of your Mozilla Firefox browser. Now you can enjoy fast internet browsing.
How to Fix Mozilla Firefox Critical Error Red Screen
As with most forms of software, you may experience the occasional error; in this case, the Mozilla FireFox red screen critical error. It is important to note that this is not an actual Firefox error but rather a form of scam malware where someone is trying to get a hold of your username and password by making you call a number or asking that you input your details to authenticate your account.
If this critical error appears on your computer, don’t put in your information or call the number provided! Here are the steps you can take to solve this issue without putting your personal information at risk.
Exit Your Browser
First, you need to exit Mozilla Firefox. If you find that you can’t exit the browser by clicking on the close (x) button, then use the Ctrl+Alt+Delete and end the Firefox process from the task manager.
Uninstall Unfamiliar Apps
Go to the Apps and Features window on your computer. You can do this by searching for the section in your start menu or using the keyboard shortcut Windows Key+I. Scroll through the list and uninstall any unfamiliar apps. If you are unsure of what an app does, you can google it first to see if it falls in the PUP (Potentially Unwanted Program) category.
Reset Firefox
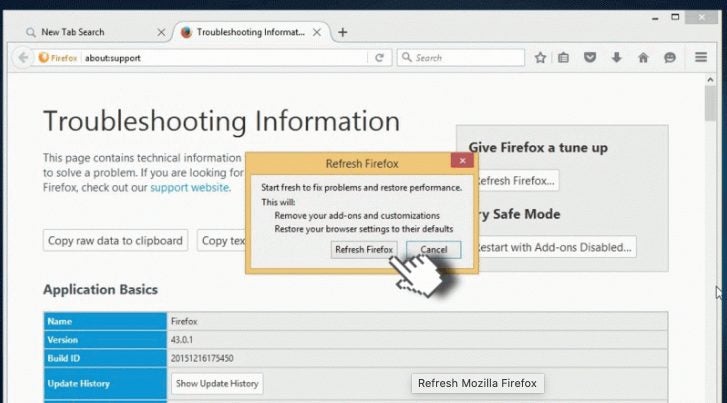
Open Mozilla Firefox and go to the Mozilla support website using this link, and choose to ‘Refresh Firefox.’ This will remove all add-ons and customizations, but also any bugs or lingering malware. Once Firefox has been refreshed, close the browser.
Run an Antivirus Scan and Restart Your Device
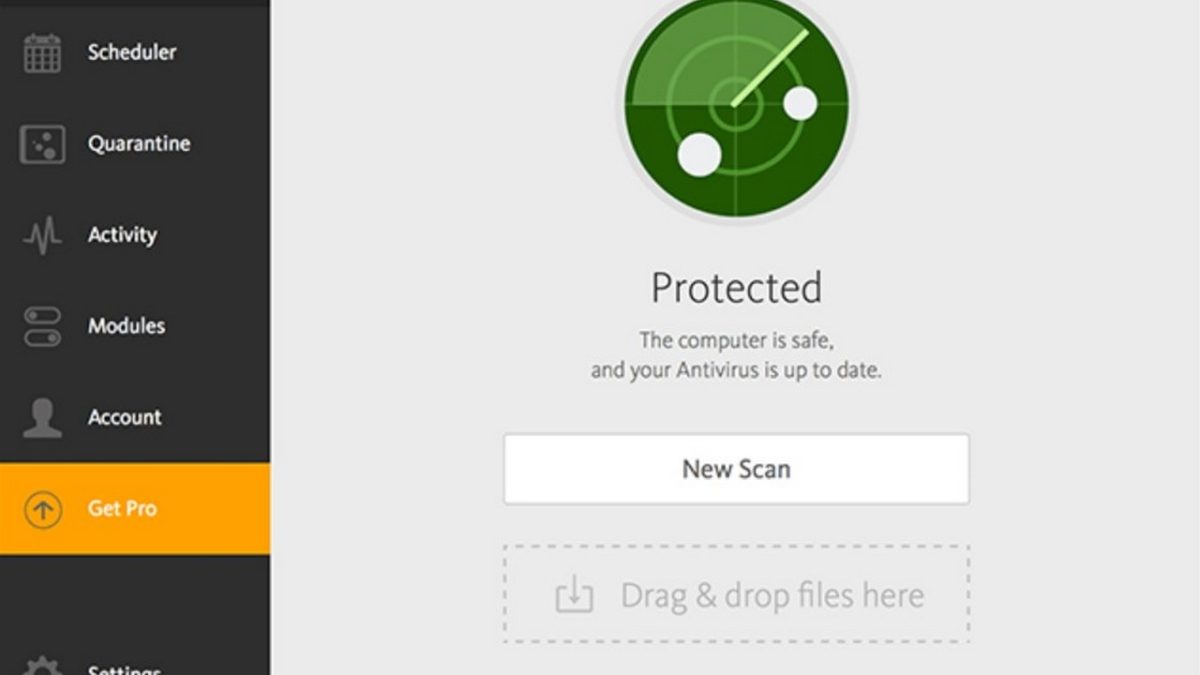
Lastly, run a full antivirus scan to make sure no malware is left on your computer and restart your device.
Get Back to Browsing With Firefox Safely and Securely
Once you’ve followed the above steps, your Firefox should be back to normal. You can now browse the internet with this browser safely and securely.
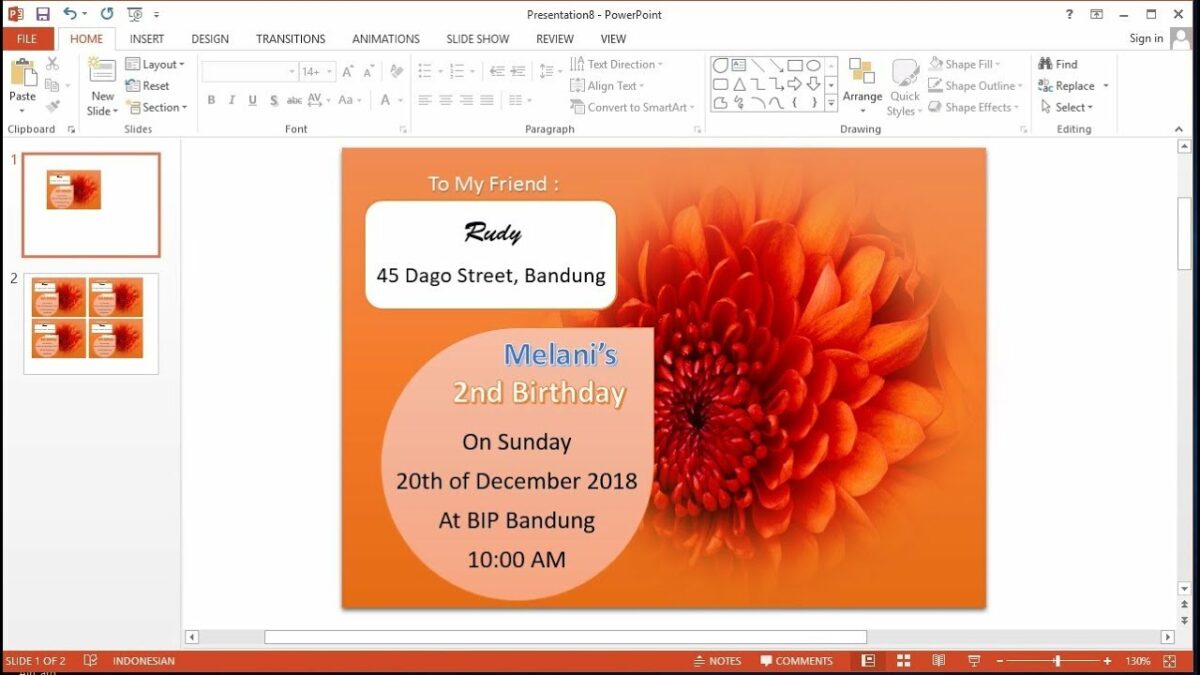
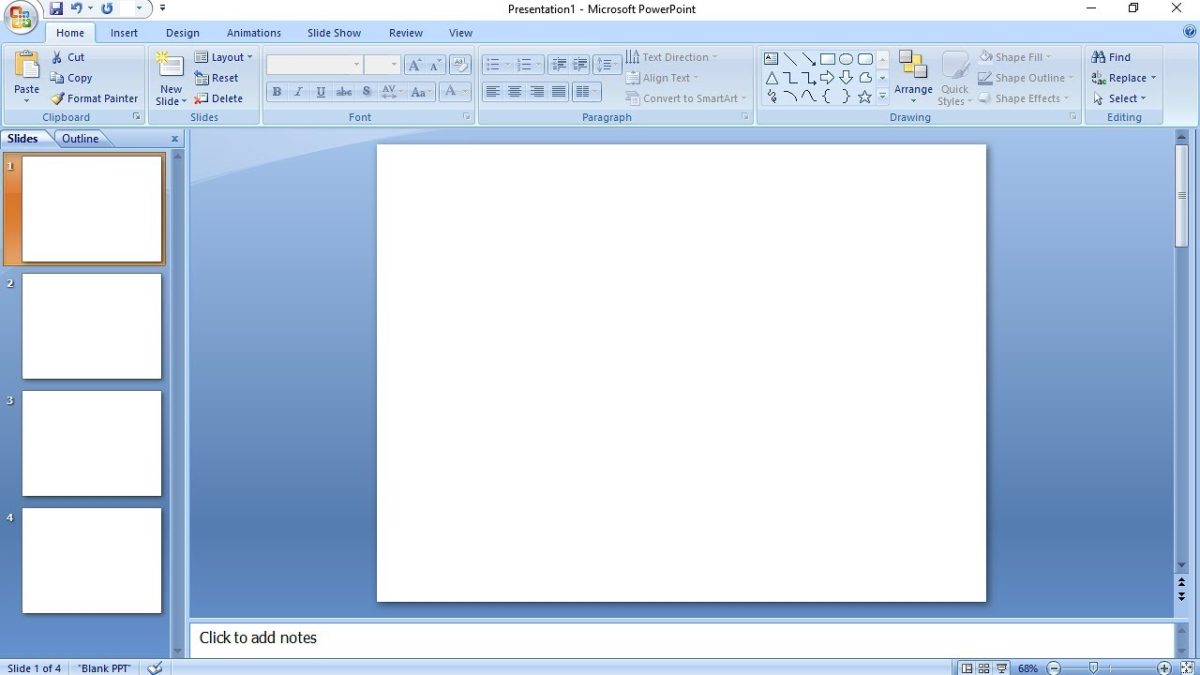
Microsoft Powerpoint is best known for its presentation-creating features. One popular use of Powerpoint is to make invitations to parties and events with the software.
Let’s look at how to make a memorable invitation using Microsoft Powerpoint.
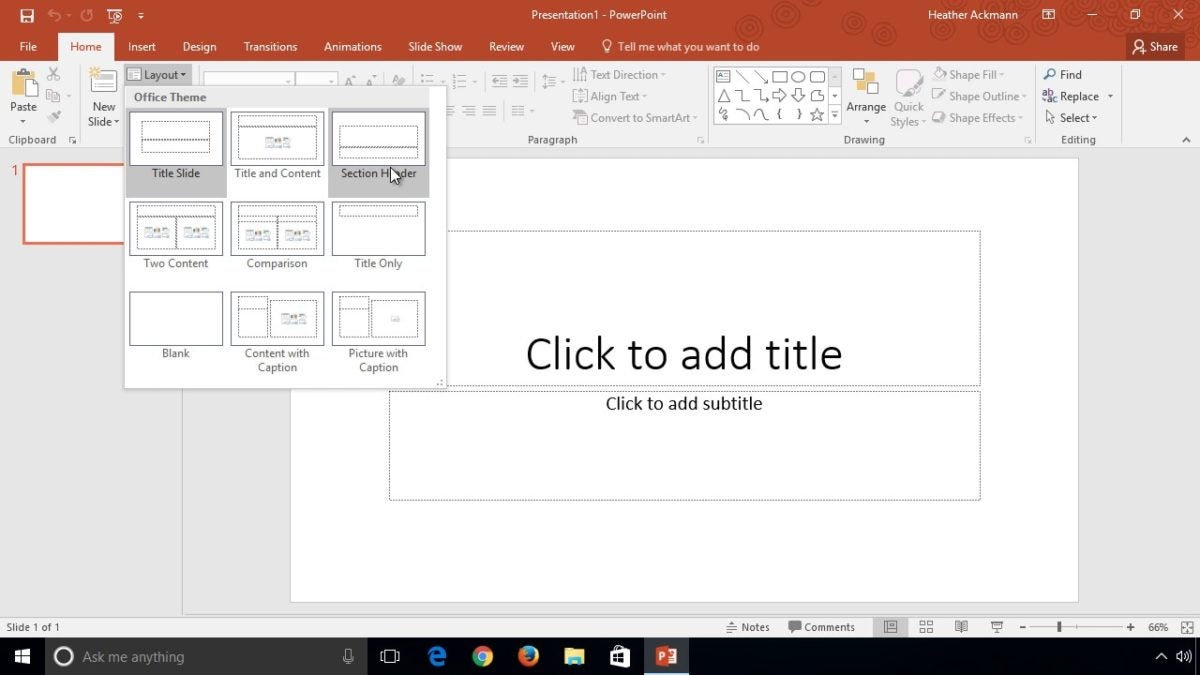
Choose ‘New Blank Design’
Start the program by clicking on the icon on your desktop or in your start menu. If you are using the mobile app, tap on the app icon in your app menu. Although you are able to use any of the templates available, it might be easier to start with a blank design when making an invitation so that you can add all the features you require manually.
Add Text Boxes and Text
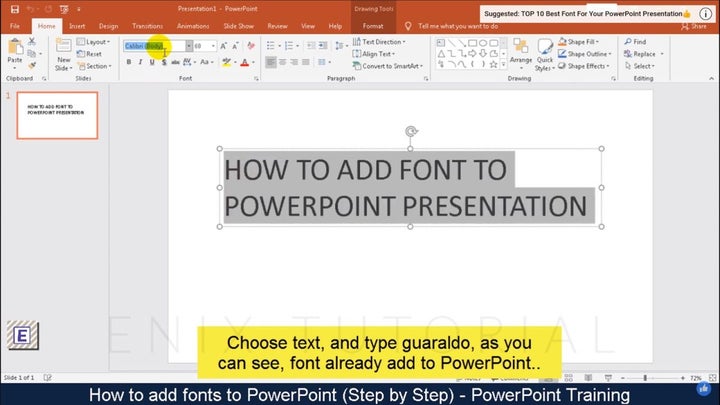
First thing first, add a few text boxes for the content of your information. A quick design tip is to use multiple text boxes to easily adjust text size, fonts, and layouts. We suggest using one box for the header, another one for the event or party details, and a final box for the conclusion.
Add Media and Details
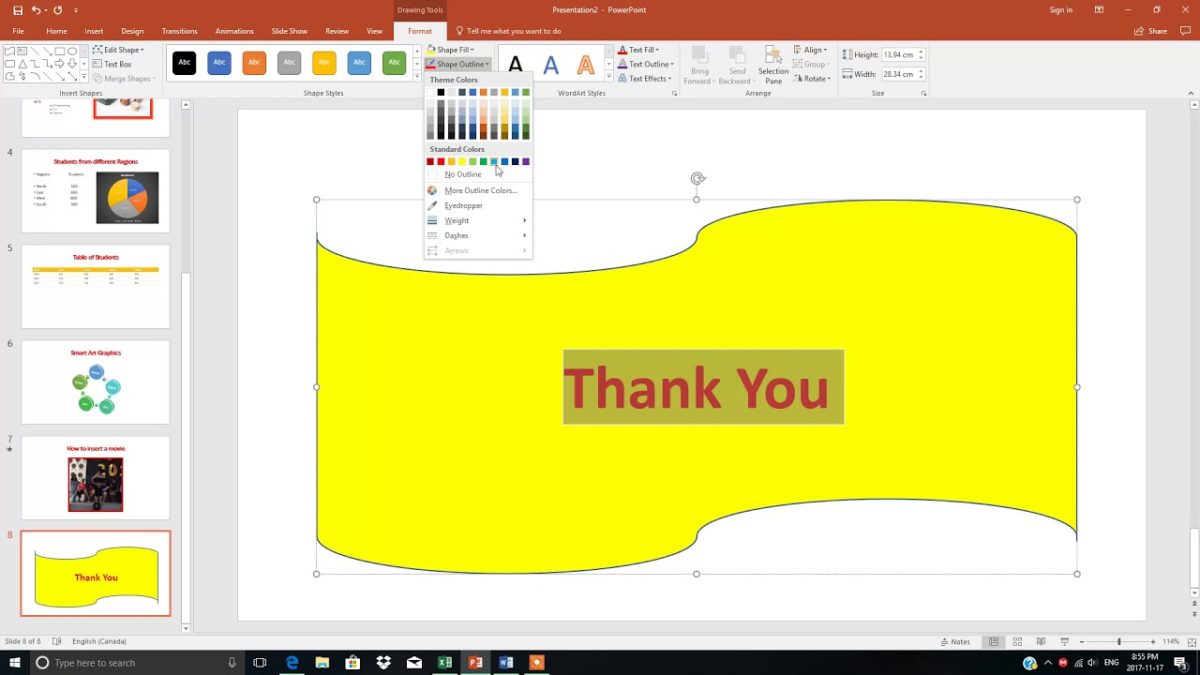
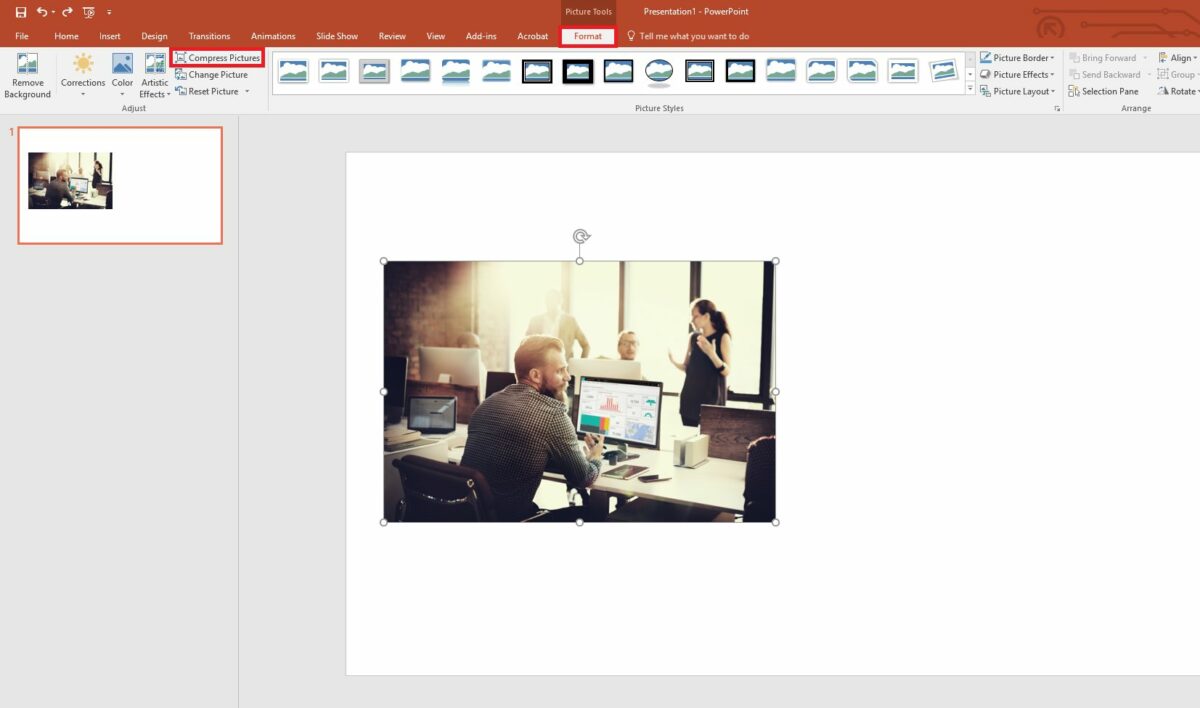
Now comes the fun part, adding the media. Now you start adding borders, backgrounds, and images to bring the invitation to life. Powerpoint has some images, but if your party has a specific theme, then you might need to download a few to use.
When downloading images, try to get ones with a transparent background if you plan to use a background on your invitation. If you don’t, the image might appear in a white box, which might ruin the effect.
Make Invitations Easily Using Powerpoint
Using Powerpoint to make invitations is easy and straightforward. You can even experiment with slideshow invitations to send digitally with WhatsApp or email, which works incredibly well in this digital age and creates more interest.
Cloud storage is getting increasingly more traction these days, so being computer-bound isn’t trendy anymore. While you might use and like Microsoft PowerPoint, sometimes you need to share the creation, collaborate on it online, make the same for different operating systems, or present in a setting where you can’t use hard drives.
This article talks about converting the PowerPoint file into a Google Slides document. We discuss two viable and slightly different options.
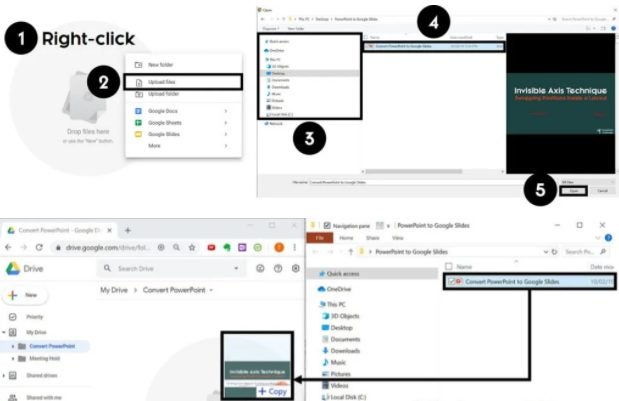
Upload the file to Google Drive
The first method is as straightforward as it can get. Follow the steps below to get the presentation running.
– Open Google Drive, find the relevant folder, and upload the original PowerPoint file
– Right-click it and navigate to Open with > Google Slides
– Go to File > Save as Google Slides
(Optional) Delete the initial upload to avoid confusion
From here, you can open the presentation, make adjustments, and have it on the cloud, accessible from everywhere.
Import slides
While the method above shows how to import and convert the whole document, the second one gives you more granular control of which pages to keep.
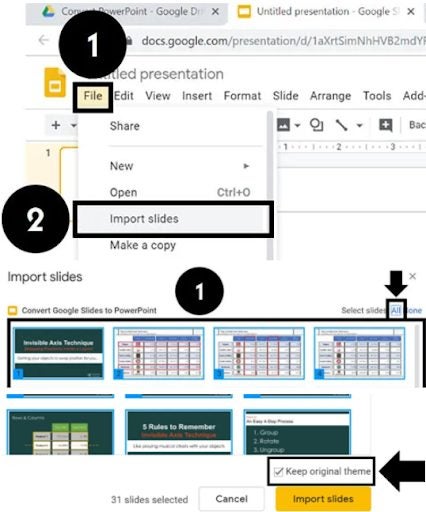
– Start an empty Google Slides file
– Go to File > Import slides
– Click Upload > Select a file from your device
– Browse presentation and click “Open”
– Select the individual pages
– Decide if you want to keep the original theme, and click “Import slides”
Delete the blank slide and make adjustments if needed
An alternative way is to choose an uploaded .PPT file from the “Presentations” tab in the “Import slides” window instead of uploading it from your computer. Next, you just need to take the rest of the steps as described above.
Your presentation might look different
Although the two programs do the same thing, for the most part, Google Slides has fewer transitions, fonts, and templates. Thus, the presentation’s intricate details might be lost in the conversion process. Still, you can ensure that you keep the best parts of your slides.
As we’ve mentioned before, simplicity is key to a successful presentation. You might not need too many elements to tell a memorable story, and the conversion might be an opportunity to simplify.
Microsoft PowerPoint is a truly powerful software with a massive amount of tools and features. Still, the crucial thing in a presentation goes beyond the tool functionality. It’s about the message, the audience, the design, and finally, the presenter.
Making effective presentations is a massive topic with intricate details. Still, we’ve decided to mention the three main aspects of a compelling speech with slides.
Present accurate and relevant information
The two key concepts about the topic and material are the accuracy and relevance of the concepts introduced. You need to ask two questions to get the base and tone of your presentation:
– Are you qualified to talk about the topic?
Who is your audience?
While the accuracy of the information is a no-brainer, its relevance is more challenging to get right. Even if you’re the best speaker and the most qualified person to talk about a topic, the audience is key to assembling fantastic slides that hit the mark.
Learn about who will be present and filter the information you have through their eyes. Fill the speech with exciting bits and pieces, entertaining anecdotes, and personal experience. In short, all .PPT presentations need to tell a cohesive and engaging story.
Keep the slides clutter-free
One of our pet peeves on PowerPoint slides (any slides, really!) is having long and unreadable text on a white background. Not only is it hard to read and comprehend, but it also has no visual value. While having detailed information in your report and presenting it to the audience in a relevant matter is critical, the information on the screen should be:
– Drastically decreased compared to blocks of text
– Put in bullet points
– Spread out into a few slides if possible
Text isn’t the only thing that can overpopulate or clutter the slide. Use fonts, design elements, animations, and pictures to help the eye find the information. Overengineered presentations rarely work. Keep it simple and easy to comprehend.
Put on the show of your life
Last but not least, you might be talking:
– About a topic that you master
– To the audience, you know perfectly well
With slides to conquer the world
You’ll still be unsuccessful in your endeavor if you ignore non-verbal communication.
Ensure that your body language doesn’t contradict what you state verbally. Plus, practice to make your posture, voice, and movements commanding yet friendly enough to keep the audience hooked.
Be clear
You might render it absurd to summarize a massive topic like presenting before the audience in just two short words, but it’s really that simple. Whether you’re considering the included information, the slide design, or what you speak, it’s possible to make any complicated topic easy to chew. Being clear takes time, but it’s worth it.
In some cases, like lectures or work meetings, you need to show idea relations and teach some complicated concepts to your audience.
Whether you prefer doodles on slides or annotations in your ready Microsoft PowerPoint presentation, today’s article will show you how.
Draw on the slides
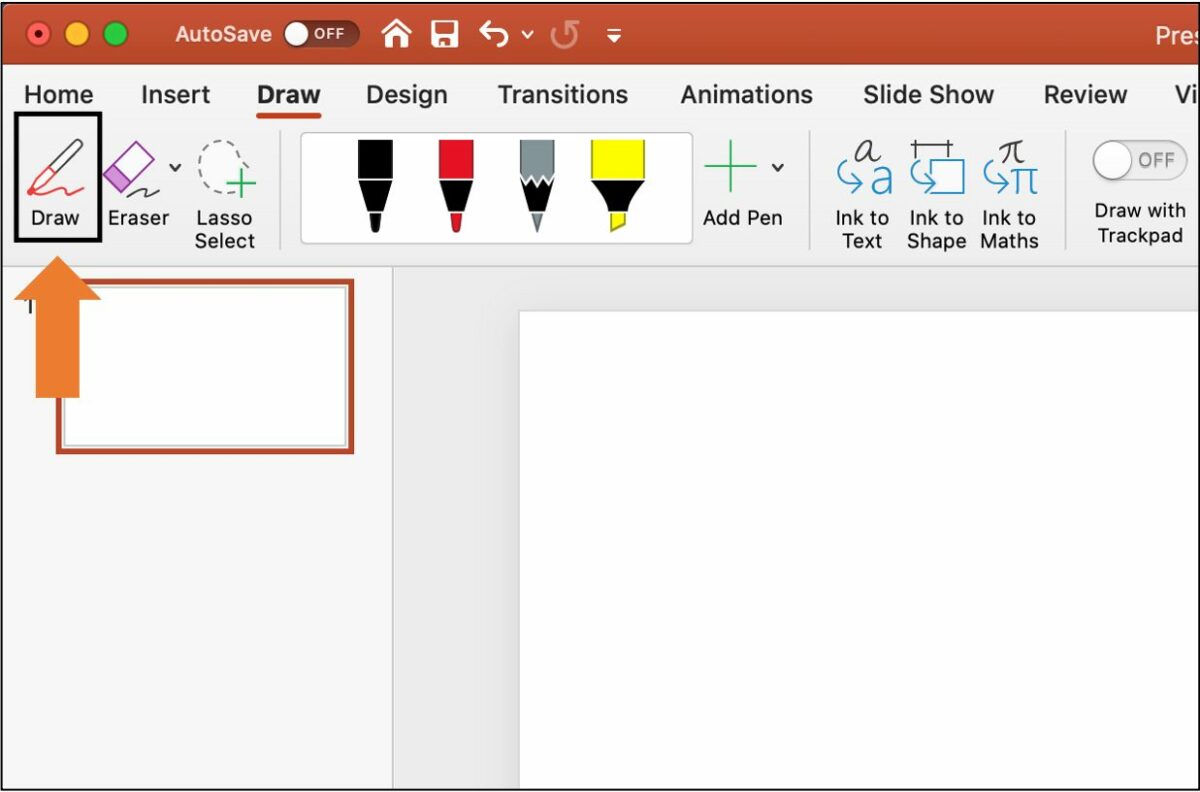
To draw on the slide itself, you need to use the main menu of the program. Open your document, set the page, and do the following sequence of steps:
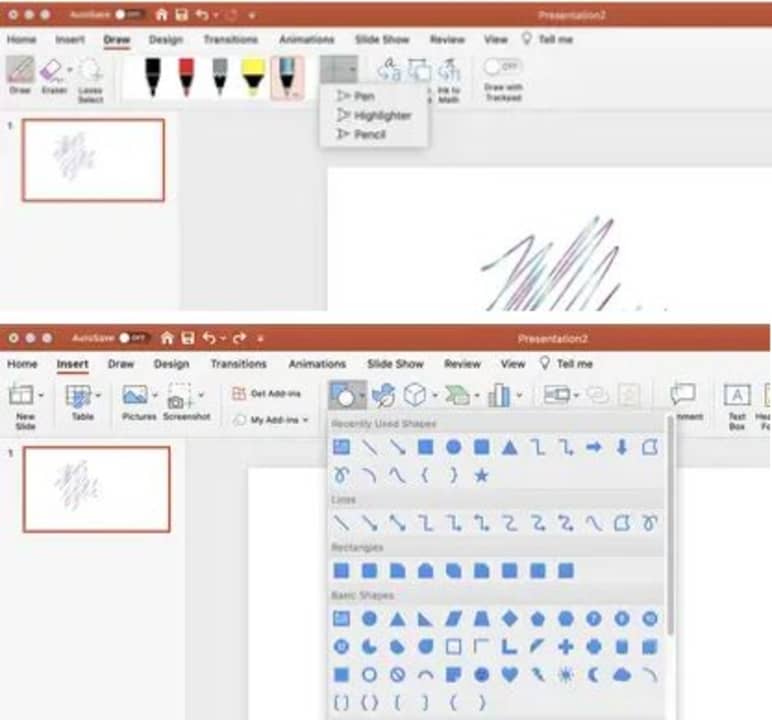
– Go to the “Draw” tab in the main menu and click “Draw”
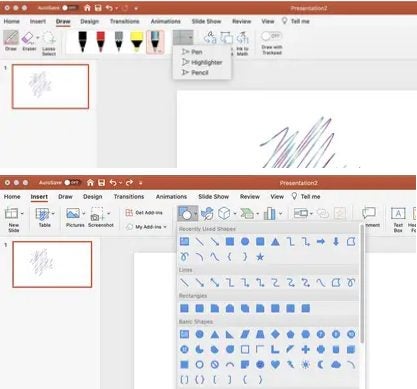
– Choose the preferred drawing tool (a pencil, a pen, or a highlighter)
– Set the ink color, size, or add effects (the last feature works on the “Pen” tool only)
(Optional) Add or remove the preset tools and colors
You can also erase the drawing using the “Eraser” on the top left. Or use the “Lasso” tool to select what to erase. Adding shapes and lines to your PowerPoint presentation is also possible. Navigate to Insert > Shapes.
Draw in the presenter view
Sometimes you need to draw during the presentation to make a point. Here’s how you can achieve that:
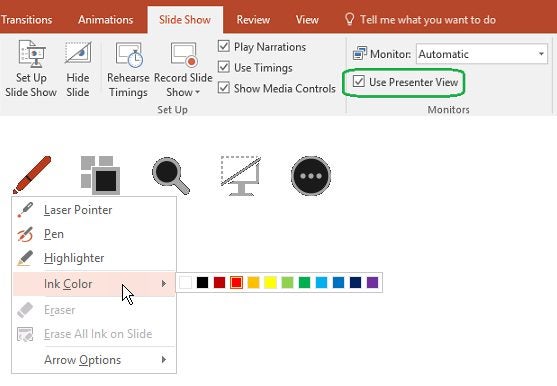
– Turn on the presenter view: Before you can draw on the presentation, put one together. Jump to the presenter view and find the toolbar.
– Click “Pen”: The latter contains a few useful buttons, including the next and previous slides, magnifying glass, and the “Screen” icon to dim the presentation and shift the focus to you. Find the pen icon among them. You can draw on any slide from here.
Change ink color and erase: Modifying the pen color for more visual control and erasing the annotations are among the options. After the presentation, you can keep or delete the drawings.
Which method will you take?
PowerPoint presentations don’t need to be boring. Whether you choose the first or second method to make your statement, you can still be memorable. Choose the best option for you, and nobody will be able to look away from your performance.
Almost everything we do happens in the digital space, whether for work, study, or entertainment. Even though we spend so much time online every day, we don’t always prioritize security the way we should. Trust, performance, and cost are all factors that make us shy away from overpromising and underperforming antivirus programs. With the launch of Avira Free Security, users may finally have the answer to their digital protection problems.
Avira is a well-known German cybersecurity software and VPN platform with over 30 years of experience in the industry. Avira Free Security is a free, high-performance application that provides industrial-grade protection.
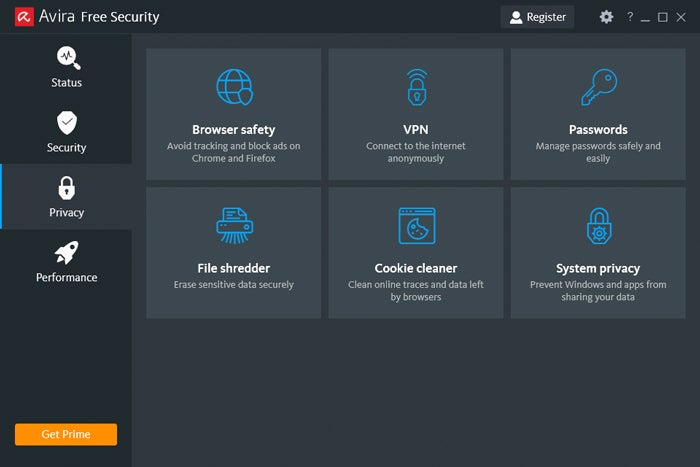
Why free? According to Avira, the app ensures that “no one needs to miss out on protecting their digital lives.” Online security isn’t the only feature on offer, either. The free software comes with over 15 different tools, including:
Antivirus scanner
Safe browsing protection
Ad blocker
Tracking blocker
VPN
Password management
Let’s take a closer look at what Avira Free Security can do for you – without a daunting price tag.
Avira works hard to earn its reputation as one of the best antivirus and threat protection software applications on the market. The app protects users from an average of 8.4 million malware attacks and 8.1 million phishing scams daily. Additionally, in consumer tests, Avira blocked 100% of threats.
With one click, Avira Free Security can:
Resolve security, privacy, and performance issues.
Protect users from identity theft, scams, and financial loss.
Allow users to browse safely with its free VPN.
Block malicious ads and trackers.
According to Alexander Vukcevic, Director Protection Labs & QA at Avira “We are living in an era where people are constantly exposed to malicious online activity, with an average 8.4 million daily malware attacks and 8.1 million phishing scams. With our new Free Security products, everyone around the world – including the less tech-savvy consumer – can make sure they are fully protected.”
Quick Installation, High Performance, and Easy-To-Use Dashboard
The need for top-quality, effective antivirus applications is higher than ever. However, providing security is no longer enough. Users want an intuitive, easy-to-use app that protects their privacy while providing excellent performance. Avira Free Security combines all these features into a single, optimized solution.
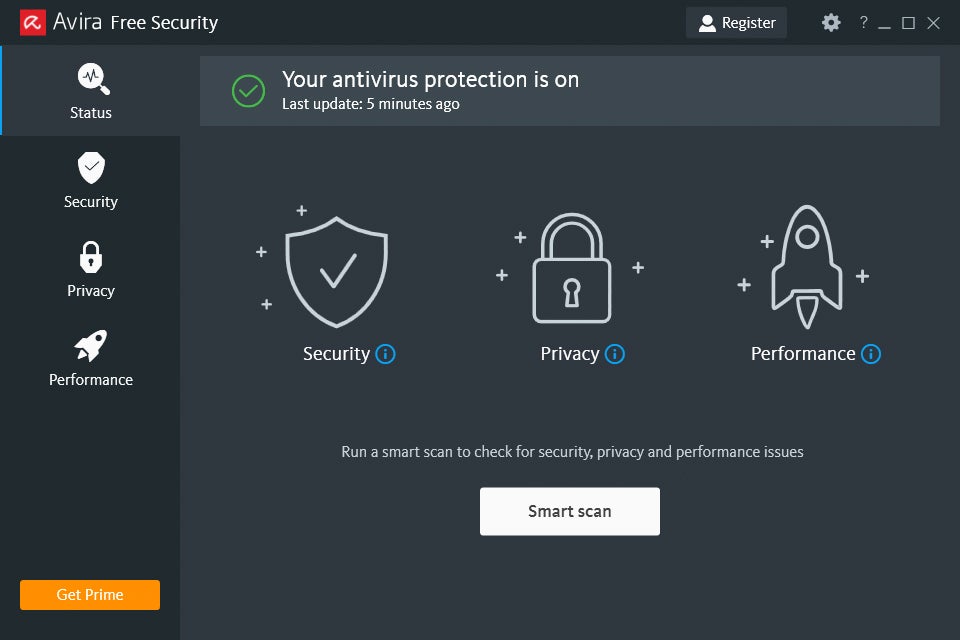
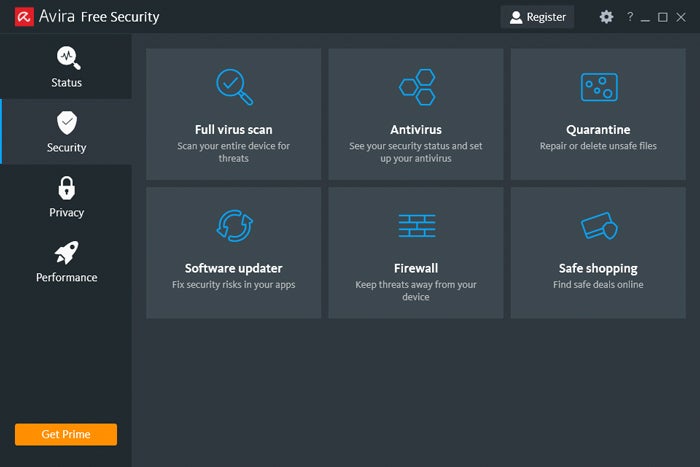
Using the app is a breeze. Once you’ve downloaded the installation file, it’ll guide you through the process in easy-to-follow steps. When you’ve finished installing Avira, the intuitive dashboard will appear, prompting you to start the Smart Scan process.
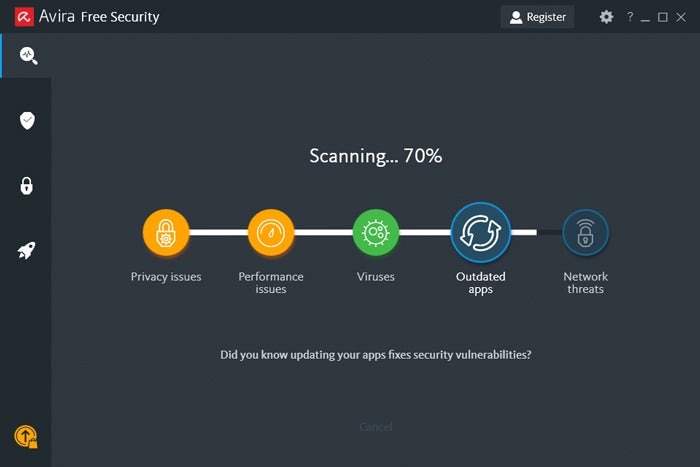
With one click, Avira Free Security will scan your device for any privacy or security threats. It also runs an optimization process that cleans up the device and boosts performance.
Free Protection on the Go With Avira Free Security for Mobile
Avira Free Security isn’t limited to desktop devices and laptops. You can get on-the-go protection for your Android and iOS devices with the free security app. The interface is optimized for mobile use and includes several of the same features as the desktop version, such as:
Smart Scan
Privacy Manager
Network Scanner
Antivirus
VPN
According to Travis Witteveen, Head of Avira, protection shouldn’t be a luxury but “a right that everyone can take into their own hands.” He goes on to say that Avira Free Security gives users better digital protection so that they can enjoy using their technology without worrying about security risks.
Conclusion
Avira Free Security gives everyone access to online protection with one click and no price tag. The intuitive interface, easy-to-use dashboard, and broad selection of included tools make it easy to keep yourself and your devices safe, whether you’re tech-savvy or not.
Now you can enjoy your online experience with top-notch protection with Avira.