How to Install Friday Night Funkin’s Full Week With Hatsune Miku in 3 Fast Steps

Friday Night Funkin’s goal is to help Boyfriend get a kiss from Girlfriend by impressing her father with his incredible musical talent. However, along the way, there come new enemies, that Boyfriend has to beat to reach his goal.

In the Hatsune Miku Full Week mod, we will meet the anime character Hatsune Miku, and she brings with her four new song challenges to beat. This modification is currently one of the most popular for the Friday Night Funkin base game. And what makes it even better is that it’s free!

How to Install Friday Night Funkin’s Full Week With Hatsune Miku

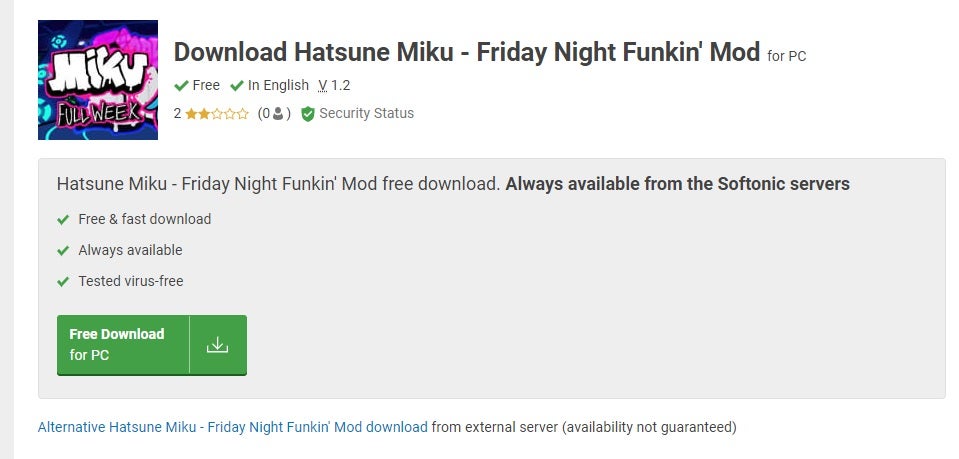
Step 1: Download Friday Night Funkin Hatsune Miku Mod

Download the Hatsune Miku mod from a reputable site. It is effortless to download, as you only click on the download button and wait while it downloads.
How to Install Friday Night Funkin’s Full Week With Hatsune Miku

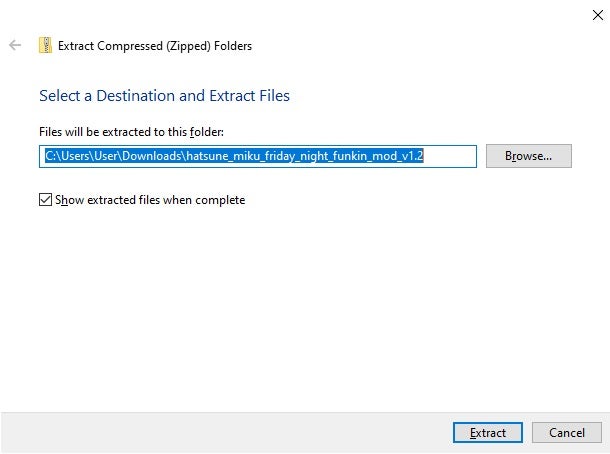
Step 2: Extract the Downloaded Mod File

Extract the downloaded files into your downloads folder. We will move them from here.
How to Install Friday Night Funkin’s Full Week With Hatsune Miku

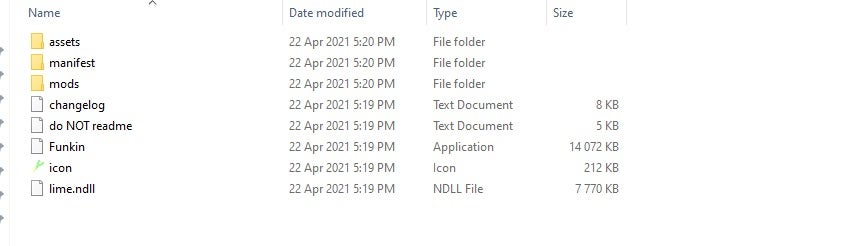
Step 3: Move Mod Files to the Root Folder

Move the mod files you just extracted to the root folder of Friday Night Funkin. The root folder is the one that contains the .exe file to launch the game. Once copied over, you can run the base game to install the mods.
Let the Music Set You Free

This mod is trendy and offers players some new music as well as new challenges. Why not give the entire week with Hatsune Miku a try and see how well you can do. Will Boyfriend finally get his kiss?

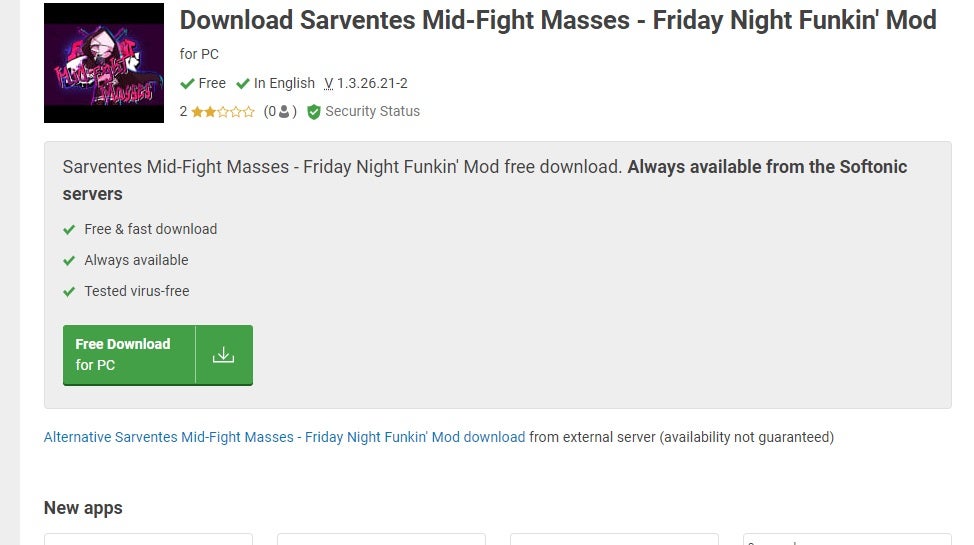
How to Install Friday Night Funkin’s Sarvente’s Mid-Fight Masses in 3 Easy Steps

So many gamers have been enjoying the casual Friday Night Funkin music title that’s gone viral. Of course, the church has taken note of your endeavors with a nun trying to get you to join them in the Sarvente’s Mid-Fight Masses mod. Can you stand up against her religious endeavors long enough to protect your love interest with Girlfriend? Let’s show you how to install Friday Night Funkin’s Sarvente’s Mid-Fight Masses so we can see just how brave you are.

How to Install Friday Night Funkin’s Sarvente’s Mid-Fight Masses

We should probably not have to tell you this, but we’re going to anyway. You won’t be able to install the Sarvente’s Mid-Fight Masses mod without the Friday Night Funkin game. We suggest you install that first if you want to take on the nun’s sinister intentions.

Step 1: Download the mod zip file

To begin, head to our Sarvente’s Mid-Fight Masses mod download page so that you can obtain a clean, reliable folder to enjoy the new add-on. Click on the green button to initiate the download, which will appear at the bottom of your browser. We recommend you open the file location before proceeding further.

How to Install Friday Night Funkin’s Sarvente's Mid-Fight Masses

Step 2: Extract the files

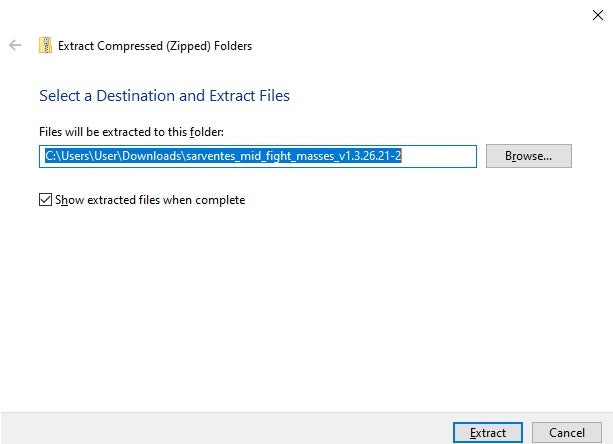
With the zip file in view, it’s time to extract the mod folder. You can extract it in any location, as we’ll be moving it to the right place shortly. All you need to do is right-click on it and tell your operating system to extract the files.

How to Install Friday Night Funkin’s Sarvente's Mid-Fight Masses

Step 3: Play the game

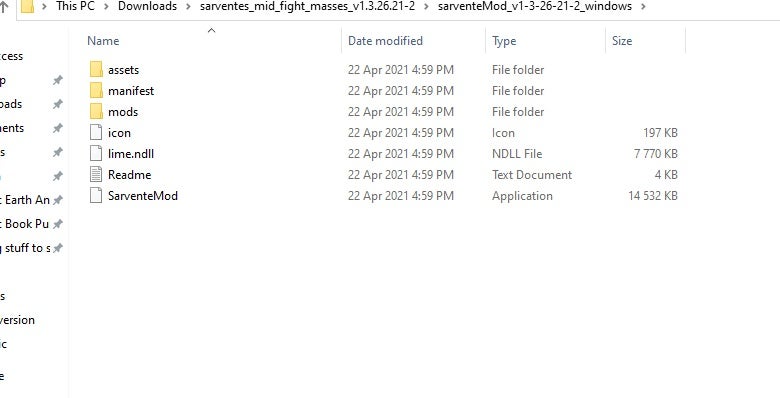
It’s almost time to play the new mod. With the extracted files at the ready, move them over to the mod section of your Friday Night Funkin game folder. When you play the game again, the nun will appear to challenge you.

How to Install Friday Night Funkin’s Sarvente's Mid-Fight Masses

Let’s go to Mass

Friday Night Funkin continues to grow as developers continue adding new characters to challenge. The Sarvente’s Mid-Fight Masses mod brings new humor to the game as the church gets involved, although this nun appears to be anything but spiritual.

How to Install Friday Night Funkin Vs. Sky Mod in 3 Easy Steps

Friday Night Funkin has become a popular music, button-bashing game over the last few months whereby you attempt to win the Girlfriend by singing against opponents. Enter Sky, your most beloved fan who wishes to steal your heart. In this guide, we’ll show you how to install the Friday Night Funkin Vs. Sky Mod and play against this character’s serenades.

How to Install Friday Night Funkin Vs. Sky Mod

Before you proceed, it’s essential that you have the Friday Night Funkin game installed. The mod only works as an add-on, so will be useless unless you already own the title. It’s also necessary for one of the steps indicated below.

Friday Night Funkin Free download
9

Step 1: Download the Vs. Sky Mod

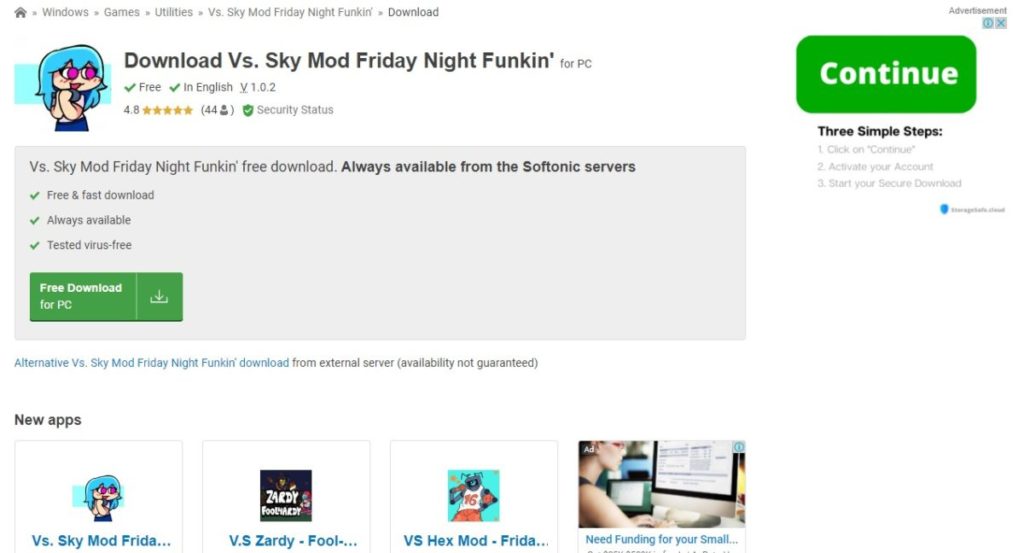
Head over to a reliable source for the Friday Night Funkin Vs. Sky Mod, such as our site that holds more details on the guide. When you select the download button, the zip folder will appear on the bottom of your web browser. As soon as it’s done, you can open the mod folder for the next step.

How to Install Friday Night Funkin Vs. Sky Mod

Step 2: Extract the files

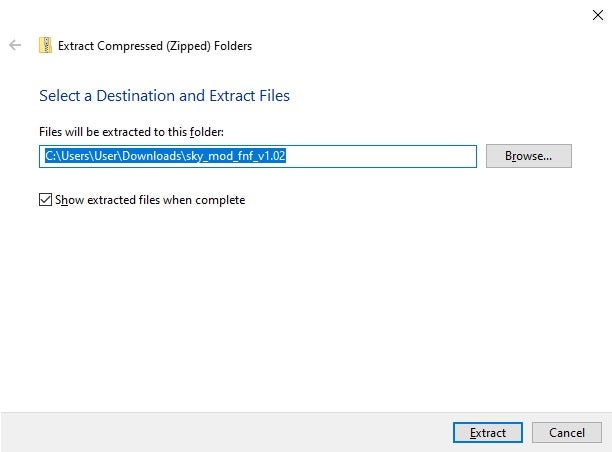
With the Vs. Sky Mod in the palm of your computer’s hands, it’s time to extract the files. Merely moving the folder to the correct location won’t help the game recognize it. Right click on the zip folder, tell it to extract, and watch all the files appear.

How to Install Friday Night Funkin Vs. Sky Mod

Step 3: Move mod files over

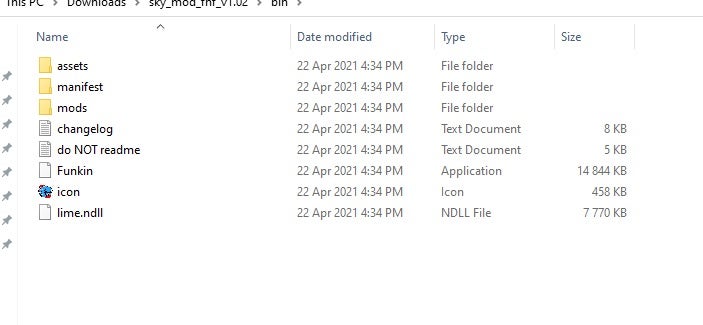
The final step entails moving the new folder over to the right place. Find the location of your Friday Night Funkin files and add the extracted files to the mods section. When you start the game again, you’ll be able to challenge Sky and protect the love of your life from yet another threat.

How to Install Friday Night Funkin Vs. Sky Mod

Battle against your greatest fan

No one said that love was easy. And now with the Friday Night Funkin Vs. Sky Mod, you need to sing against someone who wants your dearest affection while trying to maintain your relationship with Girlfriend. We wish you the best of luck!

How to Add Extensions to Chrome in 3 Fast Steps

Google Chrome has a fantastic feature for its web browser that we love using called extensions. You can add apps from the Chrome Web store as you please, giving you more functionality while you search the internet. Adding and removing extensions is as simple as pie, and today, we’re going to show you how to do the former.

How to Add Extensions to Chrome

Before we begin, it’s necessary for us to issue a warning. Extensions are developed by third parties for their programs or apps, and your computer is at risk from malware or other malicious content if you add a harmful one. Ensure that you read the customer reviews before you add any extension to Chrome.

Step 1: Find your extension

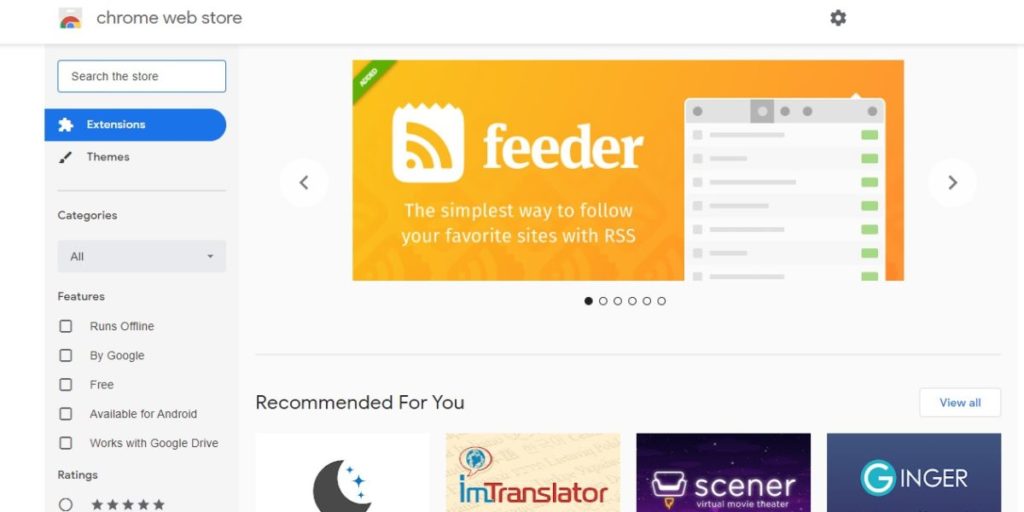
To start your journey, head to the Chrome Web store and find an extension you’d like to add. You can insert a name in the search bar, and the site will look for all related content. If you know exactly which app you want to add, it’ll make the process much easier.

How to Add Extensions to Chrome

Step 2: Add the extension

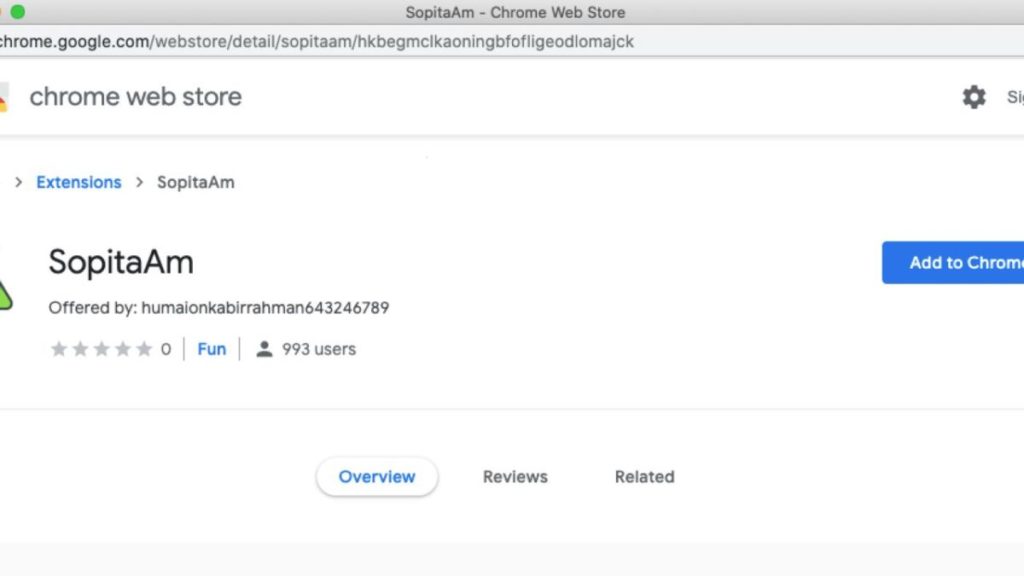
Once you’re happy with your selection, you can click on “Add to Chrome” to install it. It may take a few moments for the file to download and then install into the web browser, so practice some patience.

How to Add Extensions to Chrome

Step 3: Approve permissions

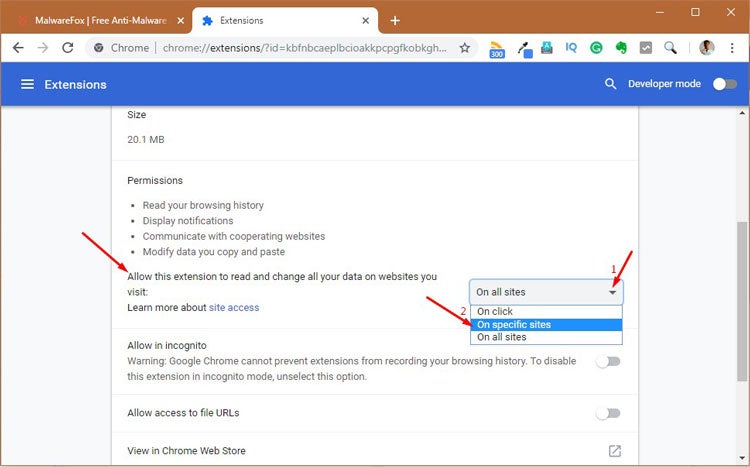
In some situations, you may need to provide Chrome or the app specific permissions. Read through these carefully to ensure that you aren’t allowing it access to your private data or letting it install harmful files. You should only approve it if you feel completely comfortable with what it will do once installed.

Extend Chrome’s functionality

It’s undeniable that Chrome extensions make your user experience much more pleasant. If you have a Grammarly account, you can install the app onto the web browser to check your spelling while you write your articles. You can also add a VPN if you want to watch online movies without any prying eyes checking your activity.

Save Time and Hassle: How to Remove a Section Break in Microsoft Word in 3 Fast Steps

Microsoft Word has this excellent Office document feature whereby you can add section breaks to separate areas for different formatting. However, there may come a time when you may want to remove the section break, especially if you want to tie the content together on a menu. You can either do so individually or delete an entire group. We’ve found both to be extremely handy.

Microsoft Word DOWNLOAD

How to Remove a Section Break in Microsoft Word

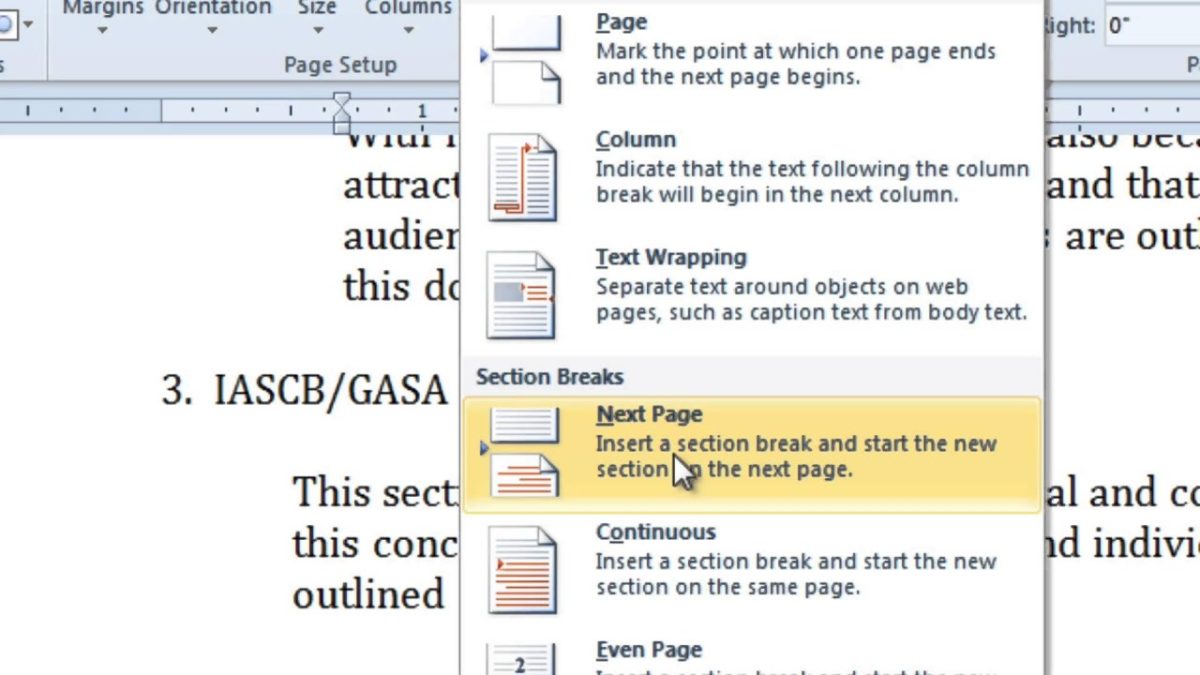
There are different types of section breaks available in Microsoft Word, but you can remove all of them using the same process. They’re hidden by default, so you’ll need to reveal them first before you can delete them. Here’s the entire process you can follow.

Step 1: Show section break

Firstly, let’s make those section breaks appear like magic before your eyes. Click on the Home tab before heading to the formatting icon by the Paragraph area. Once you select it, you’ll be able to see all the different paragraph markings.

How to Remove a Section Break in Microsoft Word

Step 2: Delete section break

Now, place your cursor just before the insertion point for the section break. When you press the delete button, it should disappear. You might need to press it more than once for it to take effect. The formatting of the one section will now replicate that of the other.

How to Remove a Section Break in Microsoft Word

Step 3: Mass delete section breaks

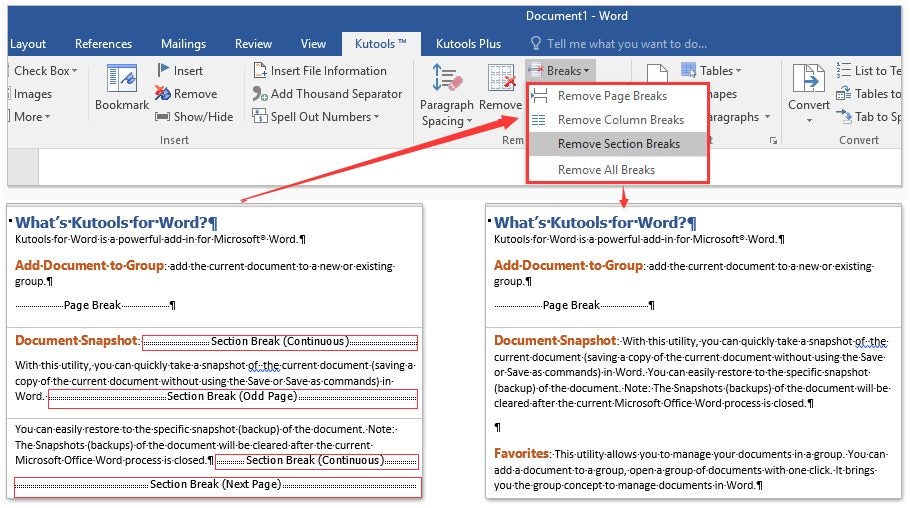
If you want to remove more than one section break in Microsoft Word, you’ll need to take a different approach. Select the entire area that needs to be changed. You can then head to the Breaks section in the menu, and select “Remove Section Break”. 

How to Remove a Section Break in Microsoft Word

It’s time to take a break…away

Now that you know how easy it is to remove a section break in Microsoft Word, you can start making the changes you need to get everything just the way you want it. It’s extremely effective if you’re working on a paperback or ebook novel, or working through company reports, as a few examples.

How to Install Friday Night Funkin Girlfriend Mod in 3 Fast Steps

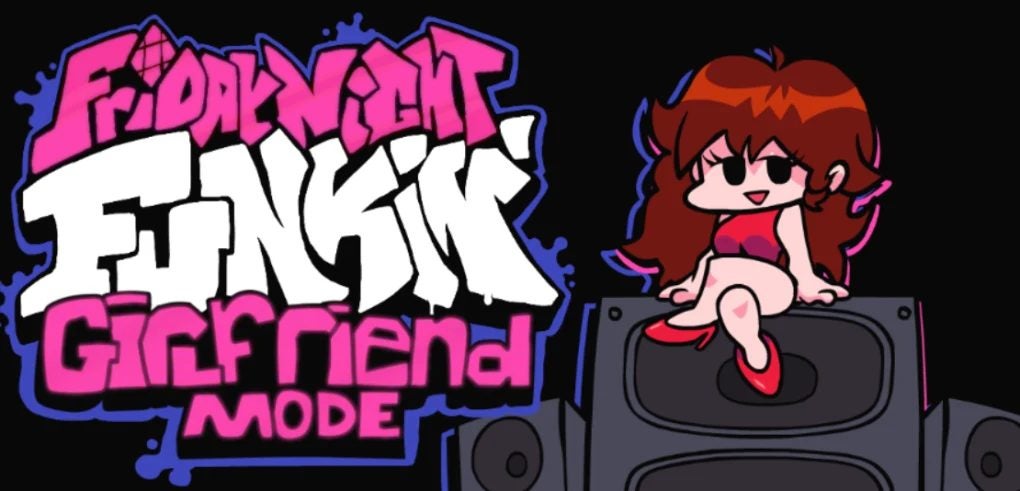
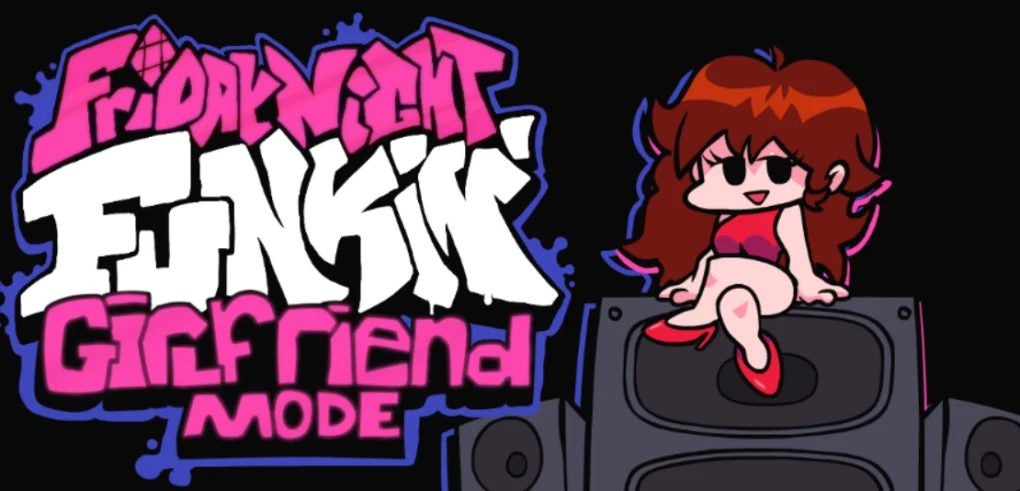
Since Friday Night Funkin is open-source, there are many fun and exciting mods that can enhance the game and bring new challenges to players that enjoy the music, beats, and gameplay of the original. A popular mod is the Girlfriend mod, a skin mod that allows you to change the gender of the main character to a female. This mod doesn’t, however, bring any added challenges to the base game.

Initially an in-browser game and still available online, there are downloadable versions available for Windows as well as on Mac. It is not yet available on mobile.

Steps to Install the Girlfriend Mod

Step 1: Download and Install Friday Night Funkin

You have to have the original version of Friday Night Funkin installed on your computer before you can install any additional mods.

How to Install Friday Night Funkin Girlfriend

Step 2: Download the Girlfriend Mod

Download the Girlfriend mod from a reputable source.

How to Install Friday Night Funkin Girlfriend

Step 3: Extract the Mod Files

Extract the files for the modification you have downloaded. You can extract it into your downloads folder first, as we will be moving it soon. Now, move the assets folder of your extracted mod to the root folder of Friday Night Funkin. The root folder is the one that contains the .exe file. You can do this by dragging and dropping or copy and pasting, whichever method you prefer.

Now, start the game and try the new mode!

How to Install Friday Night Funkin Girlfriend

A Simple Mode That Makes a Different

This is a simple mod that makes a big difference to your character as it enables you to change the gender. And as you can see, the steps to install the mod are equally easy.

How to Change Display Name on Roblox in 3 Easy Steps

In February 2021, the game developers released a feature allowing players to change their display names. This new feature, however, was misused by a lot of players and was quickly removed. However, Roblox has announced that they are testing this feature once more. So if you ever wanted to change your username, now is your chance

If you haven’t yet, make sure to get Roblox for your Windows PC or mobile device and start exploring.

How to Change Display Name on Roblox

Step 1: Log in to Roblox

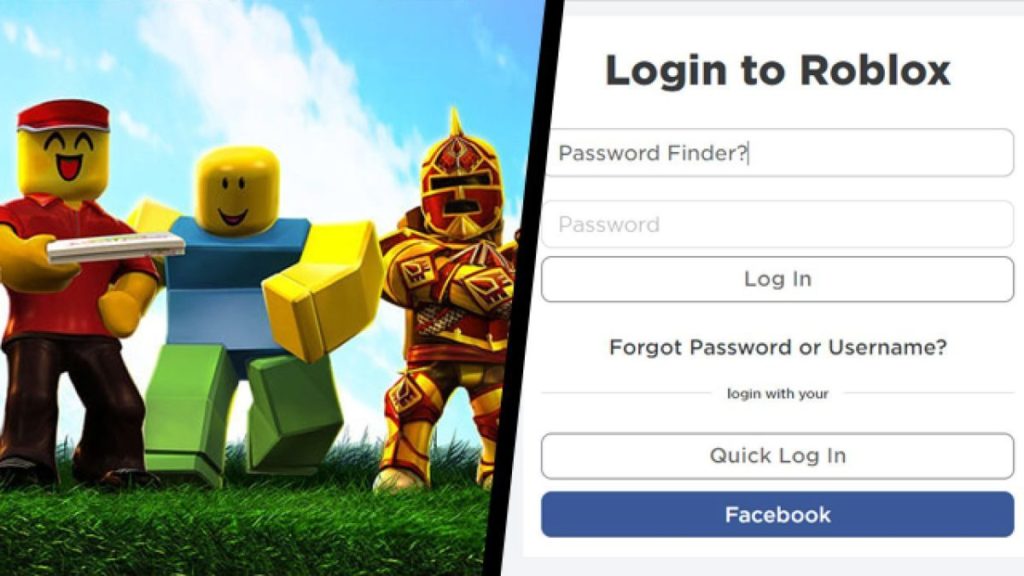
Log in to Roblox on your chosen device, either pc or mobile.

Roblox: Step 1: Log in to Roblox

Step 2: Click on the Gear or Settings Icon

Access your settings through the gear icon. On your mobile device, you will first need to tap on the three dots on the bottom right of your screen.

Roblox: Step 2: Click on the Gear or Settings Icon

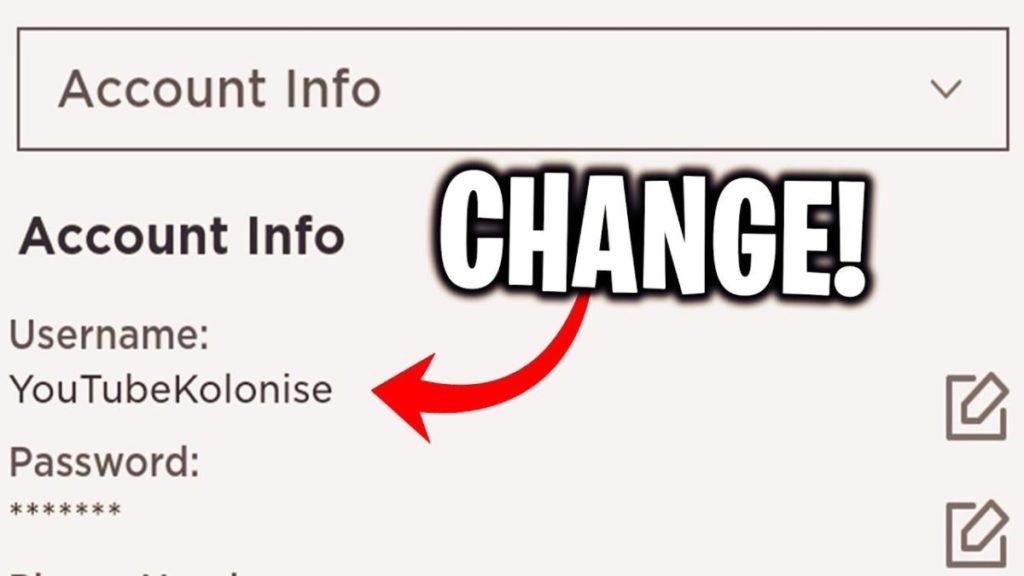
Step 3: Go to ‘Account Info’

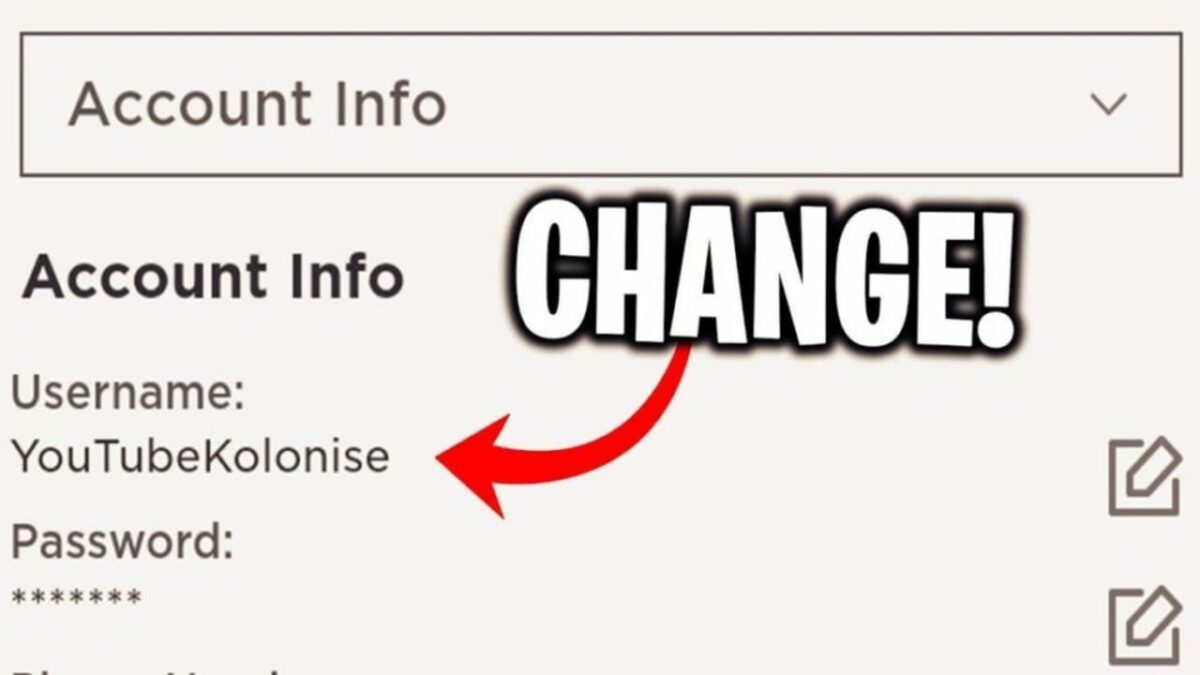
Click on ‘Account Info’ and change your username. Changing your display name is free and will not cost any Robux. 

A few important points to note are that you can only change your username for free once every seven days, and your new display name will be verified and approved by the Roblox filters before the change is finalized. Also, you will not be able to delete any of your usernames, and other players will still be able to see your previous names if they choose. If you do not set a display name, then your username will be displayed by default.

Roblox: Step 3: Go to ‘Account Info’

Change, Update, and Play

As you can see, changing your display name is an effortless procedure. As long as players use the feature responsibly and follow the rules, there is no reason why you cannot show some creativity and change your name in Roblox. If you need some help getting started with Roblox, we have you covered with this handy guide to the basics of Roblox.

How to Get Filters on Zoom in 3 Easy Steps

Filters allow users to have a bit of fun with their Zoom app and video conferencing on Windows, Mac as well as mobile devices such as phones and on tablets. There is only one filter on the computer that enables you to touch up or beautify your appearance, and if you want more options, you will need to download an app like Snap Camera for Windows and Mac. 

On the phone, these filters include one to touch up your appearance or a beauty filter, filters to alter your background, or even filters to change your face to other characters such as a cat. Let’s take a look at how you can apply these filters on Zoom.

How to Get Filters on Zoom

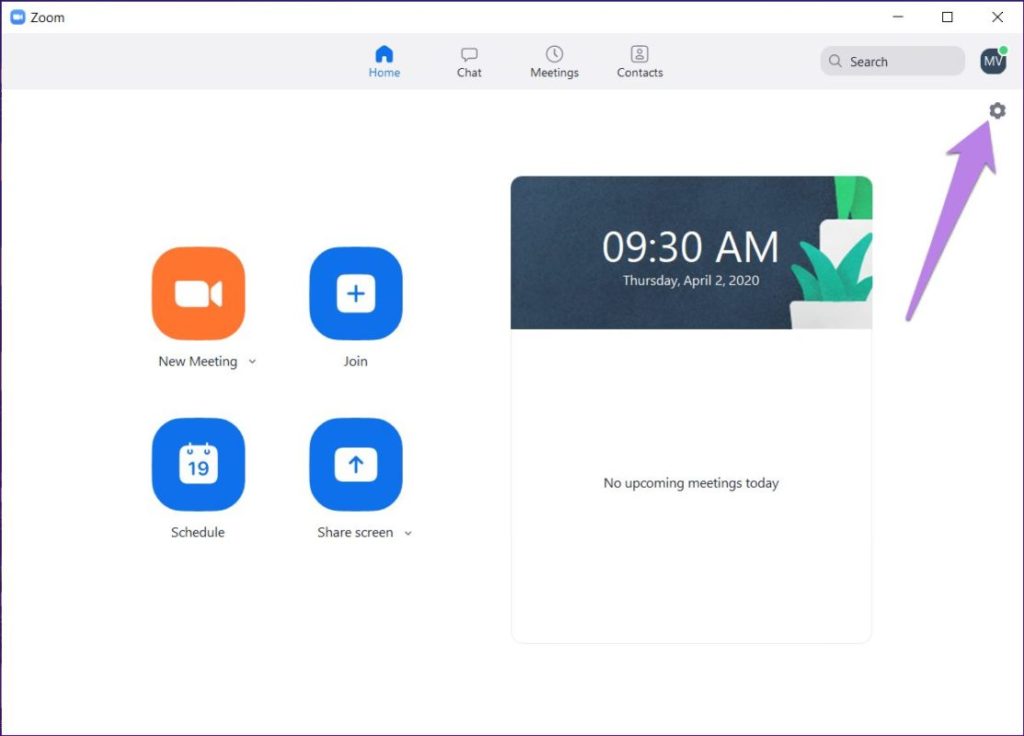
Step 1: Open Zoom settings

Open Zoom on your computer or mobile device and log in to your account. Go to settings by clicking on ‘settings’ or the gear icon.

How to Get Filters on Zoom

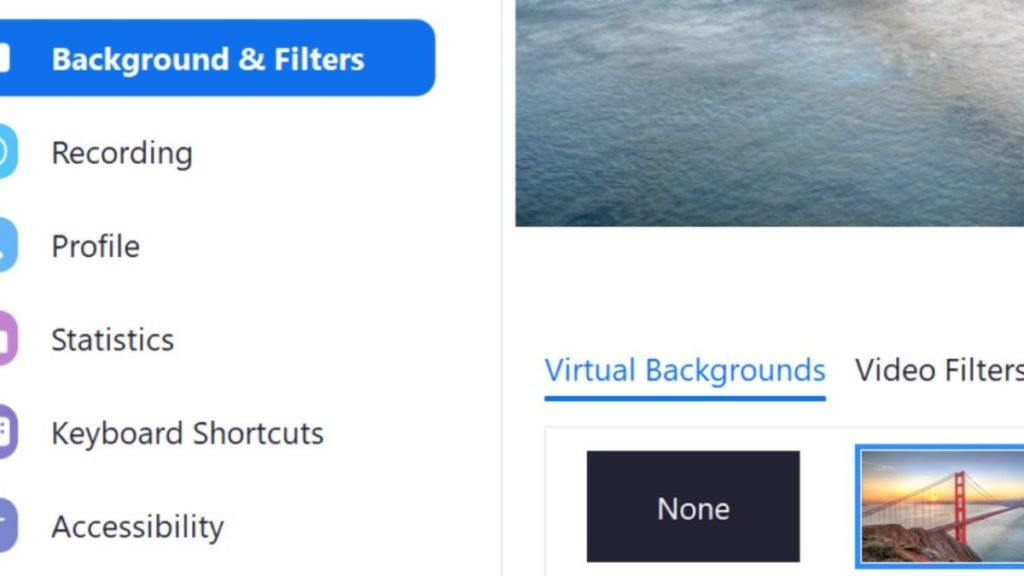
Step 2: Click on the ‘Backgrounds and Filter’ Tab

Once in settings, click or tap on the ‘Backgrounds and Settings’ tab.

How to Get Filters on Zoom

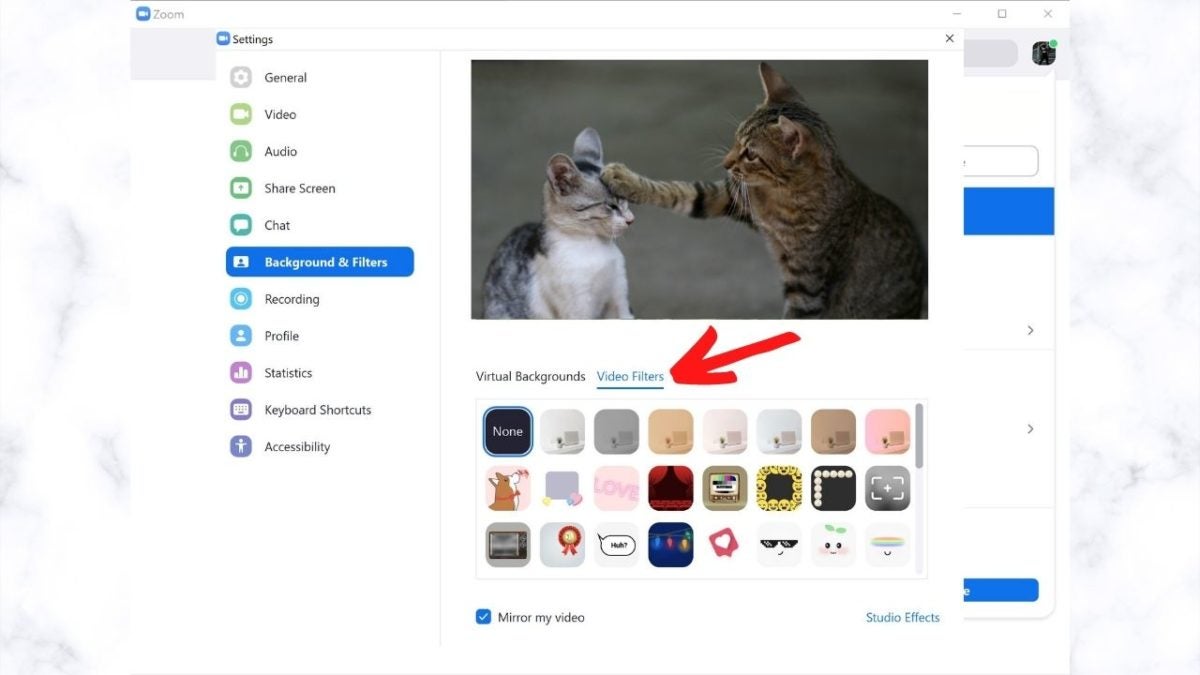
Step 3: Click on ‘Video Filters’

Next, click on the ‘Video Filter’ tab to see the different filter options you have available, including the cat face and beauty filter. Choose which filter you would like to use from the list of available ones.

If you struggle getting filters on Zoom, make sure that you have the latest version of Zoom installed on your device.

How to Get Filters on Zoom

Get Creative

Just because you are using video conferencing software, that doesn’t mean you have to be boring. Filters allow you to bring in some fun and creativity to your meeting, classes, or family chats. If you would like to learn more about using Zoom, we have a great guide on some of Zoom users’ best tips and tricks.

Google Photos Announces New Offline Content Mode

Google Photos Now Lets You Add New Content While Offline

Android Police has discovered an interesting update for Google Photos whereby you can add new images and videos to your album while you’re offline. As with most of these mobile apps, you can only upload new content while online. For example, Facebook and Instagram won’t give you access to put new media on your profile if you have no internet connection.

With the new Google Photos update, you can freely add as much content as you want. As soon as you have your internet connection back online, the app will synchronize the image and videos to your profile without your intervention. It applies to both existing and new albums, which means you can also sort your files while offline.

Many users have indicated that they’ve already seen the update live on their devices. The developer has slowly been rolling it out in stages, so don’t be alarmed if you don’t see the feature yet. You’ll receive a notification from the app as soon as it’s available for you.

Google Photos Announces New Offline Content Mode

WhatsApp to Implement New Update Soon

New WhatsApp Features Are Coming to Android and iOS Devices

WhatsApp has been beta testing some new features that will be launching on Android and iOS shortly. We’ve counted at least five functions coming your way, assuming that the development and feedback go well. You may recognize them in other messaging applications, but that’s because WhatsApp is doing all it can to retain the current users.

The first highlight is Disappearing Mode, where you can set how long messages will remain in your chats and groups before they automatically vanish. This tool will save you the effort of doing so yourself when you want to clear some storage space. 

You can also enable ViewOnce Mode. When you send photos and videos, the receiver will only be able to see the content once before it vanishes. However, nothing stops them from taking screenshots.

WhatsApp to Implement New Update Soon

WhatsApp will let you review your voice messages before sending them, which will save some users lots of embarrassment. There’ll also be an archive update so that you no longer see archived messages when you receive a new chat from the relevant contact. Some things are better left forgotten.

Of course, the most significant feature will be multi-platform support. You can be connected to up to four devices simultaneously, even if the primary device has no internet connection. We’re not sure yet when these updates will go live, but they’re a move in the right direction.