How to set up a poll on Facebook

It’s simple to create a poll on Facebook. Just follow these easy steps!

Facebook has a relatively under-utilized feature where users can create surveys and polls for their friends to answer. It’s useful for quick feedback on a decision, or more importantly when you’re trying to plan or schedule events within a group.

Facebook has two methods for sharing polls – one that’s quick and easy but doesn’t have many customizing options, and another that requires slightly more digging and time, but will make your poll altogether better. Let’s get right into it.

Facebook Free Download
8

How to set up a poll on Facebook

1. Make a poll directly from your news feed

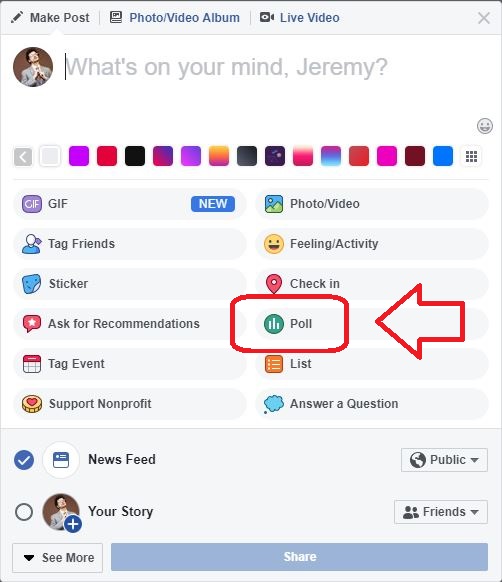
This method is the more straightforward of the two, and allows for you to quickly poll your entire pool of Facebook friends. Open up your Facebook News Feed and up top where you’d normally make a post, click the ellipsis.

Click Here For Options

You’ll see a bunch of options like tagging events, answering questions, or asking recommendations. On the right is a Poll option. Click it.

Create Poll On News Feed

Up top, you can ask your question, and put two options below for people to click on. Unfortunately, you’ll only have those two choices, so this might not be good for you if your question has more than two possible answers. You do get to choose your poll’s duration, though. Choose any length of time between one day to never.

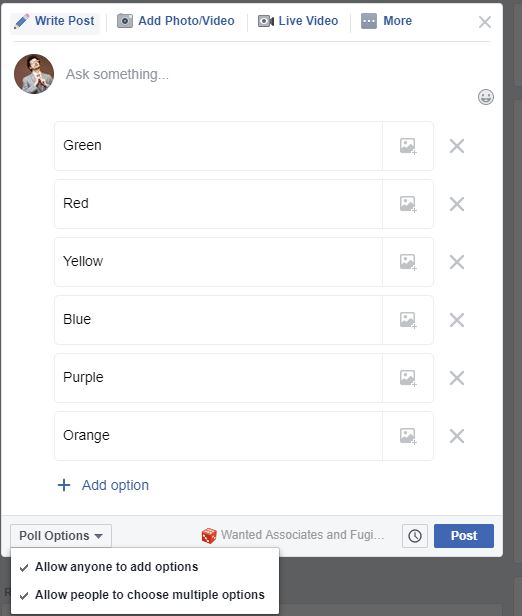
Funny enough, you’re able to set many more options if you set up a poll on a Facebook Group Page. Open the group in question, then just click the ellipsis like before and select Poll. Pose your question and this time notice that you can choose to Add Option, providing more choices.

Add Options In FB Group

2. Make a poll through the Poll App

This method takes a little longer, but we find it to be the better choice more often than not. Facebook’s poll app allows for tons of optional responses, added instructions, multiple configurations, and even embedding video or pictures.

Polls For Facebook

Go to this link and click New Poll. Right away you can title your poll and explain what it’s going to be about in the Introduction blurb. You can additionally click on Advanced Options to customize how many times people can answer polls, public accessibility, notifications, and start/end times for your poll.

Write Intro Blurb

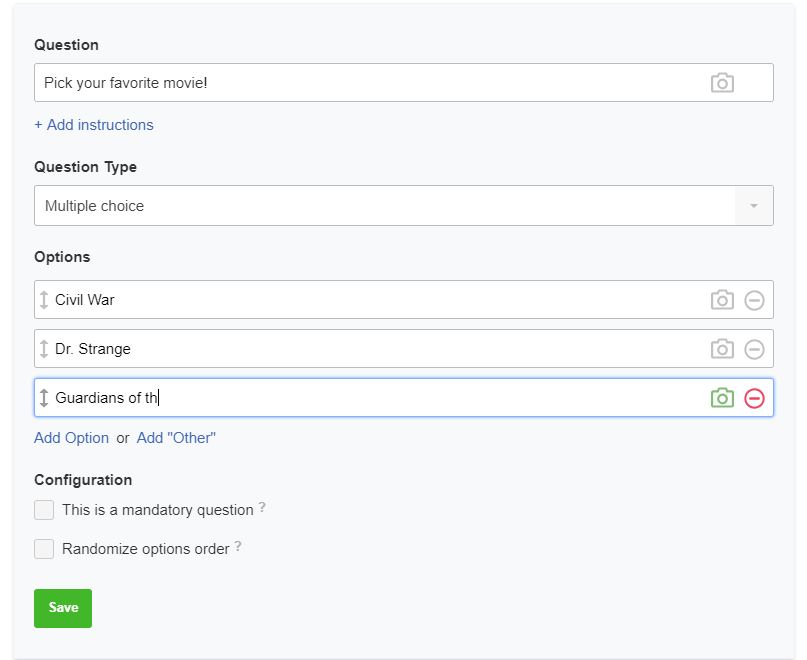
The next page lets you add the actual choices for people to pick, and you can add as many options as you wish, unlike back on the News Feed where you could only pick two. This is the main reason we prefer the Poll App. Next, you’ll be taken to a preview screen where you’ll be able to see how it’ll look once people click the link. Once you’re happy with it, click Submit.

Set Up Your Poll Responses

Select Post on Facebook and it’ll be posted just like anything else you’d normally write, and it will appear on everyone’s News Feed. It’ll look something like this:

Poll Appears in News Feed

If you find yourself making polls pretty frequently, you might also consider upgrading Facebook Poll to the premium version, which comes with a variety of added features:

Premium Options

Be sure to check back frequently to see how your poll is doing, and don’t forget to tally up your votes to share the results after it’s complete.

How to hide hashtags on Instagram

Wish you could hide all those hashtags in your Instagram post? It’s easy and we’ll show you how.

Instagram photos can look a little cluttered when the description is covered with hashtags. But those hashtags are what get your image seen by a bigger audience. In order to avoid this clutter, but still be seen, the best thing to do is to hide these hashtags under a “see more”.

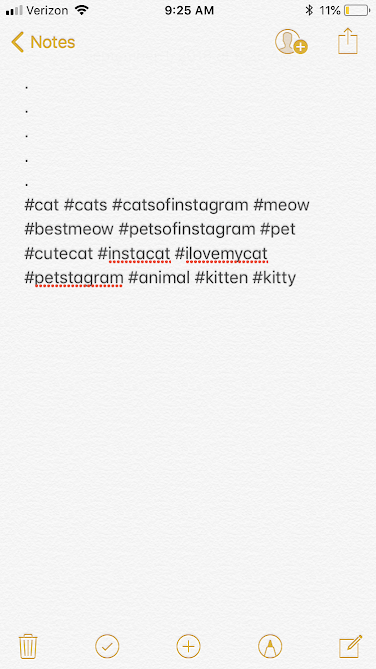
The process for hiding these hashtags is actually much simpler than you might expect. All you have to do is have 5 line breaks with a dot in each one.

Here’s an example:

Instagram

When you have the line breaks like this, the hashtags will be hidden like so:

Instagram

Many people will put these in a note-taking app first, and then copy and paste them over to their Instagram post. This can be particularly useful if you have a themed Instagram, and are frequently using the same hashtags!

Notes

So there you have it! Enjoy a less cluttered post that gets more views!


34 Windows 10 keyboard shortcuts

Ready to master Windows 10? We’ve got 34 keyboard shortcuts to help you work faster.

Working on a PC is all about efficiency and time management. If there’s a way to speed up the process, then we do it. Windows 10 comes with a ton of features to help users more quickly and conveniently organize and utilize the various tasks and performances that you’ll be doing on your computer, and shortcut commands help to make things even faster.

Windows 10 Download
7

If you’re a Windows 10 user, you may have even triggered one of the following commands by complete accident. That’s because while almost anything can be done on this OS, they don’t go out of there way to teach or share how these shortcuts work. Below is our list of 34 useful shortcut commands that can save you a ton of time and make all your work that much more efficient. We’ll get to more niche ones towards the bottom, but we’re starting off with the basics.

34 Windows 10 keyboard shortcuts

1. Switch windows: Alt+Tab, Alt+Shift+Tab

This command switches between your open windows. Alt+Tab will bring you back and forth between two windows, while Alt+Shift+Tab will send you back one window, kind of like a “previous” option. Alternately, you can continue to hold Alt after pressing Tab in order to get an overview of all your windows. This is especially helpful when you’re multi-tasking, or when you want to close a window.

2. Task Manager/Sign-out options: Ctrl+Alt+Delete
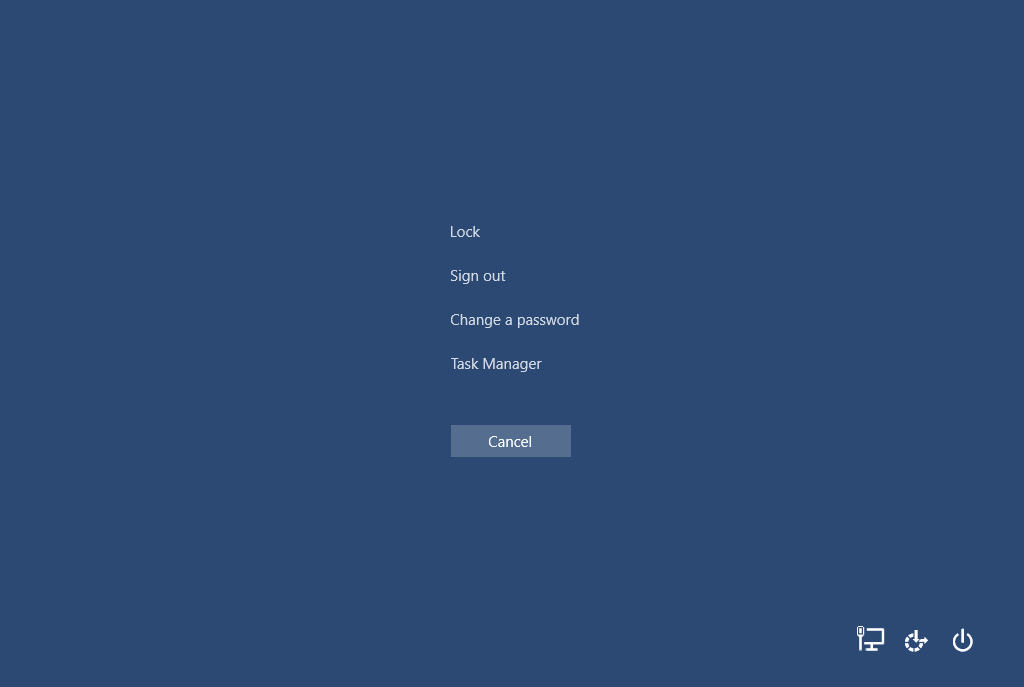
Ctrl alt delete screen

At any given time, during any given operation pressing Ctrl+Alt+Delete will interrupt with the above image. From here you can pick any of the options it says, including signing out, switching users, changing your password, locking the screen, but is mostly used to call upon the almighty Task Manager.
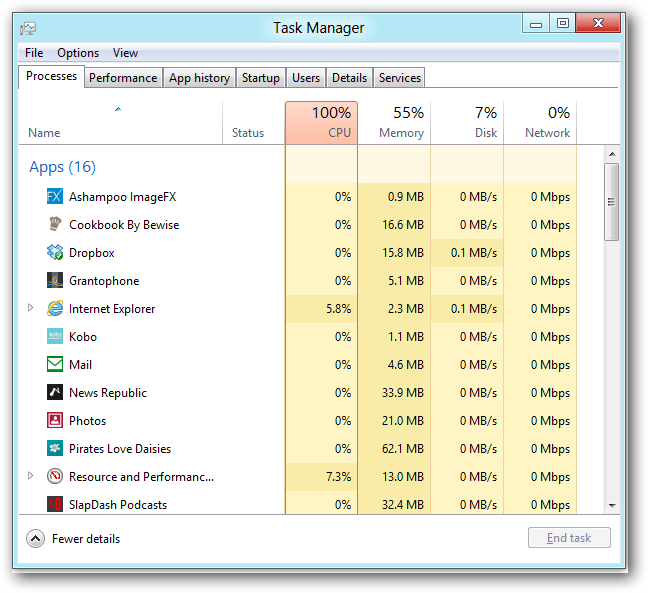
Task Manager

This is an excellent way to regain control of your PC if it’s bogged down with too many processes, and to just generally check on what it’s working on. There are other ways to open the Task Manager (such as Ctrl+Shift+Esc), but this one is better at halting processes and is used as a general “panic button.”

3. Close your current window: Alt+F4

Any time you’ve got a window open that you want to close Alt+F4 can do it for you. This is a useful option if you’re trying to navigate quickly, can’t find the close button in any given program, or if you’re unsure how to close a specific window.

4. Refresh: F5

This one works on your desktop, in your File Explorer, or in a web browser like Opera or Chrome. Since each of these has the refresh button in different places, F5 is a good catch-all. Refreshing the icons on your desktop can also be a good way to eliminate weird visual bugs with your shortcut icons – an infamous one being where all the arrow icons turn into green check marks.

5. Super delete: Shift+Delete

When you pick a file, folder, or shortcut to delete and you do so by dragging it to the Recycle Bin or pressing the Delete key, you’re sending it to the purgatory of the Recycle Bin. Until you go in the bin itself and manually empty it, that program will still be there, taking up RAM and storage space.
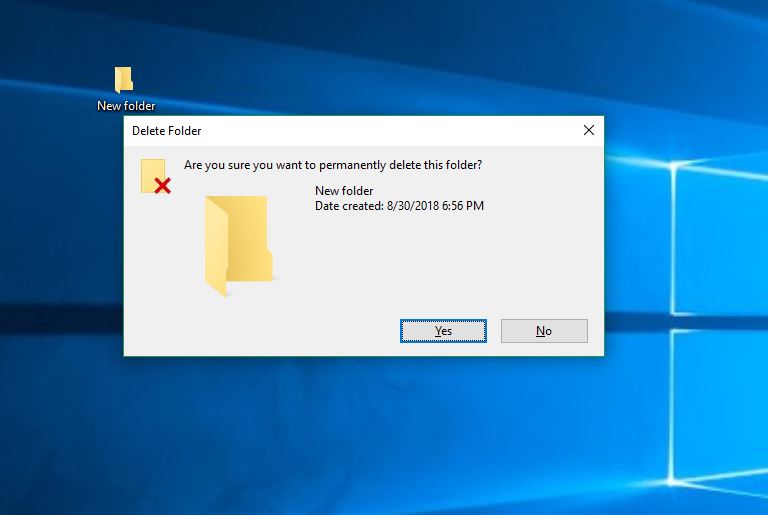
Delete Forever

If you’re looking at a file you know you’re never going to miss, you can select it and Shift+Delete. This will permanently remove the file or shortcut in question, skipping the Recycle step. It’s gone for good. Well, almost.

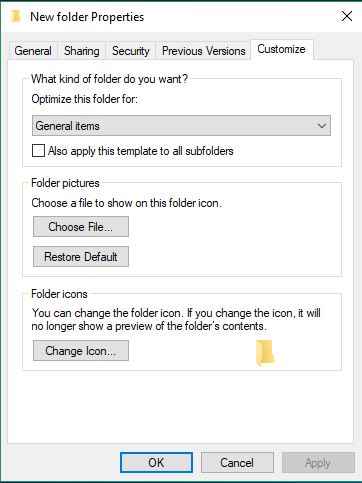
6. See properties: Alt+Enter
Properties

Useful if you want to quickly check the properties of an object, you can Alt+Enter when you have the file selected to see them. This will tell you useful info like when it was created, how large it is, the file’s location in your File Explorer, and additionally lets you customize pertinent sharing and security information.

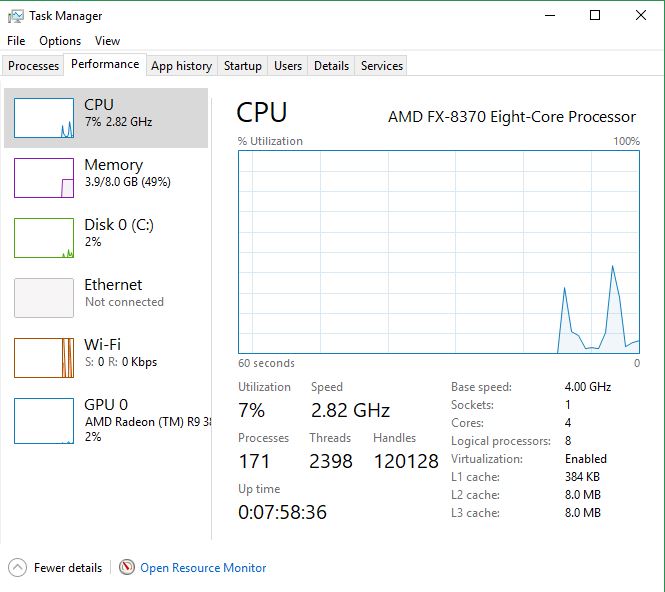
7. Open Task Manager: Ctrl+Shift+Esc
Task Manager

Most people know you can access the Task Manager via Ctrl+Alt+Delete, but Ctrl+Alt+Delete will take you to an additional screen (mentioned above) before you manually have to select it. If you just want to go straight to Task Manager, use Ctrl+Shift+Esc.

8. Open window menus: Alt+Space Bar

This one’s pretty useful when you’re trying to navigate a specific program. Alt+Space Bar works as a catch-all for when you want to quickly access common features in a program’s toolbar. Alt+Space Bar will open the leftmost tab (usually File), and then you can use the arrow keys to quickly navigate between them.

9. Help: F1

F1 is universally linked to tech help in every program, including the base Windows 10. Click it in any browser or even software like Microsoft Word or MS Office to start troubleshooting and accessing FAQs.

10. Open File Explorer: Win+E

Our favorite shortcut on this list, you can use Win+E to quickly open up your File Explorer, where all your various programs, documents, programs, and media are stored. This one saves a bunch of time when looking for paths, locating files, and quickly dragging and dropping images.

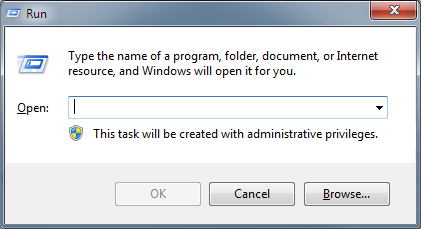
11. Run program: Win+R
RunOption

This one’s useful when you’re looking to quickly open any of your folders or programs like Command Prompt, Documents, or Notepad. Just hit Win+R and type what you want to open and it’ll appear on-screen instantly. It’s especially useful for programs or documents that you don’t currently have shortcuts for, or for opening notepad or calculator to quickly jot something down.

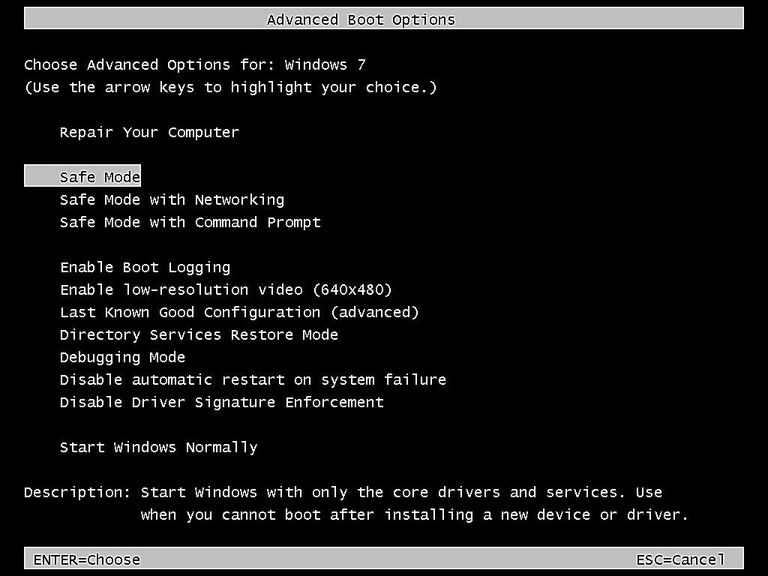
12. Start in Safe Mode: Press F8 during start-up

Should things go wrong with your computer (and they inevitably will), a super useful tool for debugging and troubleshooting is Safe Mode. If you’re unfamiliar with what Safe Mode does, it means that only essential system programs and services will start up at boot. The rest will need to be manually selected. For such a small change, you’d be surprised how often it fixes most, if not all problems within an operating system. It’s also an effective means of eliminating rogue security software.
Open With Safe Mode

You can manually select to restart your PC in safe mode via the shutdown options, but you can also make that decision upon booting up your PC. Repeatedly pressing F8 while your PC is booting up will give you a menu from which you can select to start in Safe Mode.

13. Rename a file: F2

Rename Folder

If you want to quickly rename a file, folder, or shortcut, an easy way is to select it and press F2. Sure you can right-click and click Rename, but our way is faster!

14. Open the Desktop tab of your File Explorer: Ctrl+N

This effectively does the same thing as Win+E, but with the added bonus of taking you straight to the Desktop folder.

If you’re like us and do much of your work (extracting and moving files, managing downloads and shortcuts, or creating new folders) on your Desktop, this is a surprisingly useful shortcut. It’ll allow you to quickly jump between your workspace and your catalog.

15. Open notifications window: Win+A

Windows 10 comes with a hidden notifications banner on the right of the screen that will occasionally alert to you pertinent call-outs or events such as recorded clips, blocked attacks, or defense scan updates.
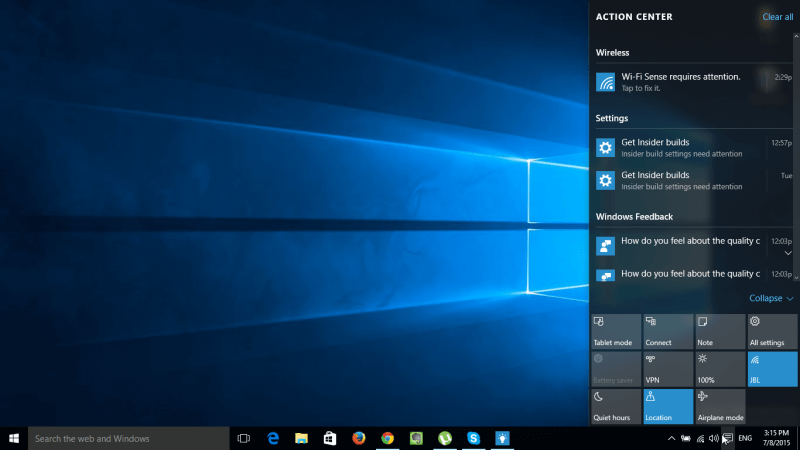
Action Center

Hitting the Windows Key+A will open up your notifications so you can scroll through anything important.

16. Open search portal: Win+S

A super useful shortcut, Win+S will open up your quick-navigation portal. Type in literally any program, folder, document, or file that you have on your PC and it’ll bring it up.

17. Peek at desktop: Win+,

We were surprised by how much use we got out of this one. Whether to look at shortcuts, keep track of moving files, or look at toolbar settings like volume, date, or time, Win+(comma) lets you peek at your desktop without closing out of any of your current windows.

18. Go to Desktop: Win+D

Similar to our above tip, but Win+D fully takes you to your desktop; it’s not just a peek. This is great if you use your desktop to do much of your file moving and extracting work. Hitting Win+D a second time will take you right back to the window you were working in.

19. Minimize all open windows: Win+M

Similar to our above command, this shortcut will tuck away all your active windows without shutting them down, bringing you straight to the desktop. The difference with this is that it’s not a matter of flipping back between all windows and none – rather Win+M minimizes everything, letting you start from scratch, opening the windows you want at your most convenient order.

20. Restore all minimized windows: Key+Shift+M

If you use Win+M and DO decide you want to bring all the windows back, it’s as simple as hitting Win+Shift+M.

21. Open Settings: Win+I
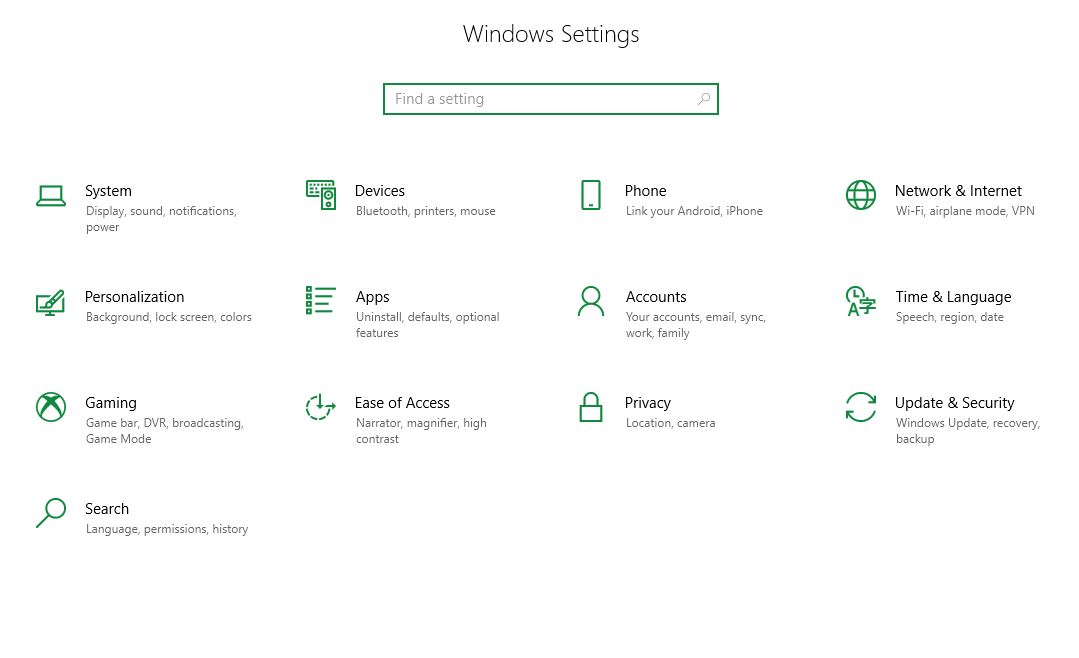
Win10 Settings

You can customize a ton of Windows 10’s features through the Settings menu. Open it up by pressing Win+I. From here you can update, recover, and backup your files, manage your devices and network connection, manage your accounts, uninstall apps, or sync up your mobile device.

22. Connect a wireless device: Win+K

If you have a wireless bluetooth device that you want to sync up to your computer (like a phone or a speaker system) an easy way to do it is to turn on the device and press Win+K.

This will open up a window on the right of your desktop that will search for the device, connect to it, and allow further configuration once it’s found.

23. Record video: Win+Alt+R

One of Windows 10’s more hidden features, you can press Win+Alt+R at any time during any program to immediately begin recording footage! The clip will then be stored in your videos folder by default. Everything about this feature can be customized through the settings menu. To read more about how this works, check out this article.

24. Begin dictation: Win+H

If you have a microphone set up and have dictation enabled, you can use Win+H to immediately begin speaking and having your PC record your voice via text. To enable this feature, go to Settings > Speech and configure it how you wish.

25. Lock your screen: Win+L

To lock your screen at any time, simply press Win+L. It will take you back to the sign-in screen where you input your password. This is useful if you’re working in a public area.

26. Take a screenshot: Win+PrtScn

We finally have a reason to use one of your keyboard’s least-used buttons! If you want to quickly snag a picture of whatever’s currently on your screen, just press Win+PrtScn at any time. The image will be saved to your Pictures > Screenshots folder in your File Explorer. Note that it will take a picture of your entire screen, though, so you might have to do some cropping later.

27. Search for other PCs on your network: Win+Ctrl+F

Useful if you’re working with a company or on a shared network with several different people, you can see and access other computers you’re sharing a network with by pressing Win+Ctrl+F. This is especially useful if you’re looking to transfer and share files or information, or if you simply want to check whether your computer is seeing the network.

28. Open system properties menu: Win+Pause

This one’s handy if you can’t remember your computer’s specifications. Just hit Win+Pause and you’ll instantly be shown all manner of your computer’s hardware information, such as installed memory, computer name, product ID, or system type.

29. Emoji menu: Win+.
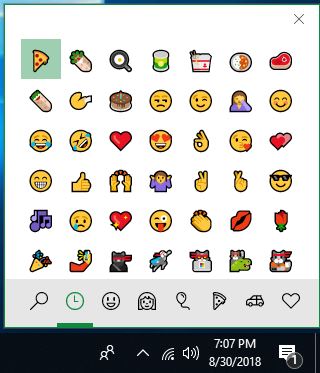
Win10Emoji

Just for fun! You can open your emoji menu any time by pressing win+(period).

30. Reconfigure multi-screen setup: Win+P

If you use more than one monitor, a quick way to configure your new setup is by hitting Win+P. It will open a window on the right of your screen that changes the display. Have them both show the same image, have the image spread, or limit it to one screen. The latter option is useful if you want to use your PC and game on the second monitor.

31. Reposition your current window: Win+Arrow Keys

You can easily adjust the size and positioning of your current window by hitting Win+ any arrow key direction. Left aligns it with the left side of your screen, right aligns it with the right side of the screen. Win+ Up Arrow will maximize the window to full-screen, and Win + Down Arrow will shrink it back into small window.

32. Minimize all but the current window: Win+Home

This one’s really useful for when you’re trying to focus on one task at a time, see the desktop, or just need to clear some space on your screen. Pressing Win+Home will minimize every open window except for the one you’re currently in. You can achieve the same effect by clicking and holding your desired window and shaking it back and forth. What’s better about using the shortcut command, though, is that pressing it again will restore all your minimized windows.

33. Bring up the Start Button menu: Win+X

Pressing Win+X will bring up the same menu as right-clicking the Windows icon on the bottom left corner of your screen. This will bring up a ton of useful tools like power options, Task Manager, Settings, File Explorer, disk management, and network connections.

34. Sleep/Restart/Shutdown options: Win+X > u

Using the same Win+X menu from our last tip, press U and you’ll automatically go to the various shutdown/restart options.

We hope these tips were helpful for you, and that you’ll be able to more quickly navigate and utilize Windows 10’s many feautures, tools, and shortcuts.



Watch out for this fake app that will steal your WhatsApp data

A fake Viber app is allowing hackers to steal your information. Don’t download it!

A clone of the popular Viber messaging app contains malware that steals all WhatsApp related data including photos, videos, and phone call records

Fake versions of popular apps are becoming a growing problem these days. Hackers and other bad guys know that they can get their viruses onto people’s devices if they can hide it in convincing versions of the apps we use every day. We’ve seen many popular apps cloned, and we’ve also seen less popular apps pumped full of malware and then pushed onto the Google Play Store. Once installed, these fake apps infect our devices and are then very difficult to get rid of. The popular messaging and video call app Viber is the latest app to get this treatment.

There is a fake version of Viber that aims to steal all of your WhatsApp data

You need to avoid Viber Messenger, which is described as a Lite Chatting App. Victims fall prey to a phishing scam as the fake version of Viber is peddled on a website that has been built to look just like Google Play Store. The site even includes fake security certificates and the clone version of Viber comes with a fake Most Secure Messenger checkmark and shield, a claim of 500 million downloads, and a 4.3-star rating just like it would on the original Google Play Store.

Viber is a very popular messaging app that works on multiple platforms and has been downloaded over 900 million times all over the world. It offers users instant messaging complete with stickers, GIFs, and even games. On top of that, Viber users have access to free video and voice calling over the internet and can pay a subscription for local and international calls to landlines and mobiles.

Viber Download Now
8

With fake apps on the rise, it is more important than ever to only download apps from reputable catalogs like Softonic or direct from the Google Play Store. As this case involves a fake version of the Google Play Store, it is also important that you familiarize yourself with phishing scams so that you’re best equipped for spotting false sites. Check out our guide to avoid phishing scams to keep yourself one step ahead of the hackers.

This fake version of Viber was discovered by Lukas Stefanko, who is a malware researcher at the Slovakia-based online security company ESET. He posted the malicious code on Twitter to build awareness.

Remember, you are your best weapon in the battle against threats like this. You should always double check the source of all your downloads and look out for spelling mistakes, confirm the name of the developer attached to the program, and watch for other errors that could indicate that something isn’t right. Most importantly, however, whenever possible make sure you only download apps from sites that you can trust.

Uber vs Lyft vs Via – which rideshare app is best for you

With rideshare apps popping up so rapidly, it can be a little difficult to decide which is the best for you. All of them have their own unique benefits and downsides, despite being better than most taxi services. Here is a little bit to know about each one and what they bring to the table.

For passengers:

Uber

Uber

Uber is probably the most well known of these three; it is also the most used. Uber is available in far more locations than any other rideshare app, and you can often find a driver quickly even in more suburban areas. Their surge pricing can be extremely high, however. You may sometimes have to wait a while to get a ride at a reasonable price. With Uber, you can order a car all to yourself or share a ride at a lower rate. Because of Uber’s popularity, it’s often the subject of some terrifying headlines.

Lyft

Lyft

While both Uber and Lyft feature a “surge” or “prime time” feature where prices are increased based on high demand: Lyft’s prices are almost half of Uber’s during these times, on average. This means that if there is surge pricing on both apps, then you’re almost always better off with taking Lyft. On top of this, Lyft’s primary focus is on customer service so they have a more developed support center than Uber. The big downside to Lyft, however, is that it is not as popular as Uber, so there are places where there aren’t many drivers. Similar to Uber, you can choose to share a car with other riders if you’re not in a hurry.

Via

Via

Via is somewhat unique among the increasingly popular rideshare apps, as it actually features a flat rate instead of charging based off distance like the other two. This can be a pro and a con since the flat rate might be lower or higher than the other services would’ve been.

The major drawback of Via, however, is its accessibility. It’s only available in very few cities: Chicago, New York, and Washington D.C. It also only provides coverage in certain areas of a city, so it’s great for trips downtown, but if you need to go to the outskirts, Via may not be for you. Still, Via is expanding to other cities and areas, so it could be a good option for you.

With Via’s flat rate, you might have to share the car with other riders, but you often get a ride all to yourself at no additional charge.

Hopefully this has helped you figured out which rideshare app is the best one for you as a rider; however, as a driver these companies work a little differently than for the customers.

Rideshare apps

For drivers:

Uber

This rideshare app is generally considered the worst for employees. The main benefit is its availability. Since more people know about it, you’re more likely to get customers (it works the same way for the customer’s benefit as well). Other than that, it doesn’t look too great compared to the other two. Uber takes the most money out of the ride fare, compared to the other two, but it also charges the most on average.

This still means you might be making less than you would with the other two. On top of this, tipping in the app was only recently integrated, and you have to have an extremely high rating from your customers in order to stay employed.

Lyft

The benefits and downsides for a Lyft driver coincide heavily with the benefits and downsides of a rider. For both, there are areas where Lyft isn’t popular and using it as a driver or rider won’t be very lucrative. Despite this, you get more money than Uber as during surge hours. Their support center is also reportedly more responsive than Uber’s for both the driver and customer, which means that they are easier to work with when something goes wrong.

Via

Via is probably the best rideshare app for drivers in areas that it’s available. Not only does it give you a higher percentage of pay per drive compared to the other two, but since it’s only located in highly populated areas, you’re more likely to get a ride without much wait. On top of this, your rides typically don’t wear down your car as much as longer drives would (which is one of the main driver complaints of using rideshare apps). Of course, like the customers, you’re only able to drive in select cities, but it is definitely the best to work for if you are in those cities.

Via: Affordable Ridesharing Download Free ►
8

Despite their unique flaws and benefits, you’re better off actually working for multiple rideshare apps as a driver. If you plan on being a driver in an area that offers any combination of these three, it’s the most beneficial to get each of them, in order to maximize your earnings.

As both a driver and rider, your best bet is to use Lyft most of the time. However, Lyft isn’t always available, while Uber is practically everywhere. Uber’s main drawback for a rider is that their surge pricing can skyrocket, but sometimes they are really your only option. Via is also a great alternative to either one if you live in one of the select cities where it’s available. Happy travels!

The Complete Fortnite Weapons Guide: Assault Rifles/Machine Guns

Wonder what weapon will work best for Fortnite? Check out our guide to assault rifles and light machine guns.

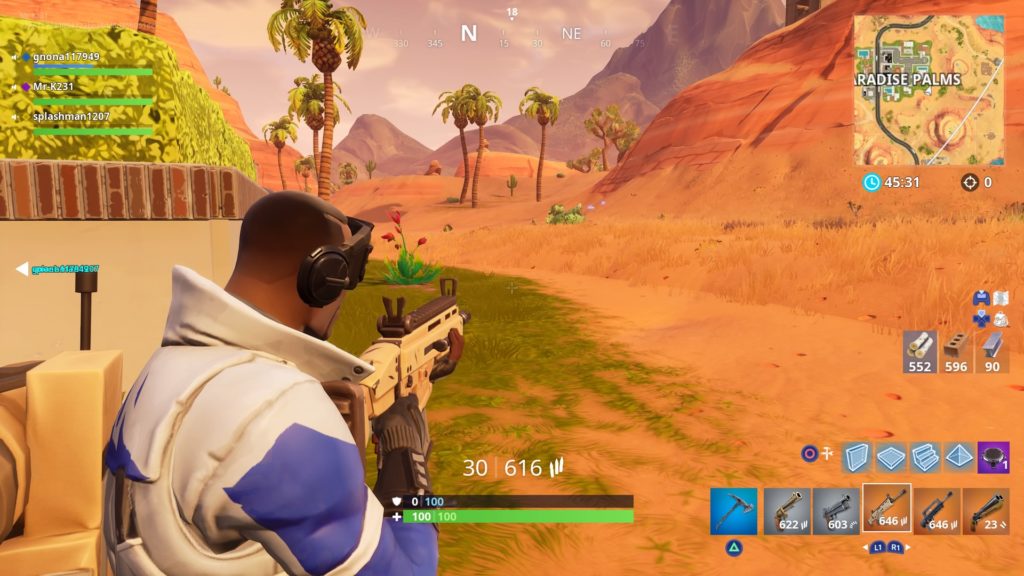
Fortnite: Battle Royale is a chaotic fight for survival against as many as 100 ruthless opponents. If you hope to survive and achieve the coveted Victory Royale, you need to make sure that you’re better equipped than the competition. With a huge arsenal of weapons to choose from, it can be tough to make split-second decisions about what to take with you and what to leave behind. We’ll do the work so that you don’t have to, with an in-depth examination of each weapon in Fortnite. For this guide, we’ll be looking at assault rifles and light machine guns.
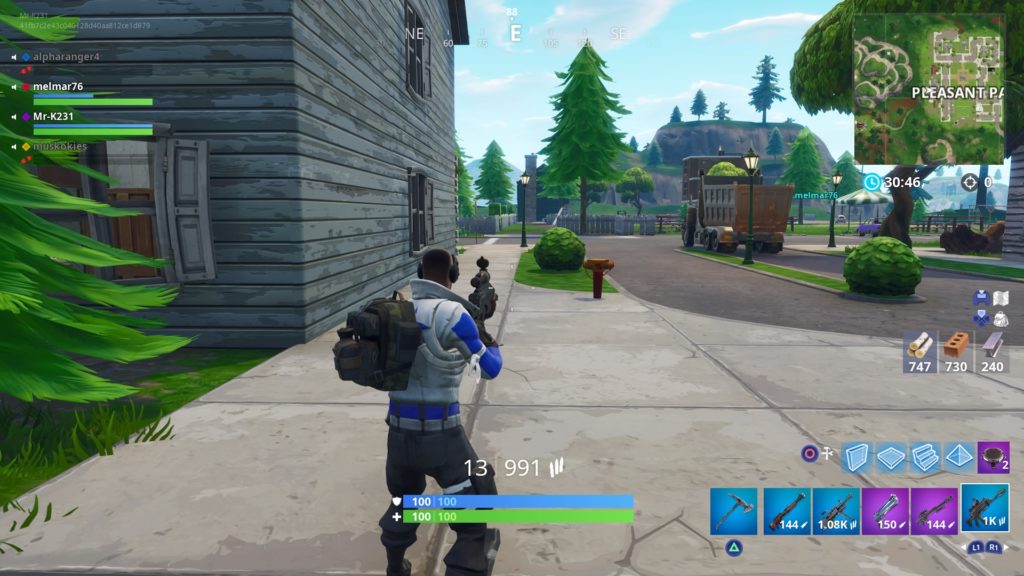
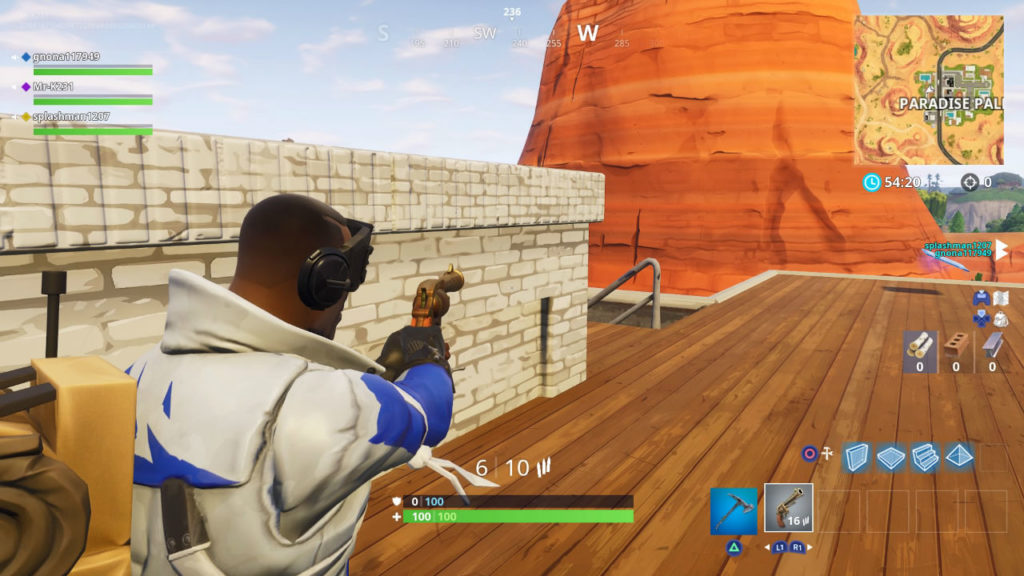
Fortnite: Battle Royale Download Fortnite: Battle Royale
10

One overarching rule to remember when it comes to Fortnite’s weapons: all guns in the game are available in varying levels of rarity, ranked based on a color system. Refer to the list below to see each level, and make sure you go for rare guns whenever you find them.

Common- Grey

Uncommon- Green

Rare- Blue

Epic- Purple

Legendary- Orange

Assault Rifle

Fortnite Assault Rifle

Rarities: Common/Uncommon/Rare

Damage Per Shot: 30/31/33

Ammo Type: Medium Bullets

Magazine Capacity: 30

Description: The Assault Rifle is like the four-door sedan you inherited from your parents: simple, reliable, but not particularly stylish or flashy. It’s a well-rounded weapon in pretty much every aspect, excelling at every range and doing a respectable amount of damage with each shot. It’s got good accuracy, good mag capacity, and a decent fire rate.

Though the Assault Rifle may seem painfully average, this is why it excels. It’s not the most exotic gun, but it’s just about the perfect weapon for any situation. It’s never a bad idea to grab an Assault Rifle, and you don’t need to second-guess before picking one up. This gun is the brick and mortar that should be the foundation of every Fortnite player’s arsenal.

Assault Rifle (Rare)

Fortnite Assault Rifle Rare

Rarities: Epic/Legendary

Damage Per Shot: 35/36

Ammo Type: Medium Bullets

Magazine Capacity: 30

Description: At higher rarity levels, the Assault Rifle gets a makeover, upgrading from the venerable M4 to the more exotic SCAR. In most respects, the SCAR is exactly the same as the standard rifle: same magazine capacity, same fire rate, and similar accuracy. When it comes to damage, though, the SCAR is the leader of the pack. It boasts one of the highest per-shot damages of any weapon in the category, and if you come across this rare weapon, grabbing one should be a no-brainer.

Burst Rifle

Fortnite Burst Rifle

Rarities: Common/Uncommon/Rare

Damage Per Shot: 27/29/30

Ammo Type: Medium Bullets

Magazine Capacity: 30

Description: The Burst Rifle is a niche weapon that strikes a balance between accuracy and fire rate. Each pull of the trigger fires a quick burst of three rounds. These bursts are highly accurate, and landing all three rounds on target can quickly do some serious damage.

The time between bursts can be a killer, though, meaning that you have to be fairly accurate to use this rifle effectively. If your opponent is fast and quickly jumping around to dodge your shots, you won’t be able to just hold down the trigger to keep firing. The Burst Rifle can best be described as a sort of cross between a submachine gun and a sniper rifle. Though it does have advantages in certain situations, the drawbacks are also significant.

Burst Rifle (Rare)

Fortnite Burst Rifle Rare

Rarities: Epic/Legendary

Damage Per Shot: 32/33

Ammo Type: Medium Bullets

Magazine Capacity: 30

Description: Like the standard Assault Rifle, the Burst Rifle also receives a cosmetic upgrade at higher rarity levels. Also like the Assault Rifle, it shares most of its attributes with the standard Burst Rifle with the exception of its higher damage. This higher damage does a lot to make up for the Burst Rifle’s serious drawbacks, but those drawbacks still remain. It’ll take some practice to use the Burst Rifle in an effective way, but it can be a dangerous tool for players that get the hang of it.

Scoped Assault Rifle

Fortnite Scoped Assault Rifle

Rarities: Rare/Epic

Damage Per Shot: 23/24

Ammo Type: Medium Bullets

Magazine Capacity: 20

Description: The Scoped AR feels more like a variant to the Semi-Auto Sniper Rifle than any kind of Assault Rifle. Its main feature is a high powered scope, allowing you to engage opponents at longer ranges than a typical assault rifle. This extended range is a definite plus, but its low damage, slow fire rate, and low mag capacity compared to other rifles leave the Scoped AR at a distinct disadvantage compared to other weapons in the class. Players can find a use for it as a stopgap weapon to use in place of a sniper rifle, but overall, there are better choices in both the assault rifle and sniper rifle categories to devote inventory space to.

Thermal Scoped Assault Rifle

Fortnite Thermal Scoped Assault Rifle

Rarities: Epic/Legendary

Damage Per Shot: 36/37

Ammo Type: Medium Bullets

Magazine Capacity: 15

Description: The Thermal Scoped rifle is an interesting oddity of a weapon. Surprisingly enough, it’s a much more practical choice than it’s standard scoped counterpart. This is mostly due to its significantly higher damage, comparable to the SCAR. The rifle’s fire rate, however, is exceedingly slow, almost on par with a semi-automatic rifle. It’s also got a smaller magazine capacity.

The key is thinking of this weapon as a sniper rifle rather than an assault rifle. Reserve this one for long range engagements only, as it’s a pretty terrible choice for close and medium range fighting. The thermal scope takes some getting used to, but is perfect for finding hidden enemies and keeping on target with far-away opponents.

Light Machine Gun

Fortnite Light Machine Gun

Rarities: Rare/Epic

Damage Per Shot: 25/26

Ammo Type: Medium Bullets

Magazine Capacity: 100

Description: The classic light machine gun is a perfect automatic weapon. Though certainly not as high-damage as many other automatics, its 100 round magazine means you can keep firing to your heart’s content, and not have to worry about reloading. The reload process is quite lengthy, though, and you should make sure you aren’t caught in a situation where you have to reload in the middle of a firefight. There’s nothing more frustrating than having an opponent flank you and take you out while you’re in the midst of a reload.

Minigun

Fortnite Minigun

Rarities: Epic/Legendary

Damage Per Shot: 18/19

Ammo Type: Light Bullets

Magazine Capacity: N/A

Description: The Minigun has been a battlefield mainstay every since it exploded onto the big screen in “Predator.” This is less of a gun and more of a bullet hose, letting you become a walking turret that rains death and destruction upon your enemies.

The Minigun is unique in that it doesn’t feed from a traditional magazine. Instead, it draws from your reserve bullets, meaning you can fire until your completely out of ammo. It excels at doing damage to structures, making enemy defenses all but meaningless. It’s a perfect tool for fort demolition, and once the walls go down you can just keep on firing to take out the enemies hiding inside.

Players should be mindful that the minigun takes a moment to spool up before the shooting starts, so you won’t be able to open fire in a split-second situation. Once that minigun starts roaring though, you don’t have to stop until everything in your path is gone.

Assault rifles and machine guns are the mainstays of combat and should also be the mainstay of every Fortnite player. It’s the weapon class with the most variants to offer, meaning there’s a rifle for every playstyle. Though may take some trial and error to find the rifle that’s right for you, once you find that favorite, you’ll be an unstoppable force.

How to fix Apple’s play/pause glitch

A recent Apple update created new problems with the play/pause, rewind, and fast-forward buttons. Here’s how to fix it.

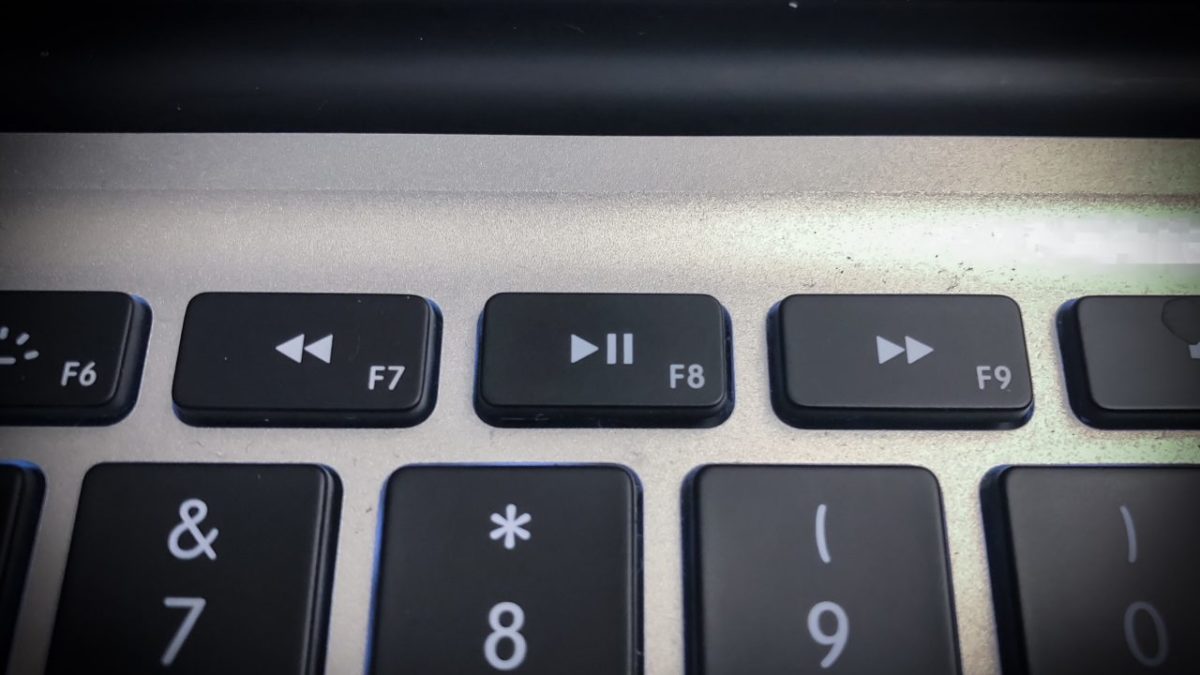
A recent Apple update created new problems with the play/pause, rewind, and fast-forward buttons, which may cause them to not work at all!

What exactly does this look like, you may ask? Essentially, you must start music and move between songs within the iTunes program rather than using the keyboard media controls.

If this doesn’t sound that bad, remember the old adage, “You don’t fully appreciate something until it’s gone.” Those accustomed to listening to music while working can find this to be a huge distraction, and those three little buttons on the keypad make a world of difference!

We’re here to help fix them.

Why it Happens

Feel free to skip below if you want the solutions, but if you’re interested in knowing why this problem started…

Apple probably meant to change their media button functionality for more expansive control. Before, the “Play” button controlled only the iTunes library. If a user hit Play and iTunes wasn’t opened, it would start iTunes. A second press would randomly shuffle all songs in the library.

New updates like High Sierra would have increased the button’s control, giving it power over whatever app or website was used last; if you were watching YouTube, the buttons would help you navigate videos. If you were on Netflix, the media controls would start, stop, and skip episodes.

However, something went wrong: rather than allowing Play to solely control iTunes or changing it to move between programs, the update caused a glitch that stops the media buttons from working altogether.

If you haven’t updated to High Sierra, don’t worry about updating! On the off chance you experience a glitch, there are a number of solutions…

First Attempt: The Quickest Fix

We solved the problem on our computer by resetting the keyboard functions. It’s a simple process:

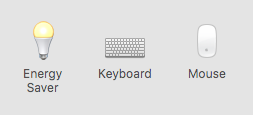
1. Open the System Preferences menu.

System preferences

2. Go into the keyboard functions.

Apple keyboard functions

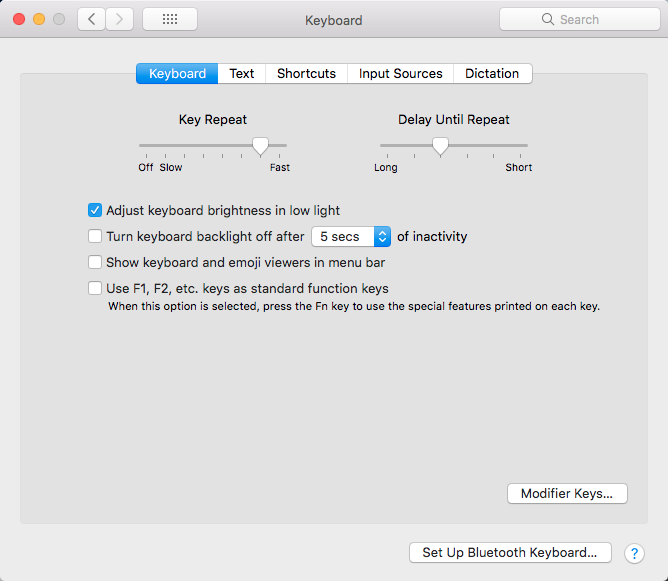
3. Check the “Use F1, F2, etc. keys…” box. Then, uncheck it.

Apple Keyboard menuFollowing this guide quickly resets all “F” keys to normal functions, rather than Apple’s quick settings (brightness, menu, sound adjustment). Then, resuming “F” functions turns all those keys on once again. The reset allows your media buttons to resume controlling iTunes as usual.
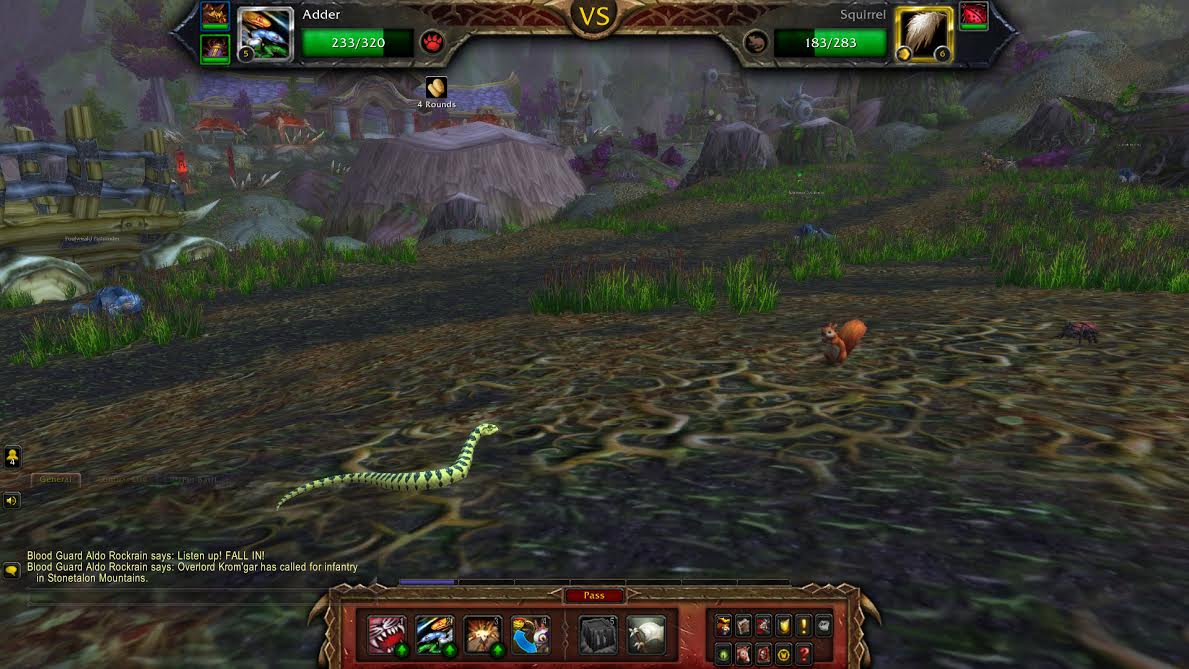

Second Attempt: The Ol’ Classic

Restart your laptop.

What can we say? A good restart can fix a lot of problems and allow the laptop to reset. This may be what your computer needs to fix the issue.

On the other hand, we did try turning the laptop on and off before resetting the “F” functions. Guess what? Nothing happened. Resetting the media buttons worked better. Still, our situation may be different from yours, so don’t rule out a reboot!

Third Attempt: Check Outside Programs

Make sure to look at what programs you are already running. Sometimes, applications like Google Play may cause the problem.

If there’s anything on, shut it down. If necessary, use the Task Manager application to force them to quit.

Final Attempt: Use an Outside Program

If nothing else works, consider using the solution given by Bekir Serifoglu on WordPress: download a program dedicated to controlling your keyboard functionalities.

By doing this, you’ll be able to set which keys do what, and may even find other ways to increase your productivity with quick links!

Final Word

Apple itself will likely create a solution to the problem in an update soon. Then again… new updates may exacerbate the issue, depending on which programs the user has downloaded. Give these solutions a try, and the problem should go away soon enough!

World of Warcraft: Beginner’s guide to Battle Pets

Curious about Warcraft’s Battle Pets? Here’s how to get started.

It has been a few years since World of Warcraft introduced their Pokémon-style minigame: Battle Pets. Using these pets can really feel like playing another Pokémon game within the WoW universe. Despite the nostalgia that might give, it may be a bit confusing to get started with your battle pet journey. But don’t worry. We’re here to help!

World of Warcraft Download NOW ►
7

World of Warcraft: Beginner’s guide to Battle Pets

Getting Started

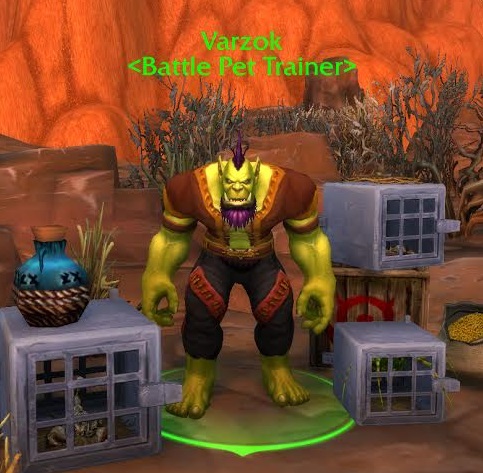
There are a few things you should do to prepare yourself for Pet Battles. The first thing you have to do is meet the prerequisites for starting pet battles: You have to be at least level five, and you have to purchase battle pet training from a battle pet trainer (which costs 10 gold). The pet battle trainers can be found in Stormwind for the Alliance, and Orgrimmar for the Horde. They can also sell you a pet to battle with if you don’t already have one. You’ll have to buy this from them before you can start battling on your own.

Battle Pet Trainer

Initial setup and battling

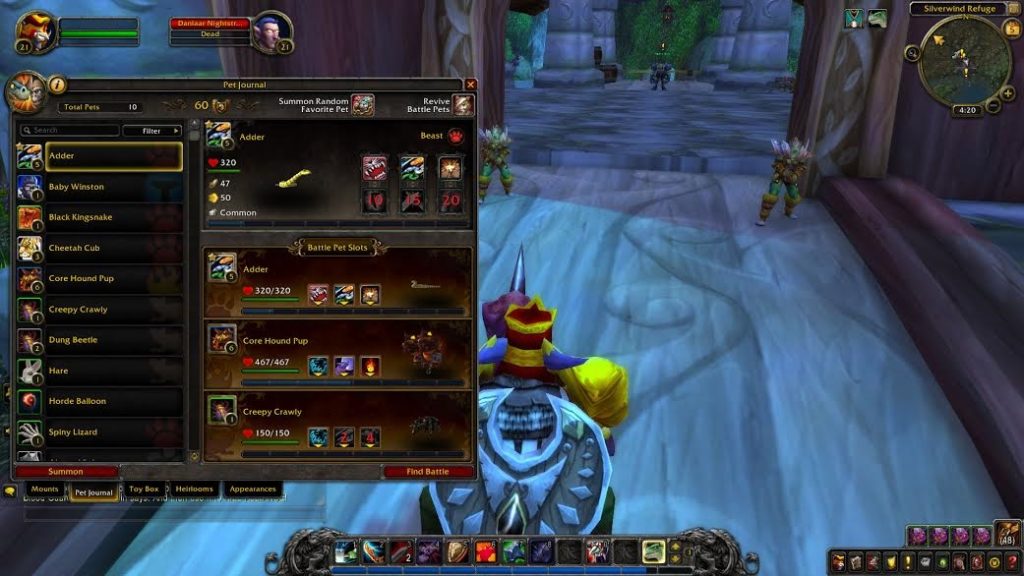
You can organize your pets by pressing the “Collections” button or by pressing “SHIFT-P”. Then click on “Pet Journal” in the bottom left corner of this menu. Here you can look at all the pets you’ve collected and set them onto your team (each player can have up to three active pets at a time). You can also heal your pets by pressing the upper right icon. This has an eight-minute cooldown, so just keep that in mind before using it after every fight.

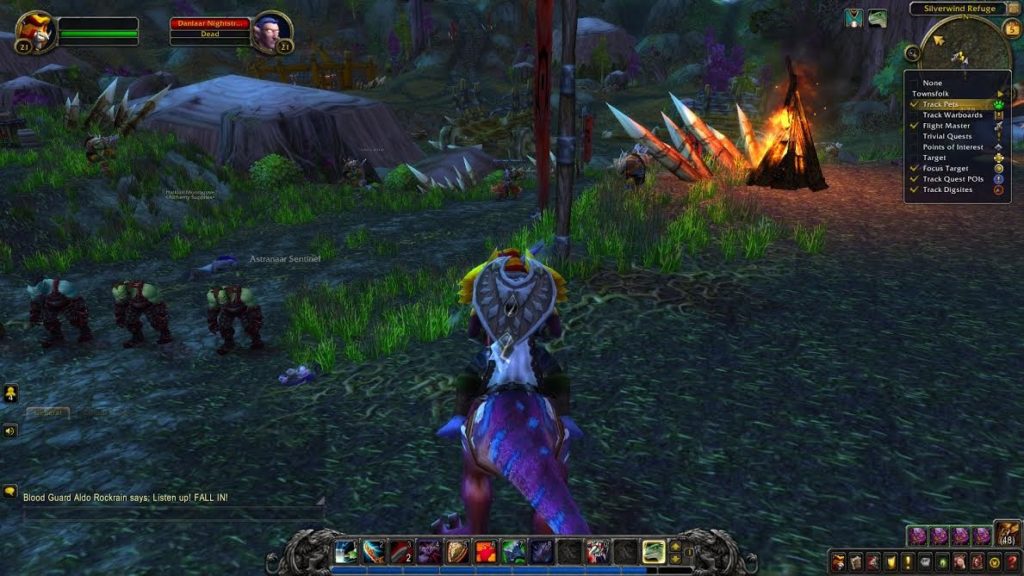
Once you’ve set up your pets, you can start looking for battles. Put “Track Pets” on from the minimap interface, and you’ll be able to see a green paw-print wherever pets are available. Clicking on one will let you initiate a fight.

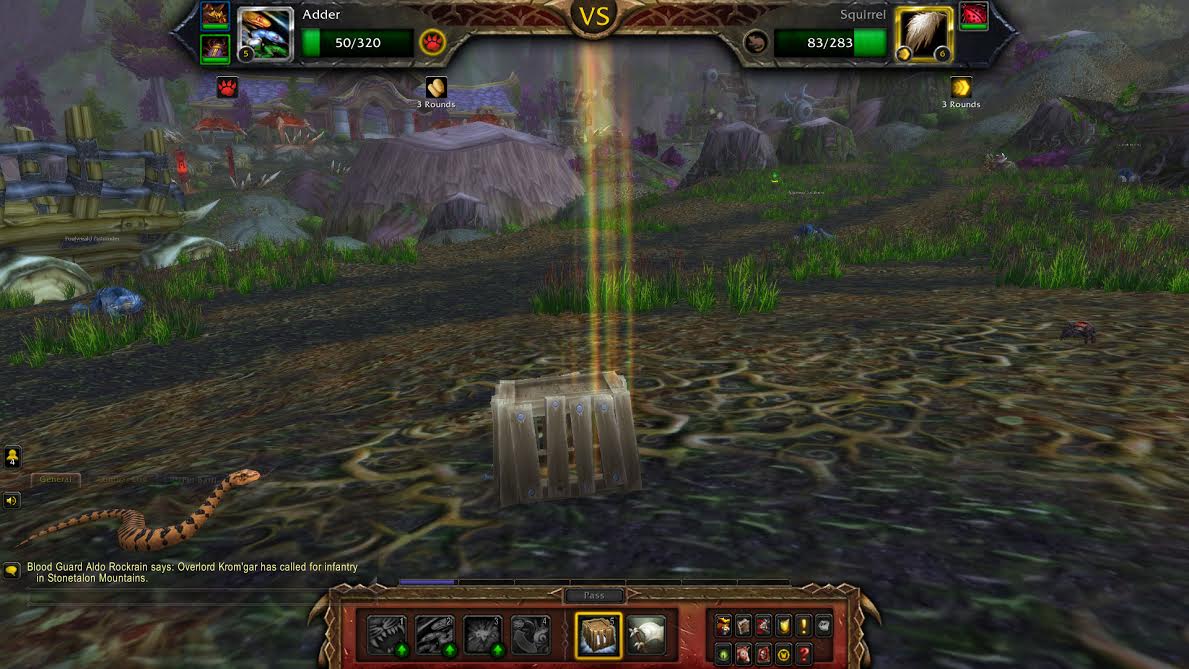
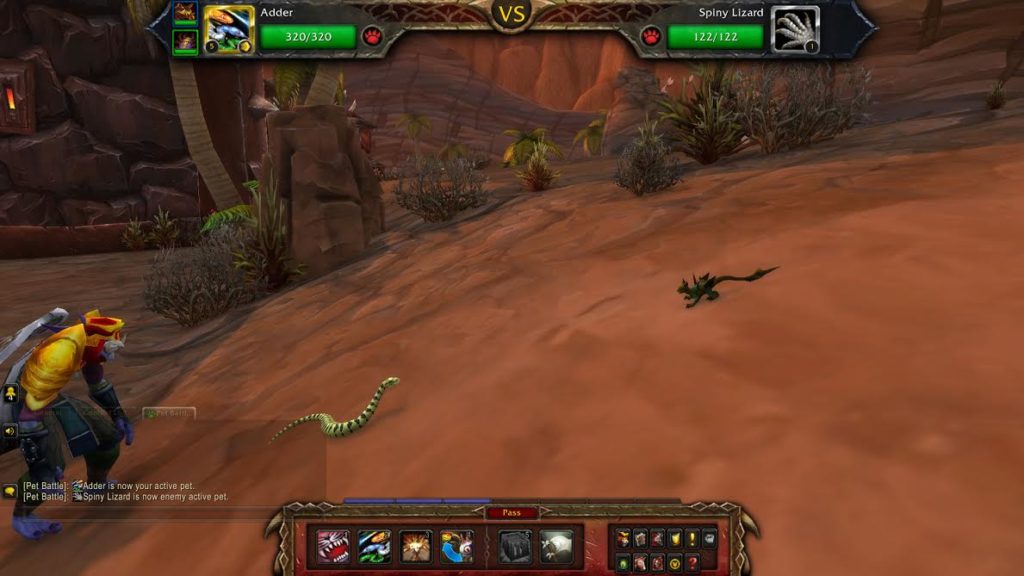
The fight works like a standard Pokémon-esque battle where the creatures take turns in their fight. You can try to defeat the monster or try to capture them with the trap command (with will be unlocked once one of your pets reaches level 3).

Track Pets

Building a team: Quality, abilities, and types

Once you get the hang of battling, you’ll want to consider putting together a team. There is a lot to consider when starting this process.

Quality and stats are the first thing you’ll want to look out when deciding on whether you want to use a pet or not. A pet can be one of six different quality types: Poor, Common, Uncommon, Rare, Epic, and Legendary. The higher the quality the stronger the pet is, with “poor” being the lowest and “legendary” being the highest. Stats can vary even if two pets are of the same species and quality, however. There are a variety of breeds that can be seen with specific addons. Overall though, you’ll want to try and obtain higher quality versions of the pets you want to use. If you have a low-quality pet, however, you can turn it into a rare pet by buying specific items from the Darkmoon Festival.

Pet Journal

Regardless of the quality, each battle pet can learn six abilities, with only three being active at any given time. These moves are learned at levels 1, 2, 4, 10, 15, and 20.  Each move has its own type and specific effect. Some moves are simple damaging moves, while others may heal the user. Keep in mind what each pet’s abilities bring to the table when putting together a team.

Capture

Just like in Pokémon, each battle pet and pet ability has a specific type. Each type has one type that it’s weak to, one type that it resists, one type that is weak to its abilities, and one type that resists its abilities. Along with these weaknesses, a battle pet’s type determines what its passive is.

For example, Critters cannot be stunned, rooted, or put to sleep. Variety is key when it comes to battle pet types, and you’re going to want a mix of types that compliment each other. Be sure to carefully consider what types you want to resist, and which ones you are okay with being weak to when deciding on the pets for your team.

Quests and leveling

Pets level as they battle, and wild pet’s levels coincide with player levels for each area. For example, the lowest level battle pets can be found in the lowest level areas for players. This means as your character gets to higher level areas, your pets have access to higher level content as well.

Battle Pets

Following the battle pet tamer quest line is by far the best way to level your pets, and to get some rewards for them (such as bandages to heal them, or obtaining unique battle pets). The quest line starts from the battle pet trainers once you have a level three pet.

Additional resources 

While you don’t need addons to make pet battling easier, there are a few that can generally help you, especially with seeing the strengths of a particular pet. Two of the best ones are Battle Pet BreedID and Niggles: Pet Teams. Battle Pet BreedID lets you see the breed of each pet so you can decide whether you want to keep a pet with extra health or extra speed. While Niggles: Pet Teams lets you create team loadouts and helps with some of the UI of the Pet Journal.

Whether you are using battle pets for the collect-a-thon aspect, or to challenge other tamers in PVP, there is a little something for everyone in this WoW minigame. For more addons, you can check out Curse’s list of battle pet-related addons.

6 things we want from Elder Scrolls 6

Can’t wait for Elder Scrolls 6? Here’s what we’d love to see from the minds at Bethesda.

When Elder Scrolls 6 was finally announced at this year’s E3, fans of the series immediately began visualizing and dreaming up what the new game might look and play like.

“It’s something that’s going to take a lot of time,” Todd Howard explained. “I could sit here and explain the game to you and you would say ‘that sounds like you don’t even have the technology.” Howard hopes to make Elder Scrolls 6 look and feel exactly as he always envisioned the series being – fun, open, replayable, and endlessly immersive, with gorgeous vistas and hair-trigger encounters lurking around every dark corner.

It sounds almost too good to be true. Regarding more specifics, Bethesda Softworks have remained wisely (though disappointingly) discreet. Speculations and hopes are running wild as to where the next game may take place, what we might expect from the story, and mostly what we might get in the new gameplay. We’ve put together a list of the top 6 features that we need to see in the next Elder Scrolls game.

Haven’t played Skyrim yet? Download it here:

The Elder Scrolls V: Skyrim Download
8

6 things we want from Elder Scrolls 6

6. Multiple GPU support

This point is specific to PC gamers, but considering the massive number of Elder Scrolls fans who enjoyed playing a modded Skyrim or Oblivion on PC, we think this one’s justified.

For those who do not know what multiple GPU support implies, it essentially means that if your PC has two graphics cards you are able to use them both simultaneously, resulting in double the performance. NVIDIA can easily be configured to support this via Scalable Link Interface (SLI) and AMD uses Crossfire. Through multiple GPU support, two cards can be connected together for a significant improvement in the game’s FPS and general capacity to hold more data (like mods).

Multiple GPU support becomes especially necessary when trying to run the game with a lot of mods – something Bethesda has always championed and allowed, even in their newer titles like Fallout 4 or the re-released Skyrim in 2016. If Elder Scrolls 6 is going to run with the increased visuals, 60 FPS, heavy scripts, and huge maps the way that Todd Howard envisions, support of a second graphics card is going to be necessary to see and play the game as intended.

Still unsure how multiple GPU support works? Check out this explanation of how it could improve Elder Scrolls:

5. Branching faction quests

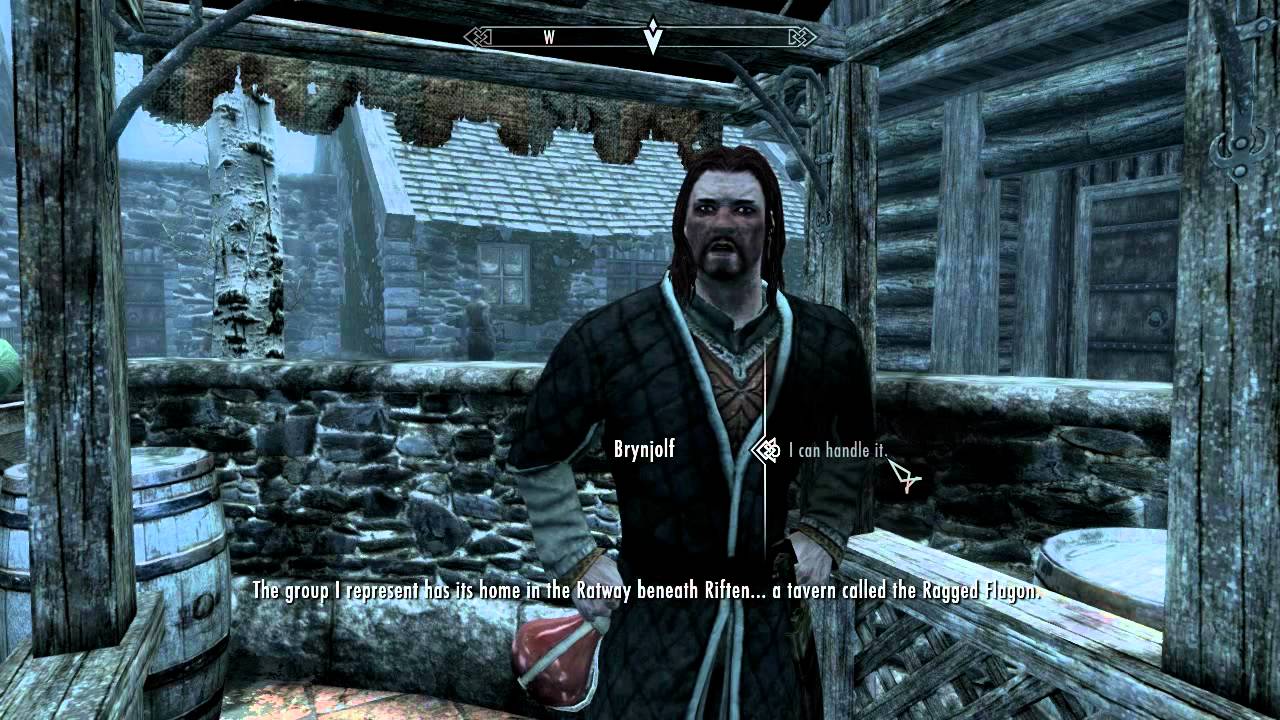
Since Skyrim is a non-linear story where the shape of the narrative is determined by the player, the various quest lines end up telling the story. This provides an experience where the player gets to craft his own story, and makes the game much more replayable. The issue here, though, is that all the quest lines themselves remain painfully linear.

From a simple side quest to hunt for treasure to a more involved chain of quests like the Companions, once a player begins a faction’s journey they wind up with the same experience and the same dungeons every single time. Even during quests like the Dawnguard DLC where players had two branching paths – vampire or vampire slayer – the quest took you through the same environments for the same fetch quests with the same dialogue, and even ended with the same boss fight and loot reward.

For Elder Scrolls 6 to take its narrative to the next level, it doesn’t have to sacrifice putting players “in an uncomfortable situation” as Pagliarulo describes – it just needs to feature more divergent paths where the player feels like they have some choice and impact on the decisions being made around them. There are two ways of accomplishing this:

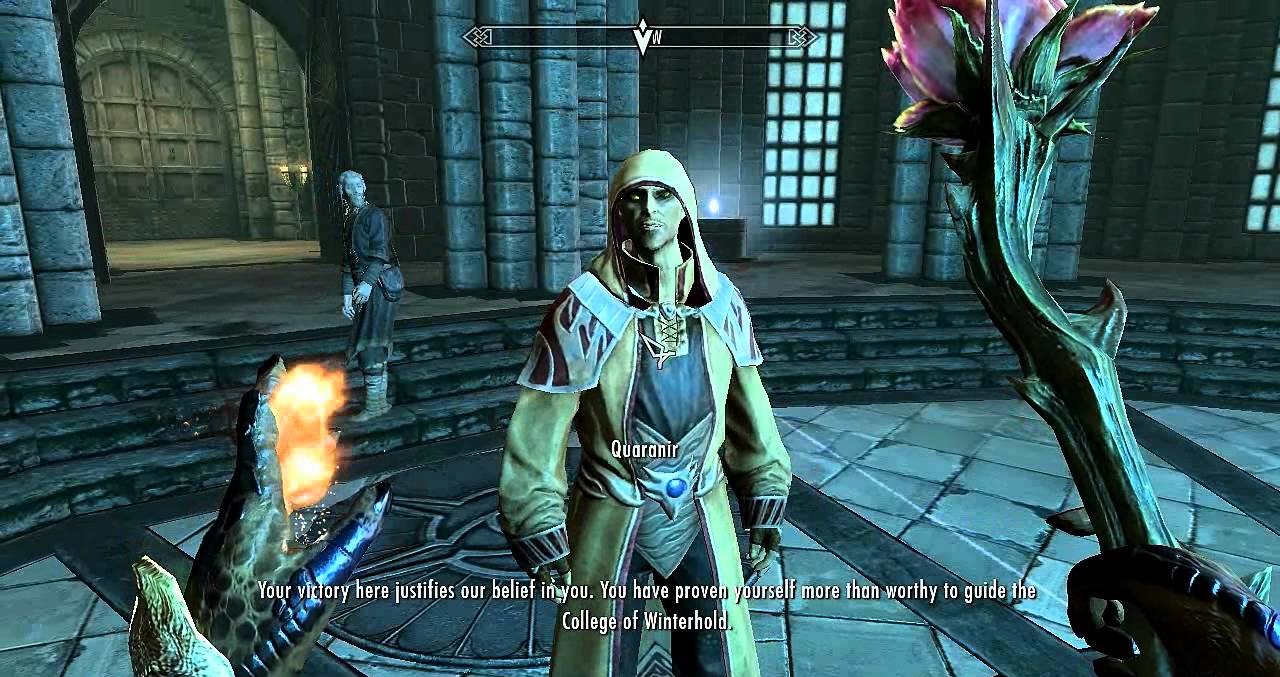
The first is to offer more factions to the player from the start. Magic is abundant in Skyrim, and yet the only quest line that has anything to do with magic is the Winterhold College, in which you play the role of the hero, saving the college from a catastrophic disaster. Once you’re set on the quest this is the outcome you end up with no matter how you want to roleplay. If you want to play as an evil mage, there’s really no way to do it.

Elder Scrolls

It’d be awesome if there was a guild of necromancers or warlocks who existed under the radar and practiced forbidden spells and rituals, and you had the option of joining their ranks instead. Much like the Blades and Greybeards don’t get along, or how the Dawnguard despise Harkon’s court of Vampire Lords, it’d be a more weighty decision having to pick one faction over the other.

Elder Scrolls

The other way to accomplish a deeper quest-based narrative is to have the player’s choices matter more during the quests themselves. At the end of the Thieves’ Guild quest line you’re given the same outcome no matter how you want to roleplay. Join the Thieves’ Guild and you should expect to go on stealth missions, infiltration, and pickpocket runs, but that doesn’t mean the story has to be the same. The quest line even ends in a straight-up boss battle, which is decidedly unlike a thief to engage in depending how you roleplay him.

Elder Scrolls

What if, upon completing the Thieves’ Guild quest, you could elect to run the guild like a Robin Hood character, stealing from rich Jarls and nobles to give to the ratways, orphanages, and warrens? And what if you had the choice to instead organize a mafia that gripped the holds in a vise, demanding payment and tribute every time a guild member entered the city? TL, DR: We want more role-playing in our role-playing game.

4. Optional multiplayer functionality

Skyrim remains one of the greatest single-player experiences on the market today, but what would happen if it was opened to public or private servers? The reason this isn’t out of the question is that ESO and Fallout 76 are already testing the waters. Going multiplayer with the Fallout franchise is a big leap for the studio, and we’re hopeful that Fallout 76 will work out any of the kinks that could show up in Elder Scrolls 6.

If Elder Scrolls 6’s multiplayer will work anything like Fallout’s, we could be looking at a 1-4 player experience hosted on a private server where you and three friends get to cut through swathes of enemies, clear out draugr-infested dungeons, and battle liches and dragons side by side. We imagine it looking something like this:

One of Elder Scrolls’ more charming features, though, was always being able to explore the world on your own – making a name for yourself, collecting rare gear, and being a singular entity in a harsh landscape. For players who want to continue playing Elder Scrolls in this way, there needs to be a toggle switch or a specific lobby to join so that players continue to have that control over their experience. Multiplayer has been such a dream for Elder Scrolls fans, that there’s even work on a Skyrim mod specifically to integrate players. You can check out Skyrim Together here:

3. Different dungeon environments

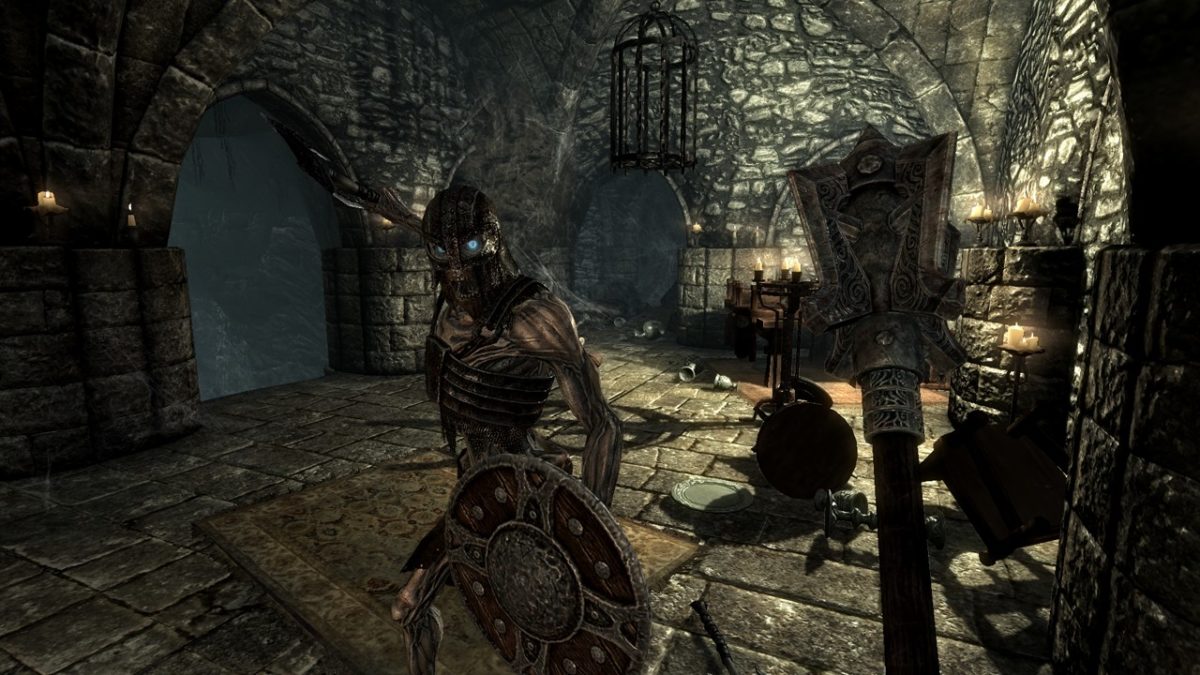
Skyrim – and Tamriel in general – boasts such a versatility of landscapes and vistas that it would be almost criminal for the quests to play out as they so often did in Skyrim: Heading into a cave, crypt, or Dwemer ruin, navigating through brick or earthen tunnels, fighting some enemies, grabbing the loot or shout, and heading out the back door.

Skyrim had over 130 dungeons, and while the number is staggering and offers a huge amount of exploration, replayability, and adventure, the number of dungeons that wound up looking the same was disappointing, to say the least.

Elder Scrolls

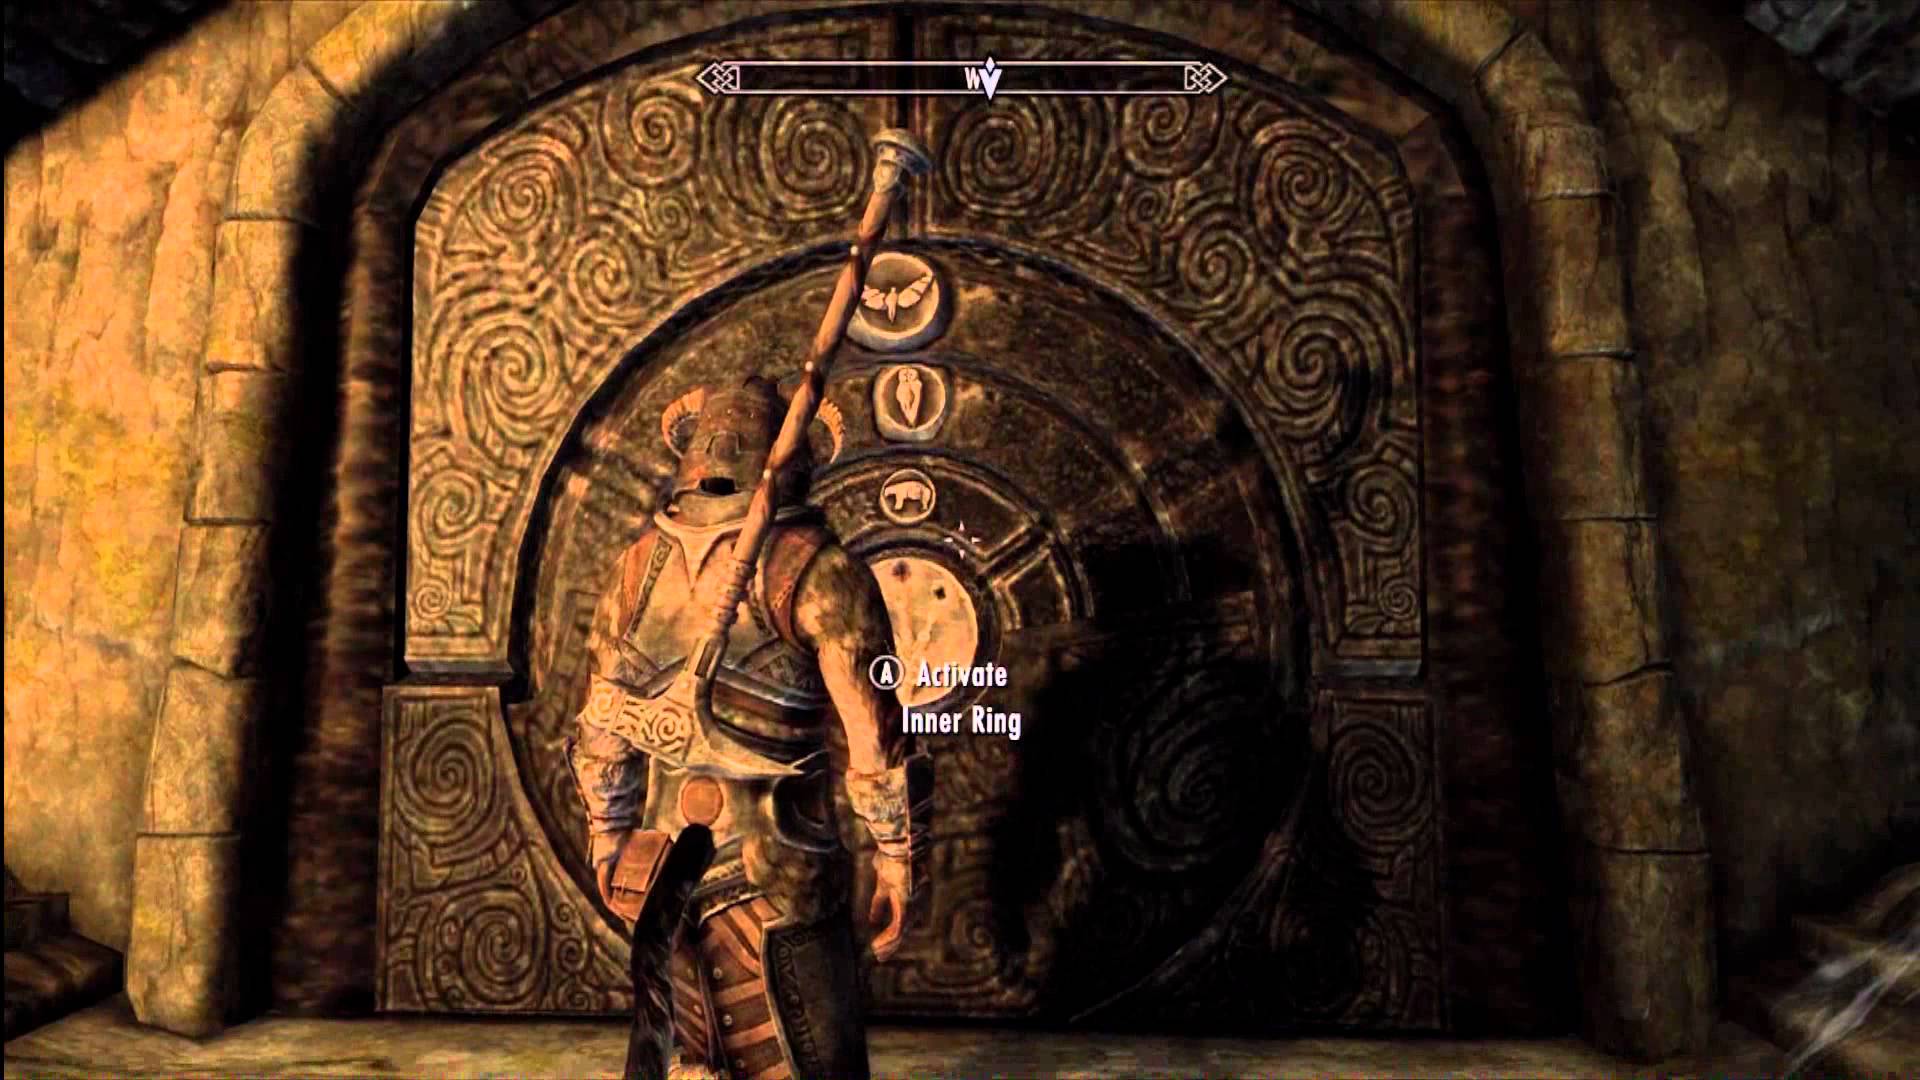
Skyrim was Tamriel’s northern region, littered with icy caves, snow-capped mountains, and rolling tundras. And yet so many quests were solving nordic puzzles with claws and movable rocks with snakes, foxes, and whales on them. Even if the landscape of the game is defined by one climate or topography, that doesn’t mean it can’t have some variety in its quest locations. What about a mission in the treetops, or during an avalanche, in a murky swamp, or underwater? It would breathe some life into the world and keep us excited to see where we the next quest takes us. We want more missions that look like this:

2. Better combat

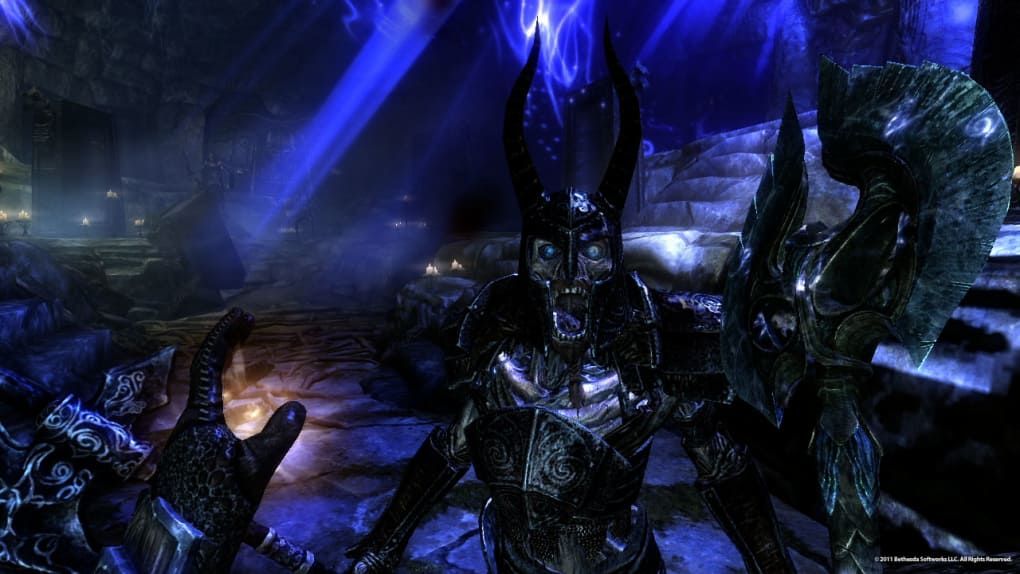
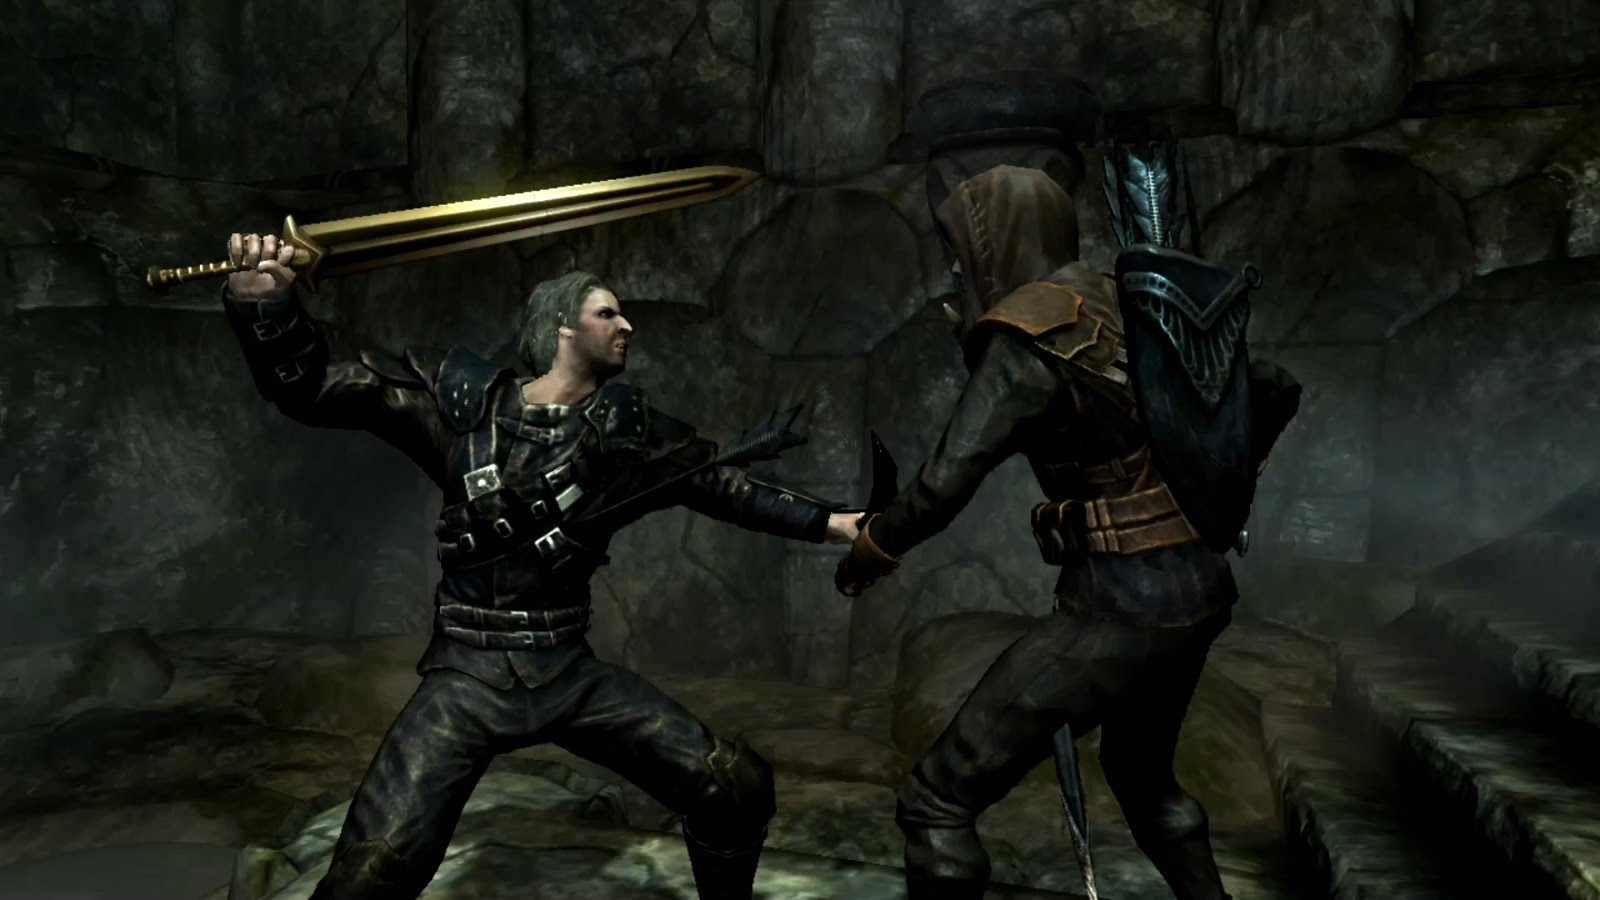
If free-roam exploration is the heart of Elder Scrolls, then combat is the blood and bone. Tamriel is a harsh place with bandit marauders, dwemer automatons, warring factions, vampires, werewolves, and skulking falmer. Go out in the wilds or into a cave and you won’t go 30 seconds without getting into some kind of tussle. And, uh … they don’t always look great.

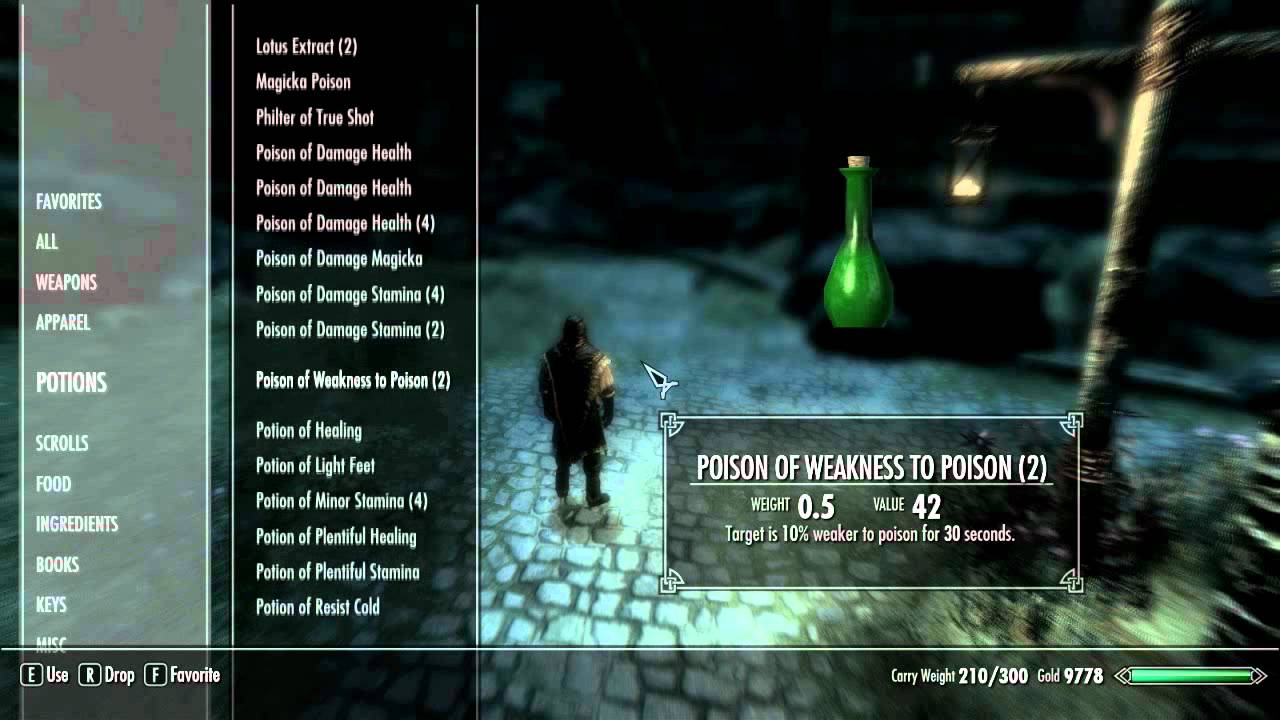
Skyrim’s combat isn’t clunky, but it isn’t exactly fluid. Not when compared to more recent games like Witcher 3 or Kingdom Come: Deliverance. On a controller, you’ve got right-trigger to swing, left to block, and then a bumper to run and a bumper to shout. The rest of your controls are basic mobility like jumping, crouching, or activating objects. If you want to change weapons or drink a potion to heal, you’ve got to open up your favorites menu, scroll down to the object you’re looking for, and activate it.

Elder Scrolls

Early on in the game when you’ve only got a few things in your inventory that you’d need in a combat scenario, this is fine. But if you’re playing as a late-game spellcaster you’ll more than likely end up with a favorites menu that scrolls on for a long time. Pausing in the heat of combat to switch spells, equip different armor, or drink a potion is not only unrealistic, but also breaks the game’s otherwise awesome immersion. Implementing a favorites wheel, hotkey allocation, or a press-and-hold vs. quick-press might help to speed things up.

1. Deeper approach to skill trees

The most integral part of a free-roam RPG is what your playable character is able to do, and how he (or she) is able to interact with the world they’re thrown into. That arsenal of possibilities is what helps to make the game so replayable and so exciting to explore and collect more loot, spells, and skill points in. In short, it’s the inherent variety that breeds personality in different play styles.

Elder Scrolls

The skill trees in Skyrim were what you’d need and what you’d expect – damage increases for martial skills, defense bonuses for armor or blocking, and increased efficiency with smithing, alchemy, or enchanting. There were some nice touches like silent casting under Illusion, Wax Key under Lockpicking, or decapitations under the One-handed and Two-handed. There were a great many skills in Skyrim that were not as exciting, though, or that weren’t worth getting at all. The Speechcraft, Alchemy, and Restoration trees come especially to mind.

Elder Scrolls

Aside from damage boosts, the martial perks in Skyrim weren’t overwhelmingly tempting. Of course, boosting damage is important, and so is increasing armor rating, but that’s not to say we couldn’t have also included more creative ideas. Increasing momentum while fighting, rewarding more accurate shield bashes, feints, clashes, shunts, and parries – imagine facing an opponent that could do all of these. Now imagine you’re the one tearing through a bandit camp with a plethora of new unlockable abilities and animations. Way cooler, right?

Elder Scrolls

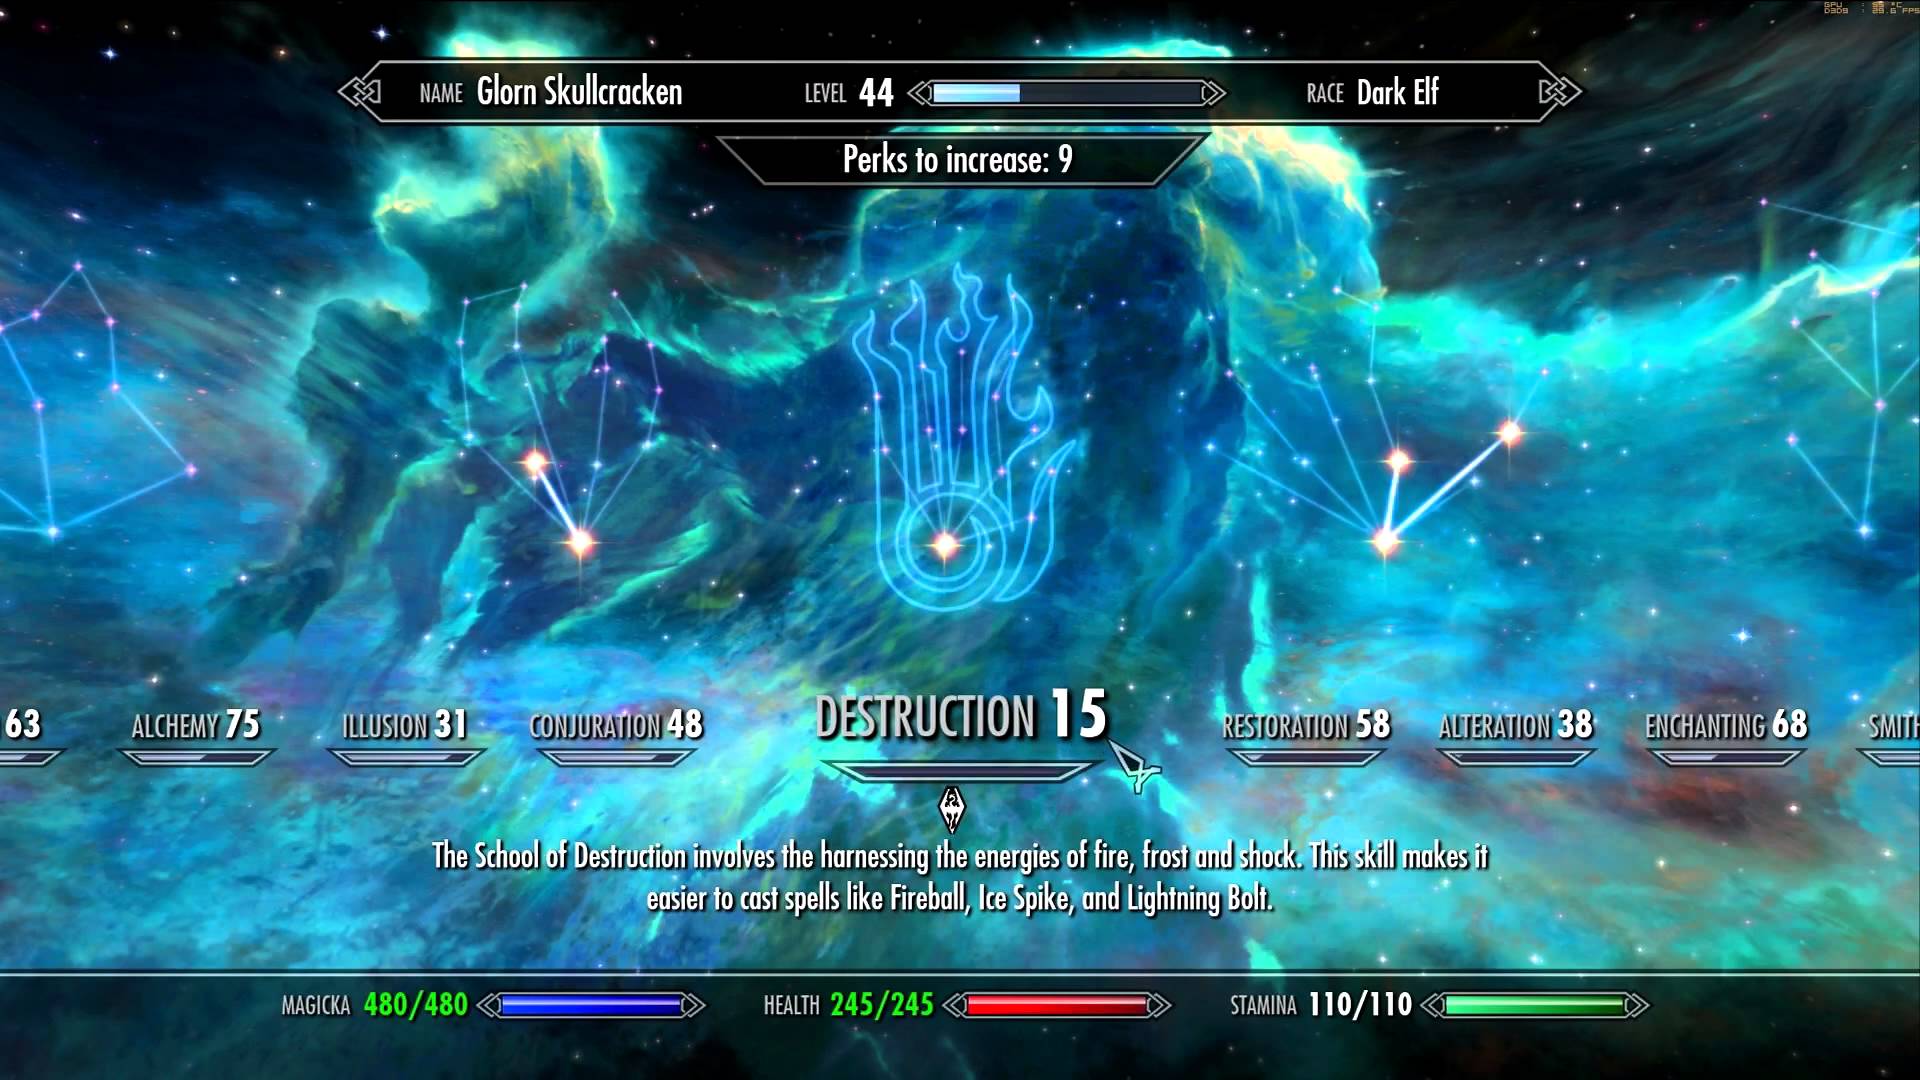
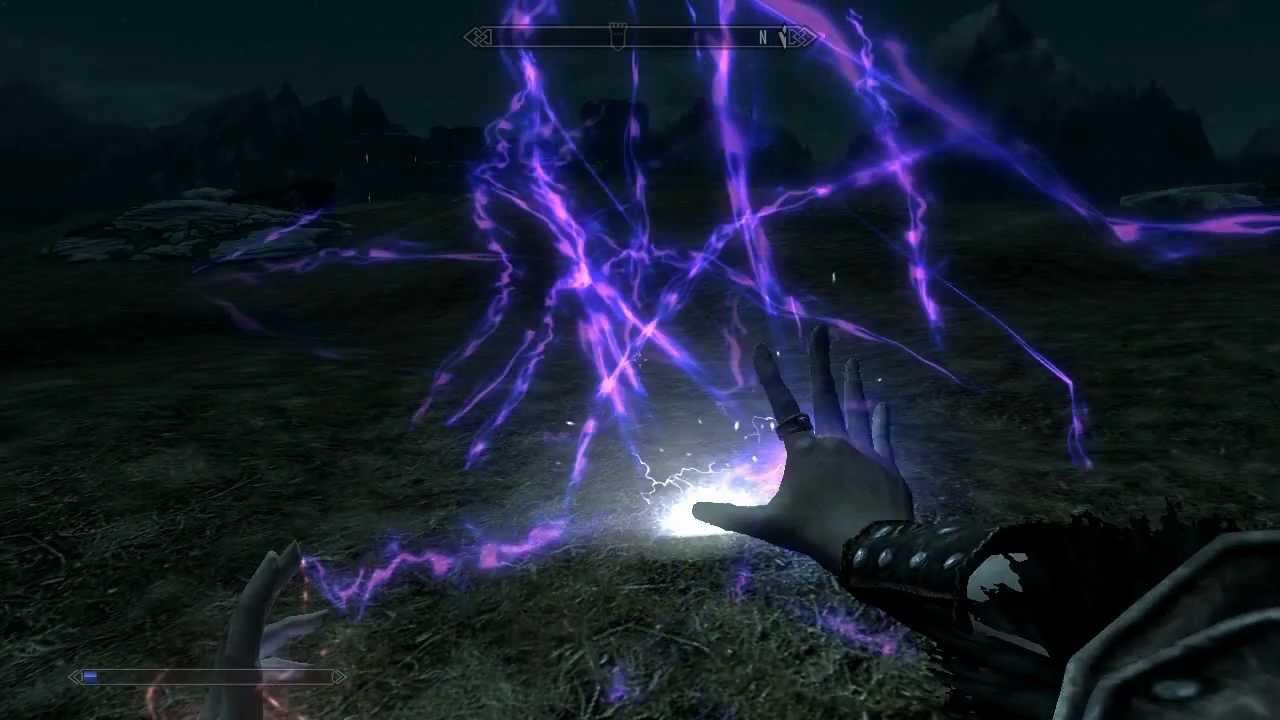
The spells in Skyrim take a definite back seat to swashbuckling and sword-wielding. Look at the Destruction perk tree, for example, and you’ll see damage boosts for fire, frost, and shock. There are still more damage boosts if you allocate points into dual-cast, and then there’s a branch that reduces the cost of more advanced spells. That’s it. Illusion magic is much the same with fear, calm, and frenzy, and conjuration is the same with bound, summons, and raising the dead.

Elder Scrolls

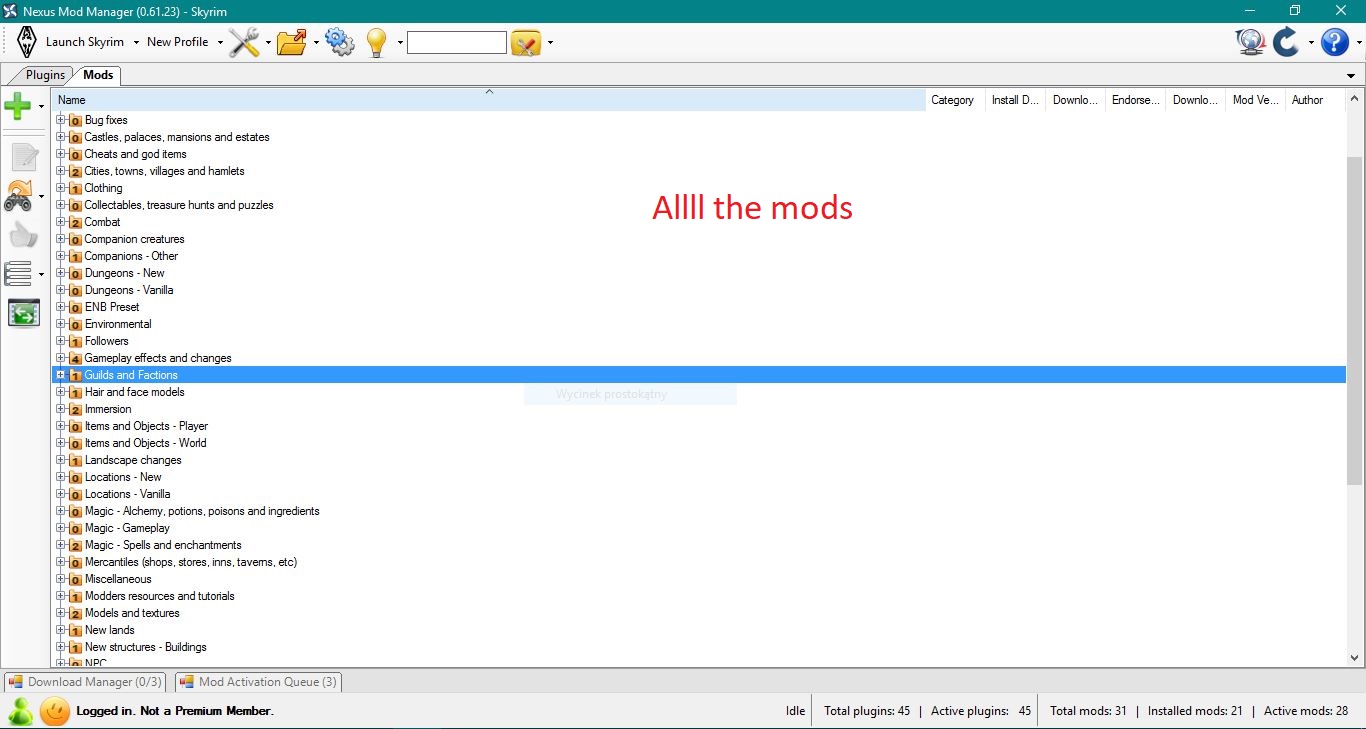
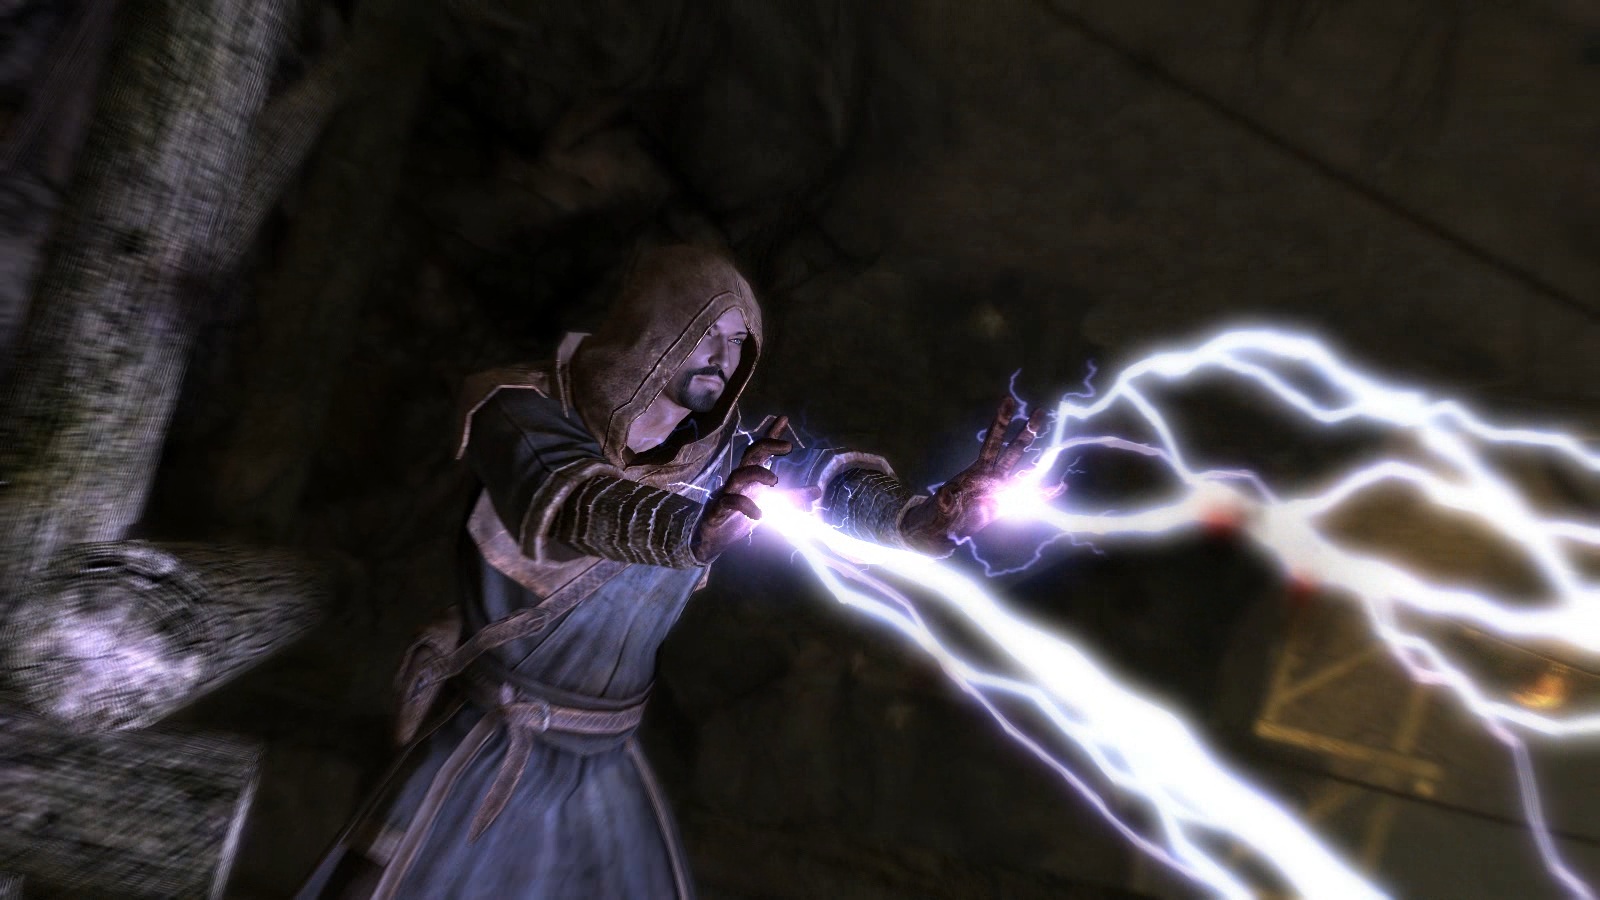
We’re not saying that running a mage in Skyrim isn’t viable – we’re saying that it’s going to end up looking pretty much the same every playthrough. Improving your ability with magic should be about so much more than just damage boosts and cost reductions. For ideas, Bethesda needs only look at the most popular mods out there for magic, and decide which ones to incorporate. Personally? We’d like our wizard to have a Familiar.

Elder Scrolls

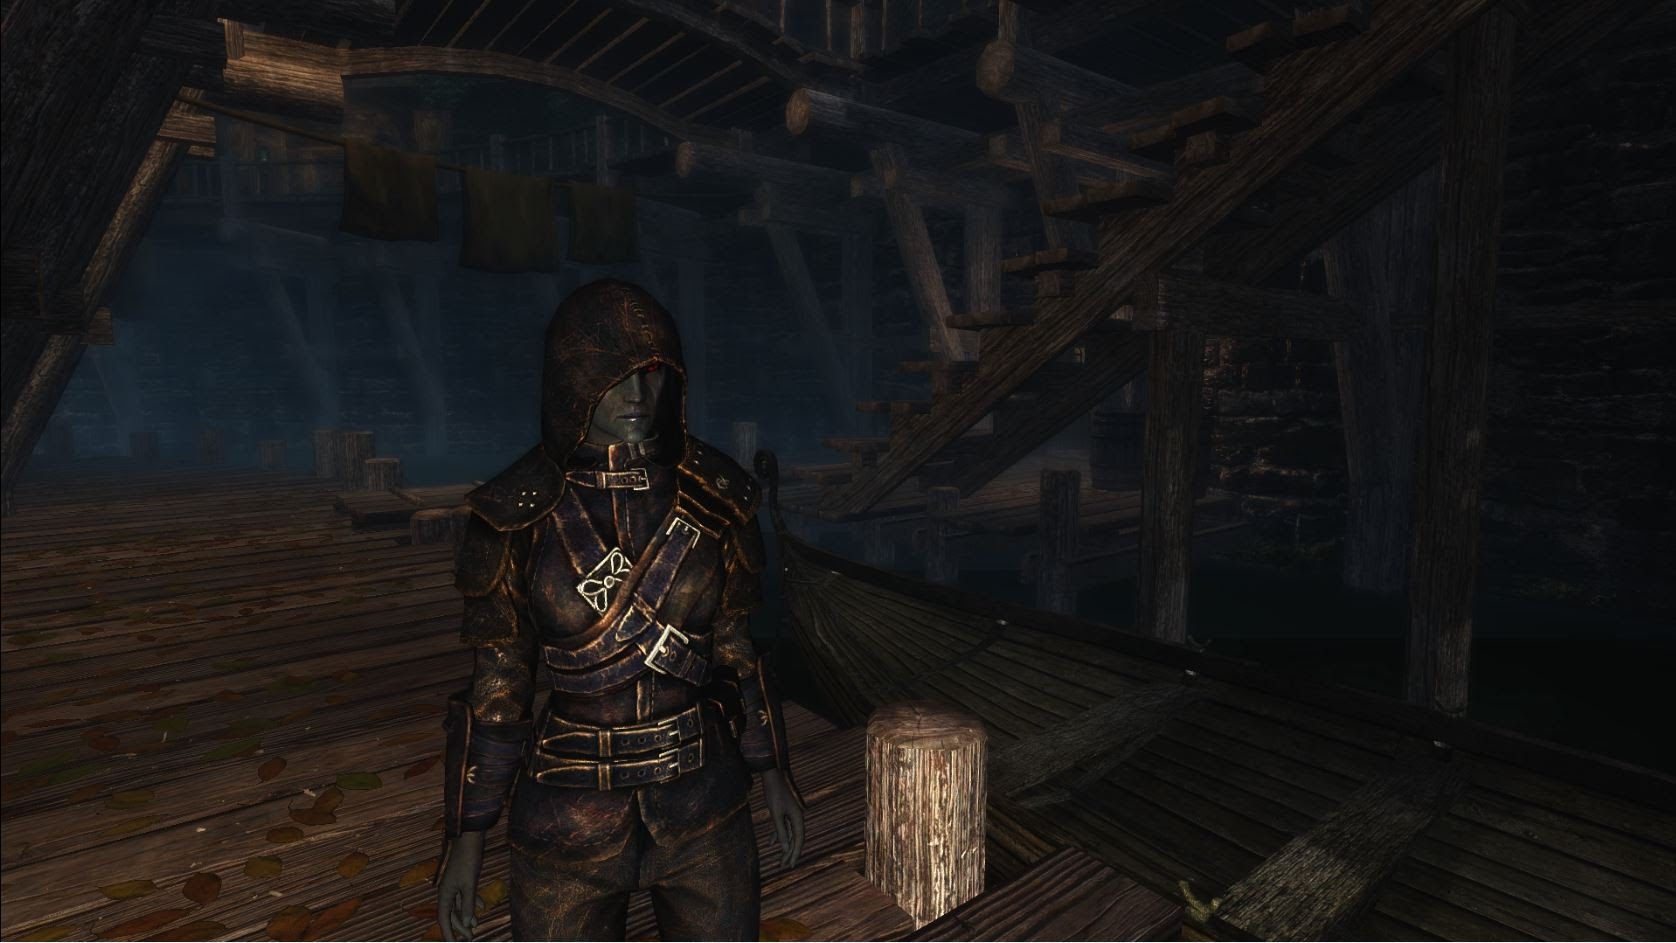
If mages got second pick, thieves had it even worse in Skyrim. That’s not to say that the thief perk trees weren’t useful – they were – but most of these skills defaulted to just faster dungeon crawling, sneaking around monsters, or more successful pickpocket attempts. The thief trees could have been the most versatile of the lot, from cunning speechcraft to nimble sneaking to clever alchemy.

Elder Scrolls

Imagine a thief build where you brew a morphing potion, drink it, and then infiltrate the ranks of the Forsworn to try and talk their Briarheart leader into freeing the prisoners. Or a build where you’re a nimble cat burglar, dodging in and out of combat with city guards while throwing poisoned daggers, tightrope-walking and using a hook-shot to climb walls.

The possibilities here are really as limitless as Bethesda can think and program, and by now that’s an impressive degree. One thing’s for certain though: The more flexibility we have with our character builds, the more builds we can get. The more builds we can get, the more playthroughs we’ll do. The more playthroughs we do, the more hours we’ll want to invest in the next installment of one of our favorite series of all time: The Elder Scrolls.

Watch: Swarm of millions of nanobots controlled by magnets

A new video posted by Nature News and Comment shows a swarm of millions of nanobots being led through a maze using magnetic fields. Check it out!

A new video posted by Nature News and Comment shows a swarm of millions of nanobots being led through a maze using magnetic fields. Check it out:

Making a microscopic swarm move through a maze

This magnetic ‘microswarm' makes manouvering around a maze look… mostly manageable, despite being made of millions of individual nanoparticles.

Posted by Nature News and Comment on Saturday, August 25, 2018

As shown in the video, the swarm is able to expand and split apart. Through manipulation of magnetic fields, the swarm is able to move through an obstacle course with precision, changing course and shape in order to reach its goal.

While the technology is in its early stages, researchers hope that the nanobot swarms could be used to navigate parts of the human body that are difficult to treat with traditional medical technology. The malleable nature of the swarm would allow it to be used for highly precise operations like surgery or targeted drug administration.

The research was conducted at the Chinese University of Hong Kong.