Genshin Impact fans have been eagerly waiting for Ayato to become a playable character. We’ve seen him as an NPC until now, but players asked the developers when they will be able to play as him in the game. It seems as though their calls weren’t in vain.
The latest leaks on Twitter reveal Ayato standing beside a monstrous steampunk beast called the Ruin Serpent, or alternatively the Chasm Boss. You can see cogs and drills on the beast’s design, making it quite intimidating and scary compared to other creatures. We’re excited to see how players will fare against this enemy.
// Genshin leaks
Ayato and the 2.6 upcoming boss (ruin serpent)!! It is rly big, but Ayato will be able to ruin it for sure >:) pic.twitter.com/fHLfaCUbbV
— Daily YASHIRO RASCAL – NOT LEAK FREE (@AyatoDailyyyyy) February 21, 2022
You need to bear in mind that this is just a leak, and we have no official reports on what we will see in Genshin Impact 2.6. All we know is that we’re terribly excited to get our hands on the update when it launches in March. We’ll be cranking up our PCs, PlayStations, and mobile devices to unlock the new characters and bosses as soon as possible.
Of course, there are so many quests we’re still trying to catch up on. For a game that’s free-to-play, it’s really outstanding how much content we’re receiving for the game. Sure, the same can be said for Call of Duty: Warzone and Fortnite, but we have to pay to get all of the legendary content. In any event, we’ll keep you updated if we hear any more news on Genshin Impact 2.6.
When starting from scratch, the best way to install Windows 11 is by using a bootable disk drive. This USB flash drive helps you troubleshoot common issues while ensuring a clean installation across multiple PCs when you’re offline. When your hard drive is empty, booting your computer with Windows 11 USB installation media is the only approach.
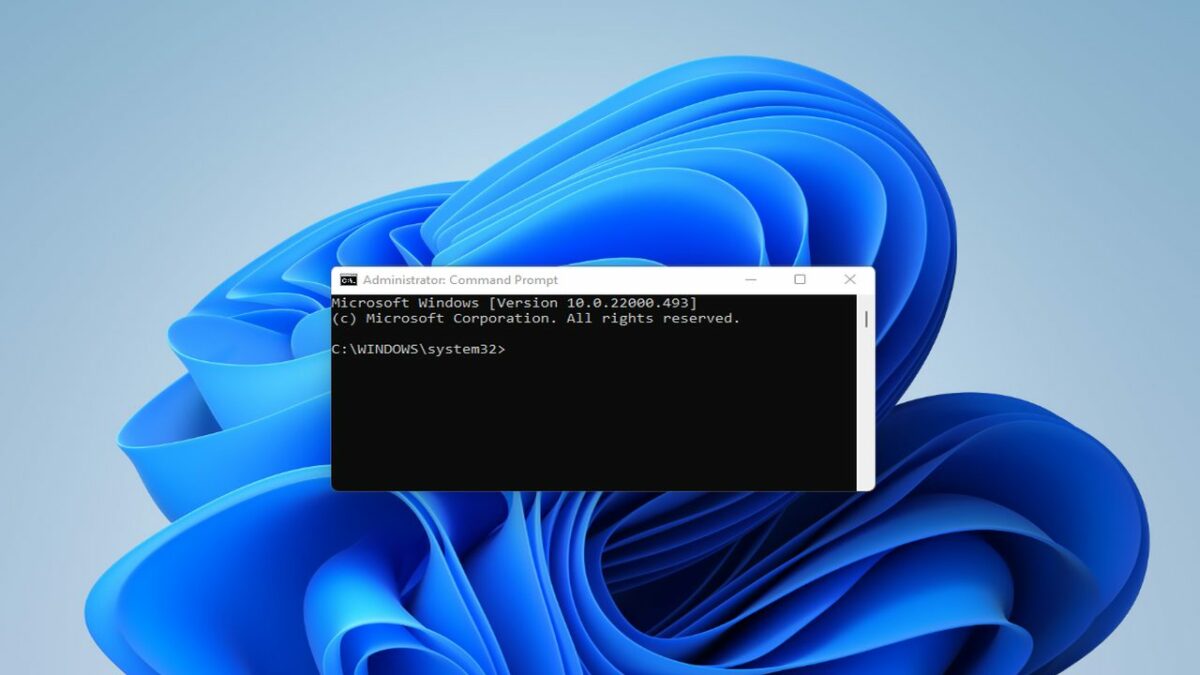
You can create a USBflash drive to install Windows 11 through multiple methods. The easiest way to render the installation media is by using Microsoft’s Media Creation Tool. However, Command Prompt presents another strong alternative. In this guide, you’ll learn how to install Windows 11 using Command Prompt.
Getting started: download the Windows 11 disk image (ISO)
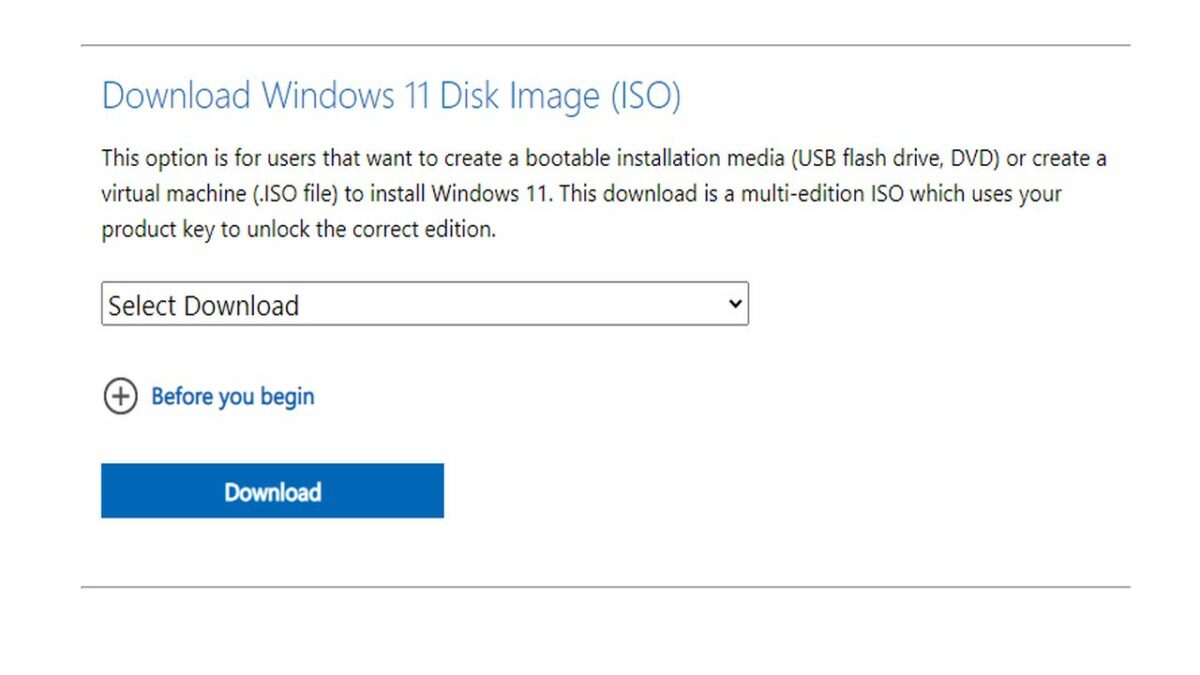
Downloading Windows 11 to a bootable USB drive requires a Windows 11 ISO disk image file. This file type is more commonly known as an ISO image. Before you create your bootable installation file onto a USB flash drive or DVD, you’ll need Microsoft’s multi-edition ISO downloaded to your device. To download the Windows 11 ISO to your PC, follow these steps:
– Scroll down and locate the section titled Download Windows 11.
– Access the dropdown menu and click on Windows 11.
– Now, click on the Download icon to proceed.
– The page will prompt you to select the product language. Choose your preferred language, and click Confirm to proceed.
– The above step loads the section where you choose the 64-bit download icon.
– Wait for the Windows 11 ISO download to finish.
Installing Windows 11 with Command Prompt
Using Command Prompt to install Windows 11 is the best choice for those who want to avoid the use of a third-party tool to use create a bootable drive. Command Prompt allows you to deploy the Diskpart Utility function to establish the required installation media. Here’s the process:
– Back up all files on your USB drive before connecting it to your device. Remember, you will be wiping your memory when you reinstall the OS.
– You’ll need to run Command Prompt. The quickest way to do this is by typing CMDinto your Windows search or Start. You’ll then select Run as Administrator to run Command Prompt.
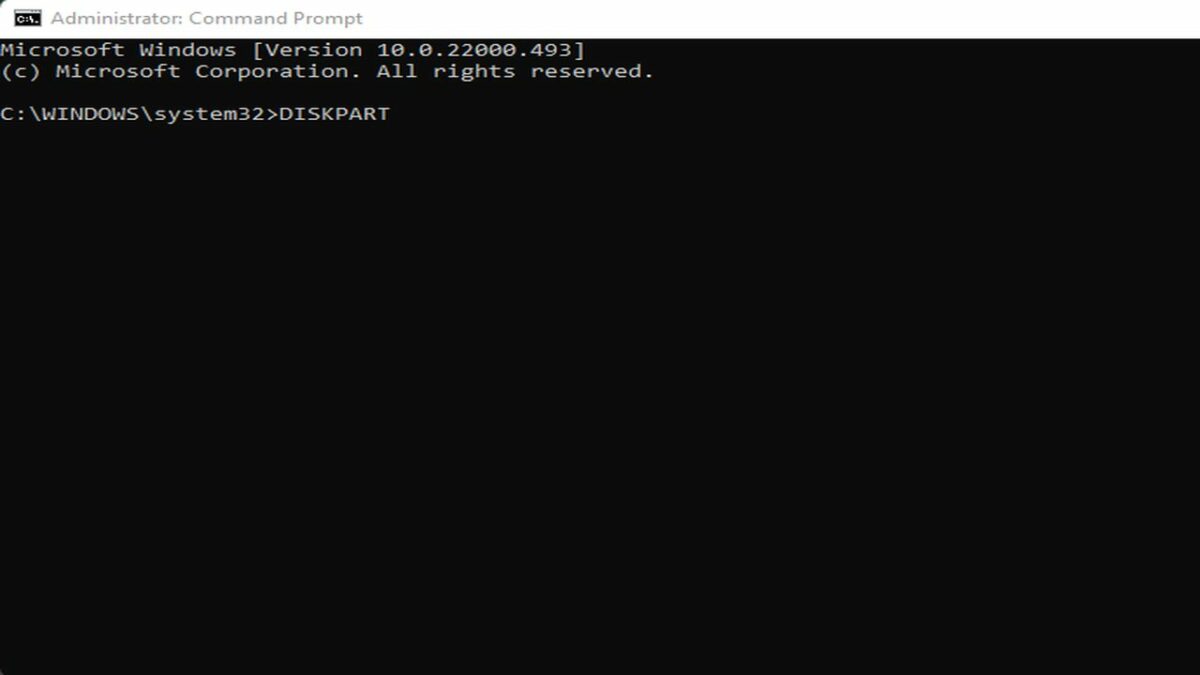
After the Command Prompt window appears, enter the following command: “DISKPART”.
– Now, type “ENTER”to launch Windows Diskpart Utility.
– Type “LIST DISK”in the Disk Utility window. This command displays the available storage devices.
– Find your USB drive among the storage devices listed. If the flash drive is not immediately visible, search under the size column to locate it by identifying the size of your disk.
Let’s assume for illustration purposes that the drive is labeled Disk 2. Type “SEL DISK 2“ into the Disk Utility window. This command selects your drive.
– Now, change the DISK 2 command above with the number corresponding to your USB drive. If you’re running an SSD or SATA set up, your primary drive will display as “DISK 0″. The USB drive appears as “DISK 1″. Choosing the correct drive in this step is vital because the following procedure wipes the selected drive clean.
– After renaming the drives, type “CLEAN” to eliminate all content from the drive.
– Next, enter “CREATE A PARTITION PRIMARY” into the Command Prompt window.
– Now, enter “LIST PAR” to choose your main partition.
– Command Prompt will now detail your USB drive information.
– After this data appears, type “DRIVE” and press enter to activate the partition.
– Now enter: FS=NTFS LABEL=“BootableUSB” QUICK OVERRIDE. This command formats your USB drive in NTFS format to avoid parameter errors.
After completing this command, type “EXIT” and press enter to take yourself out of Disk Part Utility.
Mounting the ISO image
The final step is to mount the ISO image by transferring its content to your USB drive. To do this, follow these next steps:
– In Diskpart, type: PowerShell Mount-DiskImage -ImagePath “C:\Users\UserName\Downloads\Win11_English_x64v”.
– Now, change the file path above to reflect the location of your Windows ISO.
– After the ISO mounts, enter the following command: “DISKPART”. This launches Diskpart Utility again.
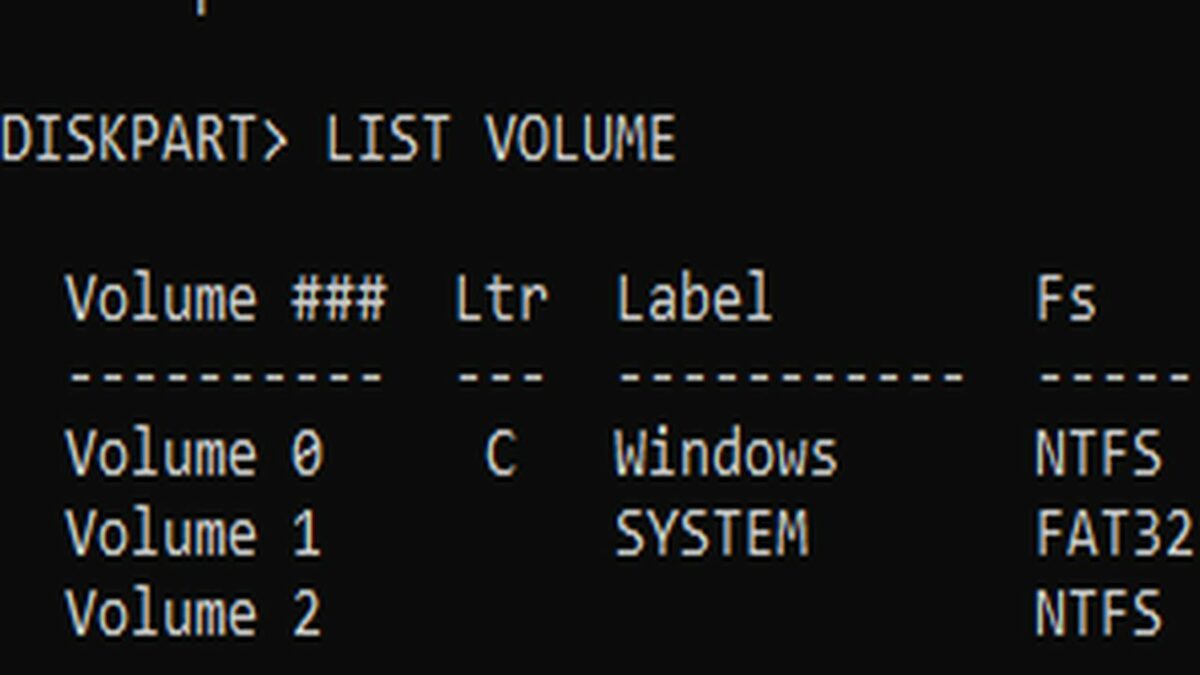
– Type “LIST VOLUME” to display the available volume.
– Listing the volume allows you to determine the Drive Letter for your mounted ISO. It displays as DVD-ROM. Ltr Column provides the letter that corresponds with the appropriate volume. Record the details of the ISO volume so you can move it forward accordingly.
– Next, type “EXIT” to leave Diskpart.
– Enter the Mounted ISO letter associated with the correct list volume. If your ISO volume letter is K, then type K.
– Type “CD BOOT”.
– Enter the following command: “Bootsect /nt60 I:”
– Replace the command above with K (or whichever letter corresponds with your USB flash drive).
– Type “xcopy K:\*.* I:\ /E /F/ H”
Next, you’ll need to replace K and I in the command you just entered above. Replace letter K with your Mounted ISO Volume and letter I with your USB Drive Letter.
Assuming you’ve entered all of the above commands accurately, you’ll see a message appear that reads “Files Copied“.
Wrapping up
Microsoft provides a seamless installation process for creating installation media through its Media Creation Tool. Command Prompt, however, is another reliable alternative for rendering a Windows 11 Bootable USB drive quickly.
Both the Media Creation Tool and Command Prompt will provide a clean install of Windows 11 on any new PC. They also help troubleshoot common Windows OS issues and several other problems associated with dual-booting Windows 10 with Windows 11.
Love it or hate it, the launch of Windows 11 is causing a big sensation. The new edition of the world’s most famous operating system marks a significant departure from Windows 10, receiving a number of improvements, but not all of them are apparent at first glance.
In this article, we’re going to take a look at the best hidden features with the potential to improve your Windows 11 experience, so you can dive in and get the most out of Microsoft’s operating system.
Windows 11: fresh yet familiar
The long-awaited Windows update, Windows 11, was launched worldwide on October 5. This update is free on computers that already have Windows 10, but keep in mind that it’s not compatible with every PC.
Change the taskbar position
As you may have noticed, the traditional taskbar has been redesigned in Windows 11, and this time they decided to position it in the middle of the screen. However, most people loathe this new design and preferred the old position. If you’re one of them, we have good news: in Windows 11, you can move the taskbar back to its usual position. There are just a few simple steps to follow:
Go to Settings, then click on Personalization.
Next select Taskbar. Here you’ll find multiple options for tweaking your taskbar settings, including the one for changing taskbar alignment. Just select the one you prefer – that’s all there is to it!
Multitasking in Windows 11
One of the biggest Windows 11 upgrades makes it easier to multitask on your computer. With the new Snap Layouts feature, you can manage and switch between several different app layouts.
You can also use the Alt + Tab command to view all your layouts.
Manage your notifications
Windows notifications can get a bit tedious and annoying, especially if you have synched all your accounts, phone, etc. To solve this problem, Windows 11 has a new feature called Focus Sessions. So what does it do, exactly? By letting you choose between different modes, it prevents unnecessary notifications from interrupting you while you are working on your computer. You can use this option to schedule task sessions, breaks, etc.
To enable Focus Sessions, click on the clock icon on your taskbar. If it doesn’t appear right away, click on the search icon and type Clock. This will open the app, and you’ll see the menu with all the options to improve your productivity.
Create direct links to your folders in the start menu
In Windows 11, you can create direct links to your folders and display them in the Windows start menu. To do this, follow these simple steps:
Go to the Settings menu on your computer.
Select Personalization and click on Start.
Then select Folders, and a menu will appear with different settings and options to choose from.
Voice typing
Voice typing isn’t a new feature in Windows. This option has been around for a while, so it’s had a chance to evolve into an excellent typing assistant. Microsoft’s dictation tool converts spoken words into text quite accurately, has automatic spelling and punctuation options and can even detect our intonation.
To start using this feature, click the Windows button along with the H key. Then you’ll see a window pop up with different voice typing options that you can select as needed. You can also use the Windows + Alt + H shortcut to move the keyboard focus to the voice typing dialog.
Fast Startup in Windows 11
Fast Startup isn’t a completely new feature on Windows 11 This option, which first appeared on Windows 8, modifies the computer’s status, putting it into a hibernation state instead of a full shutdown. This is possible thanks to a process that uses your hard drive and makes the system boot up much faster.
Fast Startup is enabled by default in Windows 11, but you can disable it from the Control Panel, accessed from the search bar located on the toolbar. Click on System and Security and go to Change what the power buttons do. You’ll see a section called Define power buttons. There, click on Change settings that are currently unavailable. Keep in mind that in order to make changes to the system, you’ll need to have logged on as an administrator. Then deselect Turn on fast startup and save your changes so they are implemented the next time you turn on your computer.
Explore all you can do with Windows 11 and customize its look and feel
Windows 11’s arrival on PCs all over the world has caused a big sensation, and it’s as fresh and innovative as ever. By using its multiple options for customization, you can adapt this system to support your lifestyle and workflow as needed. To learn more about Microsoft’s operating system, check out these articles that might interest you.
Softonic will add new links (no need to translate this sentence)
This article is a translation of the post published by María López
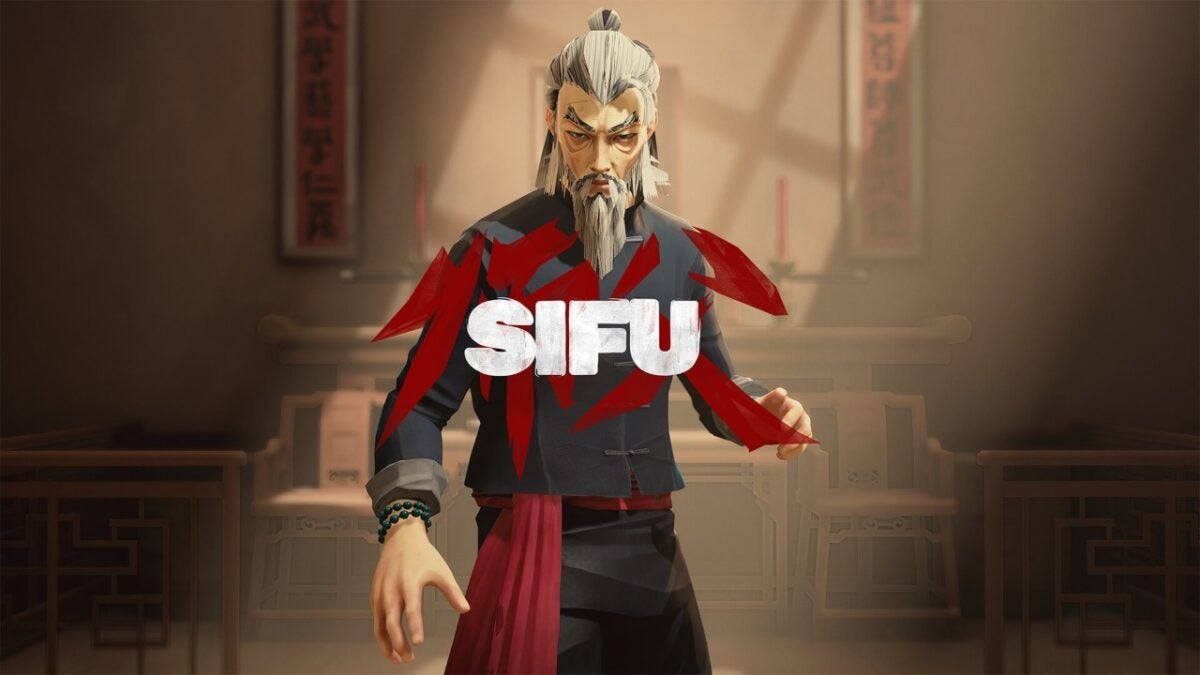
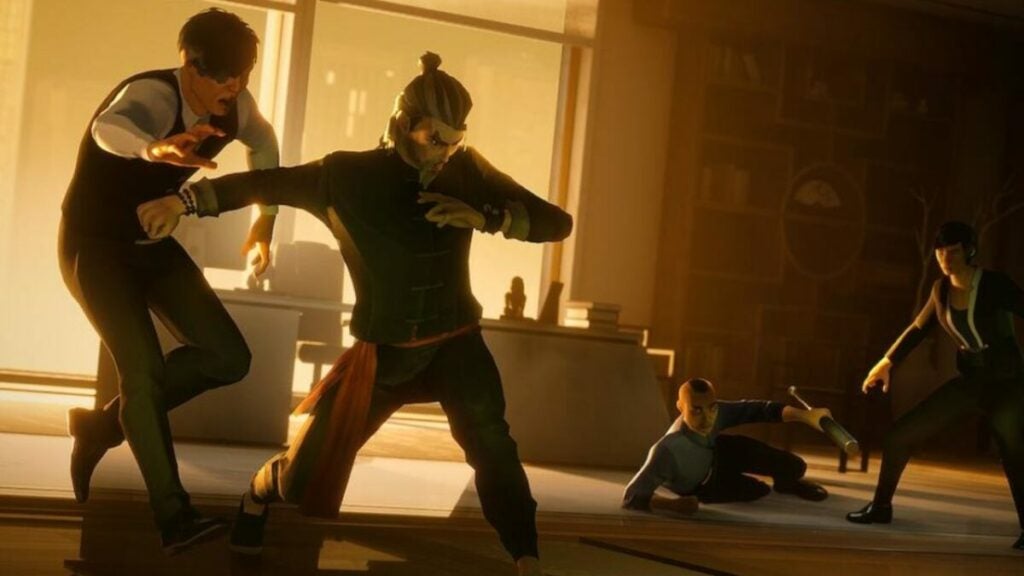
This review on the kung-fu style fighting gameSifu explores several key elements that affect player experiences. Despite the initial delay from developer Sloclap, the extra development time has paid off exponentially as accolades continue to pour in about their latest title.
Though challenging, the game rewards persistence, discipline, and attention to detail –not unlike the study of martial arts itself. But Sifu incorporates elements from multiple genres of games to make a more distinct yet familiar experience. Let’s get into those details within the following categories:
Sifu background
It’s no secret that Sloclap drew from traditional martial arts movies (think The One-Armed Swordsman and Master of the Flying Guillotine) for the story and setting of Sifu. But this title marks the first game that Sloclap has developed and published on its own. Devolver Digital, the publisher behind Serious Sam: Siberian Mayhem, published their previous entry Absolver.
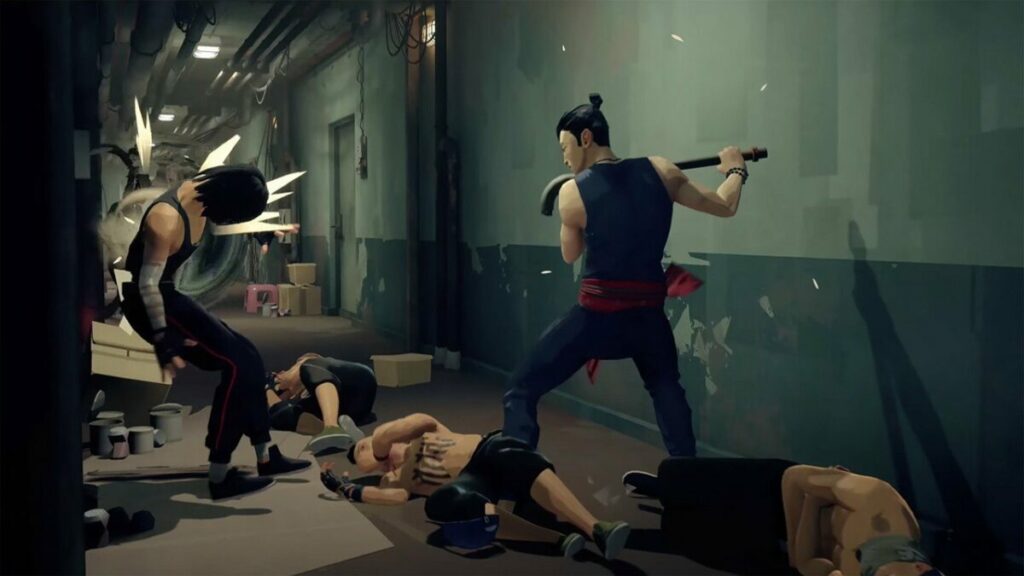
The martial art 白眉/ Bak Mei or Pak Mei kung fu takes center stage in the game. Though styled as a beat ’em up strategy, the game takes hints from games like Dark Souls or Sekiro: Shadows Die Twice paired with a unique, age-linked roguelike element.
Setting and tone
Since Sifu draws so heavily on real-world martial arts and classic Kung Fu films, Sloclap brought in an expert to consult on the game’s fight choreography and combat. Benjamin Colussi, a Pak Mei master, studied under Lao Wei San in Foshan, China, before opening his own school in France.
Story
The story of Sifu is not a particularly unique or novel one in that it is a revenge story at heart. Choosing one of two genders, players embark on a quest to avenge their murdered father Kill Bill style. This requires some sleuthing and, of course, lots of butt-kicking.
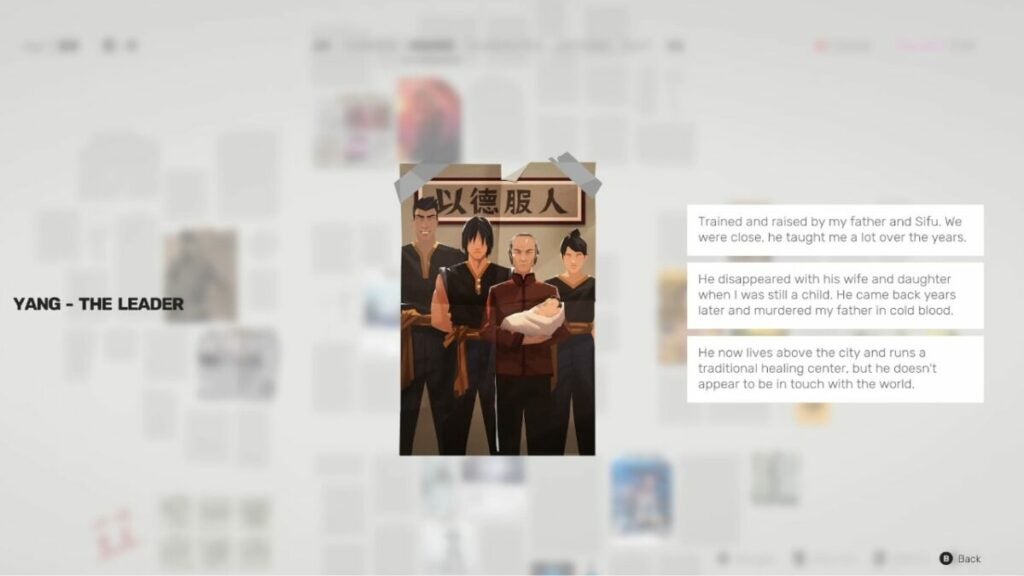
It integrates clue-finding into environment exploration, incentivizing players to interact with the wonderfully realized world that Sloclap created. The detective board used to organize clues seems a bit out of place thematically. But it is a very useful tool for visualizing information.
How long to beat Sifu
Sifu’s runtime is on the shorter side for most modern single-player games. But this indie title has high replayability — especially when you can insert your favorite characters as the protagonist with mods. Here’s how long it takes to beat Sifu:
Main campaign: ~10 hours
Main campaign with extras: ~14 hours
Achievement hunters and completionists: ~17 – ~25 hours
Sifu performance
Using Unreal Engine 4, Sifu can run pretty well on a variety of consoles and computers. In addition, the animation style lends itself to non-4K resolutions in the same way that something like Transistor might. While it would be prettier in better resolutions, it doesn’t take the same visual downgrades as something like Cyberpunk 2077 might.
Sifu PC vs. PlayStation
Sifu is only available in hard copy on PS4 and PS5; for digital versions, would-be players can look to various online storefronts with Epic Games being the easiest to access.
Overall, there is little difference between Sifu on PS4, PS5, or PC. It comes down to personal preference and/or availability for each player.
Sifu gameplay and functions
Core to any gaming experience are the major gameplay loops like finish a puzzle, fight a boss, save the princess, etc. Sloclap tweaks player expectations in a way that makes for very difficult, but extremely rewarding gameplay.
UI and interface
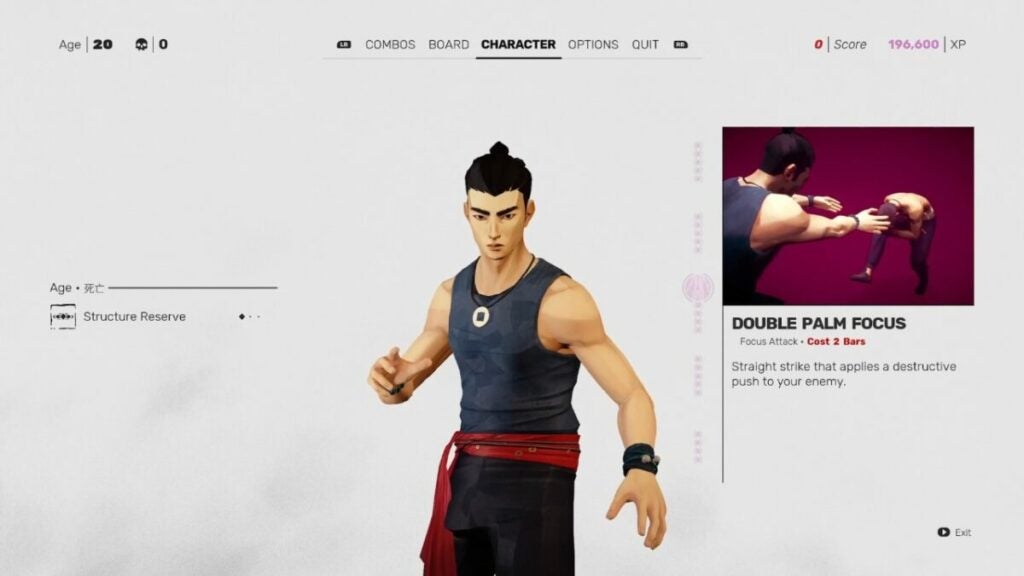
A cluttered or disorganized UI can really sour any gaming experience. Luckily, Sloclap kept things minimal and easy to use. The five tabs at the top clearly outline critical information and give players the option to quit quickly which is a nice “quality of life” feature.
You can always keep track of your age and death counter in the top left corner along with your score and XP in the top right. The only problem might be the color scheme when it comes to the “Skills” section on the “Character” tab. That light pink on a grey/white background can be difficult to parse for some players — even with the additional glow effect around it.
But that’s a minor gripe as each skill description comes with a brief video demonstrating the skill. It’s a fantastic inclusion that helps with accessibility and ease of understanding.
Combat mechanics
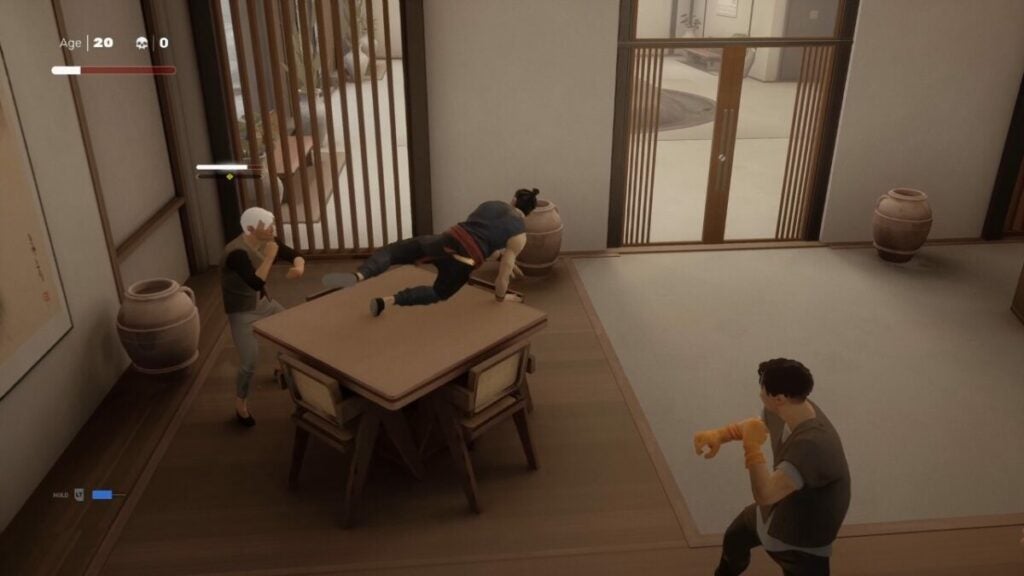
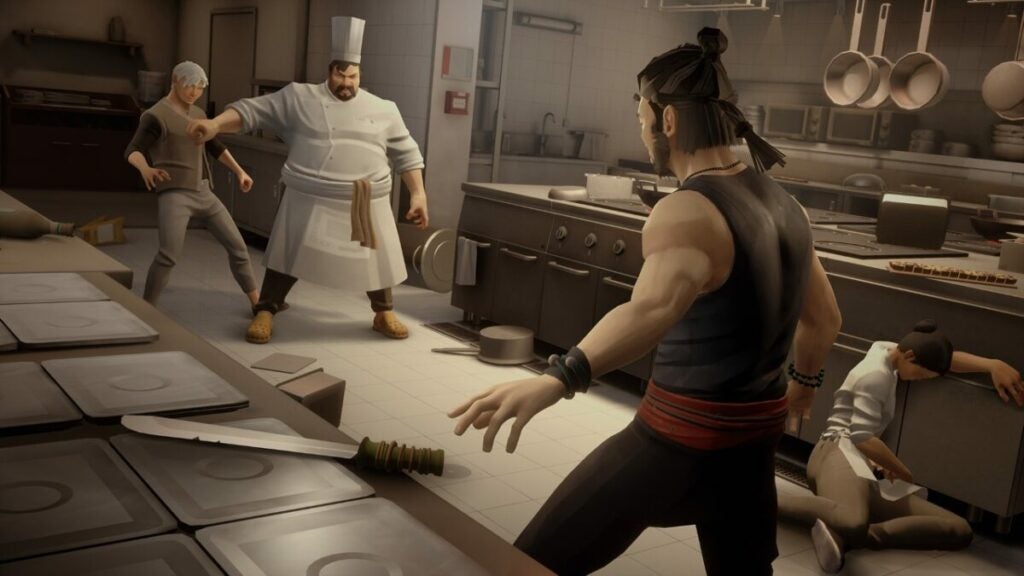
The core combat, as with all beat ‘em up style games, is about combos of light, heavy, and special attacks on top of dodging, blocking, and counter-attacking. However, thanks in part to being in UE4, Sifu can take advantage of destructible items and other environmental-based combat effects. Being able to launch an enemy off a balcony not only feels incredibly real, but very practical since the protagonist is often facing off against multiple attackers.
Of course, being able to kick up a falling object into an enemy’s face seems a little far-fetched when it comes to physical ability. But this stylistic choice only serves to reinforce the inspiration from traditional Kung Fu movies.
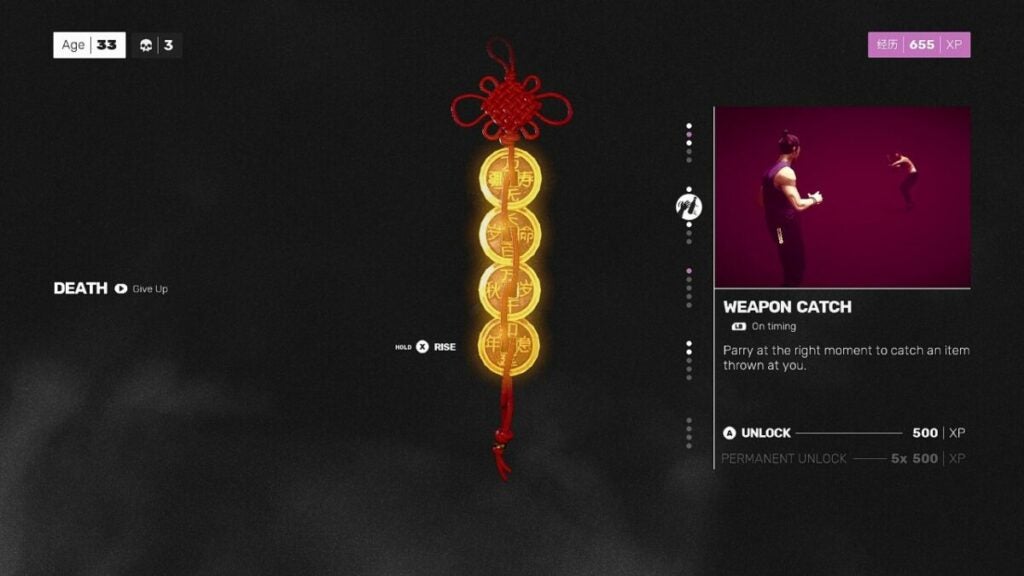
One of the only confusing parts of Sifu’s combat design is how players attain persistent skills. As with other roguelikes and roguelites, players can find Shrines to unlock abilities or purchase new ones during a playthrough. However, after purchasing a skill 6 times, players will always have it unlocked for new runs.
Skills and gameplay loop
The twist on the traditional roguelite gameplay loop introduces a magic talisman. It allows the main character to restart in the same place after death; however, they age the number of times you’ve died. For instance, if you are 28 and your death counter is at 6, you’ll be 34 the next time you revive. Sifu has a hard cap around age 75 where, if you die that time, you’ll have to start over in a new game. Players can reduce their death counter by taking on specific enemies, though they tend to be difficult, as well.
This obviously varies from games like Returnal, Hades, and other games with similar mechanics. But the additional difficulty of aging and hard combat can make the game a bit frustrating at times. The point of games like Dark Souls is to die a bunch, get better at the game, and feel a sense of accomplishment after finally beating a boss. With Sifu, aging interrupts that gameplay loop and adds anxiety around dying.
Combining the “die and die again” mentality of roguelites with the difficulty of Dark Souls can also become tedious since the levels and enemies remain the same in Sifu. Of course, nothing beats that warm feeling of utter satisfaction when you’ve finally beaten a stubborn boss with just the right strategy. Button mashing will definitely not remain a viable tactic past the first level of the game.
Sifu visuals, sound, and enemy design
A hero’s story is nothing without compelling and well-designed villains. Moreover, sounds like the landing of punches or the splintering of wood make huge differences in setting ambiances in video games and other visual media. Sifu is no different and the developers paid special attention to every detail of the game’s craftsmanship.
Sound design
Music can be an afterthought or a major character in a story (just like locations). Music creator Howie Lee merges traditional Chinese musical elements and modern electronica instruments. This blending of historical and modern is a perfect fit for Sifu.
What’s more: the combat sound design feels lived-in and realistic while still playing into the at times kitschy Kung Fu movie niche. Because the game trades so heavily in destructible environments, Lee incorporated distortion, dubstep, and other aural motifs to capture what battling brutal combatants in the middle of a bass-thumping club might really feel like.
Enemy design
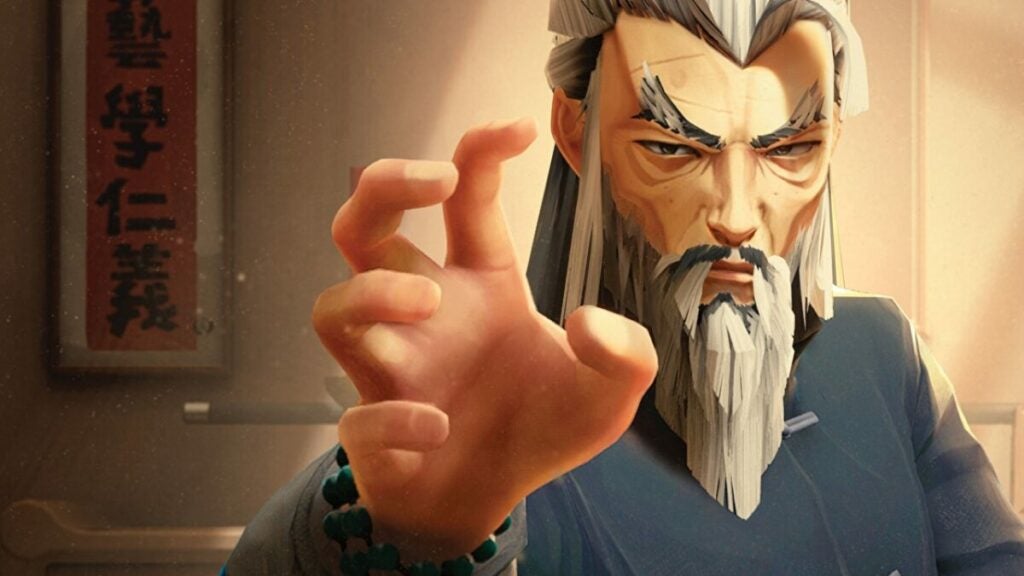
The watercolor-like animation style of Sifu reinforces just how fluid the martial arts combat is. The game plays with skin tone and texture, hairstyles, and lots of colors as players complete their journies. Each of the five main bosses have unique designs — both in the past and present — but your average enemies aren’t the same three models repeated over and over again either.
You’ll find yourself battling multiple genders, people of different heights and weights, and lots of variation in hairstyles and clothing. It’s just one more way Sloclap realized the world of Sifu in such crystalline and authentic detail.
World design
What makes games like Yakuza: Like a Dragon, Mass Effect 2, or Bloodborne great are the animated worlds that accompany the characters and story. Take something like Elder Scrolls: Skyrim, for example. What made that game so endlessly replayable was the depth of content across NPCs and the breadth of content across the in-game world.
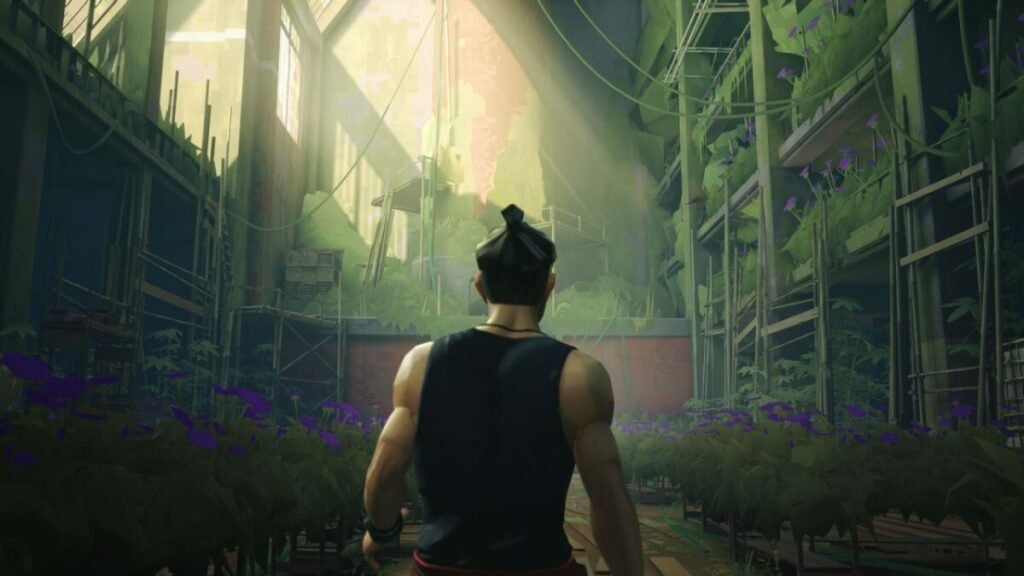
While Sifu doesn’t have a sweeping map with tons of dark corners for players to fill in, it feels no less alive than a Bioware game. A meaningful reason as to why is because the player can destroy so much of it. Throwing enemies through windows, breaking chairs, or even using bottles in fights feels real. Small details like this go such a long way in captivating a player’s audience.
One of the only problems with the world design is howthe camera interacts with it. Some parts of the game take place in tight hallways where the self-guided camera can get stuck during combat scenarios. You won’t see an enemy sneaking up on you because you physically can’t; the camera won’t let you. Though relatively minor, this issue can detract from satisfying gameplay experiences for some.
Sifu review: verdict and wrap-up
Some people use the term “theme-park ride” in a derogatory manner — a misguided choice. Sifu presents the best aspects of your favorite roller coaster with thrills, sleuthing, and lots of martial arts. It lives up to the clear inspiration from classic Kung Fu movies in terms of the visuals, flow, and feel of the game.
The only areas where it falls short are more meaningful story beats and the high barrier to entry for some players in terms of difficulty. But if you want a fluid beat ’em up that’s a feast for the eyes, Sifu will deliver all that and more.
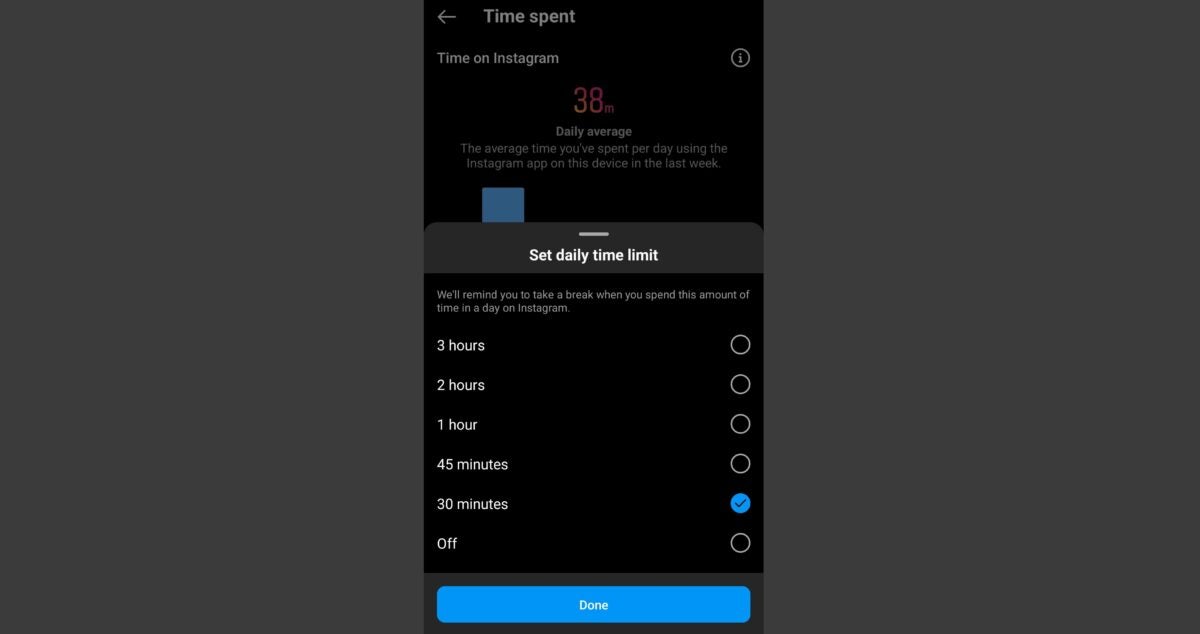
In a move that went completely unannounced, Instagram has removed the ability for users to set their daily time limit to anything lower than 30 minutes. Now, you’ll be prompted to change your chosen duration if it’s not among the current options—and you may end up losing them for good if you do edit them.
Instagram is among the many social media apps that Meta, Facebook’s parent company, owns. It’s quite popular but often criticized for its negative impact on subjects such as mental health and censorship. This sudden change is sure to be another point of contention against the app.
Instagram’s daily time limit feature was first released to help users track their overall usage time and combat social media addiction. That’s why previous options included 10 minutes and 15 minutes. However, a silent update removed them and the minimum time available is now 30 minutes—with other choices usually being 45 minutes, 1 hour, 2 hours, and 3 hours.
With the interface now displaying “3 hours” at the very top of the list, it really feels like Instagram is pushing for more engagement from its active users—especially since a notification will constantly remind you that you need to change your settings if your previous choice was 10 or 15 minutes. You can still actually keep them, but you must avoid editing your settings to do so.
Instagram confirmed this update via Twitter and said that they’ve “changed the ‘daily limit’ options to avoid sending people multiple notifications at the same time.” This is because their new feature, called “Take A Break,” prompts users to stop using the app for a bit instead of just reminding them that they’ve hit their daily limit.
The two time management tools may clash in terms of notifications but the lack of lower time options and an actual feature that forcibly closes the app to enforce your limit paints Instagram’s intentions in a different light. It doesn’t help that things aren’t going well for Meta lately—from Facebook’s reportedly slow growth during 2021 to the company’s $90 million lawsuit settlement.
Cyberpunk 2077 just released its newest update, which is a massive one. The patch notes detail changes to every aspect of the game, from the enemy combat AI to the V’s apartment decorating options. This latest update even included a few secret changes that developers CD Projekt Red didn’t list on the patch notes.
Many players have reported significant changes in patch 1.5. Most of these changes affect V’s crit chance and crit damage. This means that the game has become more challenging, and it has become almost impossible to build an overpowered character.
One of the major changes was that players could stack Bully and Deadeye legendary clothing in previous versions. This stacking had a massive effect on building V’s crits. By stacking these clothing items, players could raise their crit chance to 100% while also building a ridiculous amount of crit damage. This made it possible to defeat some of the toughest bosses in the game, like Adam Smasher and Razor Hughes, with a single shot.
With update 1.5, players can’t stack clothing items, and they can only place items in specific categories. For example, players can only place items that improve deadeye in the eyewear slot.
This is not the only secret change made. Here is a list of some more secret changes released with Cyberpunk 2077 version 1.5.
Stat boosts from Perks and Attribute Points have been lowered.
Crit Chance has been reduced.
Clothing mod stat buffs are reduced.
Maximum number of Clothing mod slots changed from 20 to 9.
Clothing mods can only be used on specific items of clothing.
Clothing mods must now match the rarity of the clothing, or be lower.
Legendary weapons have reduced damage stats.
Crafted weapons have set stats.
Increased Attribute requirements for some Legendary weapons.
Evasion stat is gone and replaced by Damage Mitigation in Armor and Cyberware.
Subdermal Armor Cyberware buffed.
Cyberware Crit stats nerfed.
While the fans accepted and were happy with some of the updates, a few of these secret ones met with less enthusiasm. However, we believe these changes were good ones, making the game more challenging. What’s fun about running around dealing out one-hit kills without even trying?
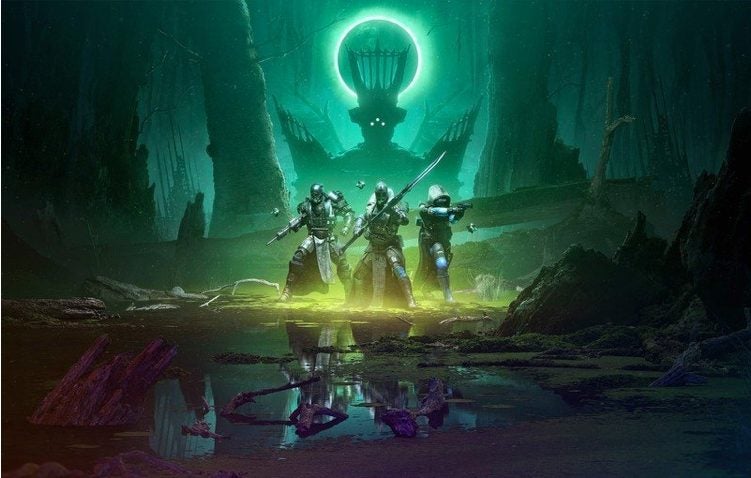
We are finally there! For everyone who’s been waiting for the release of Destiny 2: The Witch Queen, the wait is almost over. The new expansion in the popular series arrives on February 22, and we can’t wait.
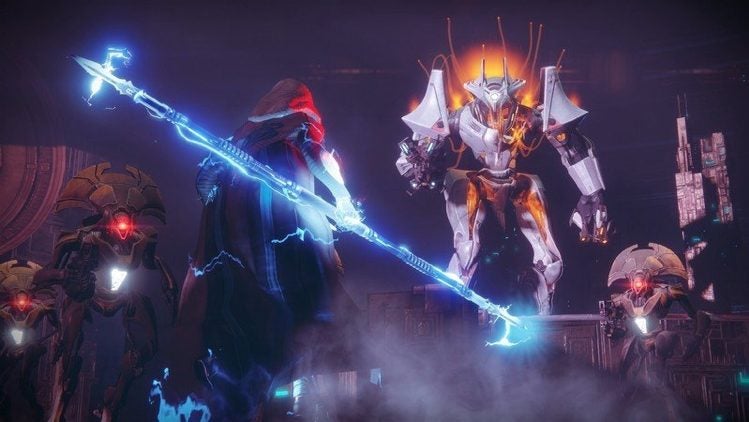
This new DLC will focus on Savathûn and her lucent brood hive warriors. Many of these warriors have been imbued with the same Light as the Guardians, but no one knows how they got hold of the Light. However, armed with its immense power, the hive warriors and their Witch Queen will be the most challenging enemies ever faced by the Guardians.
This means that players have to be prepared to stand a chance against them. Luckily there are ways that you can start preparing now ahead of the release of Destiny 2: The Witch Queen.
7 Ways to prepare for the upcoming Destiny 2 release
If you are familiar with Destiny, you probably already know how essential preparing for the next release is. If not, there’s no time like the present to get you ready to face the new enemy. The saying ‘you don’t send a soldier into battle without a gun is very apt here. Preparation before the battle is important in real life and Destiny 2. Here are seven ways to start preparing for battle, including weapons, armor, and other gear that may be necessary.
#1 Grab the best seasonal year four weapons
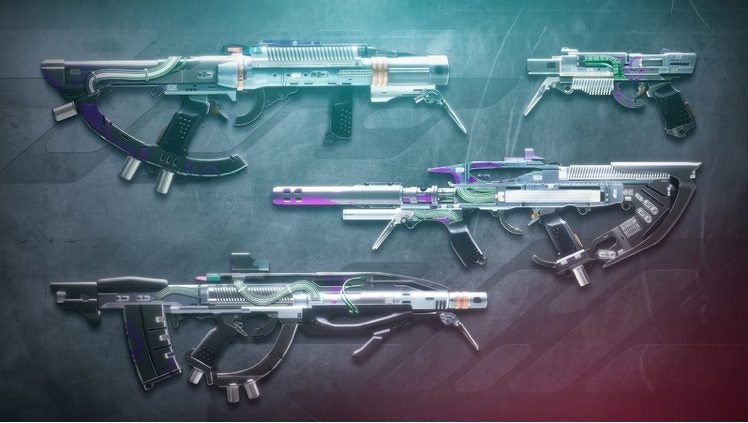
While preparing for Destiny 2: The Witch Queen, you should focus on collecting as many seasonal, year four weapons with God rolls. These weapons can be found throughout Seasons 12 – 15. This includes collecting guns from decoding umbral engrams at the H.E.L.M and obtaining weapons by completing matches in the Vanguard, Crucible, and Gambit playlists.
It’s crucial that you collect as many of the year four weapons as you can, as they’ll no longer be available once The Witch Queen launches. It has also been mentioned that from the new release, it will be harder to earn playlist-specific weapons as the developers, Bungie, will be adding more weapons to the playlist pools.
Here is a list of the best weapons of year four that you should try to get:
Deafening Whisper (Found in S12, God rolls are ambitious assassin/rampage)
Extraordinary Rendition (Found in S13, God rolls are overflow/frenzy)
Threaded Needle (Found in S13, God rolls are auto-loading holster/vorpal weapon)
Ignition Code (Found in S14, God rolls are slideshow/vorpal weapon)
Gridskipper (Found in S14, God rolls are heating up/frenzy)
Chroma Rush (Found in S14, God rolls are feeding frenzy/rampage)
Vulpecula (Found in S15, God rolls are outlaw/headstone)
Royal Entry (Found in Vanguard, God rolls are auto-loading holster/lasting impression)
Empty Vessel (Found in Vanguard, God rolls are auto-loading holster/disruption break)
Servant Leader (Found in Gambit, God rolls are rapid hit/one for all)
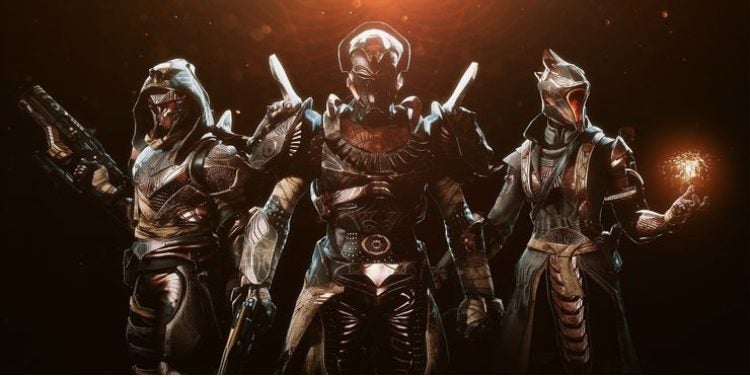
#2 Collect high stat armor
Destiny 2 is known for dropping a player straight into a mission when a new expansion is released. This means there won’t be time to strengthen your character and get your Guardian ready then. You have to be ready before the expansion releases. Make sure that you collect and equip the highest stat armor possible. Not only will high stat armor prepare you for your first mission in the new expansion, but it also helps players move faster, stay alive longer and regenerate abilities faster.
There are many different ways to collect high stat armor in Destiny 2. You can earn high stat armor by completing encounters in raids, especially the Vault of Glass and the Deep Stone Crypt. Alternatively, you can also complete dungeons like Crypt to collect high stat armor. Finally, completing the ‘Legend’ version of activities like Dares of Eternity also drops high stat armor.
#3 Spend gunsmith materials
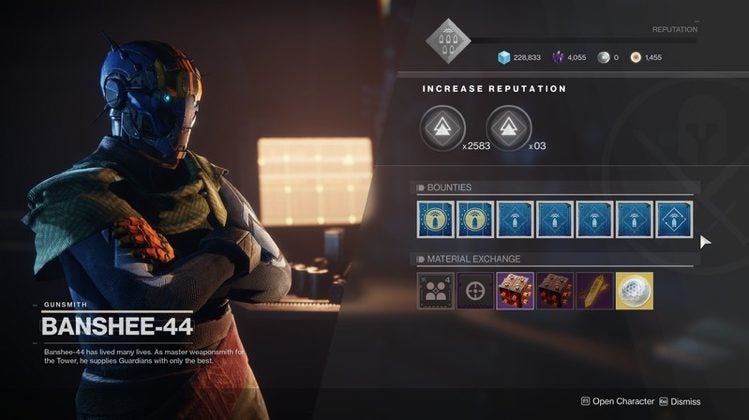
Bungie confirmed that with the release of The Witch Queen, gunsmith materials and weapon telemetries will be removed from the game. This means that Banshee-44 on the tower won’t accept them anymore. It would be best to get rid of them while you still can before the next expansion. By spending your gunsmith materials and weapon telemetries, you get weapon drops. While most of the weapons in the pool are quite generic, there are a few gems if you’ve got enough gunsmith material and telemetries to spend.
#4 Complete and store bounties
It may seem strange to complete bounties but not claim the XP for them right away. However, in Destiny 2, this is one of the best ways to ensure that you get a significant XP boost in the next expansion. As such, you should work to complete as many bounties, especially seasonal ones that will be removed with the new expansion, and store them. Once the new expansion is released and you receive your season artifact, you can turn in all stored bounties for a significant XP boost. This will ensure you get a great start to the new expansion pack. To ensure that you build up the highest amount of XP, try focusing on weekly bounties from the following sources:
Moon
Lectern of Enhancement
Europa
Cosmodrome
Hawthorne
Starhorse
Iron Banner
#5 Stock up on materials
You don’t want to enter a new expansion with a character who’s broke. As such, you want to make sure that you stock up on items. So, before spending hours (and all your resources) to optimize your loadouts and fashion, ensure that your Guardian is stocked up on upgrade modules, glimmer, and masterwork material. Once you’ve collected a nice stash of these, you can also try collecting other materials like dusklight shards and Microphasic Datalattice.
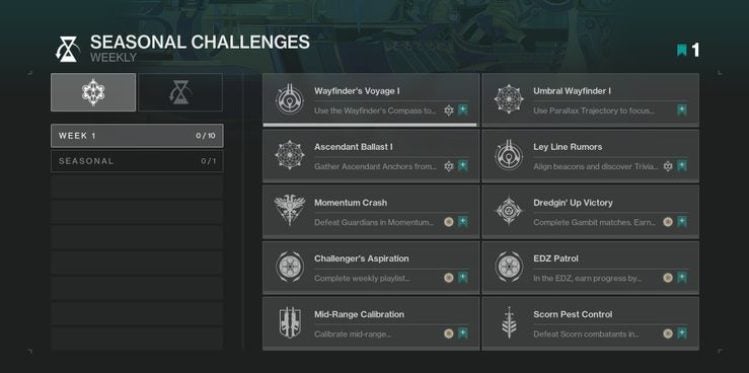
#6 Complete seasonal challenges
It is a good idea to try and complete all seasonal challenges before the release of Destiny 2: The Witch Queen. This is important because these seasonal quests will no longer be available in the new expansion, and they are a great source of XP and bright dust. XP is always critical to level up your Guardian and make them stronger. Bright dust is needed to buy any new cosmetics that come with the release of The Witch Queen. If you can’t finish all the seasonal challenges, try to complete at least 75. By completing 75 challenges, you’ll receive a bonus of 4000 bright dust on top of the regular bright dust awarded.
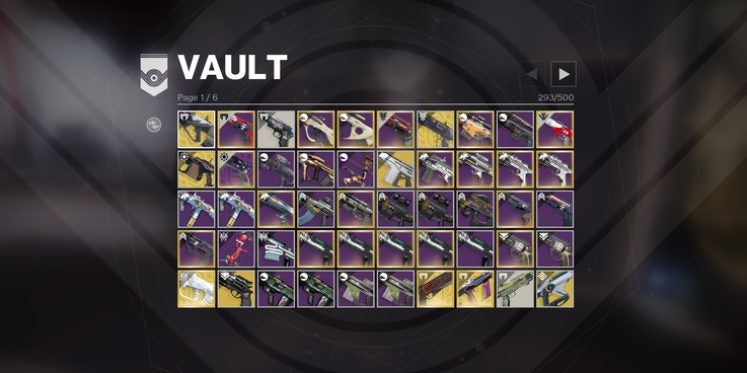
#7 Free up space in your vault
The new expansion comes with many new weapons and armor to chase. A lot of these items will be stored in your vault. However, if your vault is already full of items from previous expansions, you’ll run into a storage issue. As such, go through your vault before the new expansion is released and delete any items that you don’t use or won’t use in the future. This can include weapons and any armor with stats below 60.
Final Thoughts
Destiny 2: The Witch Queen is an eagerly awaited expansion to the popular Destiny 2 game. However, have you made sure that you’re ready for this release? Now’s the time to make sure you clear out what needs to be cleared, stock up on strong weapons and armor, collect those bounties and complete those last few challenges while you have the chance. You’ll give your Guardian the best start in the next chapter of the story by doing this.
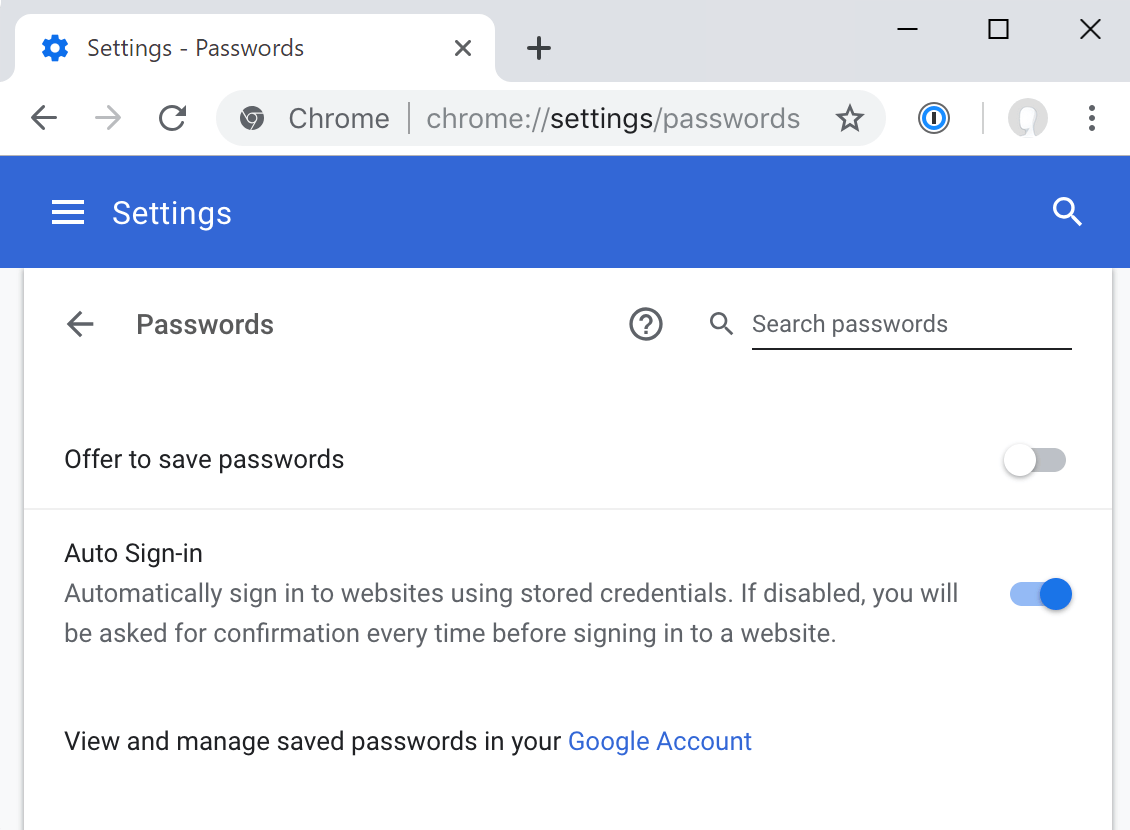
In the last few months, Google has added the option to manually add passwords to your browser and its Chrome Canary developer client. This innovation will go hand in hand what’s Google’s existing password utility that lets users automatically save passwords to their Google accounts.
Now, we have learned that Google is experimenting with a new feature that will let users add notes to the saved passwords in a future build. While the tech and communication giant has yet to announce when the feature will be available to the general public, we can assume that with a feature so sensitive, the company is carrying out rigorous testing before an official launch.
It is however pertinent to note that Chrome Canaryis an experimental playground for Google and its developers, and that might be some time before we see a final build of the Chrome search engine with this feature added.
Google has yet to comment on what the intention behind the feature as well as possible uses would be; the tech-focused social media platform, Reddit, is all a buzz. One likely use highlighted by tech enthusiasts excited about the feature is the option to add pertinent information to a password.
This could be anything from a list of security questions or automatic expiration date for each password to intel on when users last modified their passwords. In truth, for security-conscious users, possibilities should be endless, and this new feature should be an innovative way to keep on top of your security in the online professional, social and leisure landscape.
This feature is however not free of public criticism, with some users on Reddit concerned about whether the information added in the ‘notes’ section will have the same high-level encryption as passwords themselves. We can assume that your notes will be encrypted and that all possible issues with cybersecurity will be tested before this innovative feature rolls out to the public.
Destiny 2 developers Bungie are getting ready to release the latest expansion pack in the series. Destiny 2: The Witch Queen is the fourth expansion in the series. It is set to release today and has been the most anticipated Destiny 2 release to date, with more than one million pre-orders of the game. In preparation for the release, Bungie scheduled server maintenance with associated downtime.
Bungie will be shutting down the Destiny 2 servers for critical maintenance before the release of the new expansion. The developers do this before every new expansion release to ensure that the game functions correctly and is ready for the new release. This time, the downtime will be for an extended period. The Witch Queen is introducing many new aspects to the game, including a whole new realm and new weapon-building modes.
Bungie released information about the downtime on their Twitter feed. In total, the Destiny 2 server will be off for 15 hours immediately before the expansion pack’s release. This means players won’t be able to play the game until the release of the new expansion.
Players will be able to preload the new expansion pack on all platforms as these options will be available once the downtime starts. Platforms with preload options include Playstation, Xbox, Stadia, and PC. Players on PS4 will have to ensure that they install all the base game content before preloading Destiny 2: The Witch Queen.
This downtime before a new release is not new to the Destiny community. We look forward to seeing how well the servers hold once the maintenance finishes. The release of the new expansion will follow shortly after. Then the players will descend in eager swarms to get their first glimpse of Destiny 2: The Witch Queen.
Apple has introduced the long-awaited Universal Control withiOS 15.4 and macOS Monterey 12.3 updates. This amazing feature allows control and movement between Mac and iPad with a single mouse or trackpad and keyboard, so you don’t have to clutter your desk with separate input devices and can work comfortably on both devices at the same time.
Connet to iCloud
Both your devices must be signed in to iCloud and share one Apple ID using two-factor authentication. It won’t work across devices signed into separate Apple ID accounts. For wireless use, you must enable Bluetooth, WiFi, and Handoff on both devices. They should be within 10 meters (30 feet) of one another and connected to the same network. The iPad and Mac must not share a cellular and internet connection. So the Mac can’t be tethered to the iPad). Using a USB connection, the Mac must be trusted on the iPad.
Adjust the settings
To set up Universal Control on your Mac, go to the Apple icon → System Preferences. Choose Displays. Click on Advancedto access Universal Control’s settings.
Use the Displays section12 of the Mac’s System Preferences to ensure Universal Control is working correctly.
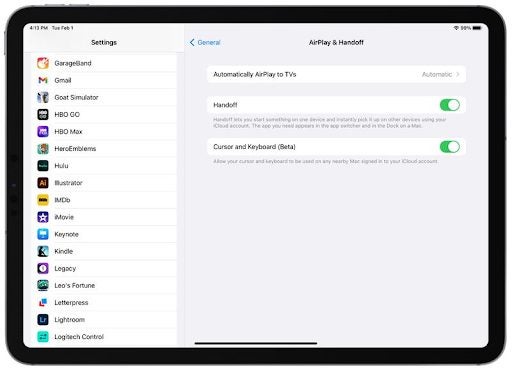
On the iPad, if you go to Settings -> General -> AirPlay & Handoff, you can toggle off Cursor and Keyboard if you don’t want to use Universal Control.
Operate multiple devices
If, for instance, you are using an iPad Pro and a MacBook Pro, you can set them up next to each other and use the MacBook Pro’s keyboard and trackpad to work on the iPad. You can also switch the devices’ roles by using the Magic Keyboard on your iPad, for example, to control and work on the Mac. Each device will still be running its respective operating system (macOS on the Mac and iPadOS on the iPad), but you can use the same keyboard and mouse to work on both devices.
Using Universal Control
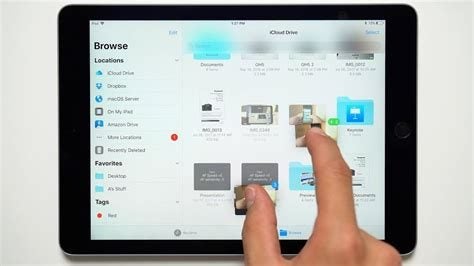
You can use one keyboard for both devices to type into text input fields like Notes or Safari. Best of all, you’ll be able to move material from one desktop to the other by simply dragging and dropping it.BUT, you’ll have to have an app open that’s compatible with the file type you are using on an iPad and a Mac. For example, if you want to transfer a picture from the Mac to the iPad, ensure you first open the Photosapp on the iPad. It’s similar if you want to move a document: First open the iPad’s Files app.
Format support
The Mac’s desktop supports different file types, so dragging a file or photo from the iPad to the Mac is easy. The home screen on the iPad does not support different file types. But the three-finger swipe between pages, and other macOS gestures, are compatible on the iPad since the Magic Keyboard supports these features. Some of the multitouch gestures (like Mission Control) aren’t available on iPads. So, if, for instance, you open an app on the iPad and want to exit using the Mac’s trackpad, you can use a three-finger swipe. Or you can move across the dock with your mouse and swap apps.
Customize or disable Universal Control
In System Preferences, go to Displays, then toDisplay Settings- > Advanced to customize some Universal Contro features.
Control your Mac and iPad from one mouse/keyboard: This setting is enabled automatically when you upgrade to macOS Monterey 12.3. If you don’t want Universal Control, uncheck this box.
Push trackpad or cursor towards another Mac or iPad: This feature is enabled by default.
Universal Control vs Sidecar
If you’ve been using Sidecar and are thinking about switching to Universal Control, these are the main differences between the two options: Sidecar converts your iPad into a secondary display for your Mac. This means that your Mac screen will be mirrored on the iPad. Universal Control, however, lets you see different content on each of your screens, access it on both, and move material between them.
Unclutter your desktop, and have fun too
Universal Control will definitely unclutter your desktop! It will also allow you to work easily on two devices using only one input device, like a keyboard, mouse or trackpad. This will surely make your work much more manageable. And moving your content effortlessly between your two devices is not only practical and efficient, but it can also be lots of fun.