How to test beta versions of apps

You’re a smartphone Jedi. You’ve got a million apps at your fingertips. You stay on top of the hottest trends with Softonic’s weekly Furious 5. But have you ever wondered how to access the beta version of an app? You don’t have to be in a special club to try the newest updates. Any user can access a trial version. The only requirement is that the company gives you the green light. Today at Softonic, we’ll show you how to test beta versions of apps.

The catalog that can do it all

Generally speaking, many companies have specific processes for users to sign up for beta versions of their programs. This is very common in video games, where a request is sent via email and if fortune smiles on you, the company will contact you, giving you access to the early version of the game.
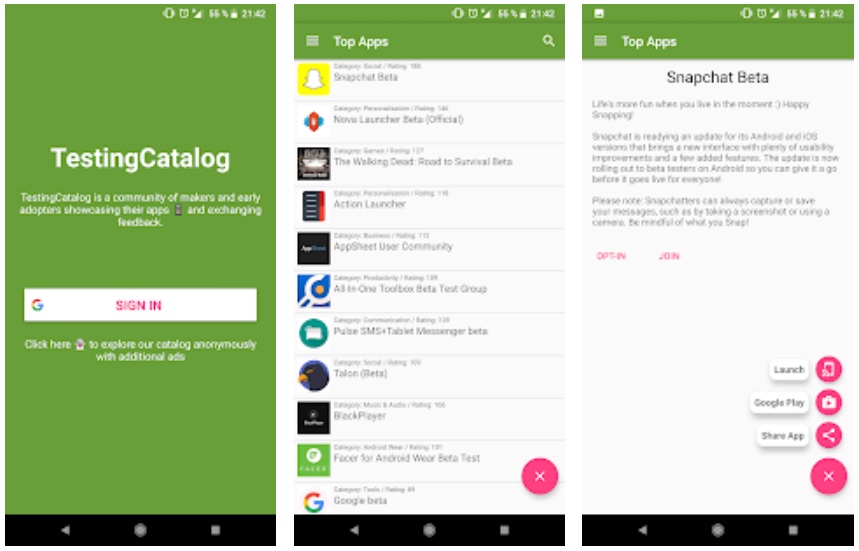
In the world of smartphones, it’s pretty similar, though there’s an app (meta, right?) that we think is wonderful: Beta Testing Catalog. As the name suggests, you can use it to apply to many beta versions available right now. Want to try the next WhatsApp update? They’ll tell you how.

Beta Testing Catalog Download Free
8

Importantly, the Beta Testing Catalog is updated daily. The app notifies you every day of new additions to the beta program, as well as access to them. Oh! And there’s more. Since this app was created by the programmer community dedicated to the beta universe, there’s lots of interaction on the platform itself. So, if you see any problems, don’t hesitate to contact them.

With this sweet platform, you’ll have access to dozens of apps in their beta phase. Of course, remember that some won’t be available, so there’s nothing better than checking directly with the manufacturer to get updates (and if you can get access to their trial program, even better).
 

How to detect fake apps in the Google Play Store in just 3 steps

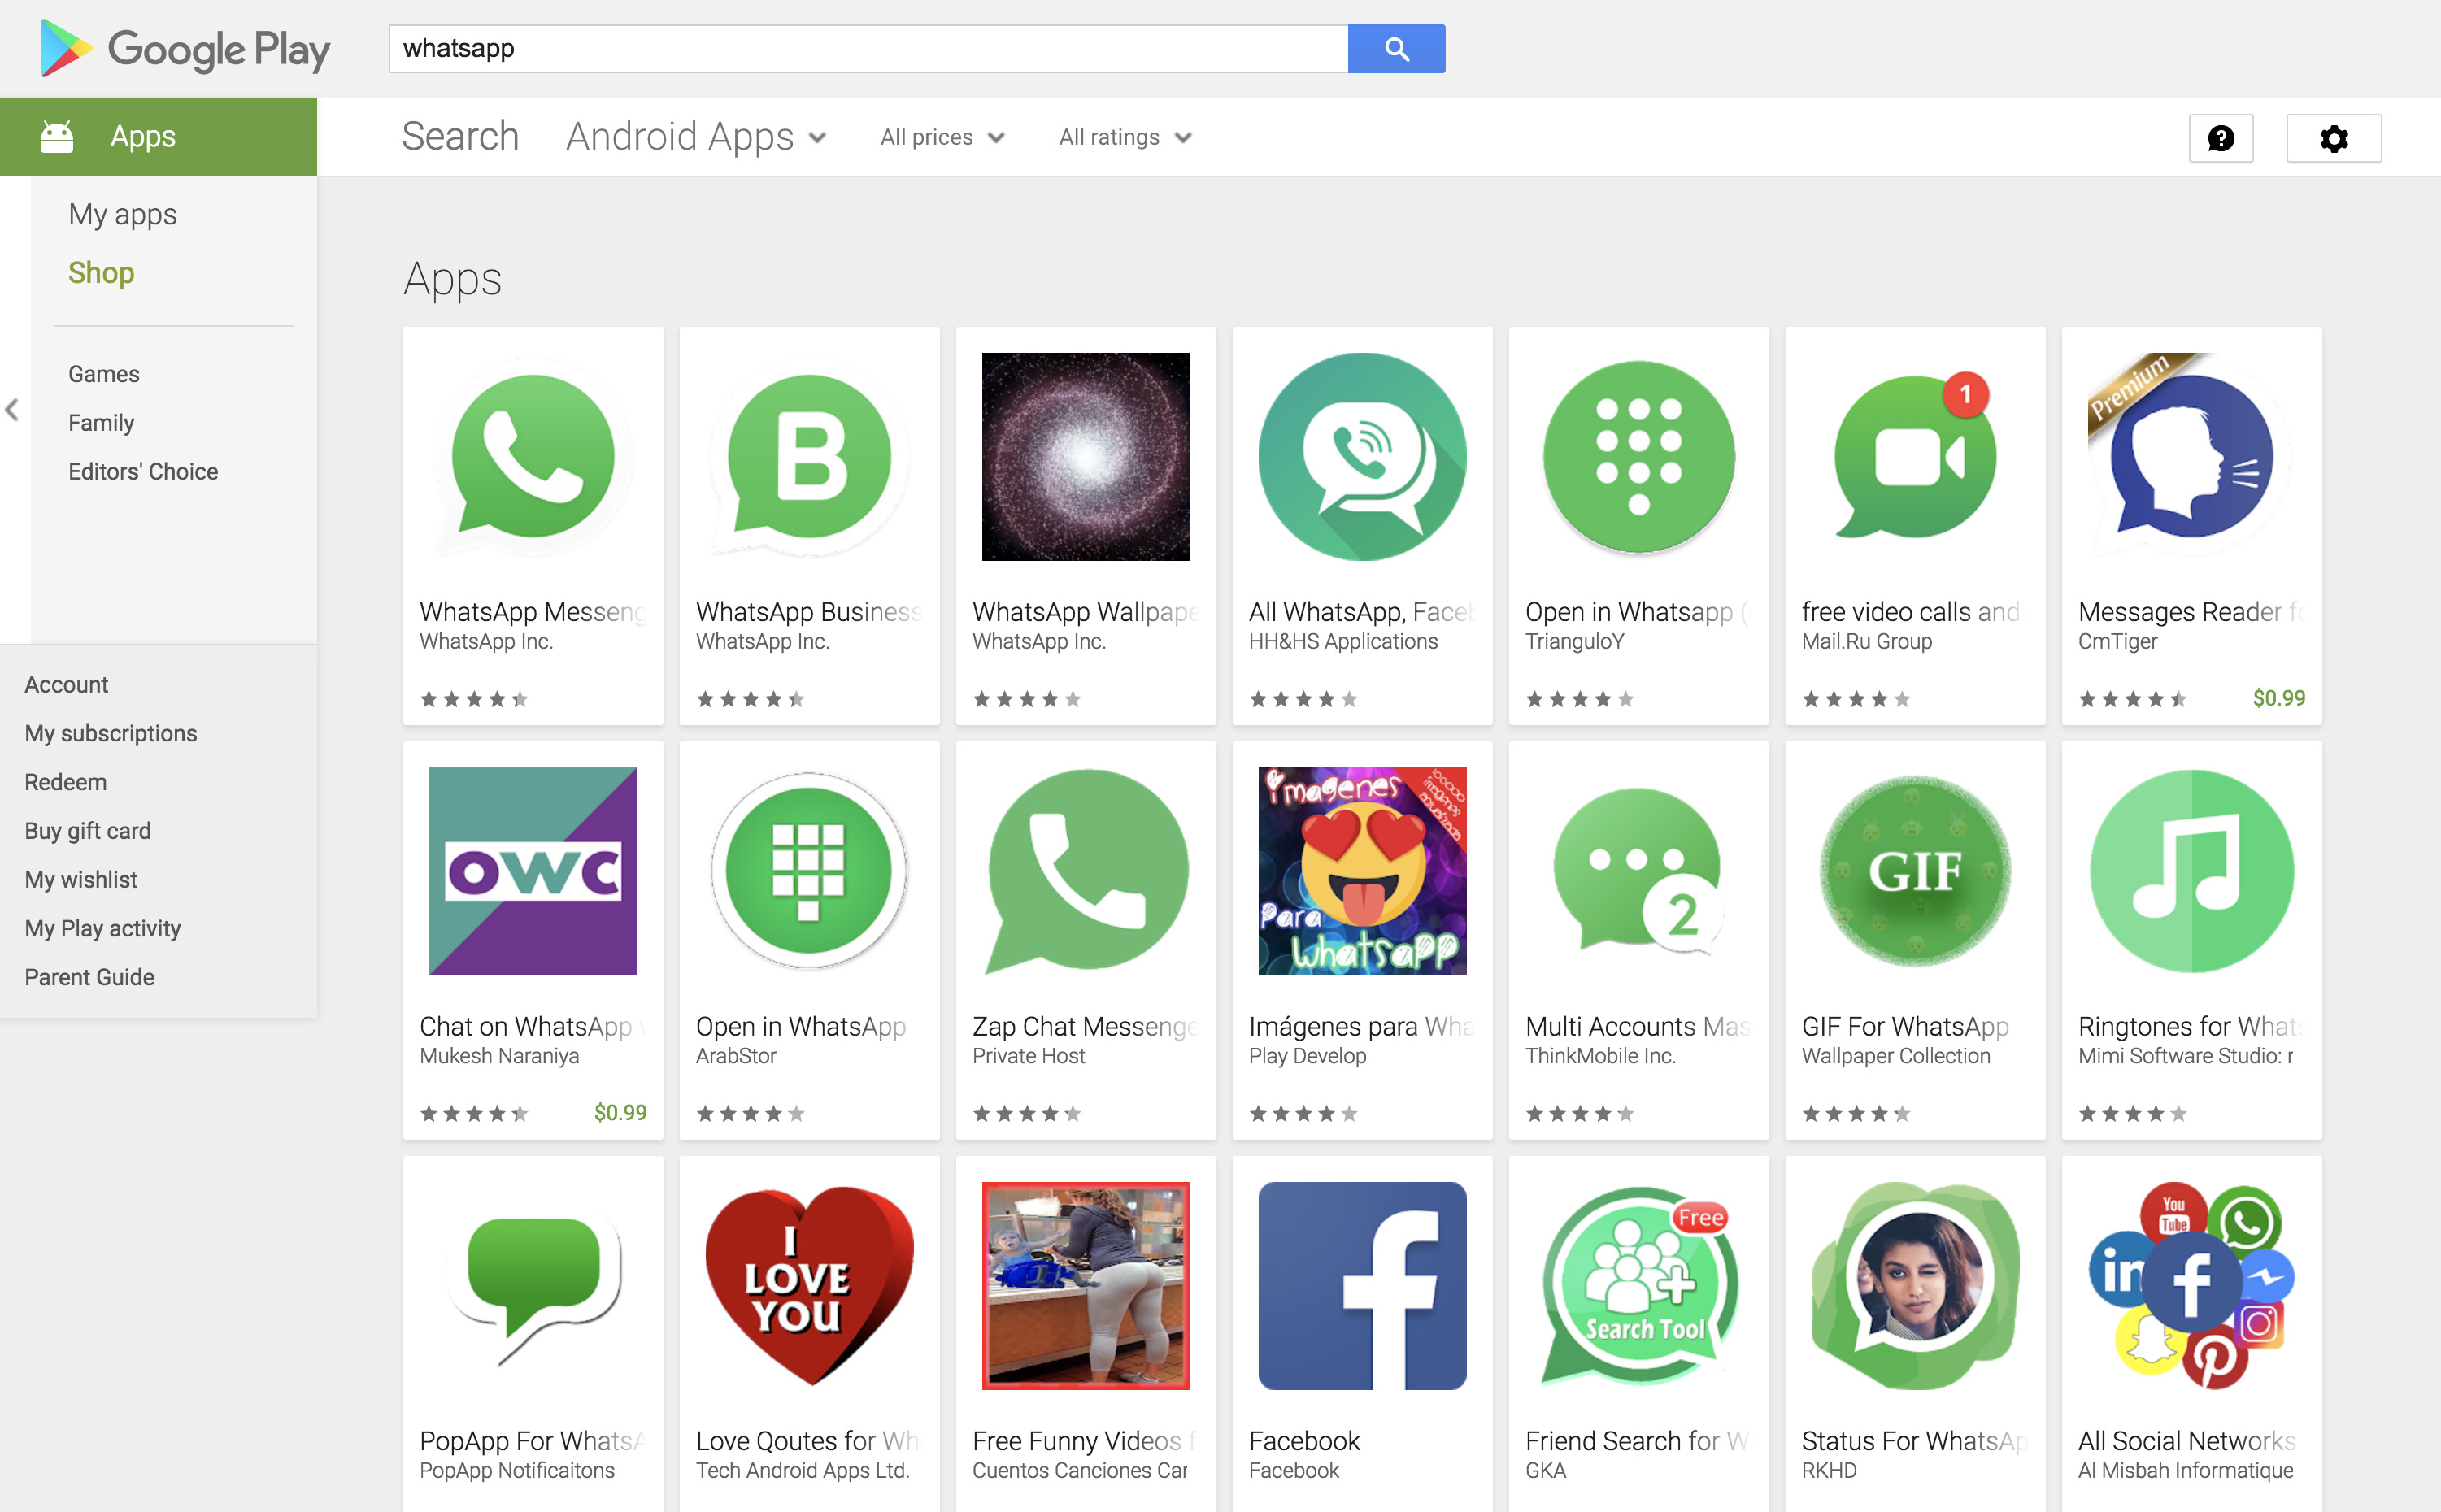
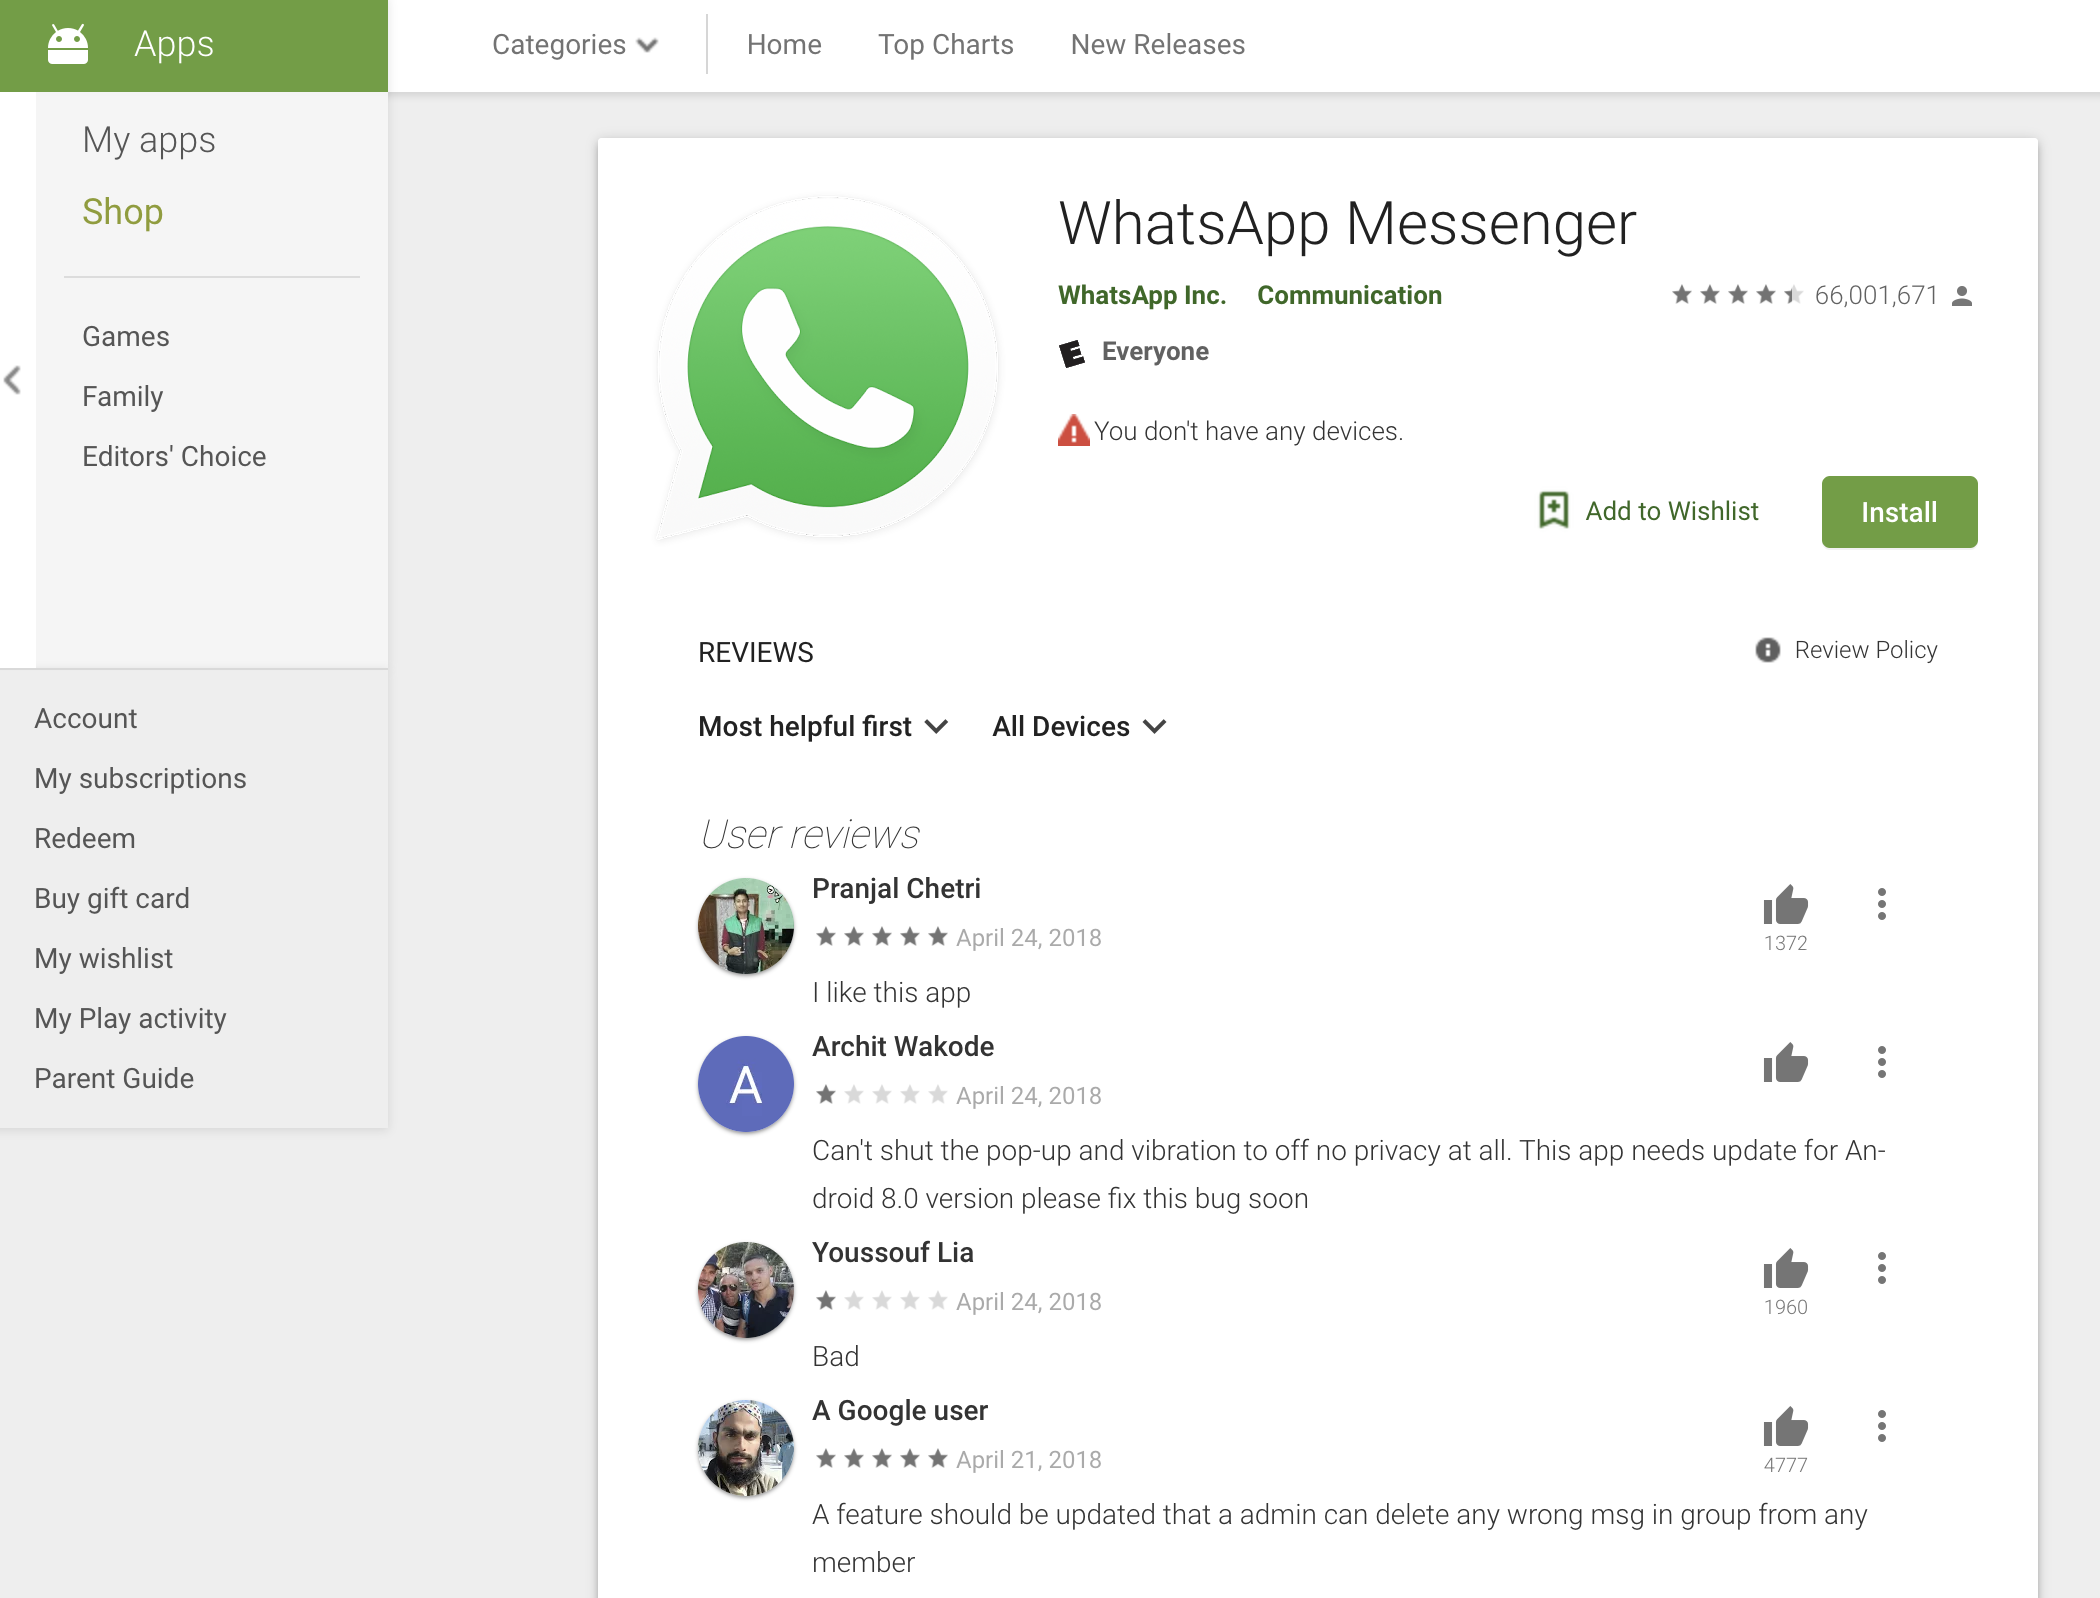
Google is facing an uphill battle, trying to keep fake apps from ending up in their virtual store. But even the best algorithms can fail, and good proof of this is what happened recently with a fake version of WhatsApp that thousands of people downloaded within a few days. At Softonic, we care about your cell phone’s health, so we’re going to show you how to detect fake apps in the Google Play Store in just three steps. But before we get started, an explanation:

Why are they created?

We’ll be quick: fake apps are created with the sole purpose of infecting your smartphone. There are exceptions, of course, but they’re called “exceptions” for a reason: the general rule is that these apps have malicious code that is inserted into your device. They extract personal data, ads appear without permission, etc. If you download one, it’s a total mess.

Pay attention to the name and company

Two apps can’t have the same name. In some way, a copycat app must be different from the original. Check the name of each app carefully, since somewhere you’ll find the detail: an extra (or missing) letter, a logo in another color, a spelling error that changes everything, etc.

Likewise, the name of the company is another important sign. If you look carefully at the developer, you’ll find this second detail to check. Official companies usually have well-crafted profiles and respond to requests.

Comments

The second step to detect a fake app is the comments section. Yes, we know what you’re going to say: the Google Play Store isn’t exactly known to have a community exuding positivity and optimism, but when an app is fake, you’ll thank us.

Comments and ratings are key telltale signs. If you see very low ratings and comments emphasizing that “this app is fake,” we recommend that you pay attention…


Google Play Protect

Google finally launched its own antivirus for Android under the name Google Play Protect. It’s a good way to know if an app is fake. The problem is that if you run the antivirus on an app… it may be too late. Lucky for you, there’s a previous step where it’s not necessary to download the app you’re uncertain about.

A few months ago, Google Play Protect started integrating into the Google Play Store platform, i.e. the store. We say this because now the most popular apps appear with a banner that says: “Verified by Play Protect.” If you get this logo and message, you’re almost certainly accessing the right app. Of course, hackers continue to get around this protection and Google continues changing their algorithms. Don’t forget, it can still fail you.

How to get free games with Amazon Prime

How did we live before Amazon Prime? We actually had to go out shopping for things instead of having them brought to us at home a mere two days after buying them. Since its creation, Prime has evolved to include Prime Video (a major streaming force like Netflix and Hulu). And now, Prime membership includes a premium Twitch account.

It may be under the radar for now, so Amazon is pushing hard. They are giving away free video games.  We’ll repeat. Free. Games. Free games!

How to get free games with Amazon Prime

Before you start

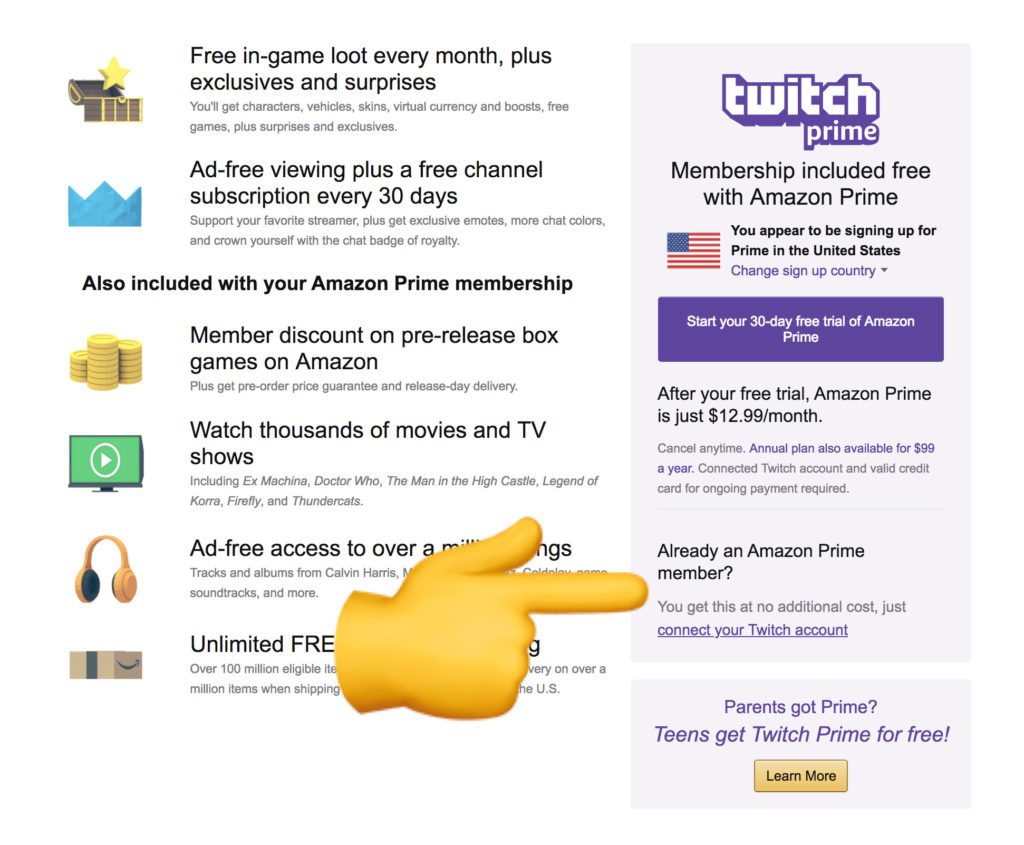
Before you get started, there’s one critical requirement: you can’t get free video games without an Amazon Prime account. If you click that link above, you’ll get a 30-day free trial. After that, you can pay $12.99/month or $99/year. Considering all the benefits, it’s worth the investment. If you’re not sure, just get the trial and you can cancel. Once you’re all signed up for Prime, you’re ready to play.

How to get free video games

To access the completely free available titles, you’ll need to create a Twitch account. It only takes a few seconds. Once you’ve done that, you’re ready for the important part: linking your Amazon account with your Twitch account. You can sign in using a link on Twitch, or just click here.

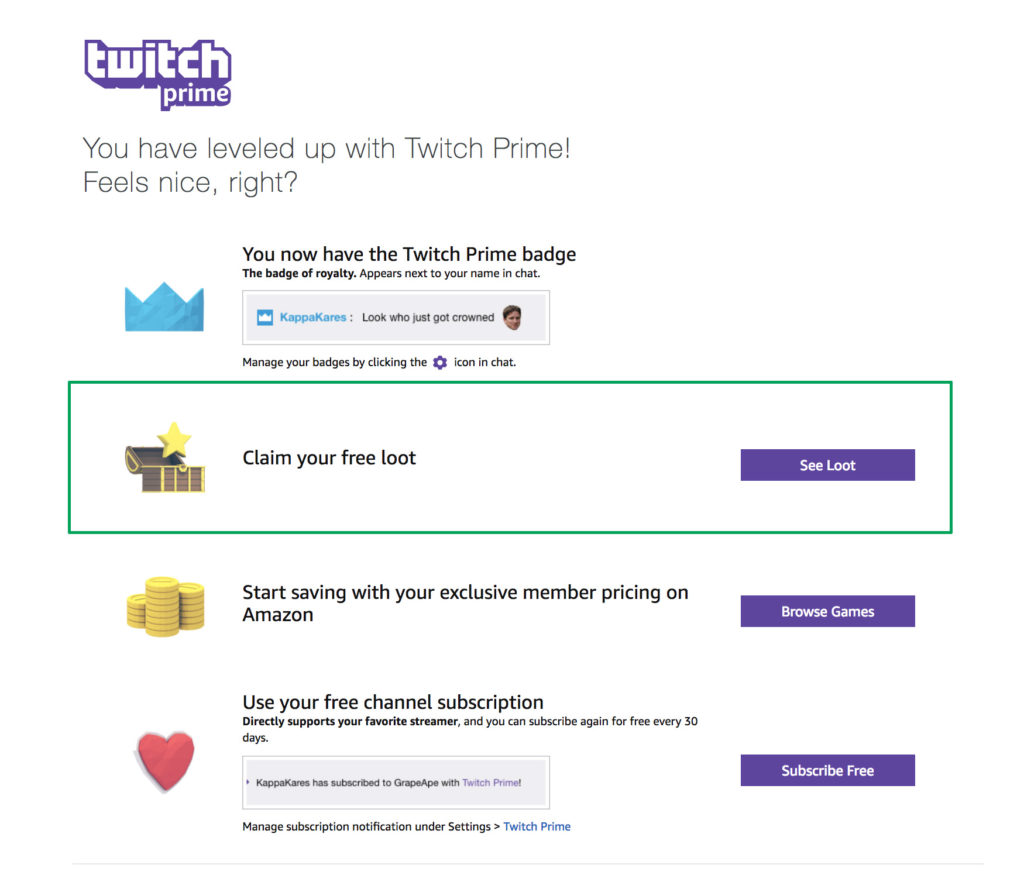
Enter your Amazon password and sign into Twitch as well. Once both services are automatically connected, this screen pops up:

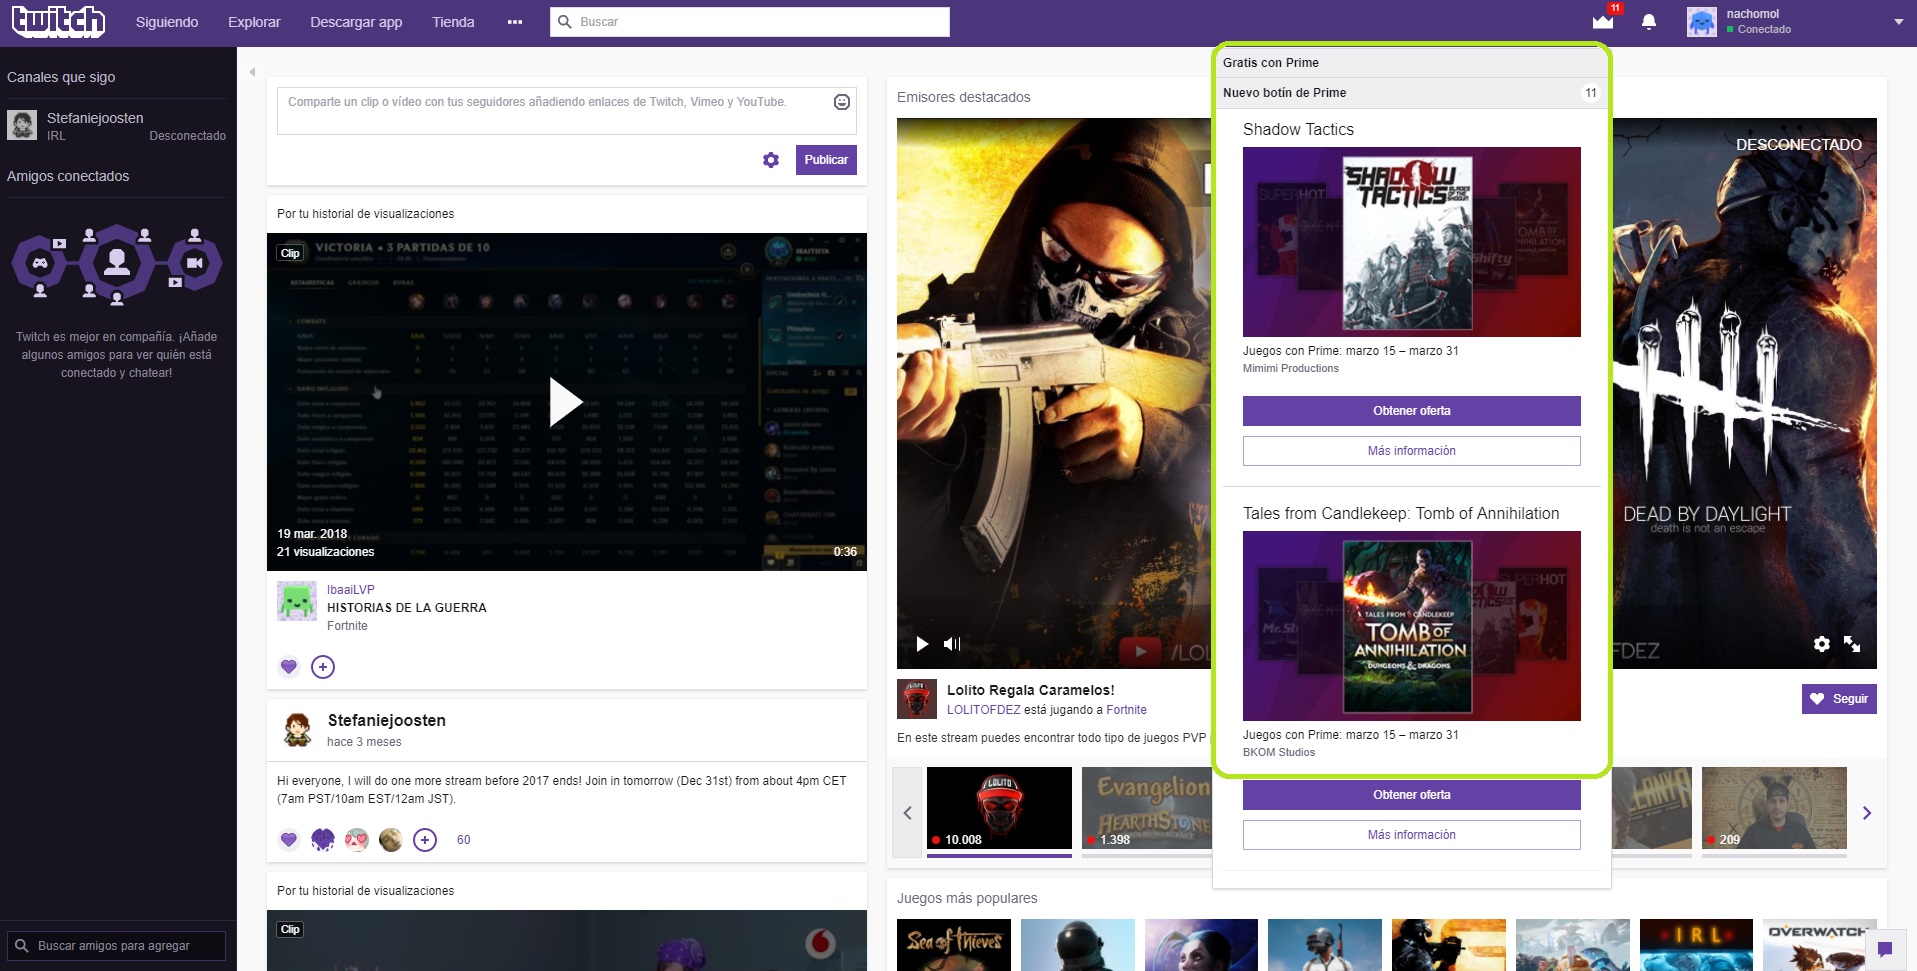
Click on “Claim your free loot” to not only see the video games available that month, but also all the rewards the platform offers. Once you do that, you’ll see everything appears under the crown icon in the upper right part of the screen. Click there to access all your content.

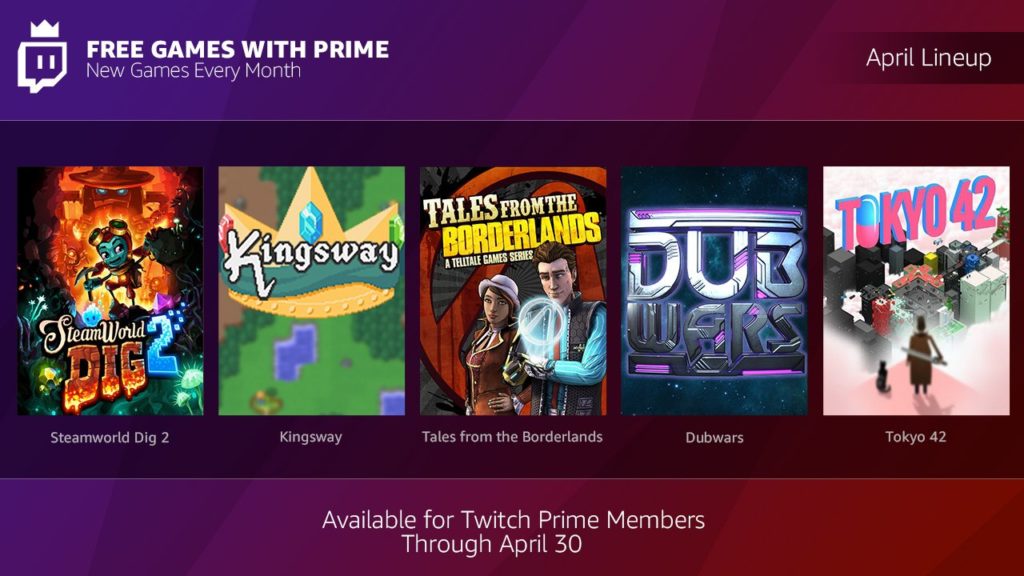
The video games available in April are Tales from Borderlands, Steamworld Dig 2, Kingsway, Tokyo 42 and Dubwars. Happy gaming!

7 tips to avoid dying right away in Fortnite Battle Royale

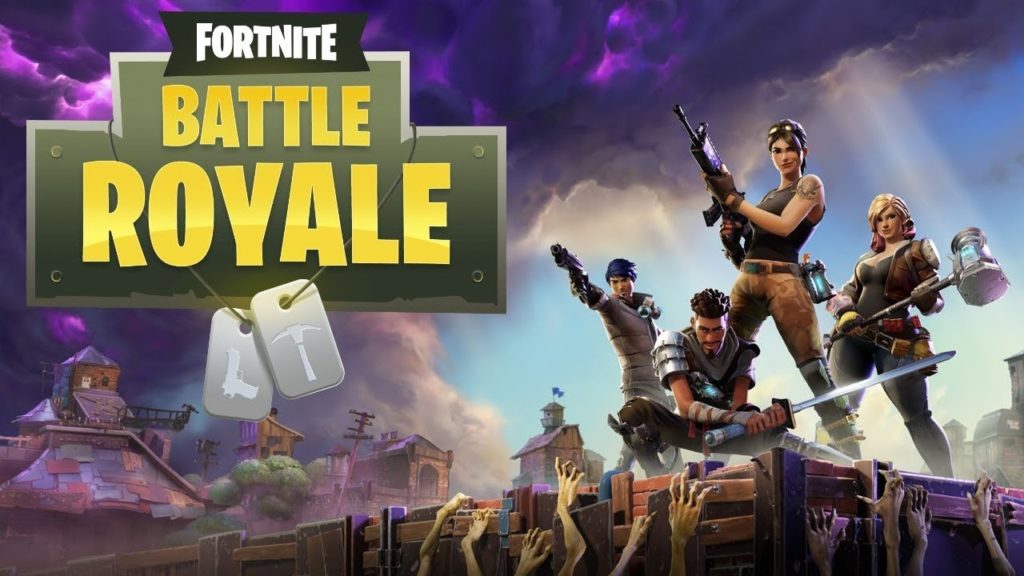
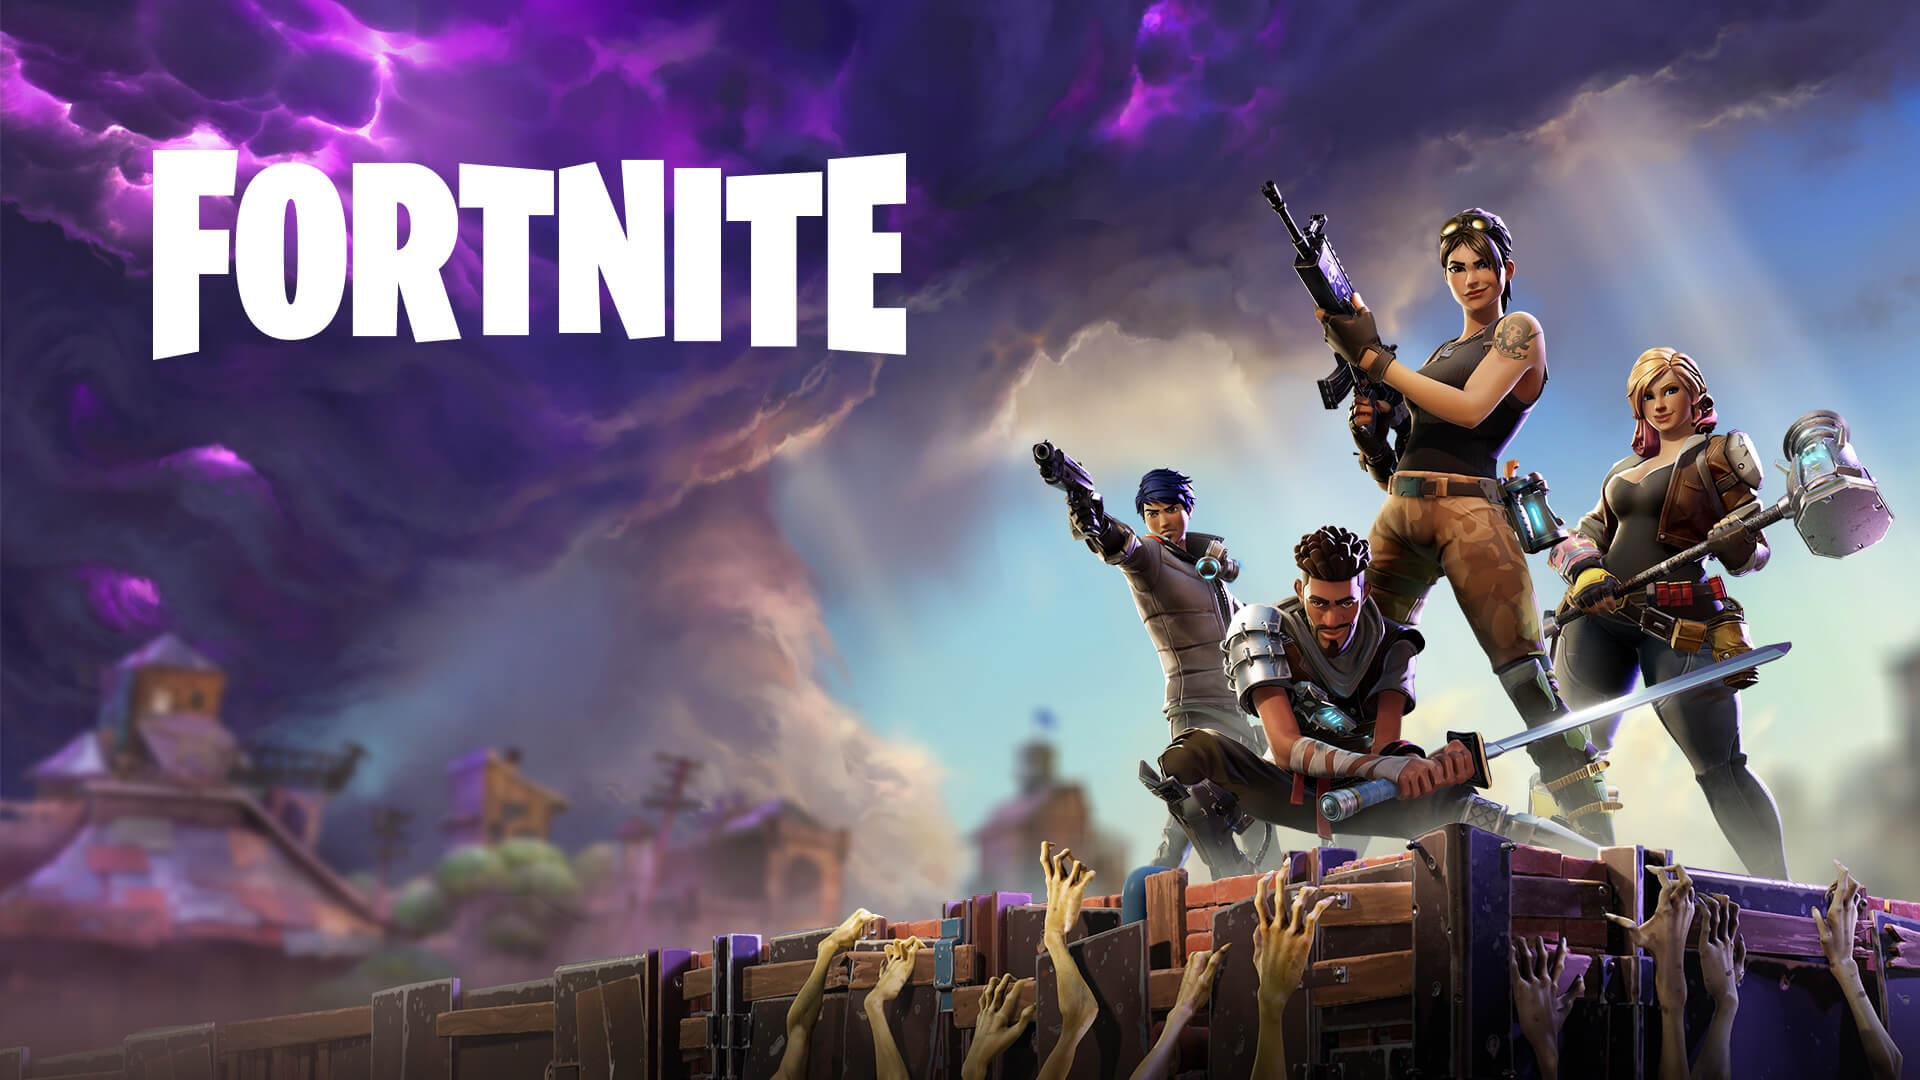
Fortnite: Battle Royale has become the phenomenon of 2018. During 2017, its big rival (PUBG) won the popularity contest. This year, Fortnite is beating all the records. A few weeks ago, Elrubius and other YouTubers got an audience of more than 10 million viewers (among all the channels) while playing the game.

Fortnite: Battle Royale Play Now
10

If you want to join in, here you’ll find seven tips to avoid dying right away on Fortnite.

Choose your landing spot well

This is a basic tip that any expert player will tell you: choose your landing spot well. It’s key that you do this before launching yourself from the Battle Bus, since there could be areas that you can sweep through better than others. Also, and this is key, you shouldn’t forget that there are 99 other players trying to kill you, so watch where they land so you’re not right next to them.

Grab a gun

The second “tip” is also basic: grab a gun. Many users go directly to collect supplies, but our advice is that you start going into buildings to find a gun, rifle, machine gun, etc. It doesn’t matter what kind you get, the important thing is that you have one at the start so you can blow up your enemies.

Build

You made a good landing, scooped up a gun to defend yourself, and now it’s time to construct buildings. Yes, to do this, you need to collect supplies first. Choose the pickaxe and start destroying everything you can. The more materials you have in your inventory, the better. You don’t want to start building a wall and running out of materials midway through.

Learn to build well

Here’s where we get into the advanced stuff. It’s one thing to know how to build a wall (the previous “tip”). It’s another thing to know when to do it.  The best players of Fortnite have shown that they can build elements with frightening speed and in extreme situations. Thanks to these walls, ramps, etc. they are better protected (and covered) against enemies. If you know how to use these materials well, we can assure you’ll be in the top 20 of almost all games.

Watch your surroundings

You could camp out and wait for the enemy. Or you could run for your life. Somewhere in the middle is best, so keep watching your surroundings, but never stop what you’re doing. For example, a good tip is to take advantage of the existing buildings, since they offer materials for building and additional protection. 

Silence

If it’s important to watch your surroundings, remember that all players are doing this. Open fire only when you’re in an extreme situation or when you think the setting is in your favor. It’s usually a common error to see an enemy, shoot without thinking, and later say, “He was very far away, I should have stayed quiet.” Likewise, weapons aren’t the only thing that make noise: building elements does, too. Oh and don’t forget that a player can see you building from a distance.

Don’t forget the storm

Our final tip is the most ridiculous, but perhaps the most important: watch the storm. If you’re within the exclusion area, after a while you know you could die in a matter of seconds. Though it’s hard to believe, it’s unusual to have a game where players don’t die under the cloud.


These are the most expensive (and absurd) apps in the Google Play Store

We always say that the Google Play Store is like a real shopping mall: there are lots of products for sale. Unfortunately, Google’s shopping mall is crowded with those goofy kiosks that sell worthless junk. We’re not talking about fake or counterfeit apps: we’re talking about apps that are useless, but completely legal.

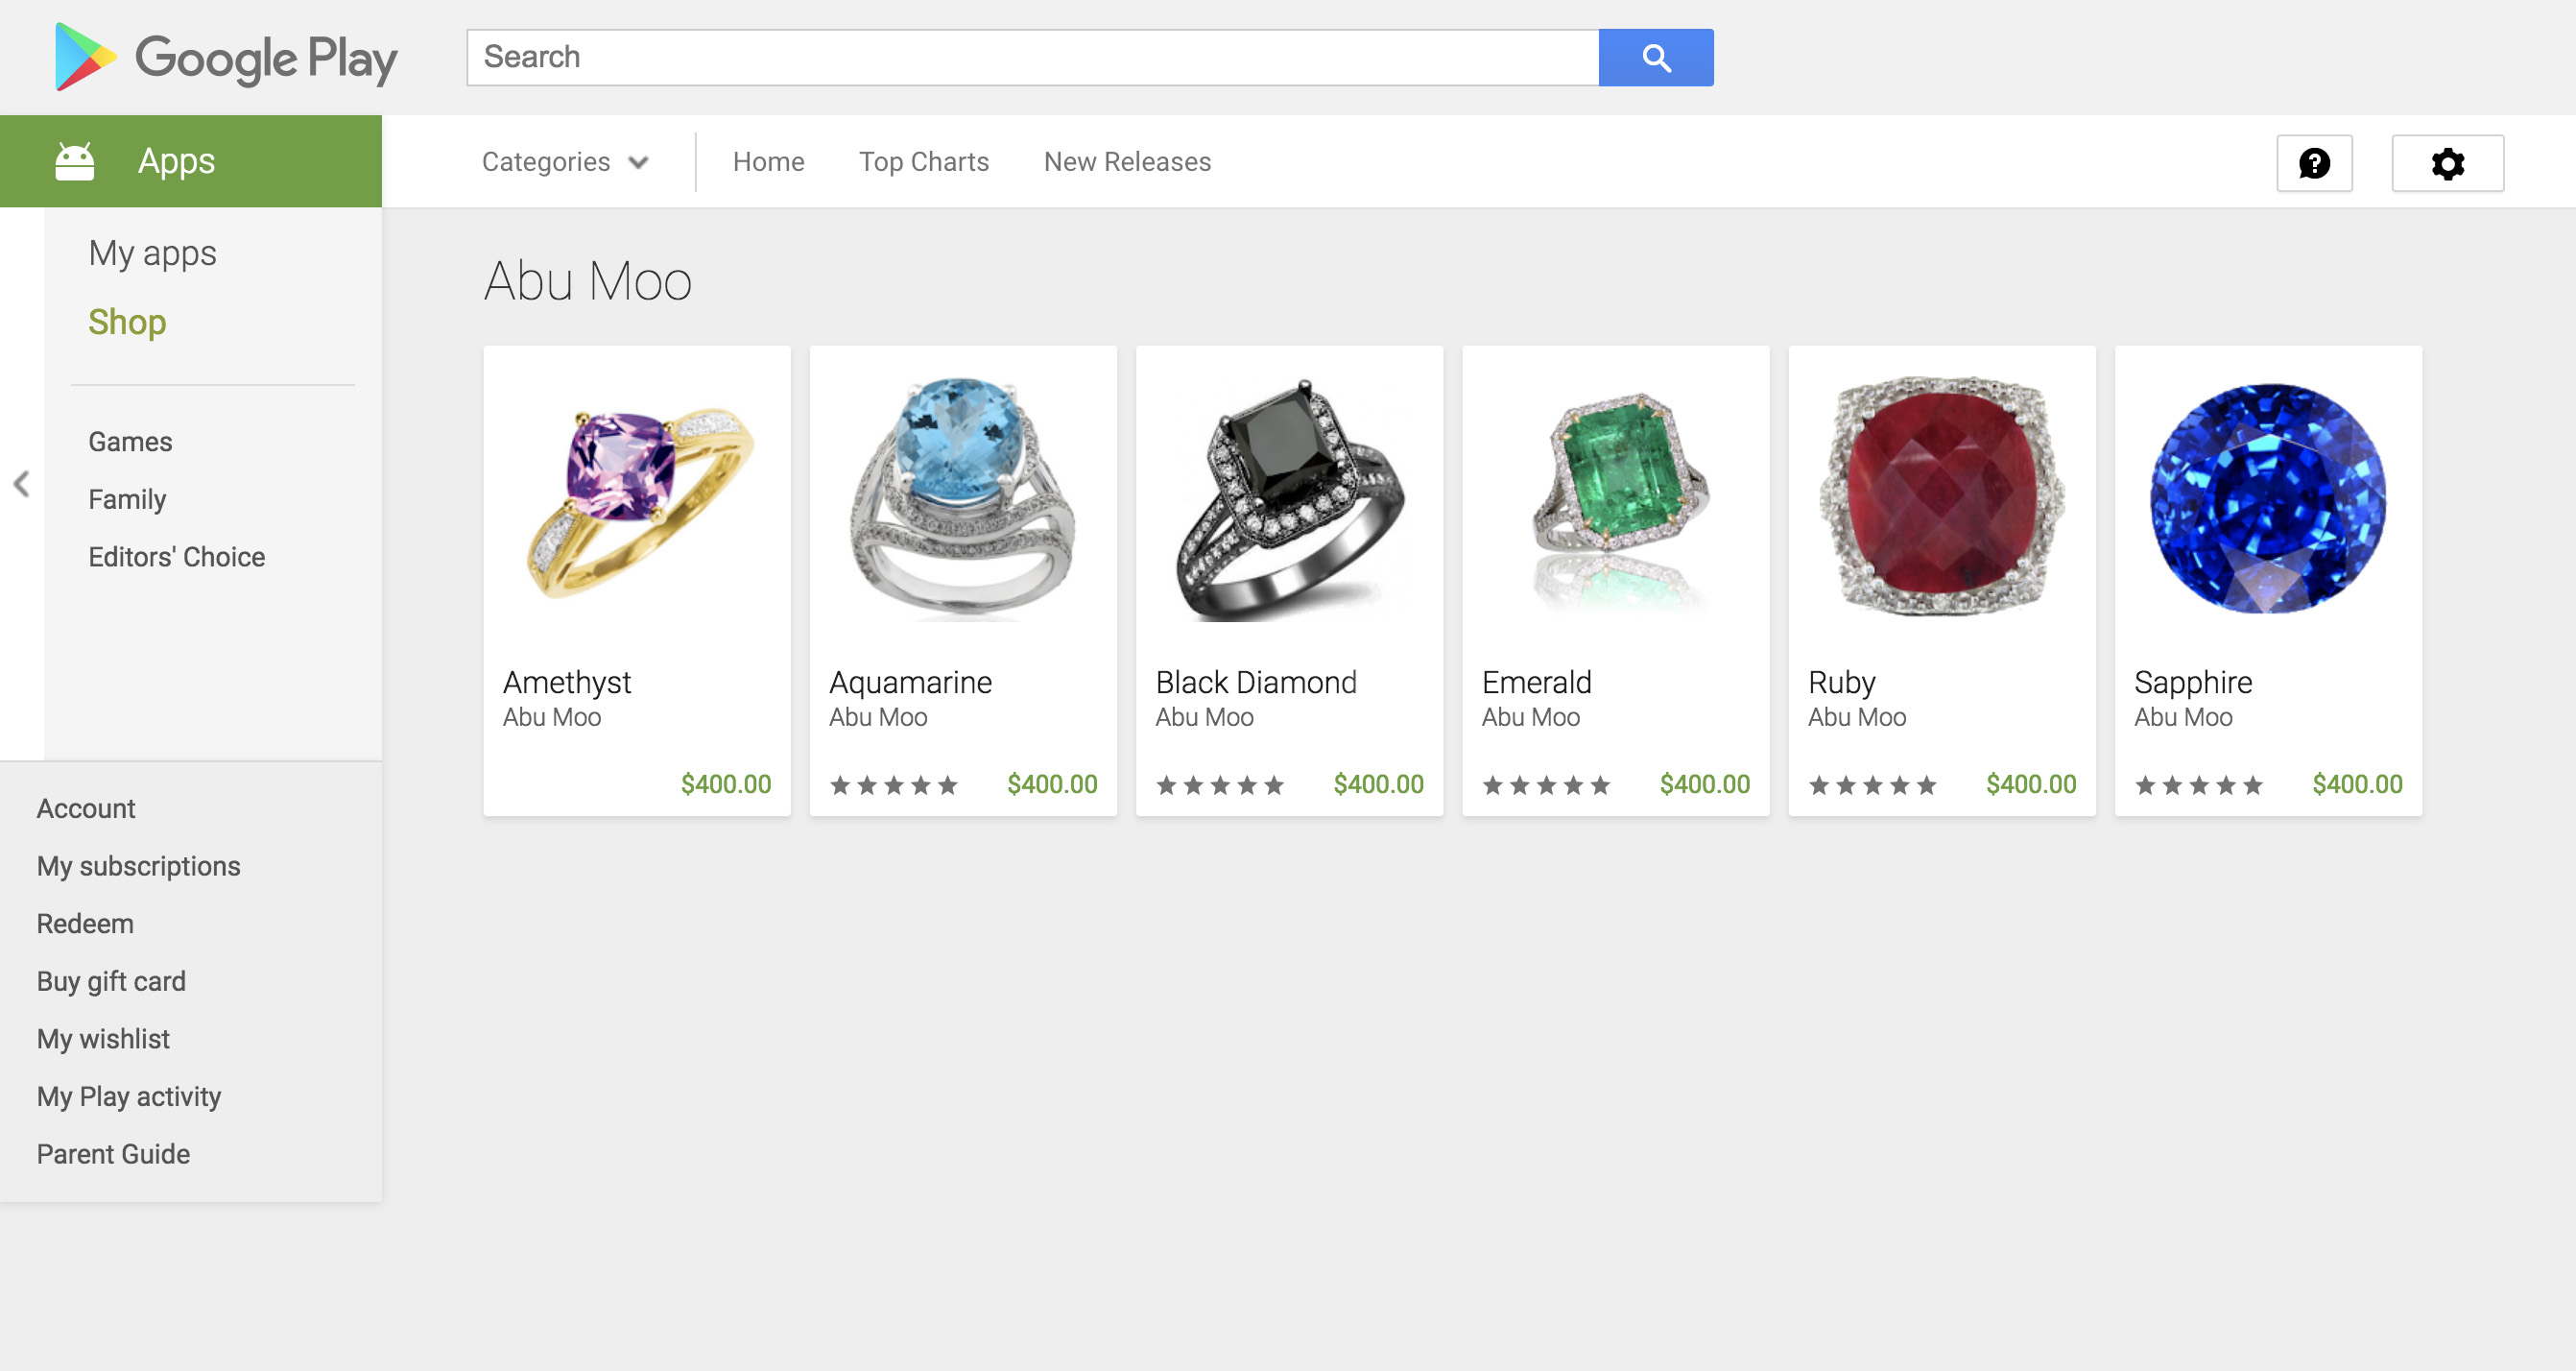
Introducing Abu Moo, the most expensive (and absurd) app developer in the Google Play Store. It. is. insane.

Good for nothing

Let’s get to the point: the app developer Abu Moo is worthless. Literally. When you download an Abu Moo app, its sole purpose is to appear in the main menu as a widget. That’s it. You download the app and it does nothing. It just sits there on your screen. Sounds fun, right? An icon that does nothing? Hold on to your butts. Each app costs a staggering $400.

To be exact, there are six “apps”: Amethyst, Aquamarine, Black Diamond, Emerald, Ruby, and Sapphire. Buying all six would cost you a total of $2,400. That’s money you might as well set on fire.

Its creator, the developer Abu Moo, doesn’t scam anybody. In fact, it’s very clear in the description of every app: “Are you rich and successful? Want to buy expensive apps just because you can? Maybe you want to impress your poor friends? Show them a widget that they do not own and never will. Or maybe you want to make a gift for your girlfriend, who happens to own an Android device? Why buy flowers, when you can buy virtual jewelry – an excellent solution! In any case, this widget is just for you! One of the most expensive apps on the Market, that does absolutely nothing, except show the world how rich and awesome you are!”

Abu Moo has been available on the market since 2013 and each of the apps has more than five downloads, which means there are actual living humans who spent actual money actually purchasing them. Even if you had a Scrooge McDuck money vault, there’s no point in buying this thing. It’s such a simple widget that anybody can create it.

Thanks to our pals at Andro4All for the tip.

How to convert a PDF into an eBook

If you have an e-reader, you’re probably not making the most of it. Maybe you have a PDF document and you don’t know how to convert it into an eBook (the typical file format for an e-reader).

Today at Softonic, we want to make your life a little easier. Here’s how to convert a PDF into an eBook.

Using an online service

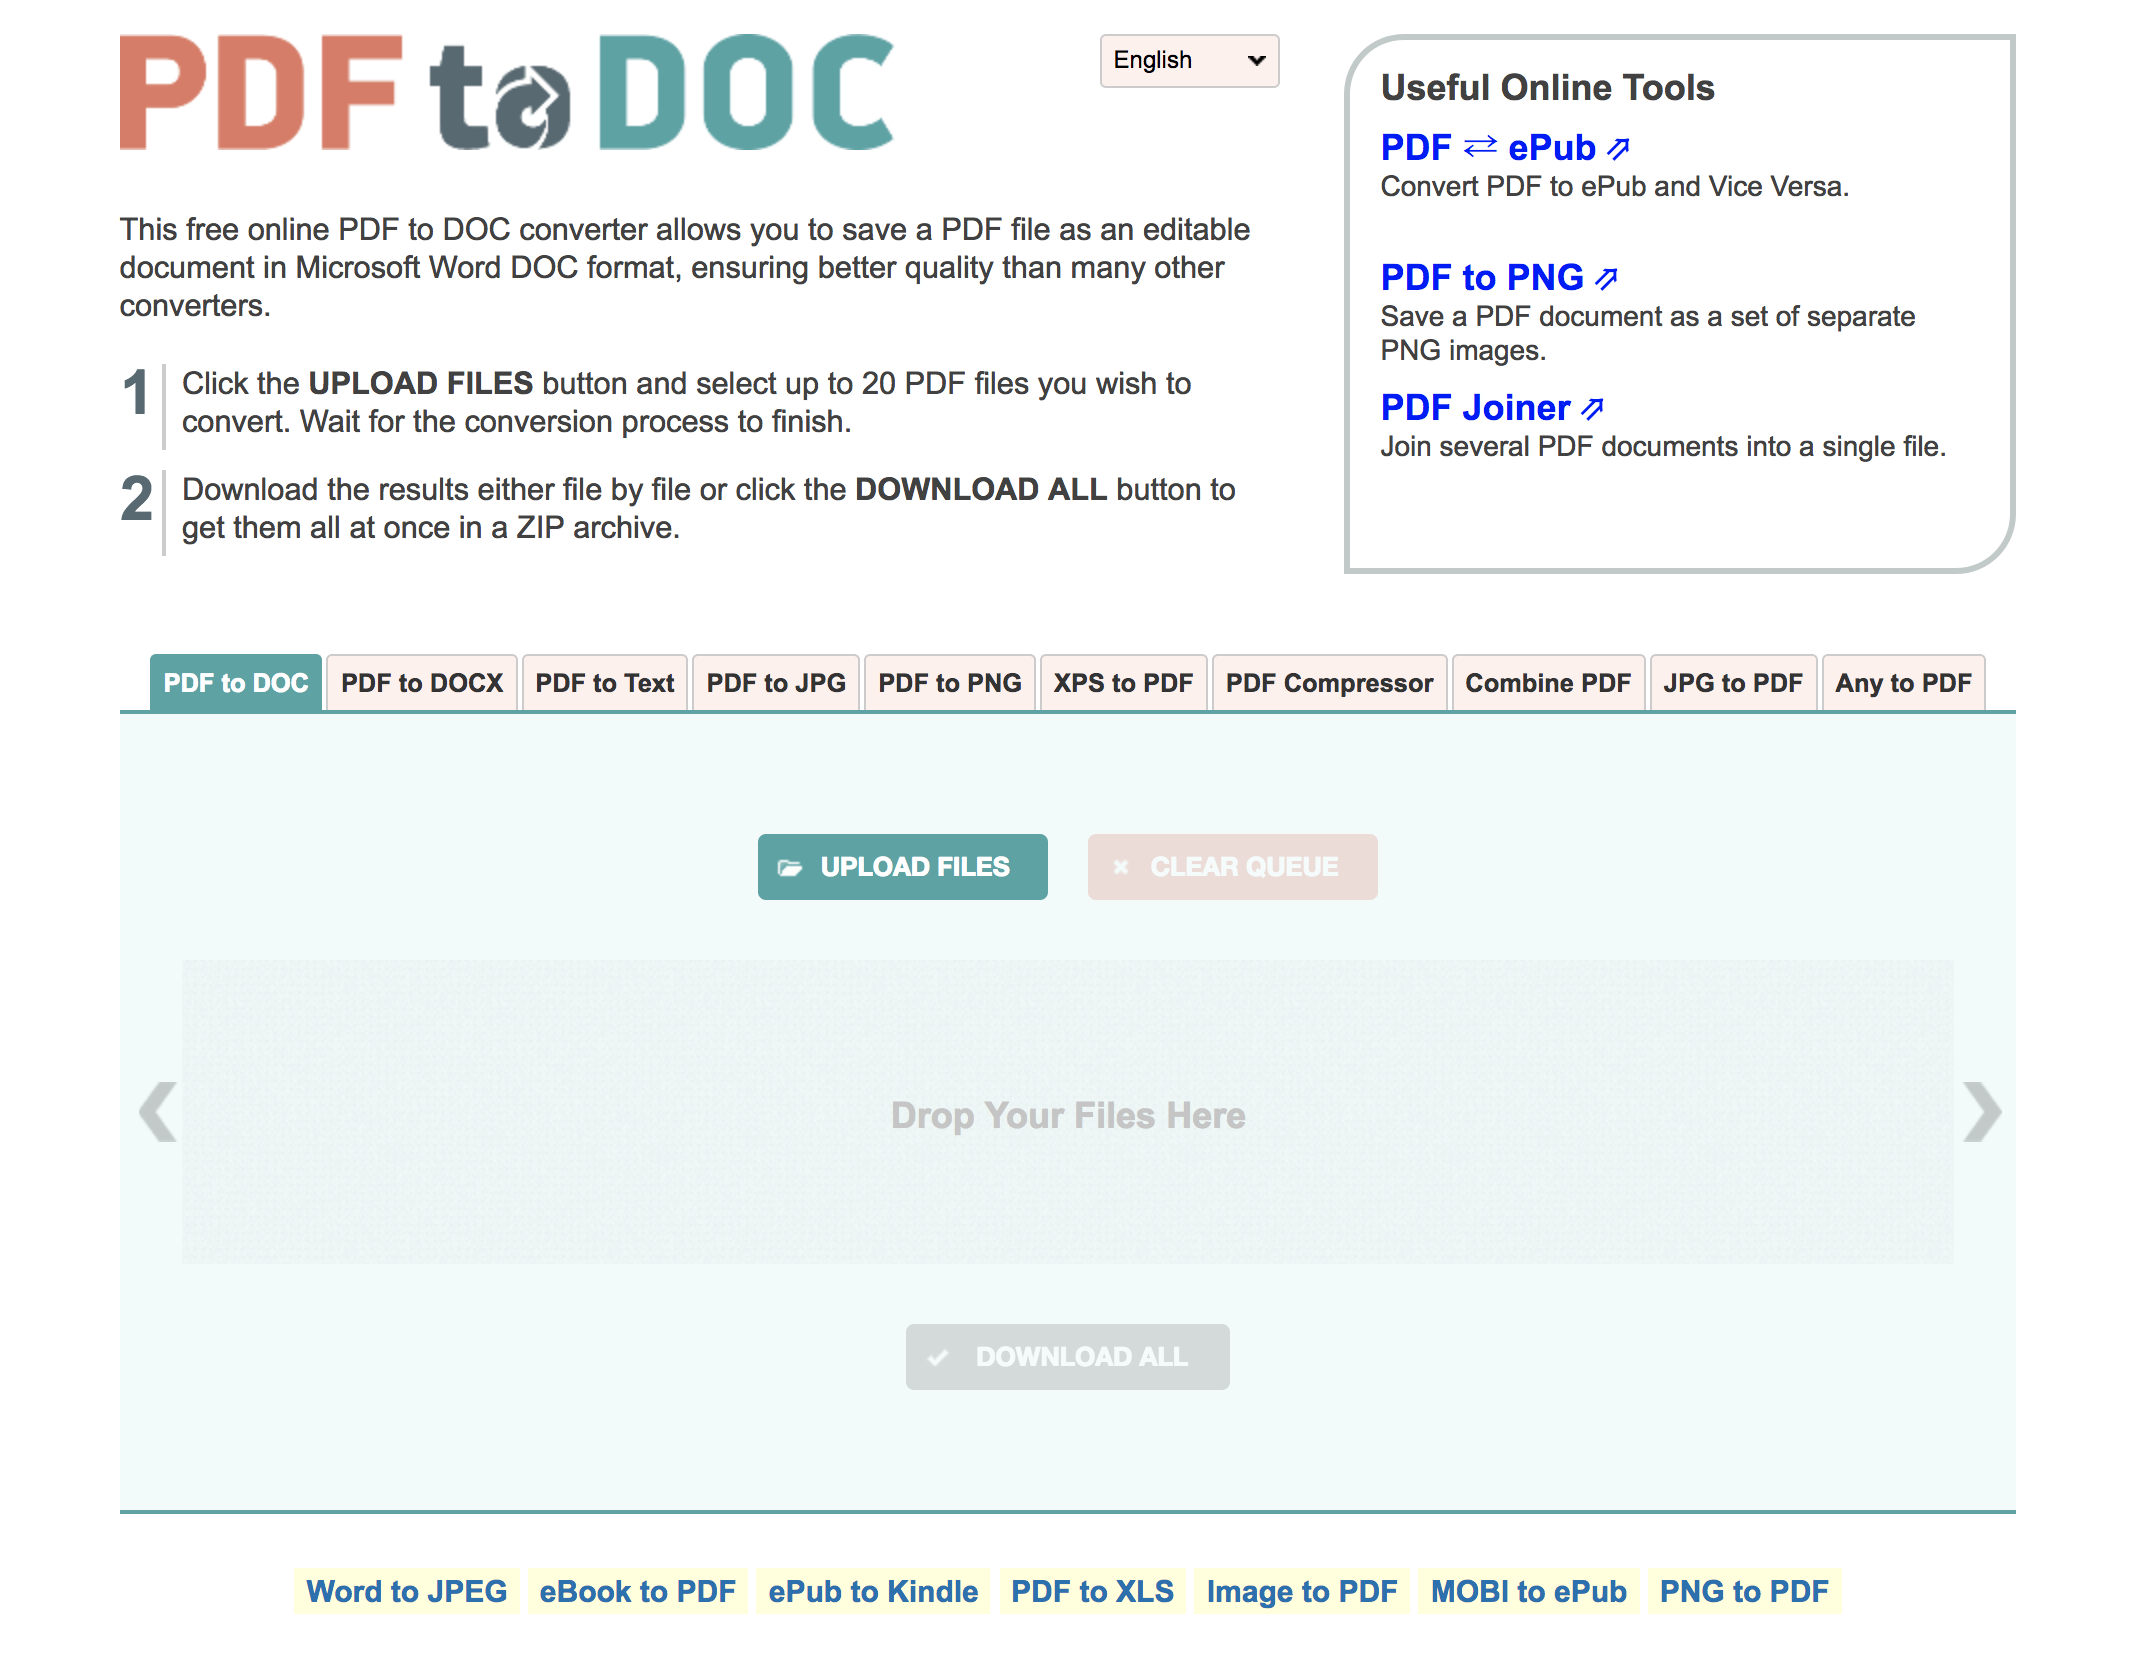
You don’t have to download anything to convert your PDF. Conversions to ePub or other formats can be done using different websites. Do they make more mistakes than software installed on your PC? It’s possible, but we’ll also say it’s the best way when you’re in a hurry and don’t want to research more.

With a website, you won’t have many customization possibilities. Also, you’re exposed to servers that sometimes don’t work. (But at least they’re simple.) There’s one site we recommend above the rest: To ePub.

It’s hard to find a site as simple as this one. On the top, you’ve got several tabs that show you the input and output files, though in this case, you shouldn’t touch anything. The only thing you should select is if you want the output format to be ePub, MOBI, FB2, etc. Once you’ve decided, click “Upload” (or drag the file) and it will start to load. When the process is finished, click on “Download” and the file will download, but in the output format you’ve chosen.


Using software

If you have an e-reader, get this name tattooed on your arm: Calibre. In our opinion, it’s the best digital book manager you can find. And yes, it’s completely free.

Calibre free download
7

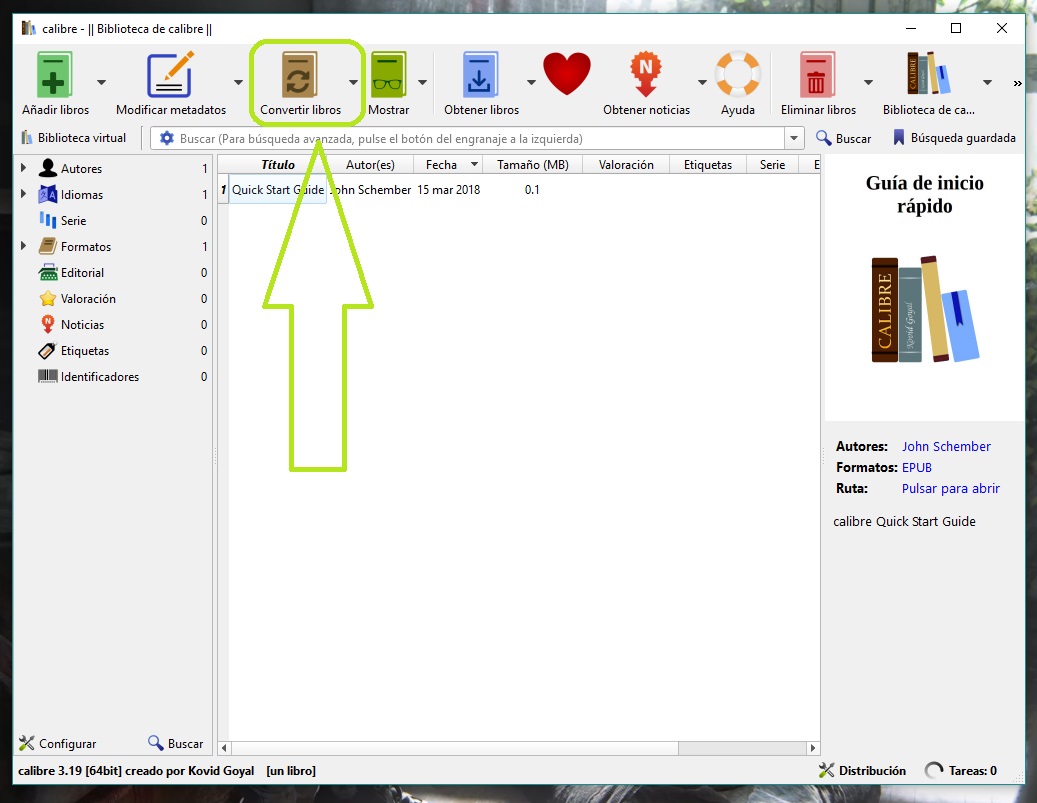
Calibre is a kind of virtual library where you can bring together all the eBooks you own. No matter what extension or format, Calibre detects the info saved in the metadata and adds it to its database, so you can keep your collection organized by name, author, genre and a long list of other options. Also (this is important for this article), it has a file converter.

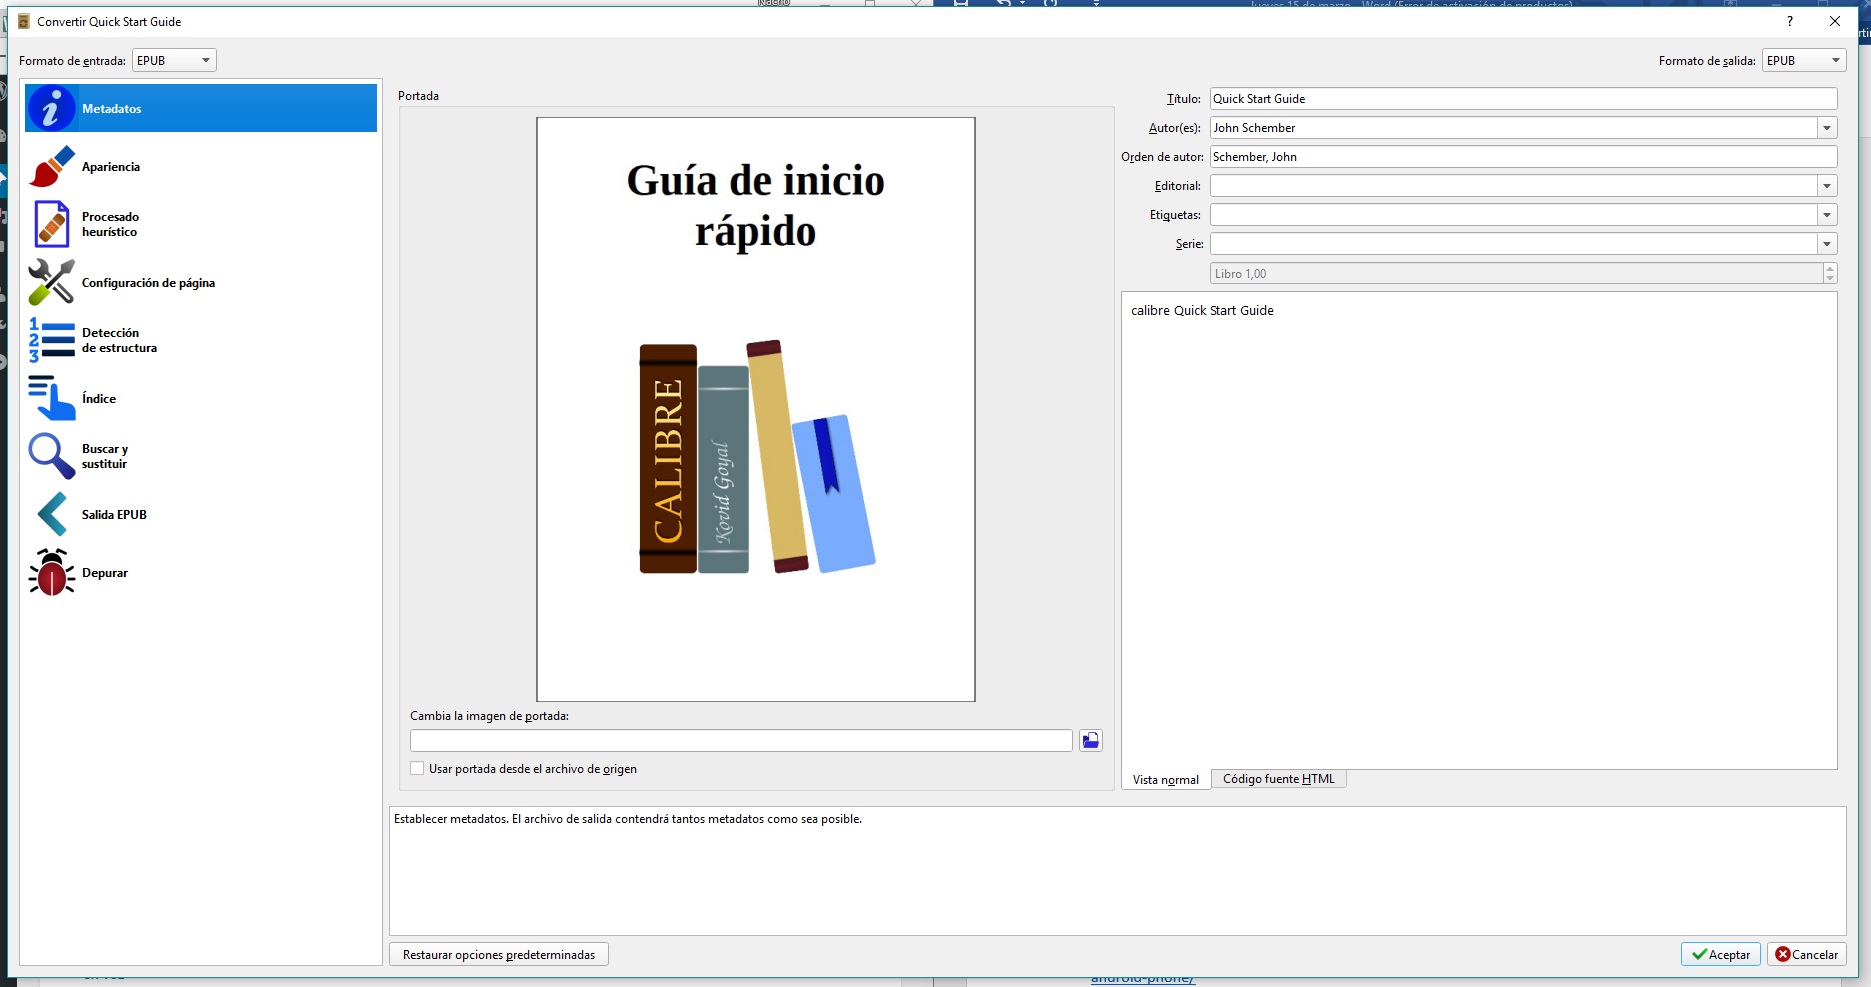
If you click on “Convert,” you’ll see a new tab with a wide variety of fields. For example, you can choose the input and output formats, but the most important thing is that you can fill in the metadata you need, the appearance, the page settings (so you can read it better) and even add or modify indexes.

Our advice is that you try all the options available and simply click “Accept” when you’re ready. Easy, right?

How to change your Instagram settings to use less data

Instagram has become the most important social network in recent years. Whether you’re a new user or an old pro, it’s worth checking your settings. Today at Softonic, we’ll show you how to change your Instagram settings to consume less data.

Control your data

Instagram has one quirk: everything is based on videos and images. Unlike other social networks or sites where text dominates, the audiovisual concept of Instagram is key to everything. The problem is that images and videos will chew through your data plan like Cookie Monster at the Keebler factory.

The app’s programmers know that every MB counts, so they’ve implemented a feature so your data isn’t used up so quickly. To access it, log into the Instagram app. Go to your personal profile and click on the “Settings” gear.

If you scroll down, you’ll see there are many options that you may not know about, but the one we’re interested in is called: “Cellular data use.” Click on this section.

Generally speaking, this tab comes disabled by default. Turn it on and read carefully what is highlighted below: “If you choose to use less data, videos may take longer to load over a cellular connection.”

Instagram Download Instagram
7

How does this option really affect your experience? Well, it’s basically unnoticeable. You’ll keep seeing photos and videos on Instagram easily, just now it will take a few seconds longer. In return, you won’t see high data consumption on your phone bill, something that usually happens with videos, where a quick preload is common so you start watching immediately.

It’s worth noting that this option may not appear on your Instagram app. If that’s the case, it’s not the fault of the app or your cell phone: it’s you. Go to your update menu and make sure Instagram is up-to-date. You probably have an outdated version that doesn’t yet have this useful option.

Mistakes you make when organizing your photo collection

You probably do lots of things wrong when you take pictures. No judgment.  Even if you’re an ace photographer and a top-notch photoshopper, you still may be shooting yourself in the foot. Once you’ve got all those images, organizing them can quickly become a nightmare. Here are four mistakes you make when organizing your photo collection.

Leaving photos on your memory card

“That was a great vacation. I’ll put my photos on my PC later.” Wrong. This is the number one mistake that everyone makes. The first thing you should do when you get back from taking photos is to copy them to your computer. Never leave images on your memory card, since two things can happen: first, you could accidentally delete them in the future and won’t have a backup; and second, you could find yourself needing to take a quick picture but your camera gives you an error because your card is full.

Experts recommend that you transfer your pictures no more than 24 hours taking them, though we recommend copying them as soon as you have a PC in front of you.

Not renaming files

Ok, you’ve already saved the images from your memory card: now comes the second mistake. Generally speaking, when photos are stored on a PC, they’re not renamed, i.e. they stick with the same naming as when they were taken. Yet another mistake. It’s true this isn’t as important as saving them on your computer, but it’s necessary. When you have a break, rename each and every photo.

Try filling out all the metadata with any photo retouching program. This way, you’ll have additional info in the future in case you need to track down a specific moment.

Not backing up images

If saving images on your PC is key, it’s just as important to add them to a cloud storage center. Once you have your photos stored on your computer, with the right naming and labeling, our advice is to save the entire collection on one of the many available platforms: Dropbox, Google Drive, OneDrive, Mega…

Remember that all these websites offer free services, but they also have paid plans to (greatly) enhance the capacity for each user.

Not saving photos in different places

Saving your pictures isn’t enough. You might have 10 images on a PC, another 15 on Dropbox, and 20 on Google Drive. But you want to have full backups in each place. So your trip to Paris should be in your master photo folder on your computer, but also needs its backup in the cloud. Just be sure you’ve got a full set in each location. Otherwise, you could spend a lifetime trying to track down that memory you’re looking to retrieve.

Google Photos Download Google Photos
7

10 Tricks for spotting “fake news”

“Is this article real or fake?” At some point, you’ve asked yourself this question while reading online. That’s normal. Sites with fake news haven’t stopped growing worldwide, so it’s hard not to doubt, well, everything. That’s why Softonic is bringing you ten tricks to spot “fake news.”

10 Tricks for spotting “fake news”

1. The URL

Hands down, this is the most basic tip: look carefully at the address hosting the news. If it’s a fake website, it will likely imitate the original in almost every way. “Almost” is the key here: an “i” instead of an “l,” for example and the trick is complete. Check each and every detail of the site carefully.

2. Headlines

Generally speaking, fake websites usually have shocking news with large headlines, capital letters for every word, exclamation points, and similar stylistic elements.

3. The source

When reading an article, look carefully where it comes from. Try to access the original link to take a look. Maybe it’s not what it seems.

4. Formatting

Though even good newspapers can have errors, websites with fake news don’t usually take care to avoid spelling mistakes. These sites stand out for this type of clumsy writing, full of inconsistencies and with very bad grammar. It’s hard to miss.

5. The date

If you think you’ve got a fake article, look carefully at the publication date. Thanks to Google, you can find out if the information is from the past, or if somebody spread false information. It’s definitely more common than you think.

6. Photos

If the date is a huge giveaway, photos are, too. Funnily enough, it’s typical for photos accompanying news articles to be old. Google can help you solve this mystery as well.

7. The author

Look for the author of that article on major social networks, especially Twitter. The blue bird is great for verifying profiles. An article coming from somebody with a verified blue tick isn’t the same as somebody with an egg as a profile image who has never tweeted.

8. Jokes

It’s one thing if the news is fake… and another if it’s a joke. There are a dozen humor and satirical sites that play with this double edge. Logically, you can usually figure this out with a few clicks, though many people end up spreading it as news. Just ask The Onion…

9. Other media sites

Our advice is to verify if other sites have also published that same news piece. Likewise, check out foreign websites, which can be another good way to find out if it’s fake news or not.

10. Don’t share it

Our final tip is the wisest of all: don’t share it. If you think the news you’re reading could be fake, why share it? You could be part of the problem. Help out the rest of us and don’t share.

How to make themed movies using Google Photos

It goes without saying, Google has one of the coolest photo services on the internet. It’s not just about uploading snapshots for safekeeping. Its wide variety of features make it an essential “one-stop shop” for photographers.

One of the options we love is the ability to make short movie clips. If you want to create one, this post is for you.

GOOGLE PHOTOS DOWNLOAD FREE
7

How to make themed movies using Google Photos

Making a movie using Google Photo images is very easy. Just go to the site and click on the icon with three stripes that appears on the top. That opens the menu. Among the available options, select the third from the top: “Assistant.” Click it.

The next screen that should come up will show different features on Google Photos. “Album” is good for creating image galleries; “Shared album” is the same thing, but with the possibility of sharing photos with other accounts; “Collage” is for making a mix of all the photos we like; “Animation” is for designing a transition; and “Movie” is for making a movie clip. That’s what we’re interested in. Click there to access this new section.

From here, Google Photos raids all the images uploaded to a virtual folder (not the local folder, be careful with this). This may be disappointing at first, since instead of creating a movie from scratch – which is typically recommended – the search engine designs a video using certain parameters: movies for children growing up; others for cats and dogs; others for photos of people smiling; others for selfies; and so on.

Once you’ve decided what you want, click on the category and Google will complete the process automatically. Easy, right? We should note that you may have problems when creating the video if Google doesn’t detect enough images or photos. Sometimes, the algorithm just fails. In our tests, we’ve verified that unless there are enough selfies to make a movie, Google Photos will give an error and say that more are needed.

Now start creating your masterpiece!

Related Articles: 

Google Photos has a revolutionary new feature: say goodbye to the albums you once knew!

11 reasons why Google Photos will change your life