5 reasons we prefer Star Wars Battlefront 2005

The 2017 release of EA Star Wars Battlefront 2 was met with infamously mixed responses. The main outcry was centered on the loot crate debacle and pay-to-win progression, but there was more to it than just that. Hopeful fans are still looking wistfully back at Star Wars Battlefront 2 (2005), a game released years ago by the now-defunct Pandemic. Starry-eyed and wishful, it’s easy to wonder what might have been had they kept some of the key features that made that title so successful.

But exactly what were these features?

Despite the many adjustments, tweaks, and updates that EA Star Wars Battlefront 2 has undergone over the past six months, there are a good many design choices that set the game on a very different trajectory from the start. While there are numerous small elements, we’ve put together a list of what we think are the five biggest selling points from Battlefront 2005, elements that we never got to experience in EA’s.

If you’re interested in seeing for yourself and trying Battlefront 2005 firsthand, you can grab it here:
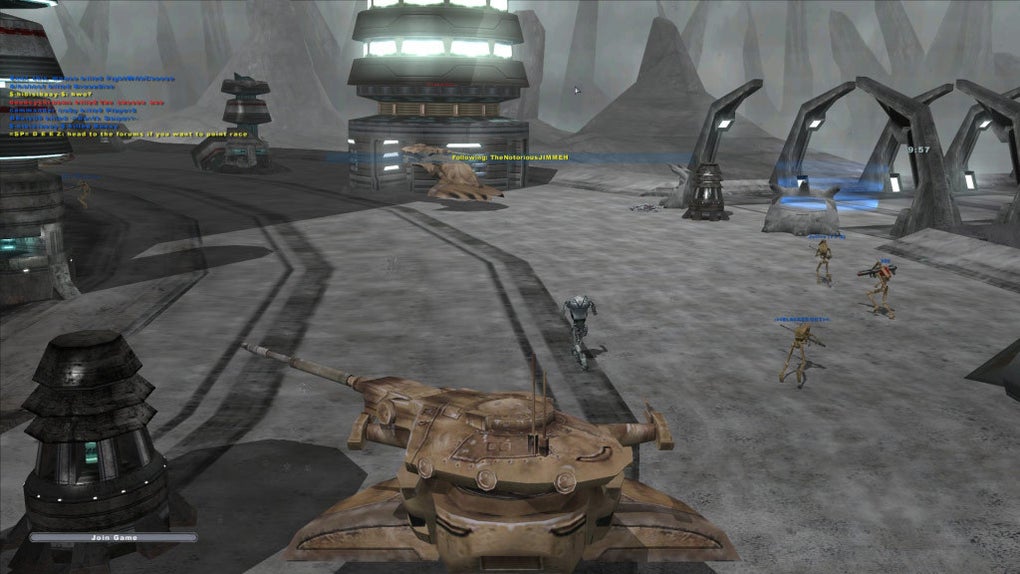
Star Wars Battlefront 2 (2005) Download
7

5. Players can’t change classes unless they die

Our first gripe is a small one, but one that we feel nonetheless deserves attention. The main game mode in the 2005 Battlefront was Conquest; a variant that focused on capture-and-hold tactics where the posts controlled allowed for unit spawn. There were two ways to win: Eliminating all the enemy reinforcements, or capturing all the command posts so that they couldn’t spawn any more units in to contest you.

These command posts served a second purpose, however: Players could use them to switch their selected class on the fly, alternating as needed between the engineer, sniper, infantry, or heavy trooper classes. This feature was not present in the very first Star Wars Battlefront (released in 2004), and its inclusion was such a radical improvement that they zeroed in on it multiple times throughout the tutorial mission – a level where the objectives could only be completed by switching classes. Pandemic really wanted to instill that mechanic in its players right off the bat.
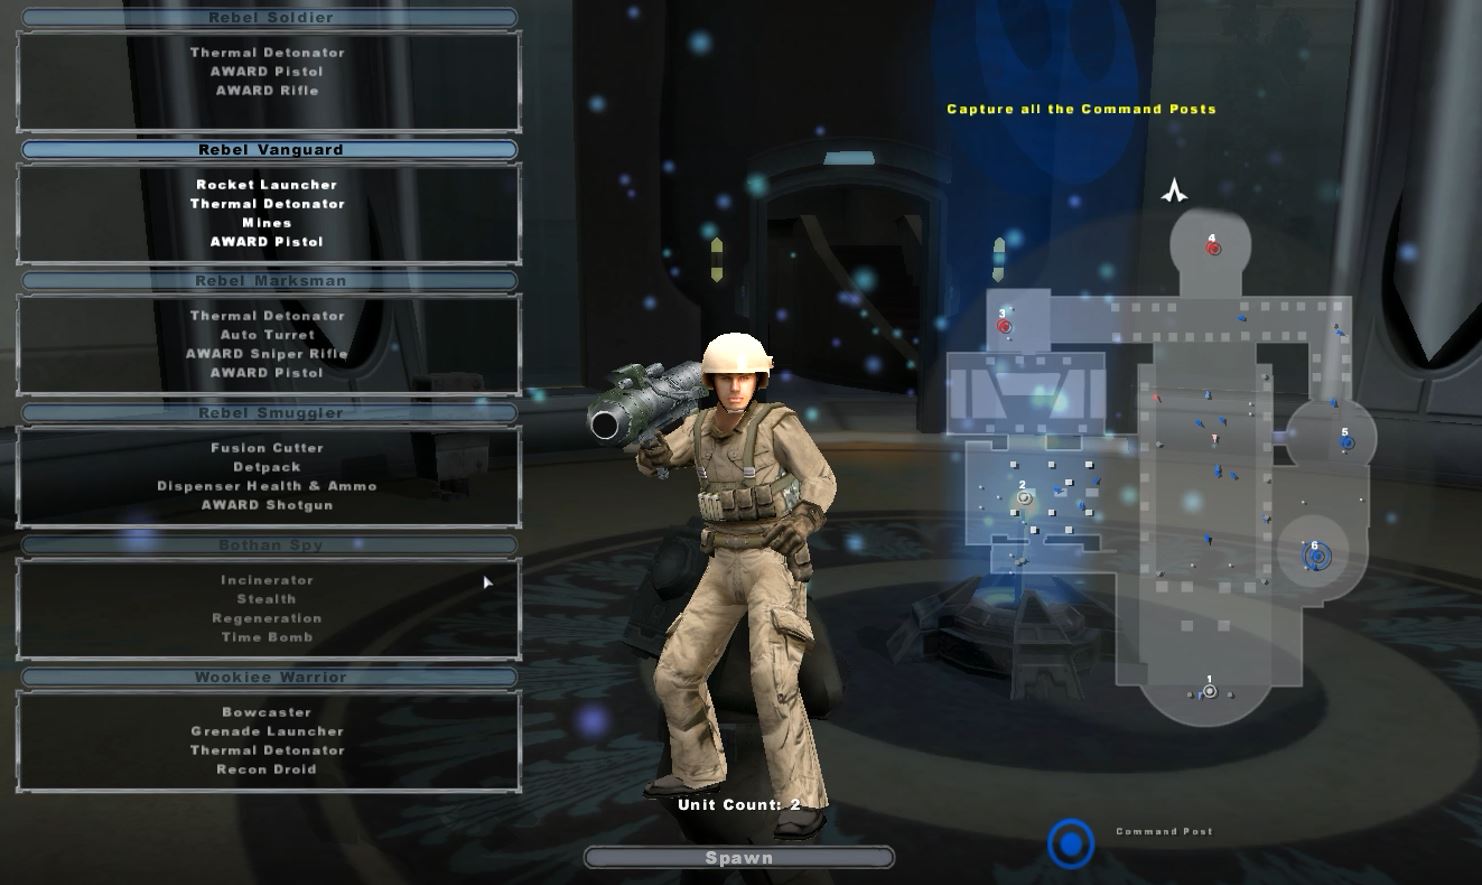
We were surprised this feature was never implemented in EA’s Battlefront 2 since it so proudly highlighted the introduction of four playable classes available to the player. After the initial decision on a class the player is stuck with it until their death. Only then can they quickly decide whether they want to try a different approach. The reason for this choice is probably to allow players to more often choose whether they want to spend battle points on power-up classes or vehicles like the jet trooper or an AT-ST, but having to die just to get that choice? It seems counter-intuitive.

It’s especially frustrating when the game encourages you to stay alive to “earn 2x battle points.” Die and you have to start from scratch.  We acknowledge that this isn’t a “design flaw” per se, but the choice is odd. We can’t help but feel its inclusion would have been a nice improvement.

4. Players can ride vehicles together

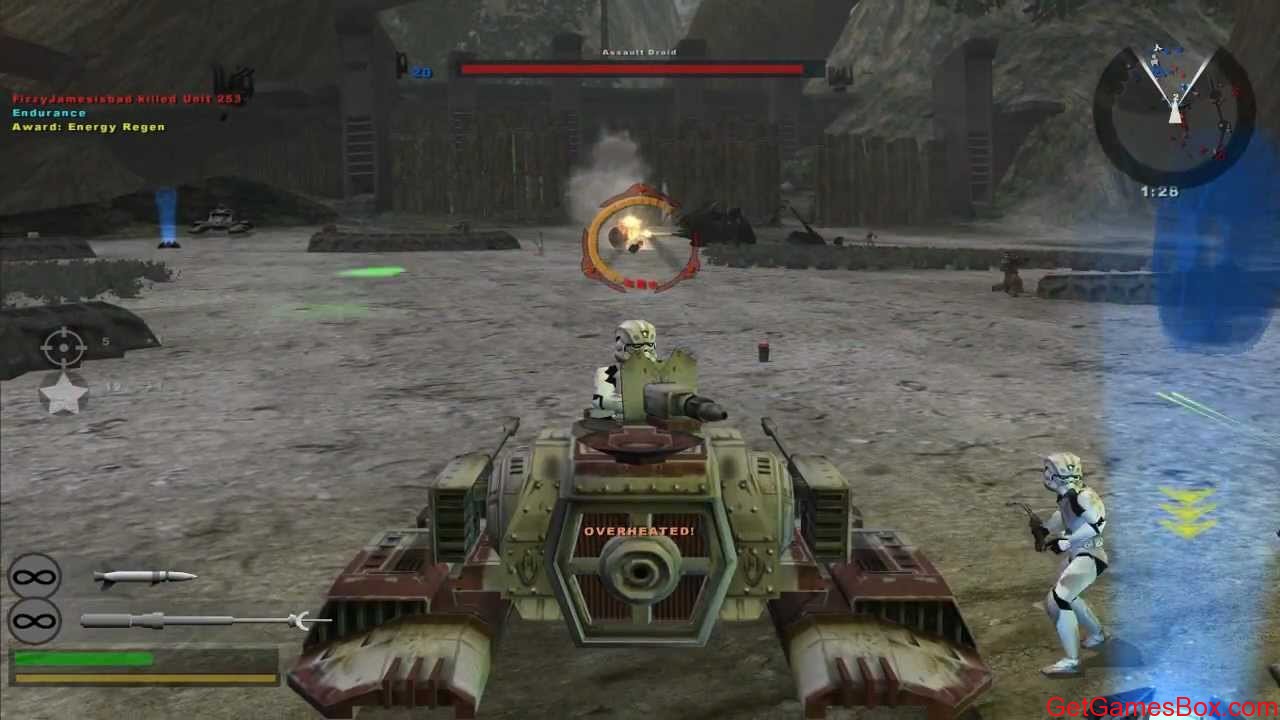
This isn’t the last time we’ll be bringing up EA’s Battlefront 2’s lack of co-op features. This point is more an example of where its missed. The 2005 Battlefront featured and implemented vehicles very differently than EA chose to. In the original, players could see a vehicle on the map, run to it, and ride it. It made sense, it was fun, it was an option for every player. Even the worst players in the match could beeline towards the nearest AT-AT walker or AAT for a chance to even the playing field. But that’s not even the biggest reason this design choice was so cool.
http://www.gamersdecide.com/pc-game-news/10-awesome-star-wars-games-play-2016/page/0/1

While vehicles in EA Battlefront 2 were power-ups unlocked by spending battle points, they were much more useful in Pandemic’s Battlefront 2.

The main difference? They could hold multiple players.

That AAT you saw on the streets of Theed? In Battlefront 2 2005 that could house both a driver and another player to operate the cannon up top. The clone AT-TE could have three players at once. The clone gunship? Four.
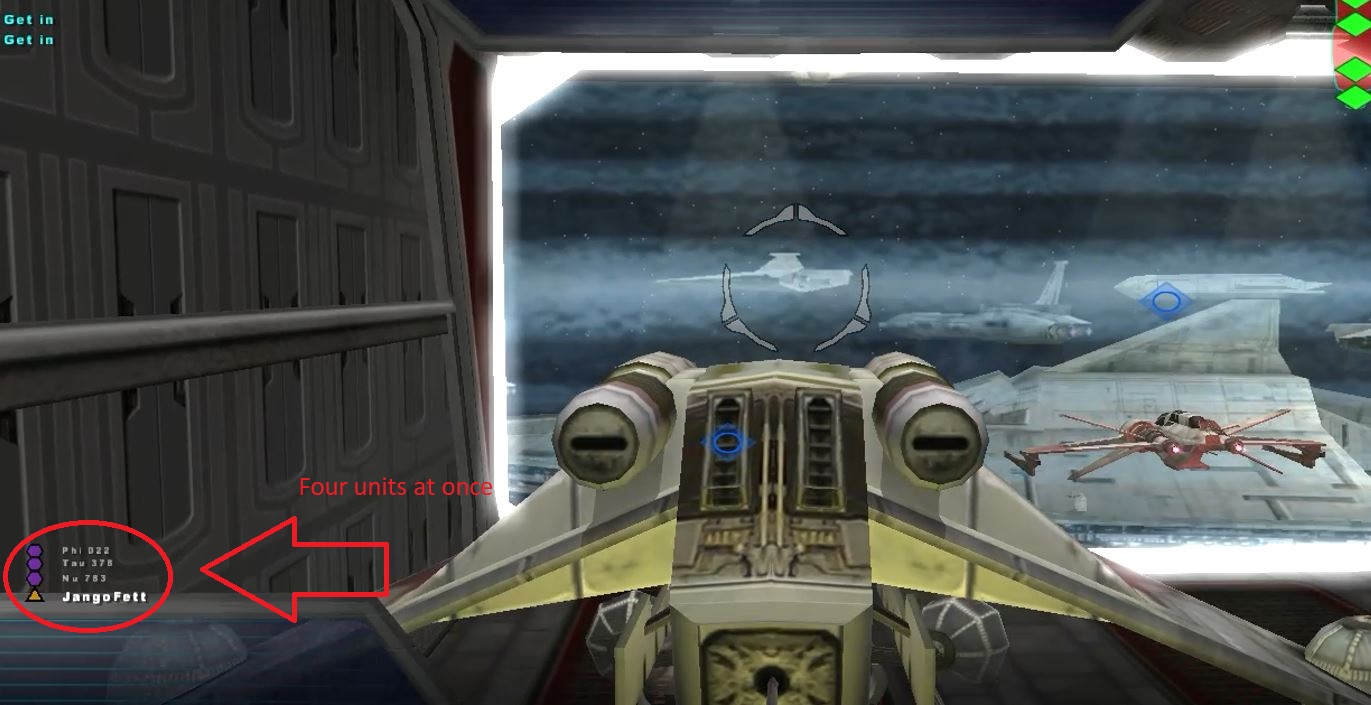
There was something special and exciting about you and three friends piling into a clone gunship during a space battle and manning the different positions. Your pilot navigated through enemy fire on the way to the opposing flagship, gingerly landing in their docking bay. The enemy AI pour out into the hangar area as the ship goes on full alert. The gunship you landed is getting shot by rockets, so you and your buddies are forced to pile out, dodging lasers and diving for cover while returning fire.

It grew to white-knuckle insanity trying to escape the flaming ruins of the flagship you and your friends sabotaged together. Then to be greeted by a victory screen as you boost away from enemy fighters?

Glorious.

Playing with your friends was such an integral element of the 2005 Battlefront, and the lack of it in EA Battlefront 2 brings us to our next big point:

3. Playing with friends was accessible and encouraged, local or online

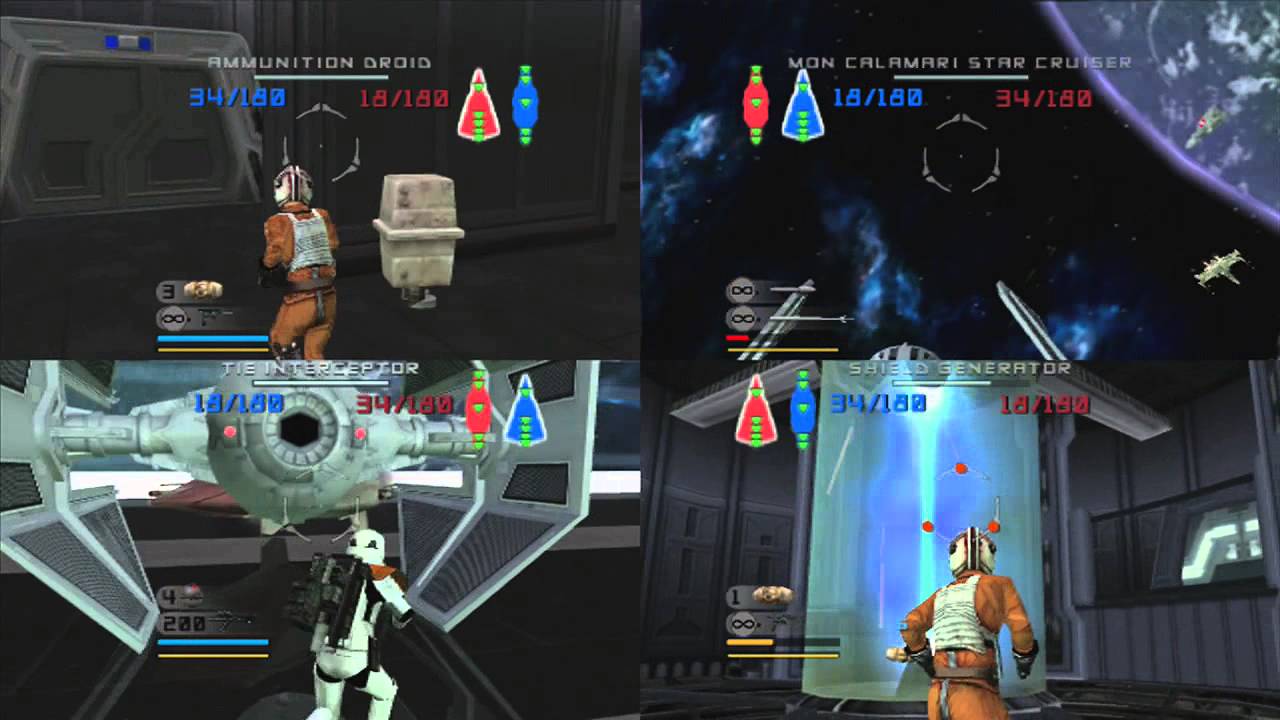
Playing local splitscreen was a huge part the FPS genre in its early days. Series like Unreal Tournament, Ghost Recon, Call of Duty, Halo, and James Bond all found massive success from it, and splitscreen gaming evolved into a huge part of the FPS culture. Pandemic’s Battlefront 2 was a cornerstone of this evolution, and it took the formula to the next level with its class-based roleplaying, multi-person vehicles, and its (albeit limited) mechanics for commanding the game’s AI infantry.

EA Battlefront 2 does have local play, but it’s pretty restricting. By “restricting,” we mean that there’s no online co-op to speak of. There is splitscreen in arcade mode, but the game’s arcade mode really feels like an introduction to new players more than an actual real fleshed-out gametype. Even then, that local play is only available on console. PC players don’t get any co-op at all (and yet the game is still priced the same for both). Comparing this to Pandemic’s Battlefront 2, the lack of local play goes beyond co-op.
https://www.youtube.com/watch?v=MxYOgWmTS8w

Splitscreen in Battlefront 2 2005 could also get competitive. At the start of the match, players can pick which faction they wanted to play as … and it didn’t have to be the same as the other players. Walking through the bot-congested halls of Polis Massa only to suddenly come across another player was a tense moment, and the firefights between the two of you would often decide the fate of the match.

Working together or fighting each other, local play created an extremely engaging atmosphere in Battlefront 2 2005 and it added a whole other dimension of strategy and excitement to the game. EA missed the mark here.

2. Galactic Conquest

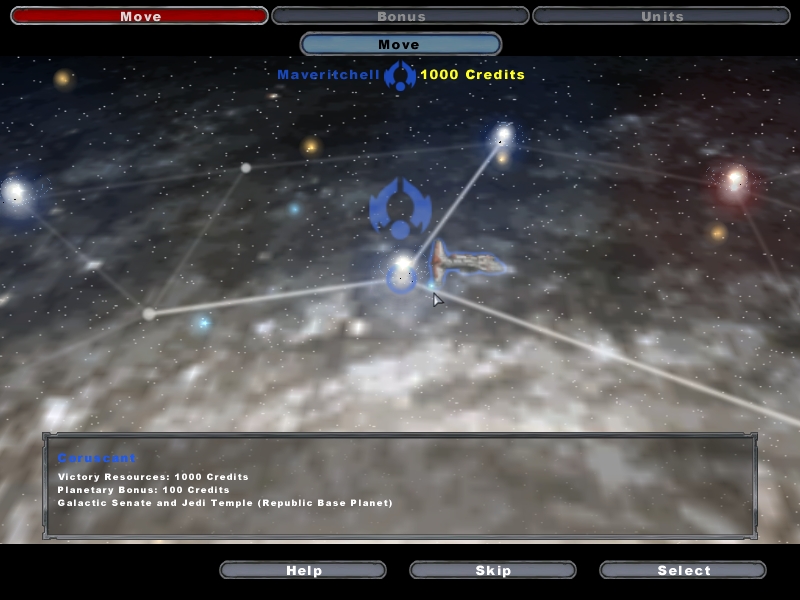
Next up we had to mention EA’s exclusion of one of the original Battlefront’s defining game modes: Galactic Conquest. A Risk-style strategy mode that starts the player off owning only one planet on a simulated galaxy map. The way to win here was to conquer all the galaxy, which is at the beginning owned by the enemy faction. Each planet conquered earned you galactic credits to build, buff, and expand your army. It was a strategic chain of singular missions with a broad tug-of-war in the background. The enemy side always starts with the advantage, but over the course of the game, it shifts to your favor.
https://www.moddb.com/mods/star-wars-battlefront-conversion-pack/images/kotor-galactic-conquest5

Galactic Conquest had been a core game mode in both Pandemic’s Battlefront games, and was a key component to its replayability and longevity. It added depth to every match and challenged players to think on a more tactical level before jumping into a firefight. It’s an angle that’s lacking in EA’s Battlefront 2, and we really miss it.

1. AI bots

Of all the differences we’re covering here, we think this one’s the biggest. Battlefront 2 2005 had AI bots on every match and it completely changed the way the game felt. The huge waves of enemies, the constantly respawning units on both sides, the Jedi cutting through swathes of infantry to get to the next command post – it all felt like we were dropped into a pivotal moment in the titular “war.” Here’s a video of the rare EA Battlefront 2 player who hadn’t first played Battlefront 2005, and his thoughts on what AI add to the mix:

The only game modes that feature AI in EA’s Battlefront 2 are the campaign, arcade mode, and Starfighter Assault. The latter of which was one of our favorites largely due to its inclusion of bots. We’re not alone in thinking this either. Disclaimer: Angry Joe is angry. May contain NSFW language.

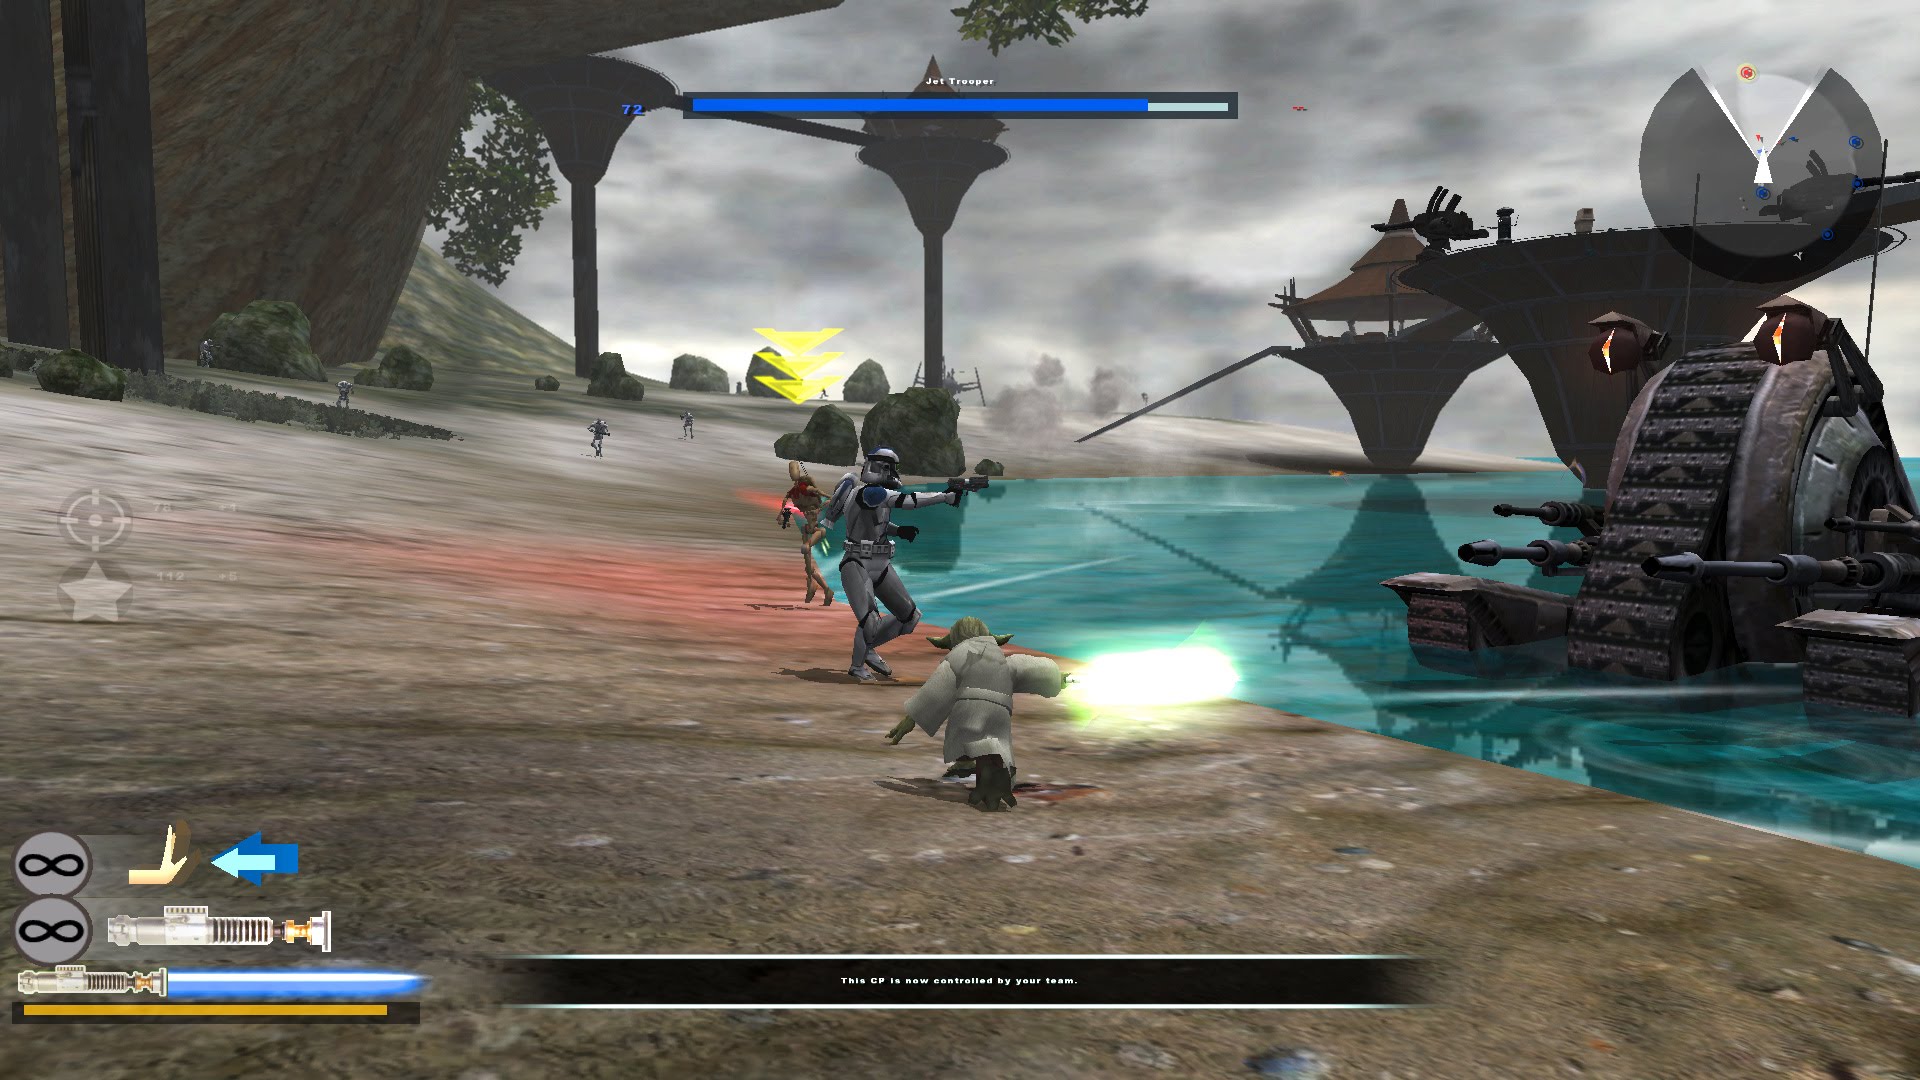
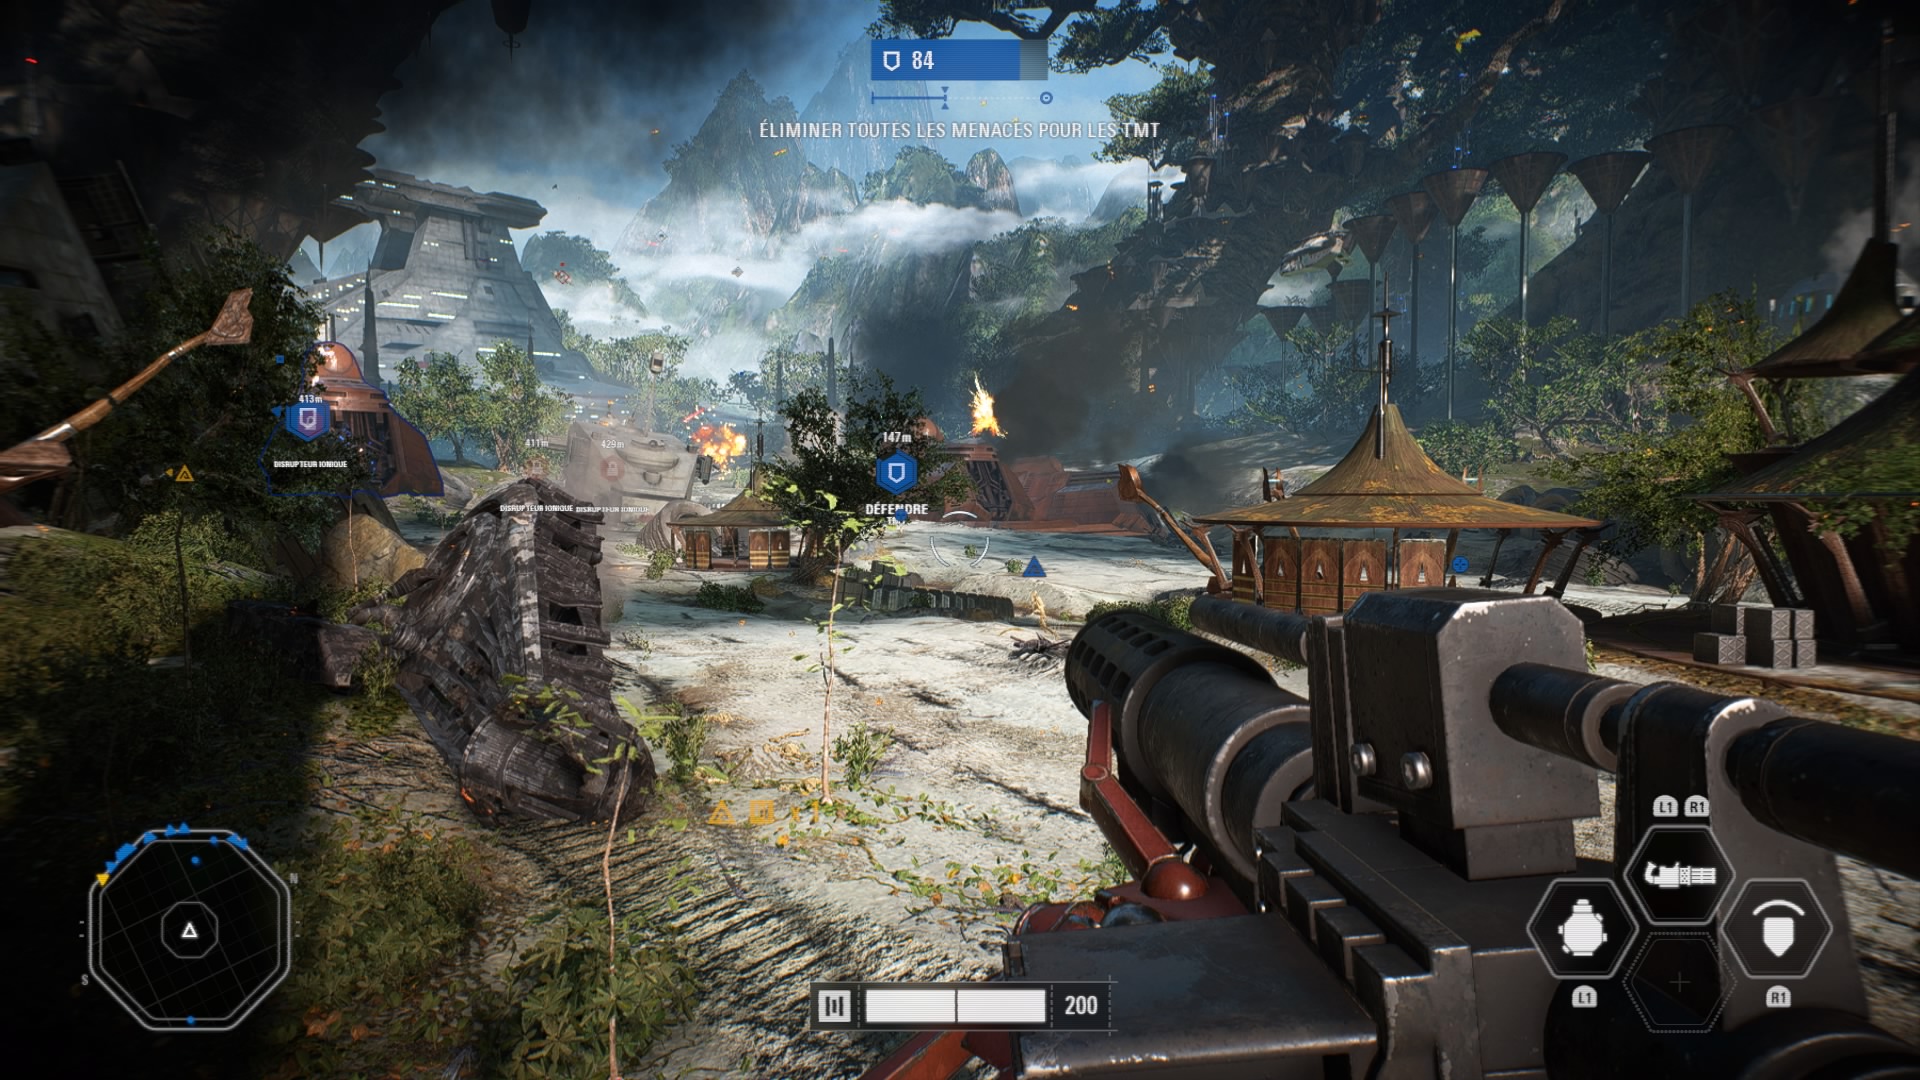
Putting “battlefront” in the title of your game implies just that – a peek at the surrounding war zone through the eyes of an infantry soldier, scout, or pilot. Compare, for instance, Kashyyyk from Pandemic’s battlefront 2 to EA’s:
https://www.youtube.com/watch?v=uZnJfL6DYSQ

Pandemic’s map is less vibrant, far smaller, equally linear, and largely open. EA’s is massive, colorful, breathing, and lush. But play it and you’ll see where the problem lies – the amount of time you spend in an actual firefight in EA’s Battlefront is absolutely dwarfed by the amount of time walking from fight to fight.
STAR WARS™ Battlefront™ II_20180224131957

Larger maps aren’t always a great thing, especially when the only enemies to fight are the enemy players. Sure they’re way tougher than the laughably incompetent AI from Battlefront 2 2005, and sure it’s more rewarding when you gun down enemy players rather than nameless bots, but a healthy mix is what made EA’s Starfighter Assault so enjoyable. If they could incorporate ground AI into the online game modes, it would make a dramatic difference, and one that we think is for the better.

If EA makes a Battlefront 3, we hope to see some of these aspects included in its design. Would that be enough to renew fans’ dreams of one day having a game to match the awesome fun of the original Battlefront 2?

Hmm. Clouded the future is.
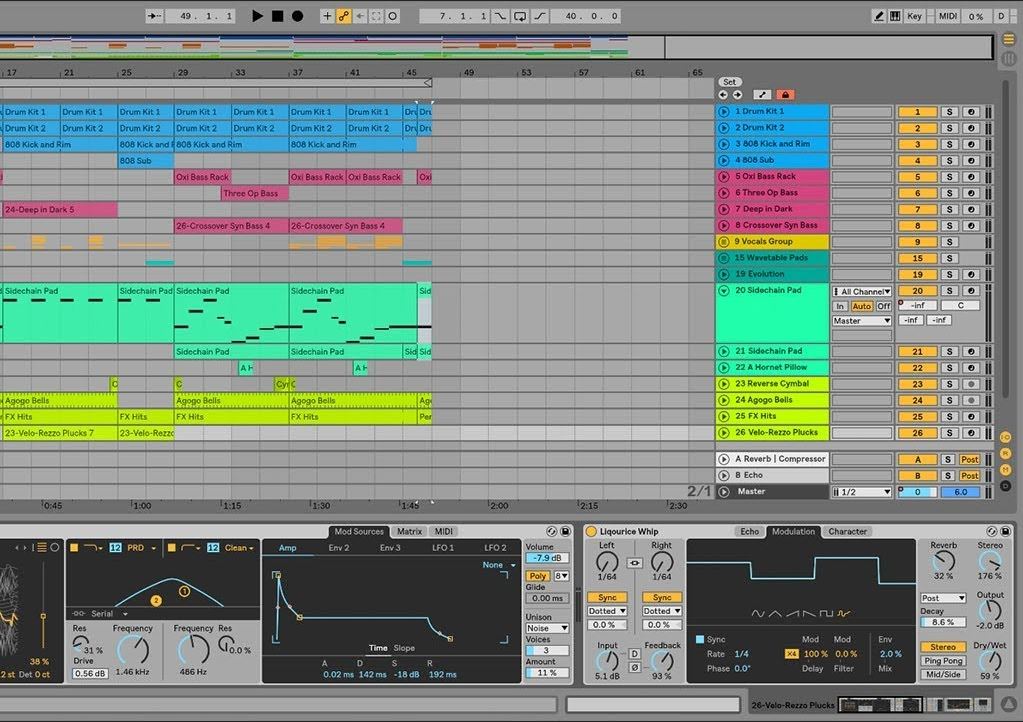
How to become a DJ, arranger, and composer with Ableton

High quality electronic music is a marriage between an artistic talent and the power of the digital audio workstation (DAW) that they’re working with. Knowing the ins and outs of your DAW will not only help you speed the creative process along, but depending on your DAW’s capability, it may even open doors to sounds you didn’t know you could create.

Ableton does just that.

Ableton Download
7

When you’re trying to pick the best DAW, you’re looking for three things: Versatility, intuitive design, and compatibility. From there, your only limitations are your creativity, talent … and probably your budget.

We’re here to give you an overview of Ableton’s core features so you can decide if it’s the best DAW for you.

What’s special about Ableton?

http://www.avid.com/pro-tools/whats-new

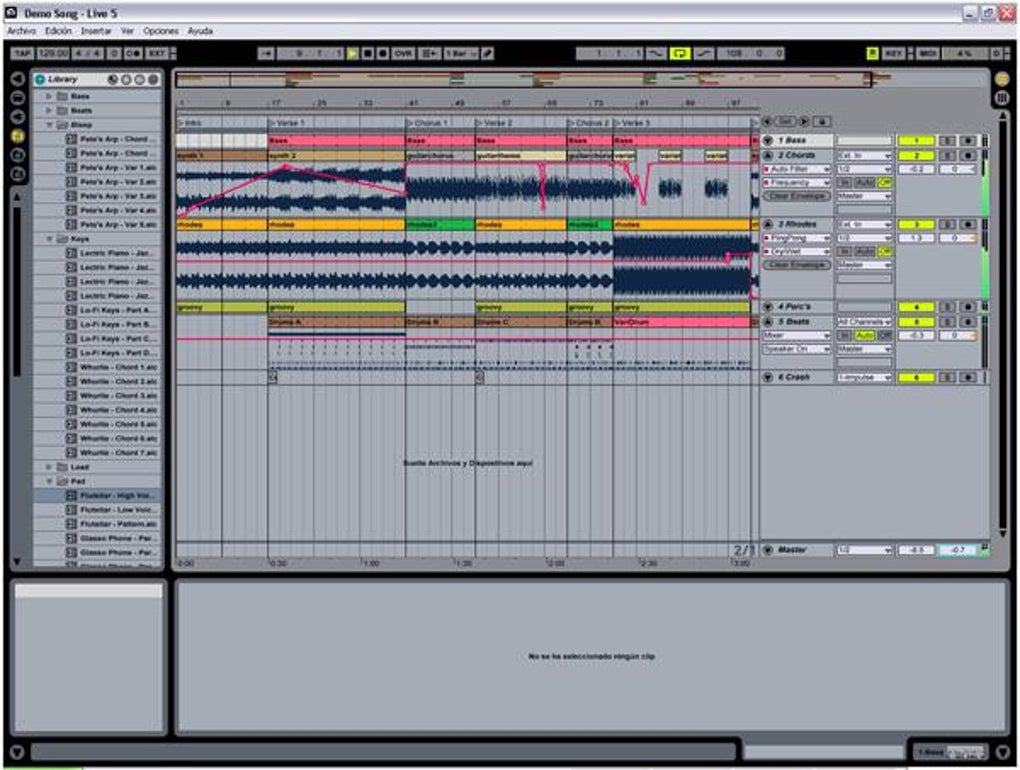
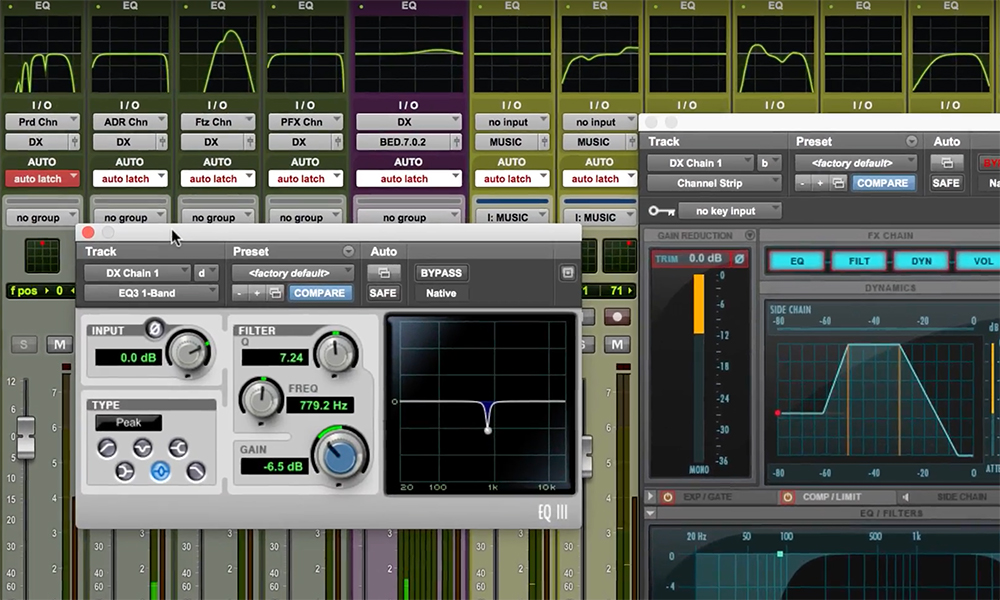
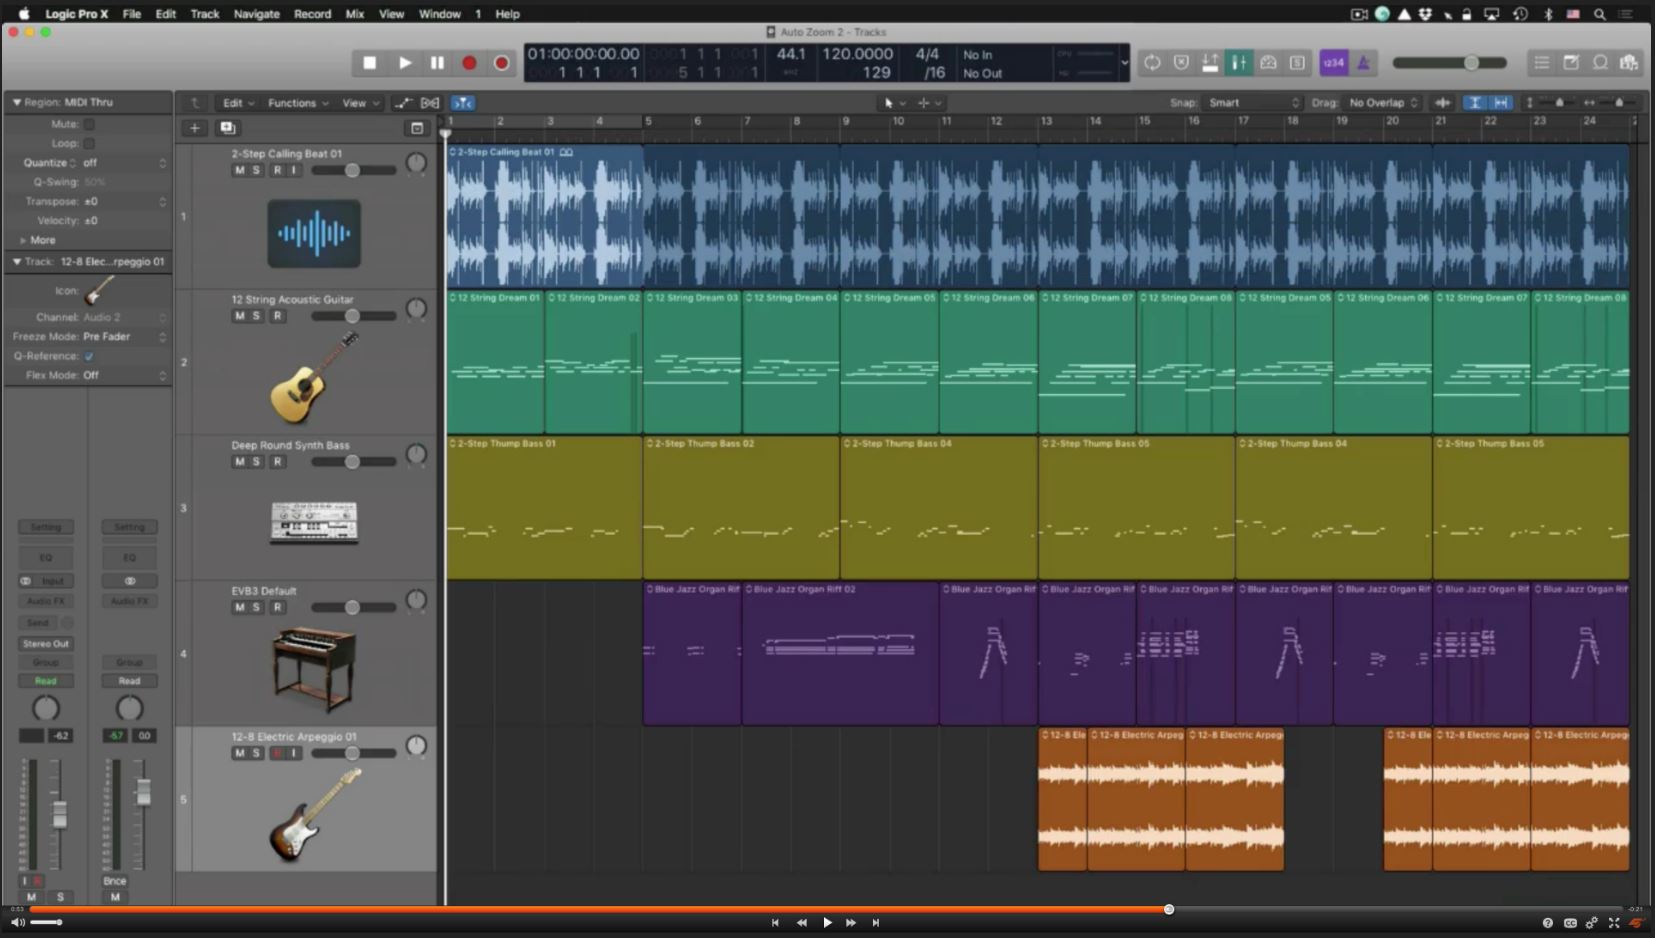
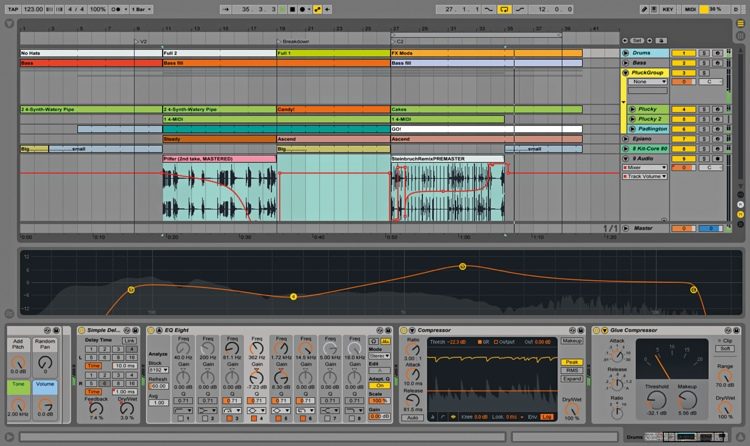
Comparing Ableton to similar DAWs like Pro Tools or Logic is a good place to start. In what areas does Ableton differ?

With Pro Tools, the biggest selling point is the control you have with playback. Altering the count-off, pre-roll, or playback speed is where the software really shines. Pro Tools was designed with console recording in mind, but it comparatively it falls a bit short when it comes to manipulating MIDI and organizing files.

https://www.macprovideo.com/logic

Logic Pro X boasts a much larger number of virtual instruments and plugins than Pro Tools, and the interface used to manipulate them is worlds more user-friendly. Combine that with Logic’s focus on post-production and you’ve got a DAW that’s hard to beat.

The only caveat with this program is its lack of sampling. For artists and DJs focused on creating more modern sounding music like Hip Hop or House, Logic might take a bit more digging and coaxing before you can match Ableton.

https://www.sweetwater.com/store/detail/Live9Suite-e–ableton-live-9-suite-download

With Ableton, you’ll be able to create any kind of music your heart desires. Take a listen to its samples, however, and you’ll quickly hear the slant towards EDM and live DJ work. Some of the features we’ll be covering later are angled very obviously toward that avenue of use, but Ableton can definitely get you any sound you’re looking for.

Able to switch sounds in seconds, Ableton has the fastest flexibility and the most reactive interface of any DAW, making it the best in terms of last-second tweaks or experimenting with new sounds.

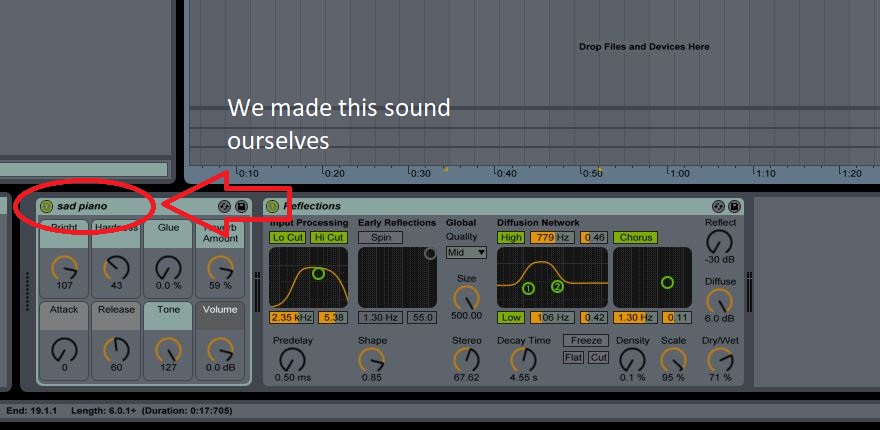
Speaking of new sounds, Ableton is also the reigning champion when it comes to creating a unique timbre or voice, and lets you save your new audio on the spot for future use. The DAW is most in its element when you’re cycling through and adjusting the knobs and dials on the audio or MIDI sample you pick, and the program comes chock full of hundreds to choose from. That’s even before downloading additional plug-ins.

For more comparisons between these three DAWs, you can check out this article.

How’s the learning curve?

If you’re new to electronic music, the slew of customization and sound options will be pretty overwhelming. But fear not – the program is very beginner-friendly and can hold your hand if you ask it to.

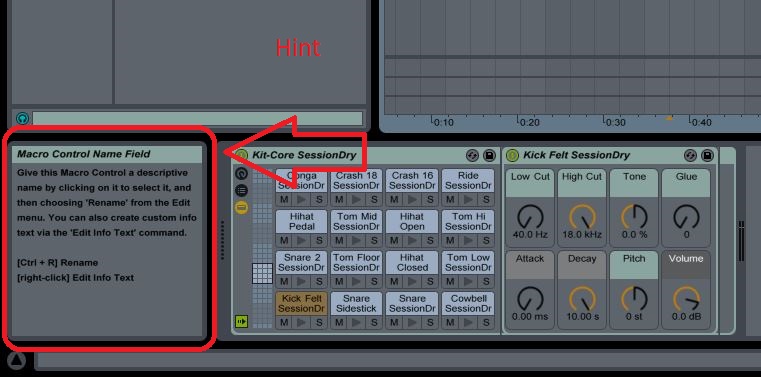
Getting help in Ableton is as simple as hovering your cursor over an icon, window, or panel. A prompt in the bottom left of the screen will immediately tell you what you’re looking at.

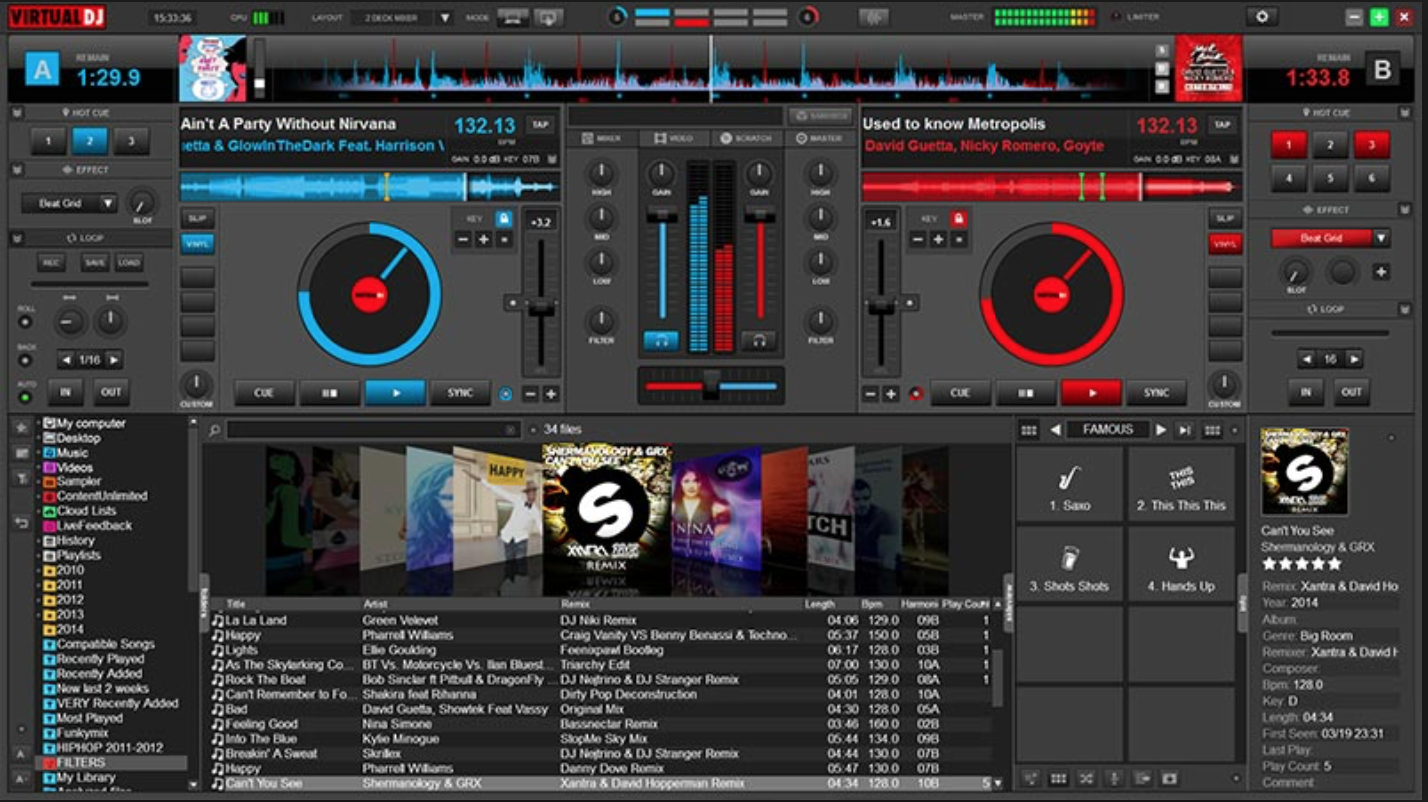
One of Ableton’s key features is the ability to seamlessly switch between its two modes: Session and Arrangement. A quick press of the ‘TAB‘ button will flip the screen between the two, with Arrangement view catered more towards creating and organizing your various audio and MIDI tracks, while the Session view is a more vertical layout with easier access and faster adaptability for live work. It’s a DJ’s best friend.

It’s worth mentioning that if you’re ever feeling lost, YouTube also several series meant to help you through your first steps. This introductory video will probably answer a lot of your questions right off the bat:

So this is a catalog of sound samples?

Ableton has two kinds of tracks: Audio, and MIDI. Audio tracks are pre-recorded of drum beats, electronic blips and whirs, and all manner of “synthy” phrases you can stack on top of each other.

MIDI, however, is a different story: Ableton also allows you to use either your keypad or a MIDI controller (like an attached drum pad or keyboard) to seamlessly create and integrate your own tracks. Open a new MIDI track, choose an instrument (or custom make one), and you can immediately play it on your attached device.

http://www.musictech.net/2013/09/ableton-live-tutorial-power-1/

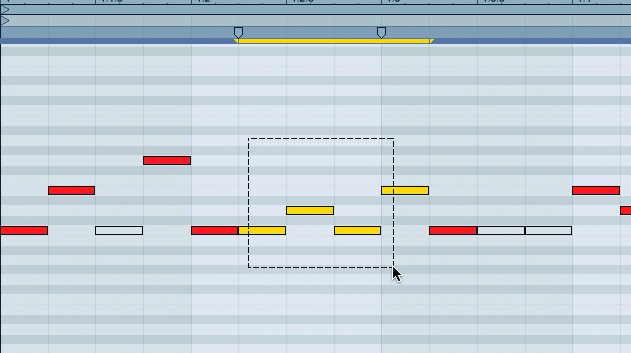
Don’t know how to play an instrument? Ableton’s got you covered. Draw mode (pictured above) allows you to fill in the divisions wherever you want with any MIDI sound you pick. You’re essentially drawing in where you want your notes to be.

It takes practice, but this method gives you a huge amount of control over where you beats land and how your tracks integrate with each other.

How do the prices compare?

Pro Tools: $299 for an annual subscription, $899 or higher for a perpetual license.

Logic: $199.99

Ableton: $99 for the entry-level Live 9, $449 for the standard edition.

Our advice is to go for the $99 dollar Ableton Live 9 and if you like it, consider the upgrade.

Why upgrade to the standard edition?

Short answer: Plug-ins.

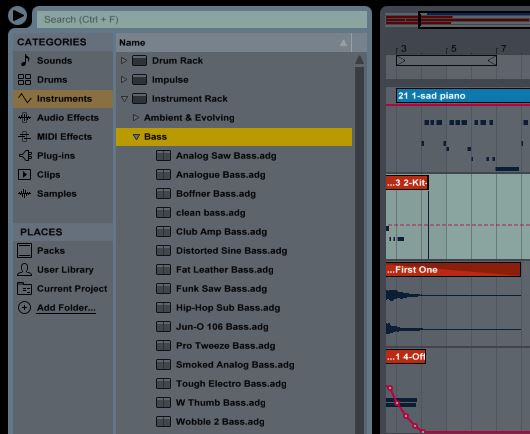
Ableton Standard and Ableton Suite have a much wider selection of instruments and audio effects, hugely expanding the number of choices you have to work with from the very beginning. Keep in mind that all these sounds can be customized from there, so if you can think it you can create it. For more in-depth comparisons of the various versions of Ableton, check out this video.

All this is just the tip of the iceberg. Creating electronic music is a big undertaking and takes practice and skill before you’re happy with what you create. Spend some time with Ableton, though, and you’ll find it becomes an extension of your creativity.

Best of luck out there – we can’t wait to see what you can create!

Karaoke in your pocket: sing with your friends on Smule

Looking for a singing partner to jam with on your favorite tunes? Then you’ll love Smule.

https://appadvice.com/app/smule-the-1-singing-app/509993510

Smule is a free app that works like karaoke in your pocket. Sing with a partner or harmonize in a group, or even jam out by yourself. Pick the song you want from a still-growing catalog that features millions of songs, and sing along in a very user-friendly interface. After you can save and choose to share your voice with the world. Download it right here:

10

Opening Smule instantly brings you into its catalog of popular tracks. Right off the bat, it tells you that you may choose one song for free.

What is free in Smule and what is not?

https://www.wikihow.com/Get-Lots-of-Smoolas-in-Smule-Magic-Piano

Anyone who pays for Smule is considered a VIP member. Being VIP gets you a few key features to which you won’t otherwise have access. A VIP membership gets you:

1. Access to far more songs. Thousands more choices than non-paying members.

2. The option to sing solo, duet, or group with anyone you like.

3. A variety of voice and studio FX that you can filter your voice through in post. This means you can slap on effects like reverb, delay, or even autotune.

If you stick with the free version, you’ll still HAVE a good number of songs to choose from, and the catalog is frequently refreshed. You can scroll through it until you find one you want to sing, then pick who you’d like to sing it with. It probably won’t be someone you know, though. But if you’re ready for your big break, you can save your recording and share it on social media.

Finding a match

The beauty of Smule is that you can hop on anytime and join someone as the second voice. To start, just boot up the app and pick a song. The Feed and Songbook tabs give you recommended songs based on the genres you favor. Just click any of the ones it suggests and the music starts. Click ‘join’ in the top right, and if you’re using the free version hit ‘join someone for free.’

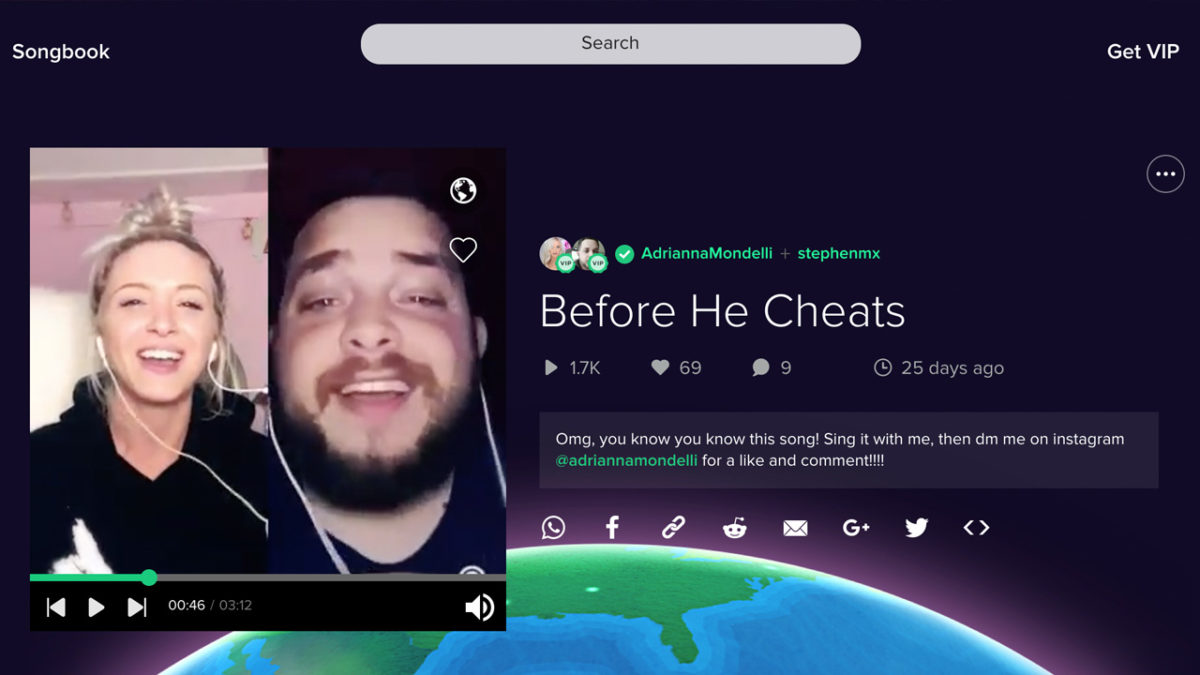
You can pick from any of the users listed and it’ll take you straight to the karaoke window. Hit start and the music plays. The lyrics that come up in gray are for the host, blue lyrics are for the second voice (you in most cases), and any lyrics in yellow are for both of you to sing.

Alternatively the Explore tab lets you pick a specific genre or playlist and narrow down your selection from there. Click the song you want to take a crack at, and click ‘sing‘ in the corner. Choose your user and you’re good to go. Smule will encourage you to use headphones as it improves the audio quality. We concur.

Can you sing with friends?

The important question. The answer is yes you can… but not for free. If you’re a VIP you get to pick ‘solo,’ ‘duet,’ or ‘group‘ after you click on a song to cover. In that case, you’ll be the melody singer and you can send an invite to your followers once you’ve sung your part. Your friends will receive a message, and then they can choose to fill in the harmony whenever they want. For more specific details regarding this process, you can check out this FAQ.

We think Smule is a great way to train your vocal chops and learn the words to your favorite songs. Most importantly, though, it’s a way to connect with friends and meet new people. It’s a unique way to reach out in an environment that caters to collaboration and harmony. Having a friend reach out to you with a song that needs a harmony can be a lot more special than a Snapchat pic or a poke on Facebook.

Even when we were singing harmony with total strangers, we found Smule to be a very friendly, respectful environment. It kind of has to be; singing is a very personal experience, especially when you’re covering a song that you care about.

No one on the app is there because they were told to be. They’re there because they love to sing and want to share their voice with the world.

It’s pretty awesome.


Complete Sea of Thieves weapons guide

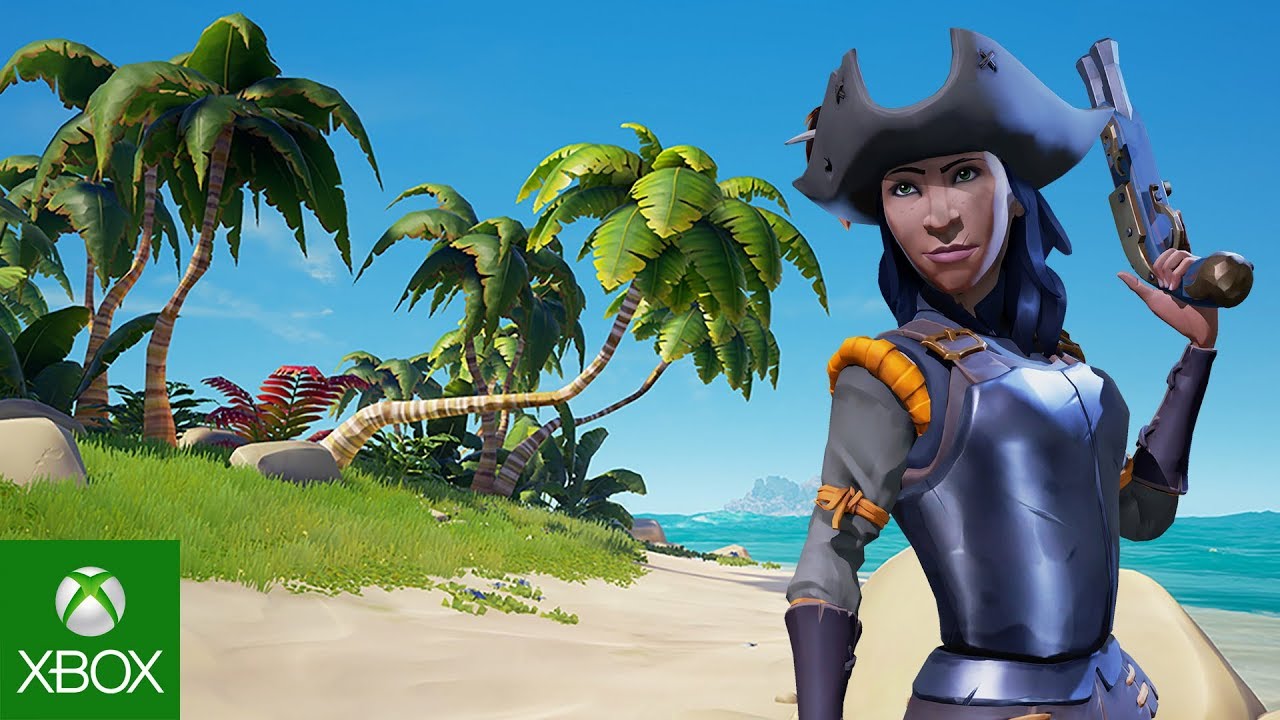
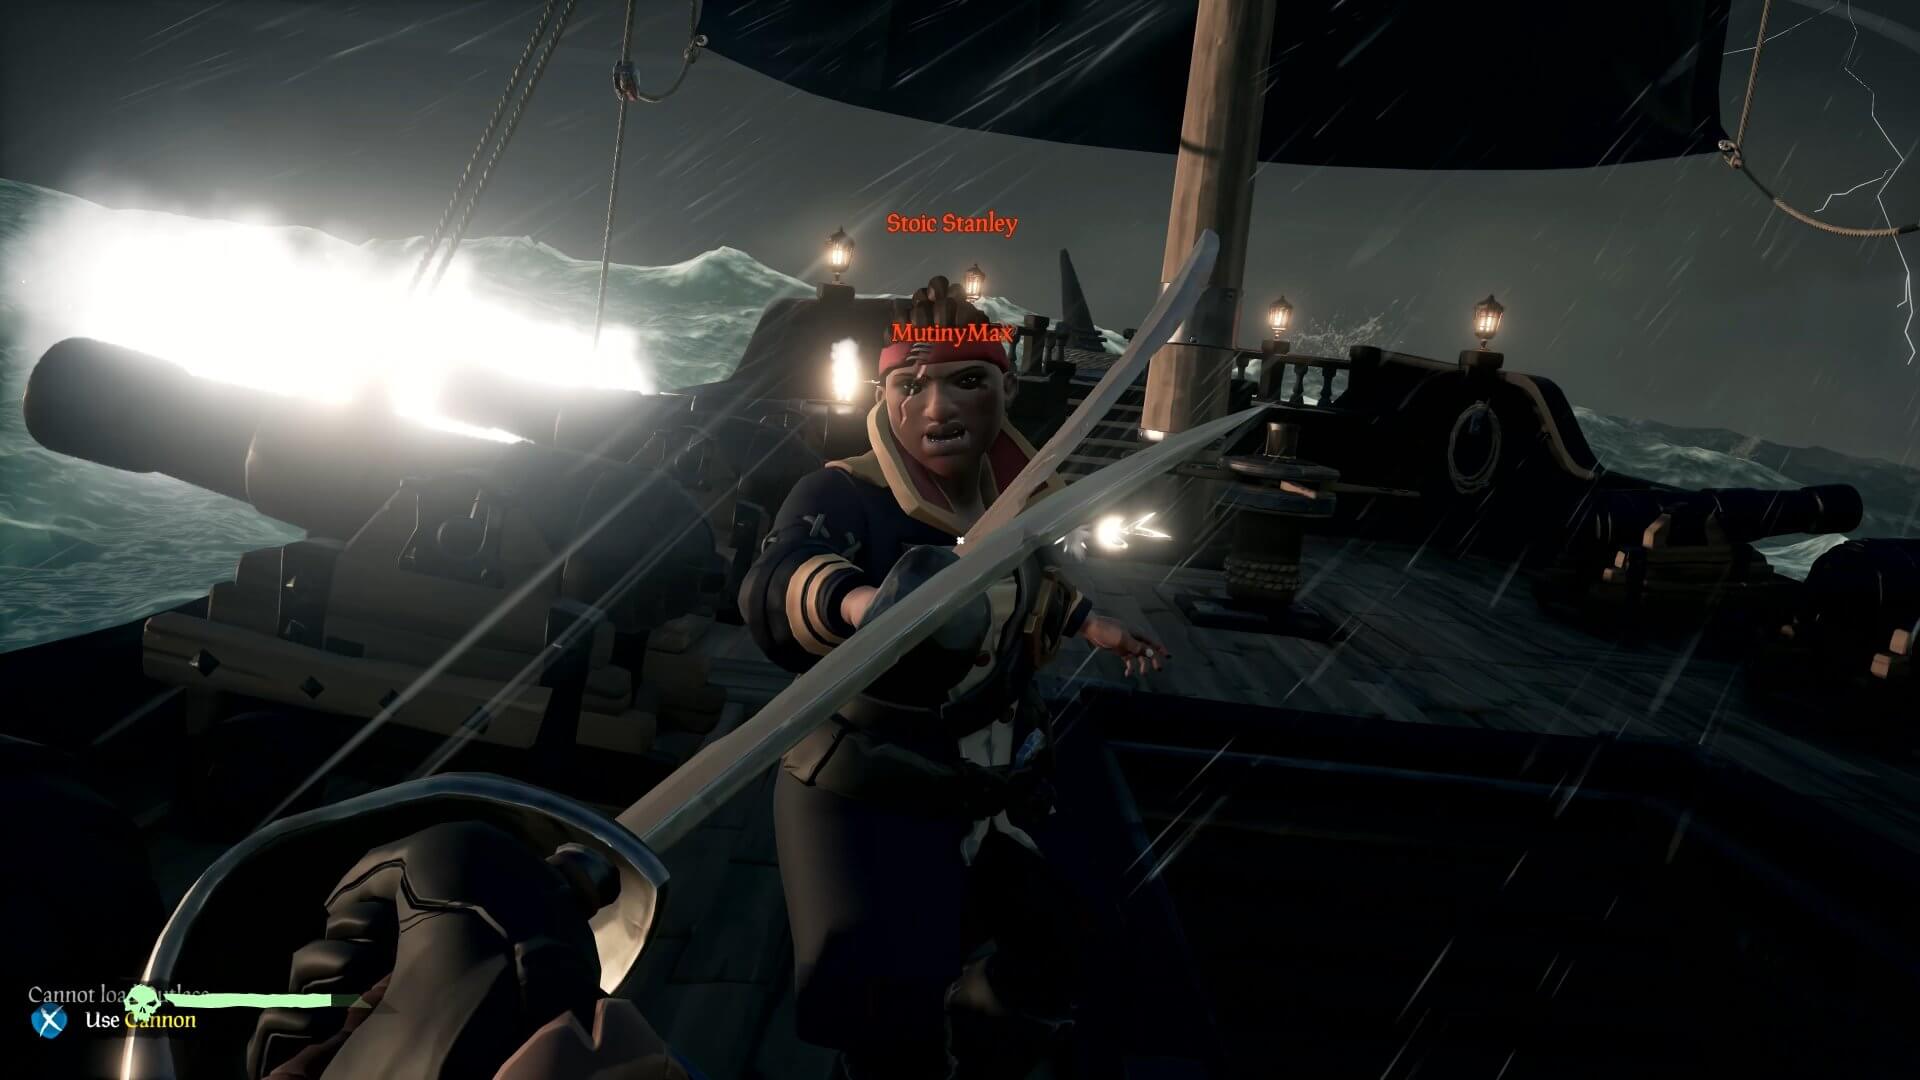
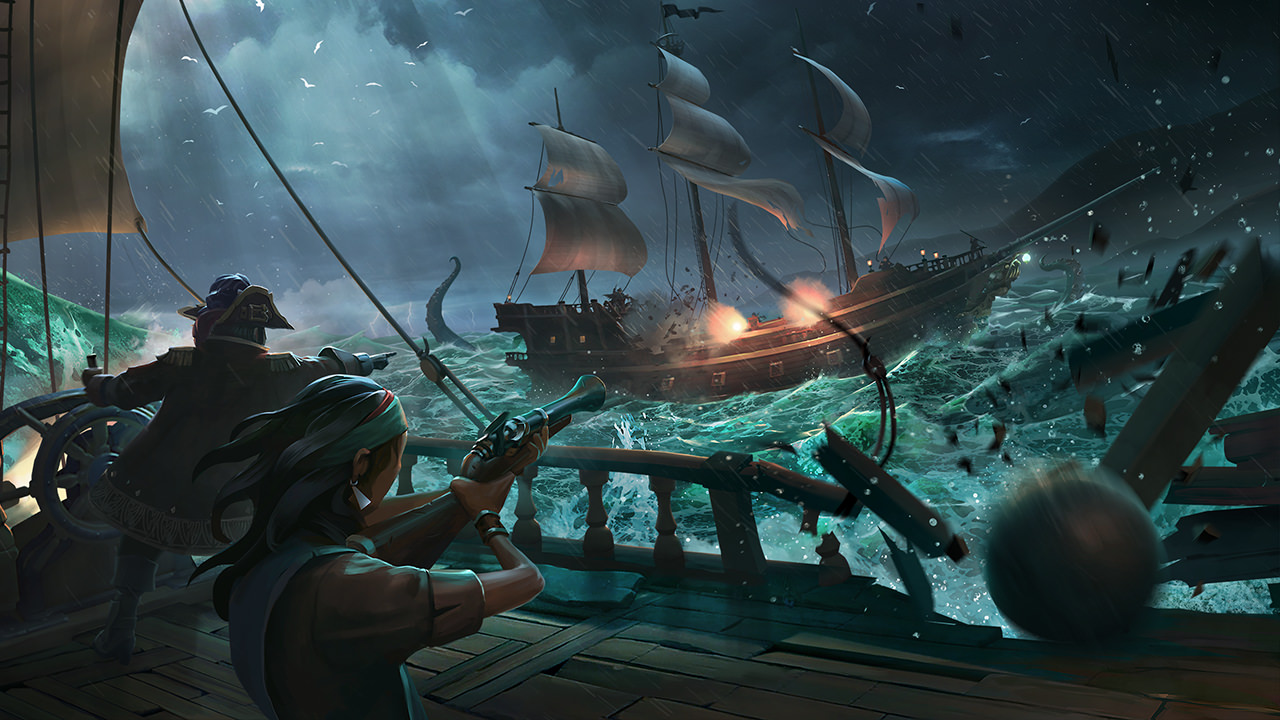
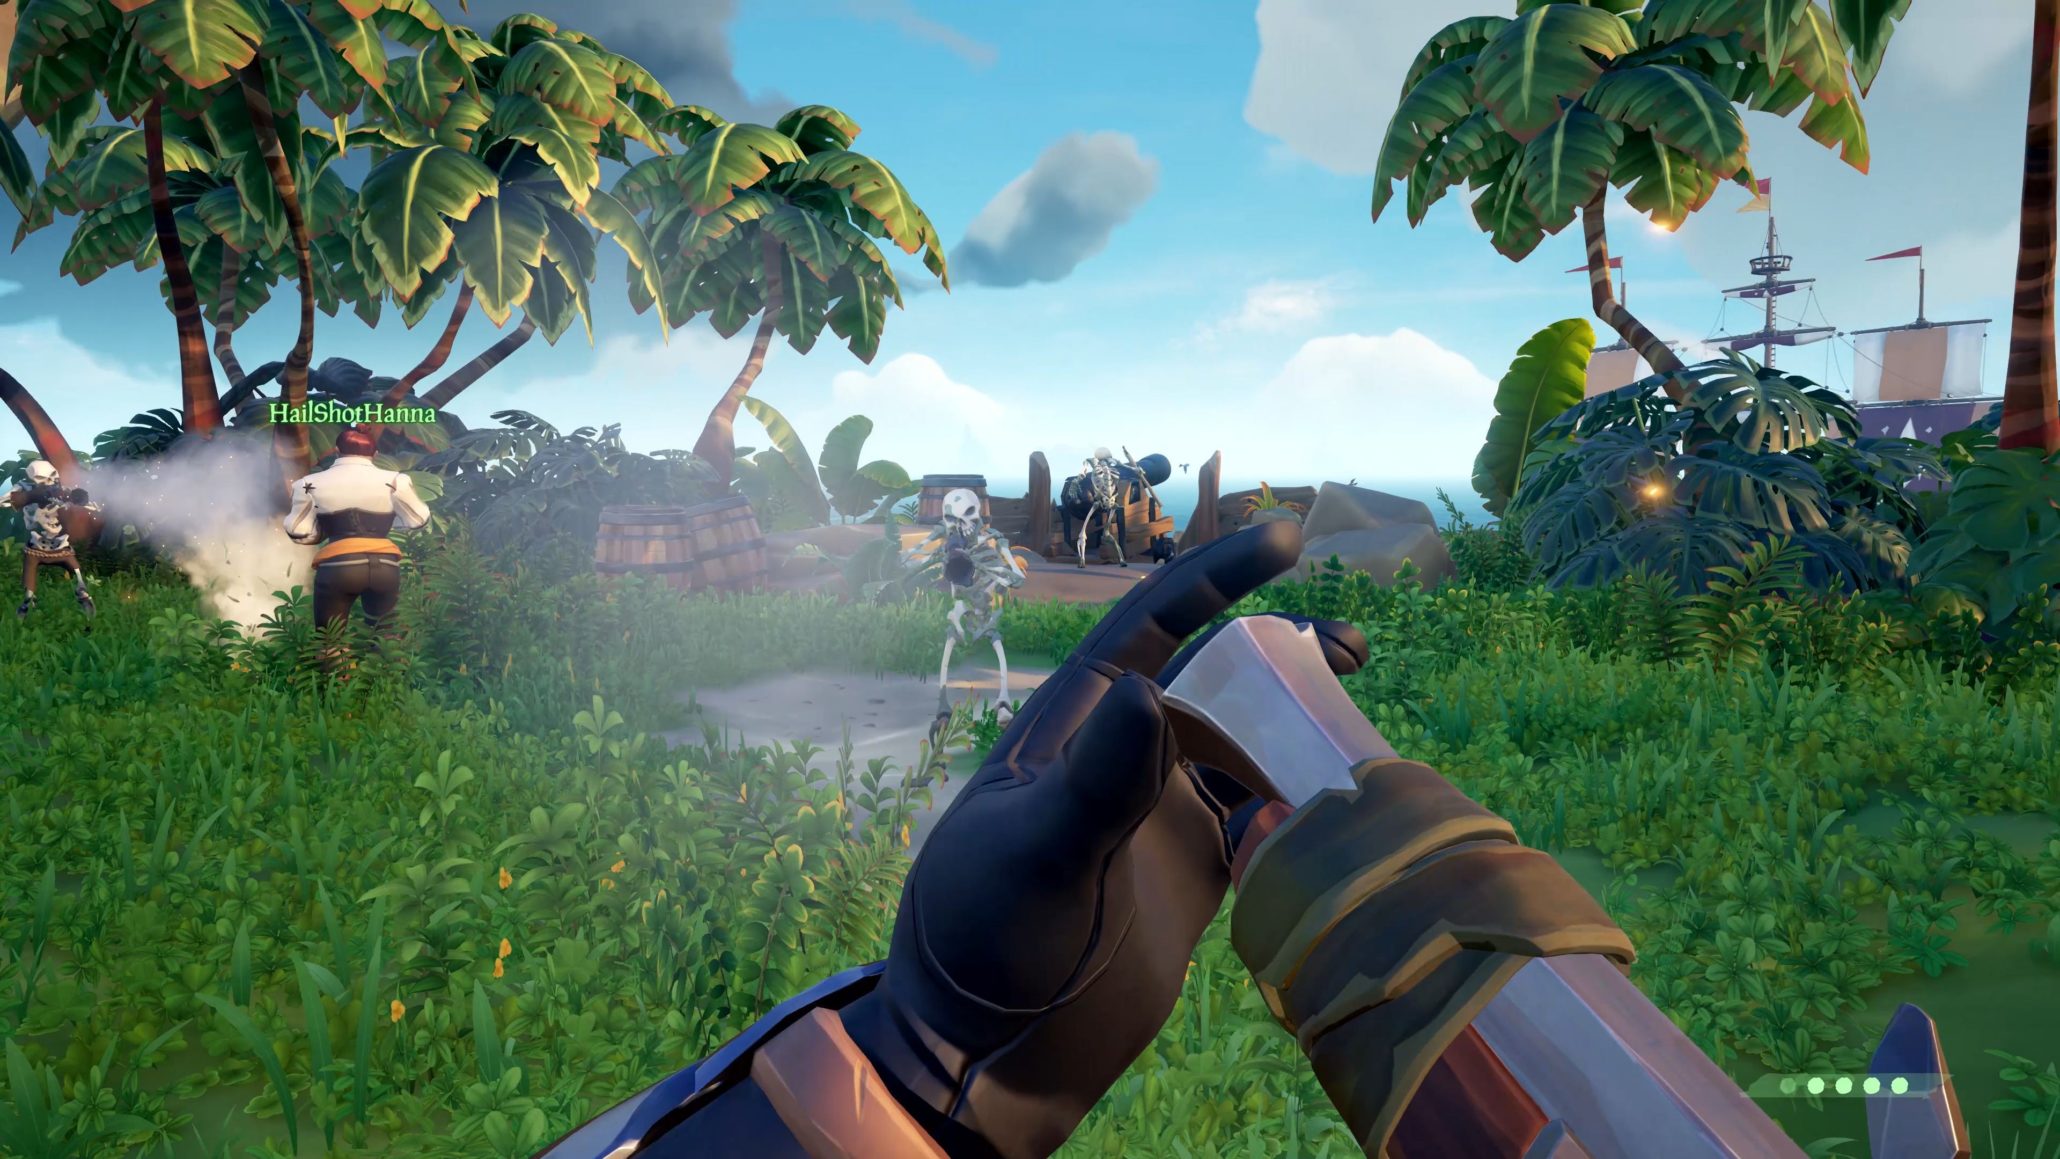
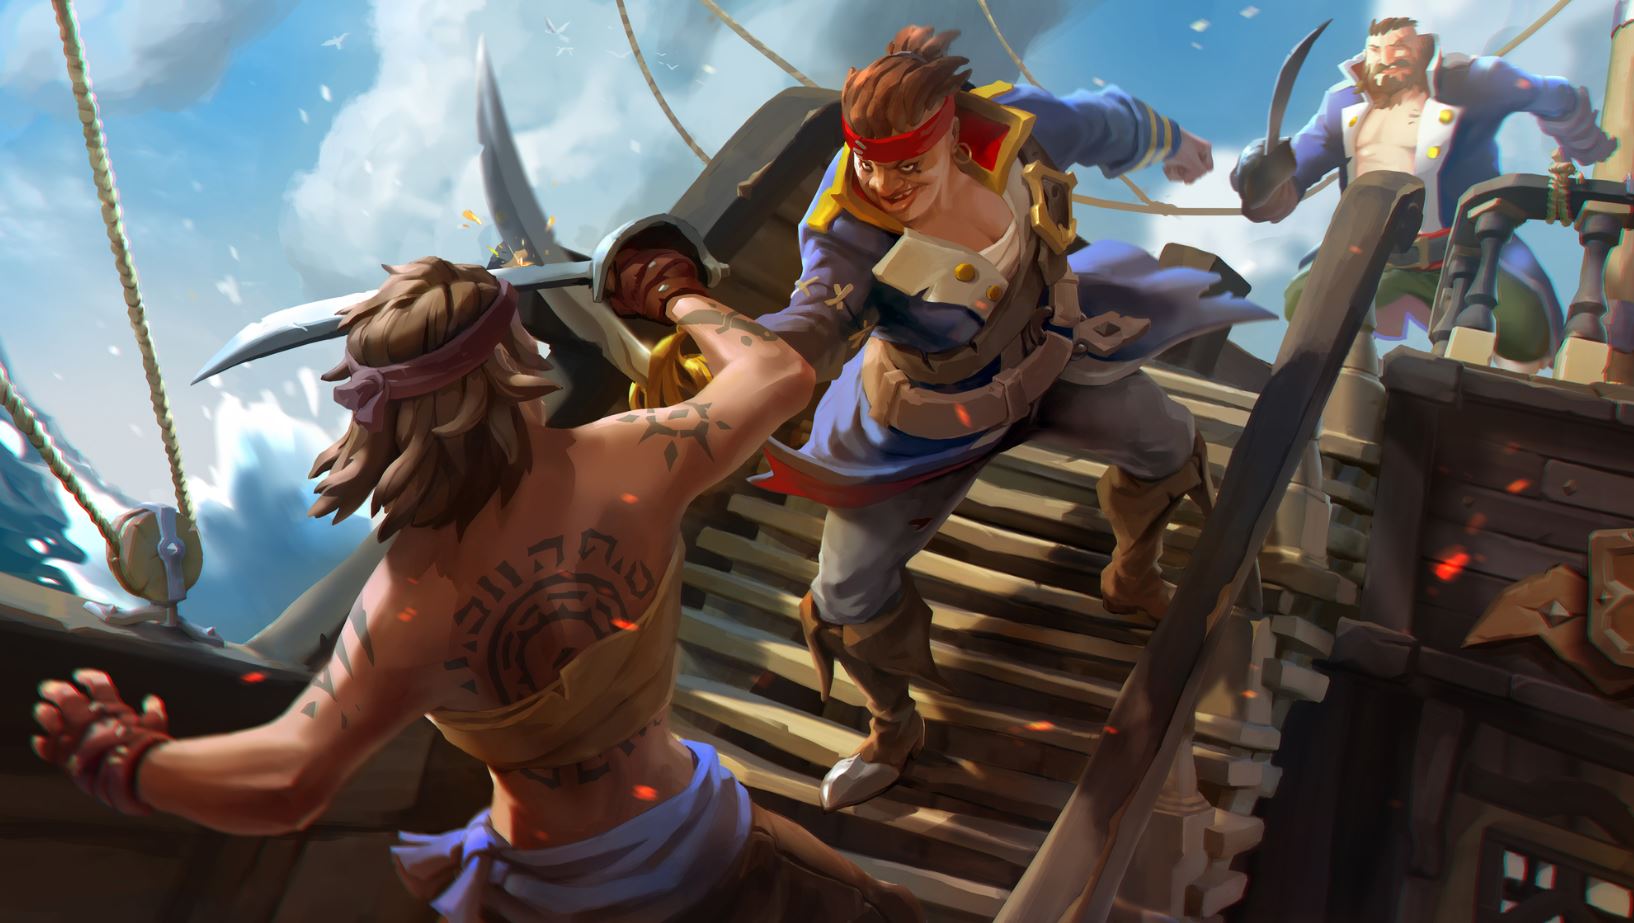
A wise pirate knows the devil’s dance of combat: The swerve and the thrust, the swipe and the parry. An even wiser pirate knows that “he who fights and runs away lives to fight another day.” The wisest pirate of all knows that combat is a job best suited to your lackeys. Your time, meanwhile, is better spent sweeping in with a blunderbuss to pick up the pieces once the dust settles, and hoisting sail to the nearest vendor. There you can sell the remains of your dear departed colleagues and use it for grog money.

Don’t give us that look. This is a game about pirates!!

Sea of Thieves Download
8

Truthfully though, combat is an unavoidable pillar of Sea of Thieves’ gameplay, and knowing the ins and outs of a fight is the difference between a plunder and a blunder (guess which one ends with you walking away with the loot). Every player can carry two weapons, so choose wisely. What you bring into the battle is going to play a huge difference in your role. To help you decide, we’ve put together a guide that will hopefully make that choice a little easier.

Pistol

Powerful and versatile, each player begins a match with a pistol and cutlass by default. You’d think that any starting weapons are sub-par when compared to ones you’d pick up later, but in the case of Sea of Thieves, you’d be wrong. The weapons here are a balancing act in this title, and the deciding factor of any PvP is rarely the weapon a player is using, but the angle from which he is attacking. Every weapon has its place, and the pistol is no exception.

** Any upgrades or purchases you make at a vendor are aesthetic only and will not have any effect on a weapon’s damage or utility. You’ll just look cooler.

https://www.xbox.com/en-US/games/sea-of-thieves

The pistol outmatches the blunderbuss in terms of accuracy (as you might expect) and it also has a faster reload speed, meaning that you can fire off a second shot before the other guy does. This is important for one big reason:

A single shot from the pistol will deal 53% damage to a human target. That means if you can land two shots, they’re down. See where we’re going with this? You dominate mid-range combat with the pistol. It may not feel like it fires all that quickly, but the fact of the matter is that it’s still firing faster than the other two firearms. Combine that with the two-shot kill and you have a very powerful weapon indeed.

Cutlass

Your other default weapon, the cutlass is the mark of the true buccaneer. Yes, it has less range than any other weapon. Yes, it does the least damage. Yes, it takes three hits to kill even a basic skeleton. We still think it’s the best weapon you can get your hands on in this game.

Hear us out.

At the end of the day, the sword is only as good as the swordsman. Mastering the cutlass will take time, practice, and patience (at least two traits that pirates do not have in abundance). The primary attack is a sword slash that deals a small 20% damage. Logically, landing the three-hit combo will do 60% damage. Now we’re getting somewhere. In addition, hitting another player can slow them, hindering their ability to turn. Unable to adjust their view angle, you should be able to dispatch them far more easily.

http://crewofthieves.com/the-pirates-guide-to-personal-combat-in-sea-of-thieves/

The sword’s lunge ability does a mighty 49% damage, and is one of its defining features in Sea of Thieves. The lunge lends a unique balance to the rock-paper-scissors combat for this game. Charging the lunge (primary attack button) will slow your walk speed, BUT if you block you will negate the movement penalty. Jump at the start of your lunge and you can cover still more distance, closing the gap between you and the guy with the pistol or Eye of Reach.

The cutlass is also the only weapon in the game that can block, making it your best defensive option. On top of all that, and this is a no-brainer, the cutlass does not use ammo! We recommend having a cutlass as a backup weapon on most of your adventures. Its defense, mobility, infinite usage, and general classiness make it our top choice.

For more advice on the best ways to use a cutlass, definitely give this video a thorough look:

Eye of Reach

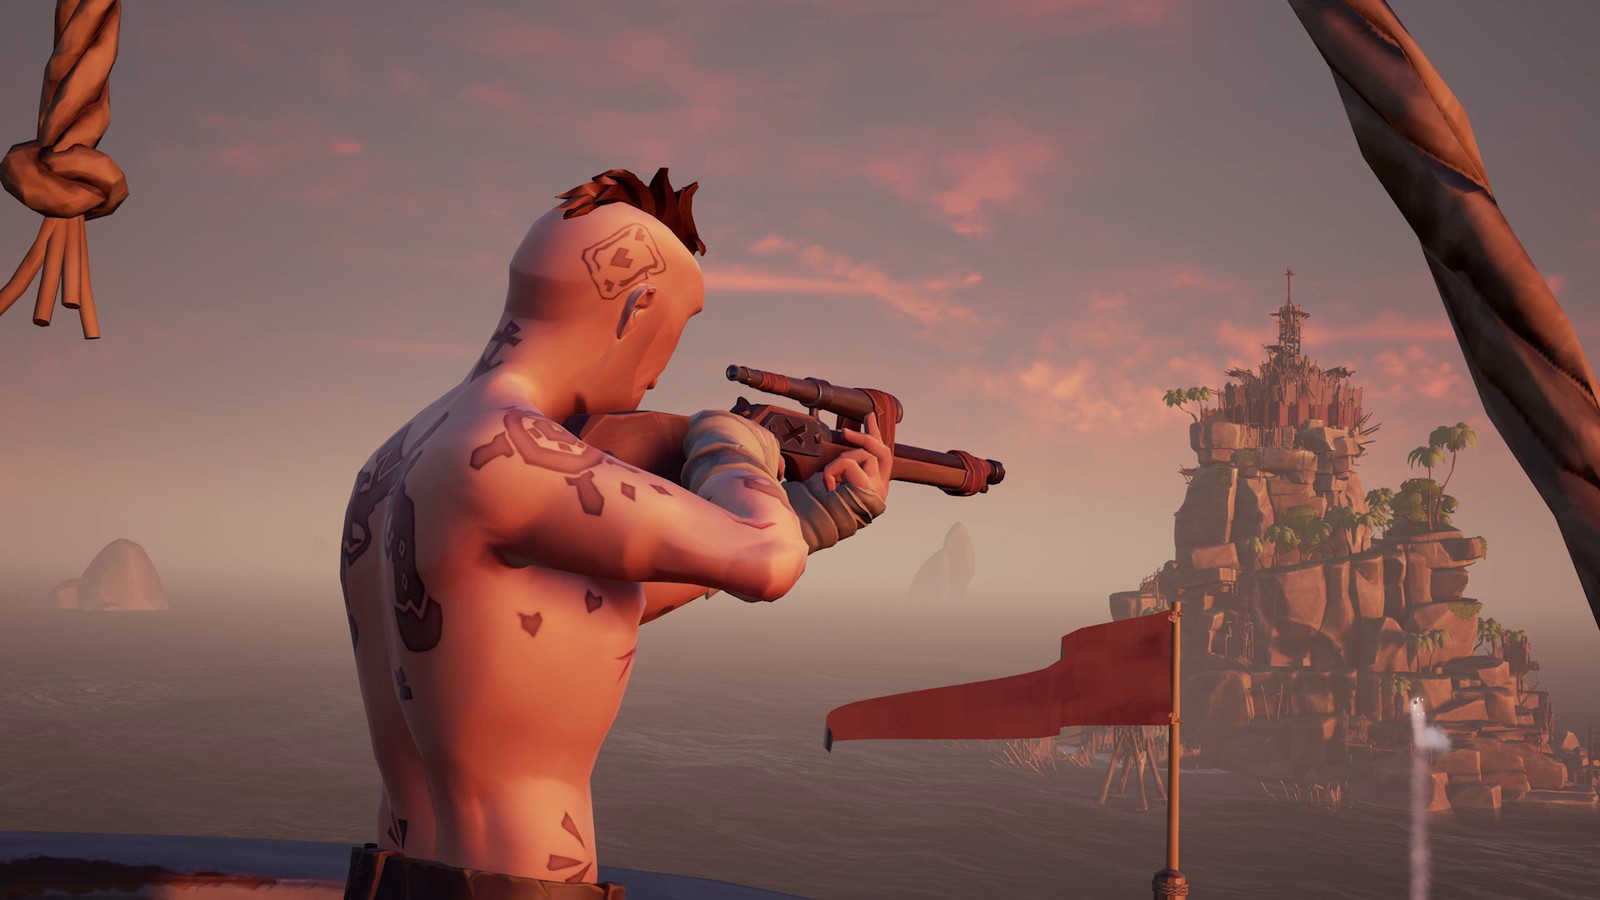
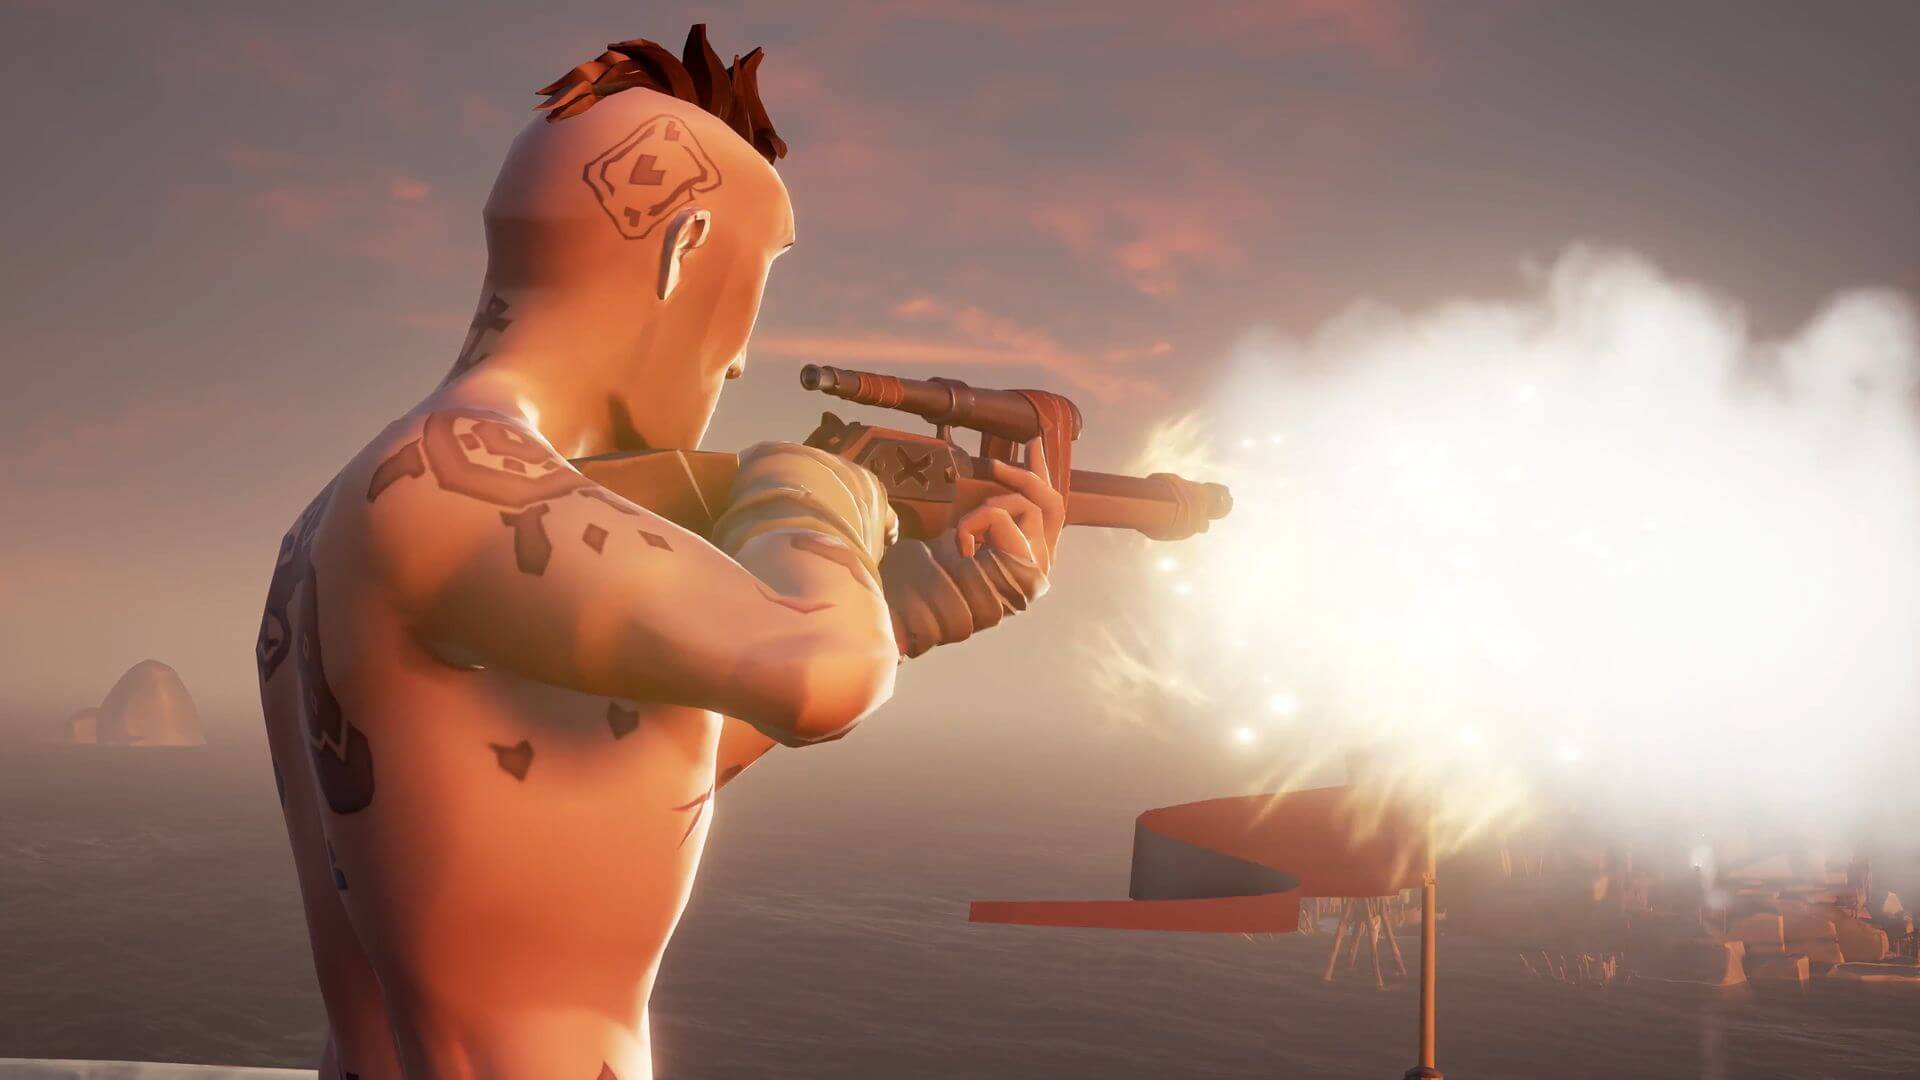
Found in an armory (scattered around the game world), the Eye of Reach is the game’s sniper rifle. With a slow rate of fire and reload time, this weapon favors a high risk/high reward style of gameplay, much like the blunderbuss.

Accurate from extremely far, the Eye of Reach also doubles as a spyglass. We found it unexpectedly useful when scouting new areas or when doing recon on skeleton forts. It is generally advisable to have at least one of your crew hit the seas with this in his hands. It’s invaluable for scouting, backing up the players leading the charge, and for picking off enemies before your ship even reaches the island.

https://www.windowscentral.com/how-get-new-weapons-sea-thieves

With the Eye of Reach, it’s important to keep several universal factors of Sea of Thieves’ combat in mind:

  1. There is no friendly fire in Sea of Thieves. At least not directly. If you’re the team marksman and you’re watching your teammate’s back, don’t hesitate to pull the trigger, even if you’re you have the shot; you can’t hurt him.
  2. Headshots will not do extra damage. Again don’t hesitate to shoot. If you’re not firing from far away, we advise quickscoping over long careful aiming.
  3. Lastly, damage in or out of water is the same in Sea of Thieves. If the fight lands you in the water (which it often does), remember that that has no bearing on the damage of your gun. Considering the Eye of Reach does a whopping 79% damage in a single shot, you’re nearly unmatched in terms of raw damage, on land or underwater.

Blunderbuss

The blunderbuss is the go-to weapon for any pirate who’s had enough monkeying around. And no, that’s not a Monkey Island reference. This is a shotgun, tried and true, and should only be used at close quarters. The blunderbuss fires ten shots at once in an unpredictable formation. Each of those shots deals around 15% damage. The more shots that land, the more total damage you’ll do.

Pretty basic, right?

https://wccftech.com/sea-of-thieves-datamining-open-beta/

It takes a minimum of seven shots to instantly down an enemy, which means that the only chance you have to score that sweet one-hit KO is to fire as close to point-blank range as you can afford to get. Careful when you take your shot; the rate of fire is slow, and you’ll probably be in the thick of the fight if you’re using the blunderbuss like you’re supposed to.

Much like the Eye of Reach, however, we think it’s a good idea for at least one teammate to be using a blunderbuss at all times. It comes in extremely handy when ambushed by a horde of skeletons or when going toe to toe with a ship full of enemy players.

For a side by side comparison of weapon damages in Sea of Thieves, along with more awesome combat strategies, check out the video below.

Step carefully and we’ll see you on the high seas!


How to write sheet music for free with MuseScore 2

In a hurry to write down a melody playing in your head? Are you looking to transcribe a rock song for your band to cover? Or maybe you want to hammer out a melody on your MIDI keyboard and have it appear on-screen next to you?

If the answer to any of these is “yes,” then MuseScore was created for you. Not only that – it’s totally free. You can grab it here right now:

MuseScore 2 Download Free
7

So this is like Finale or Sibelius?

Short answer: Yes.

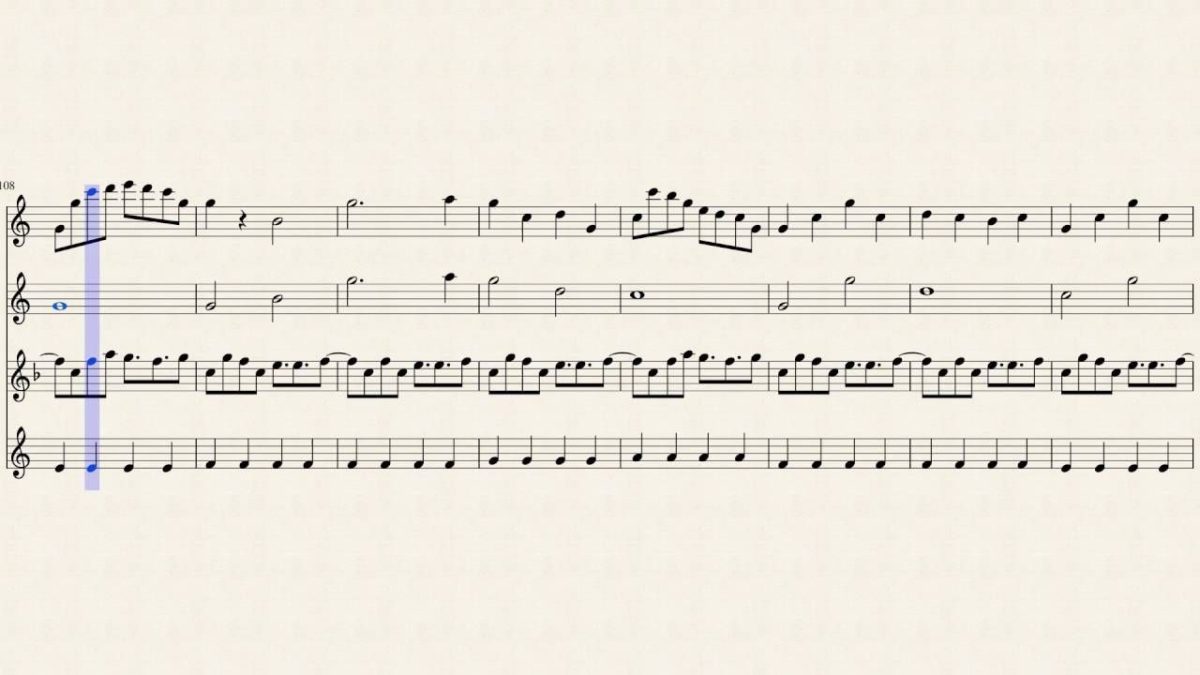
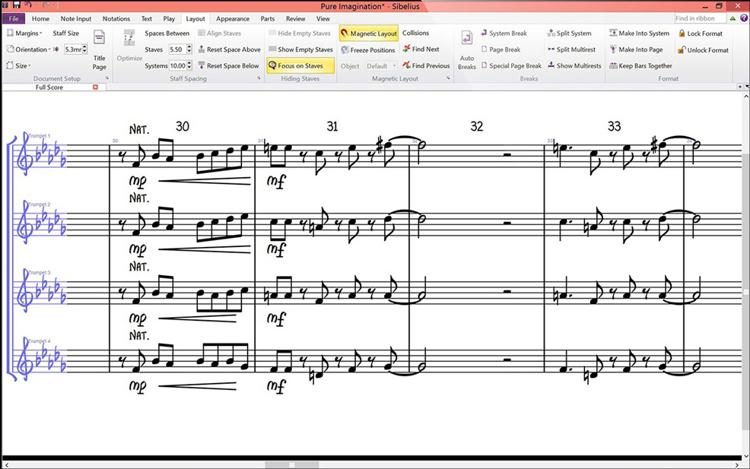
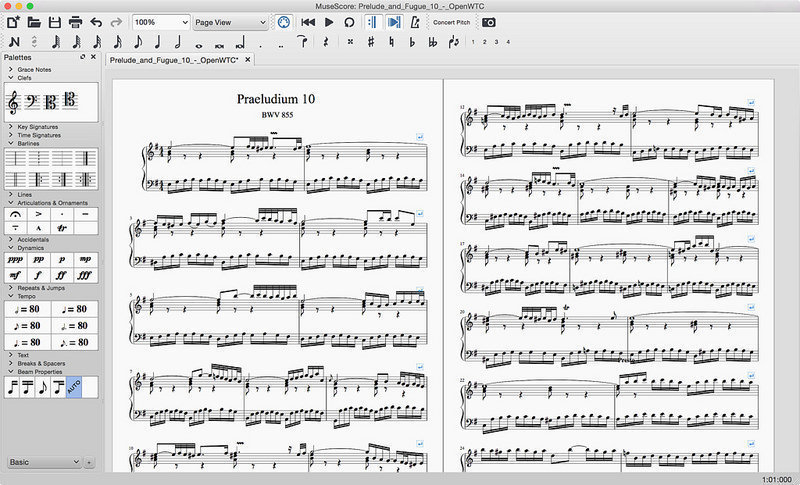
Long answer: MuseScore 2 is a score writer for Windows, Mac, and Linux – just like Finale or Sibelius – the latter of which can cost upwards of $600. Musescore 2 has practically all the bells and whistles of its more famous brothers: It transposes for you; notates for you; beams, splits, and orders measures; balances lines and complex rhythms; and even includes notation for articulations and accents. To the untrained eye, it’s tough to tell which of these two pictures is from the free program:

https://www.sweetwater.com/store/detail/Sib2018-e–avid-sibelius-with-1-year-of-updates-and-support-plan-perpetual-license-download
https://www.macupdate.com/app/mac/32164/musescore

So what’s the drawback?

The only limitation here is how quickly you’ll actually be able to perform these maneuvers. The learning curve for MuseScore is steep compared to learning Sibelius, and is certainly less elegant than Finale. After our first 45 minutes, though, we found the answers to most of our questions had been right in front of our face the whole time.

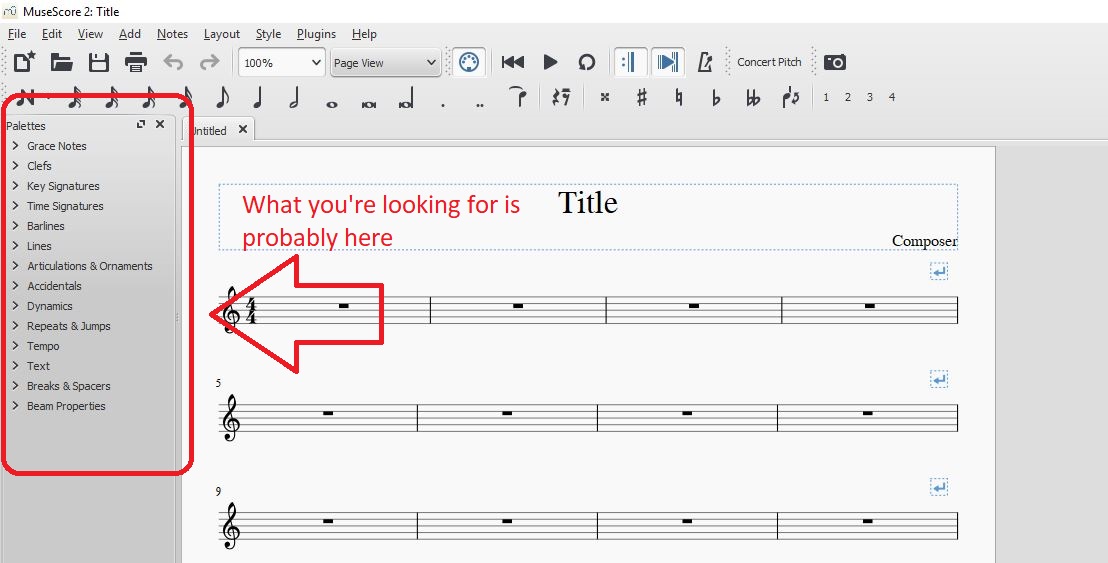
Anything that we didn’t find immediately in the main toolbar was buried under one of the tabs in the ‘palettes’ window on the left:

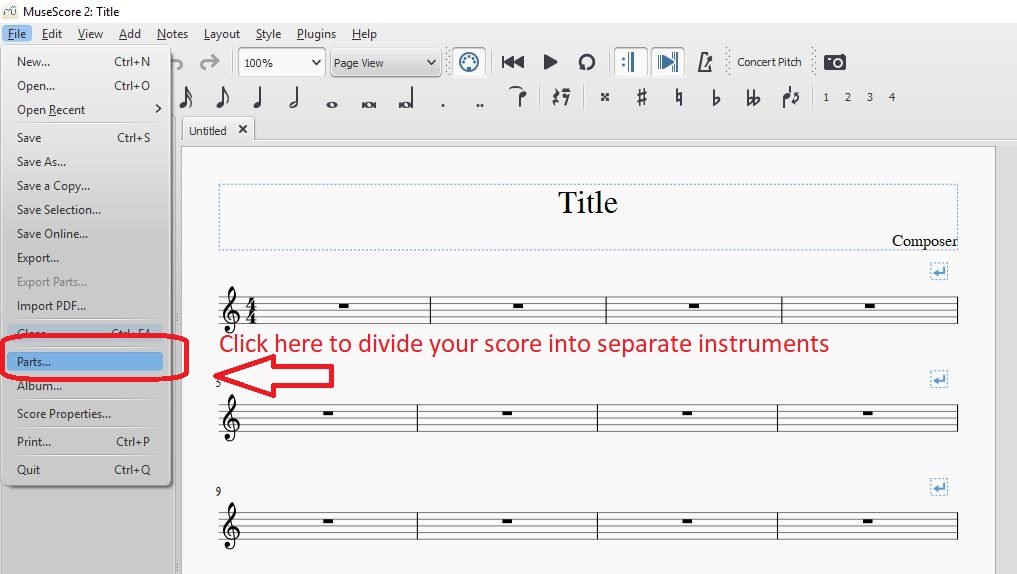
Playback options are as simple as hitting ‘play’ up top, and we were excited to find that upon completing our score, dividing it into separate instruments was as simple as clicking on ‘parts’ in the File drop-down on the top left:

What can I do with this program?

MuseScore 2 boasts a surprising variety of utilities, and really covers all the bases you can think when writing, arranging, or transcribing music. Its features include:

  • Add chords and lyrics to anything you write
  •  Play a MIDI keyboard in real time and see it dictated on screen in MuseScore 2
  •  Add, copy, repeat, or move large selections with the clipboard
  •  Upload your audio to MuseScore.com so others can listen to your work
  •  Reorder score tabs and add/remove brackets for accidentals
  •  Choose to add rhythms first, pitches later (useful if you’re transcribing in a hurry)

If you want to check out MuseScore 2 in action, it’s all here in this video:

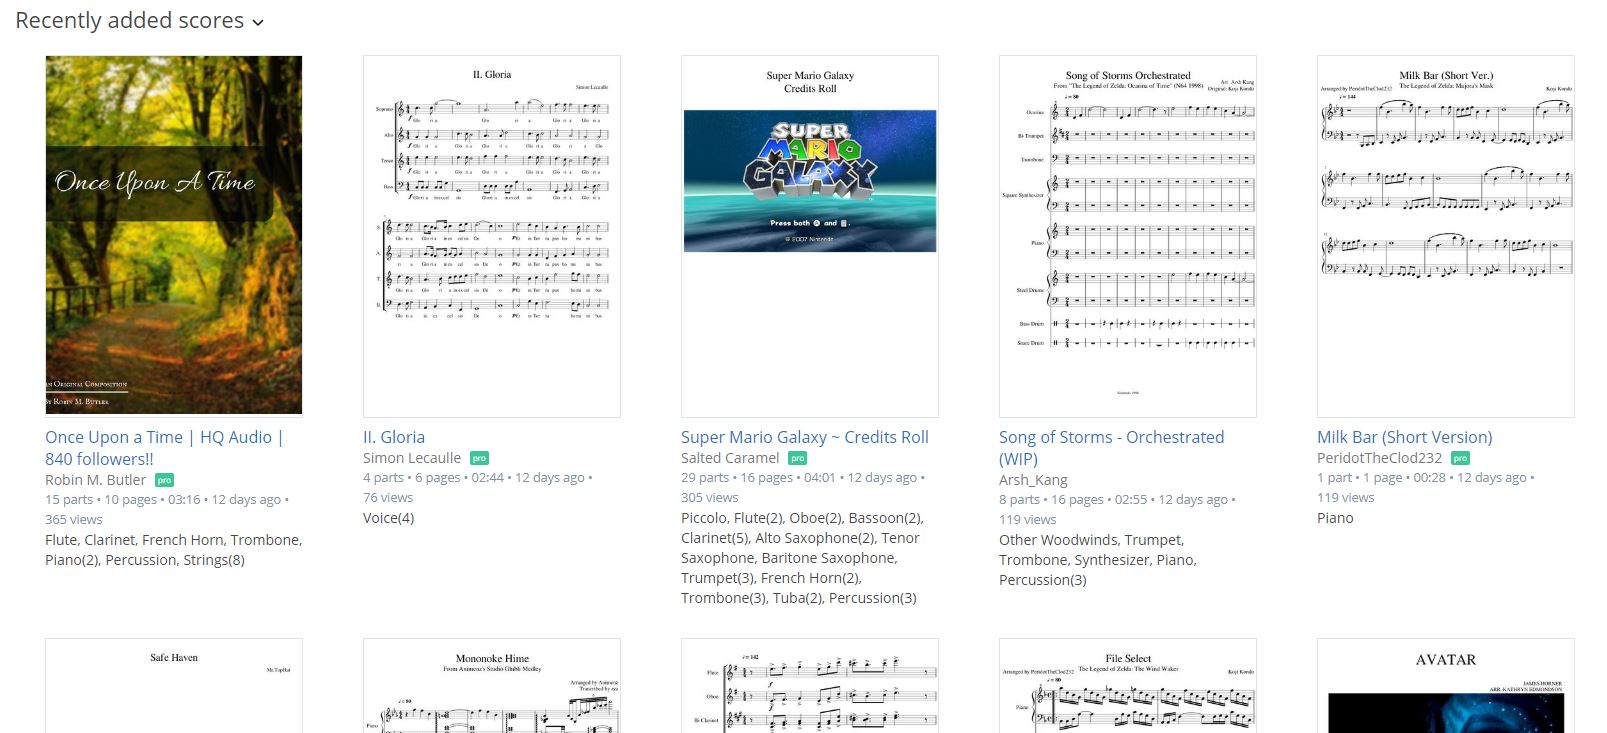
Lastly, since MuseScore 2 is free, it means that musicians around the globe are already using it to transcribe and transpose music. As such, there’s a hefty catalog of free sheet music that’s been uploaded by the MuseScore community.

Definitely check this out because someone else may have already finished what you’re about to start on. Anything from this catalog can be downloaded as a .pdf, too, so you don’t even need MuseScore to access them!

https://musescore.com/hub/video_games?page=7

Give it a whirl. We’re anxious to see what you can add to MuseScore 2‘s growing library!


Why you should be using Zoom for all your video chats

As social networking and remote job industries become increasingly popular, so does the software we use. Webinars, conference calls, and vid chats have existed for years. We practically have more than we can keep track of – FaceTime, WebinarJam, Skype, Facebook, and Gchat to name just a few.

How do you know which one is for you?

Tech expert Steve Dotto explains, the best way to find out is to “take a step back and look at how the webinar software is designed.” That way you can tell if its strengths align with how you intend to use your webinar. For specific comparisons you can check out the man himself comparing WebinarJam, Skype, and – most notably – Zoom:

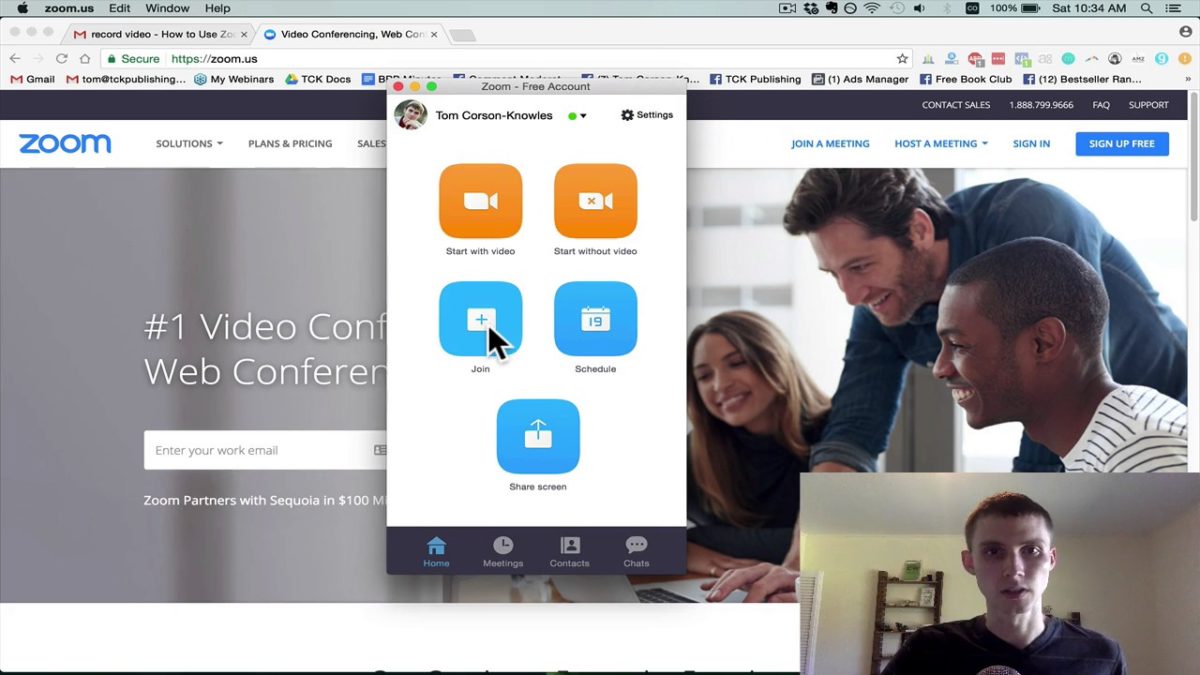
For all the benefits and uses of Skype, the webinar software that really caught our attention was Zoom. You can download here for free:

10

Why choose Zoom over the competition?

While Skype is great for casual chatting, gaming, or video calls, Zoom’s specialty is a little more business-oriented. You can tell from its straightforward presentation and the lack of any bells and whistles that you’d find on a program like Skype. Made with a focus on conferencing, Zoom is the preferred webinar software for consultation, teaching, mentorship, or one-on-one business calls.

https://online.unimelb.edu.au/support/current-students/learning-management-system/zoom-webinar-tool

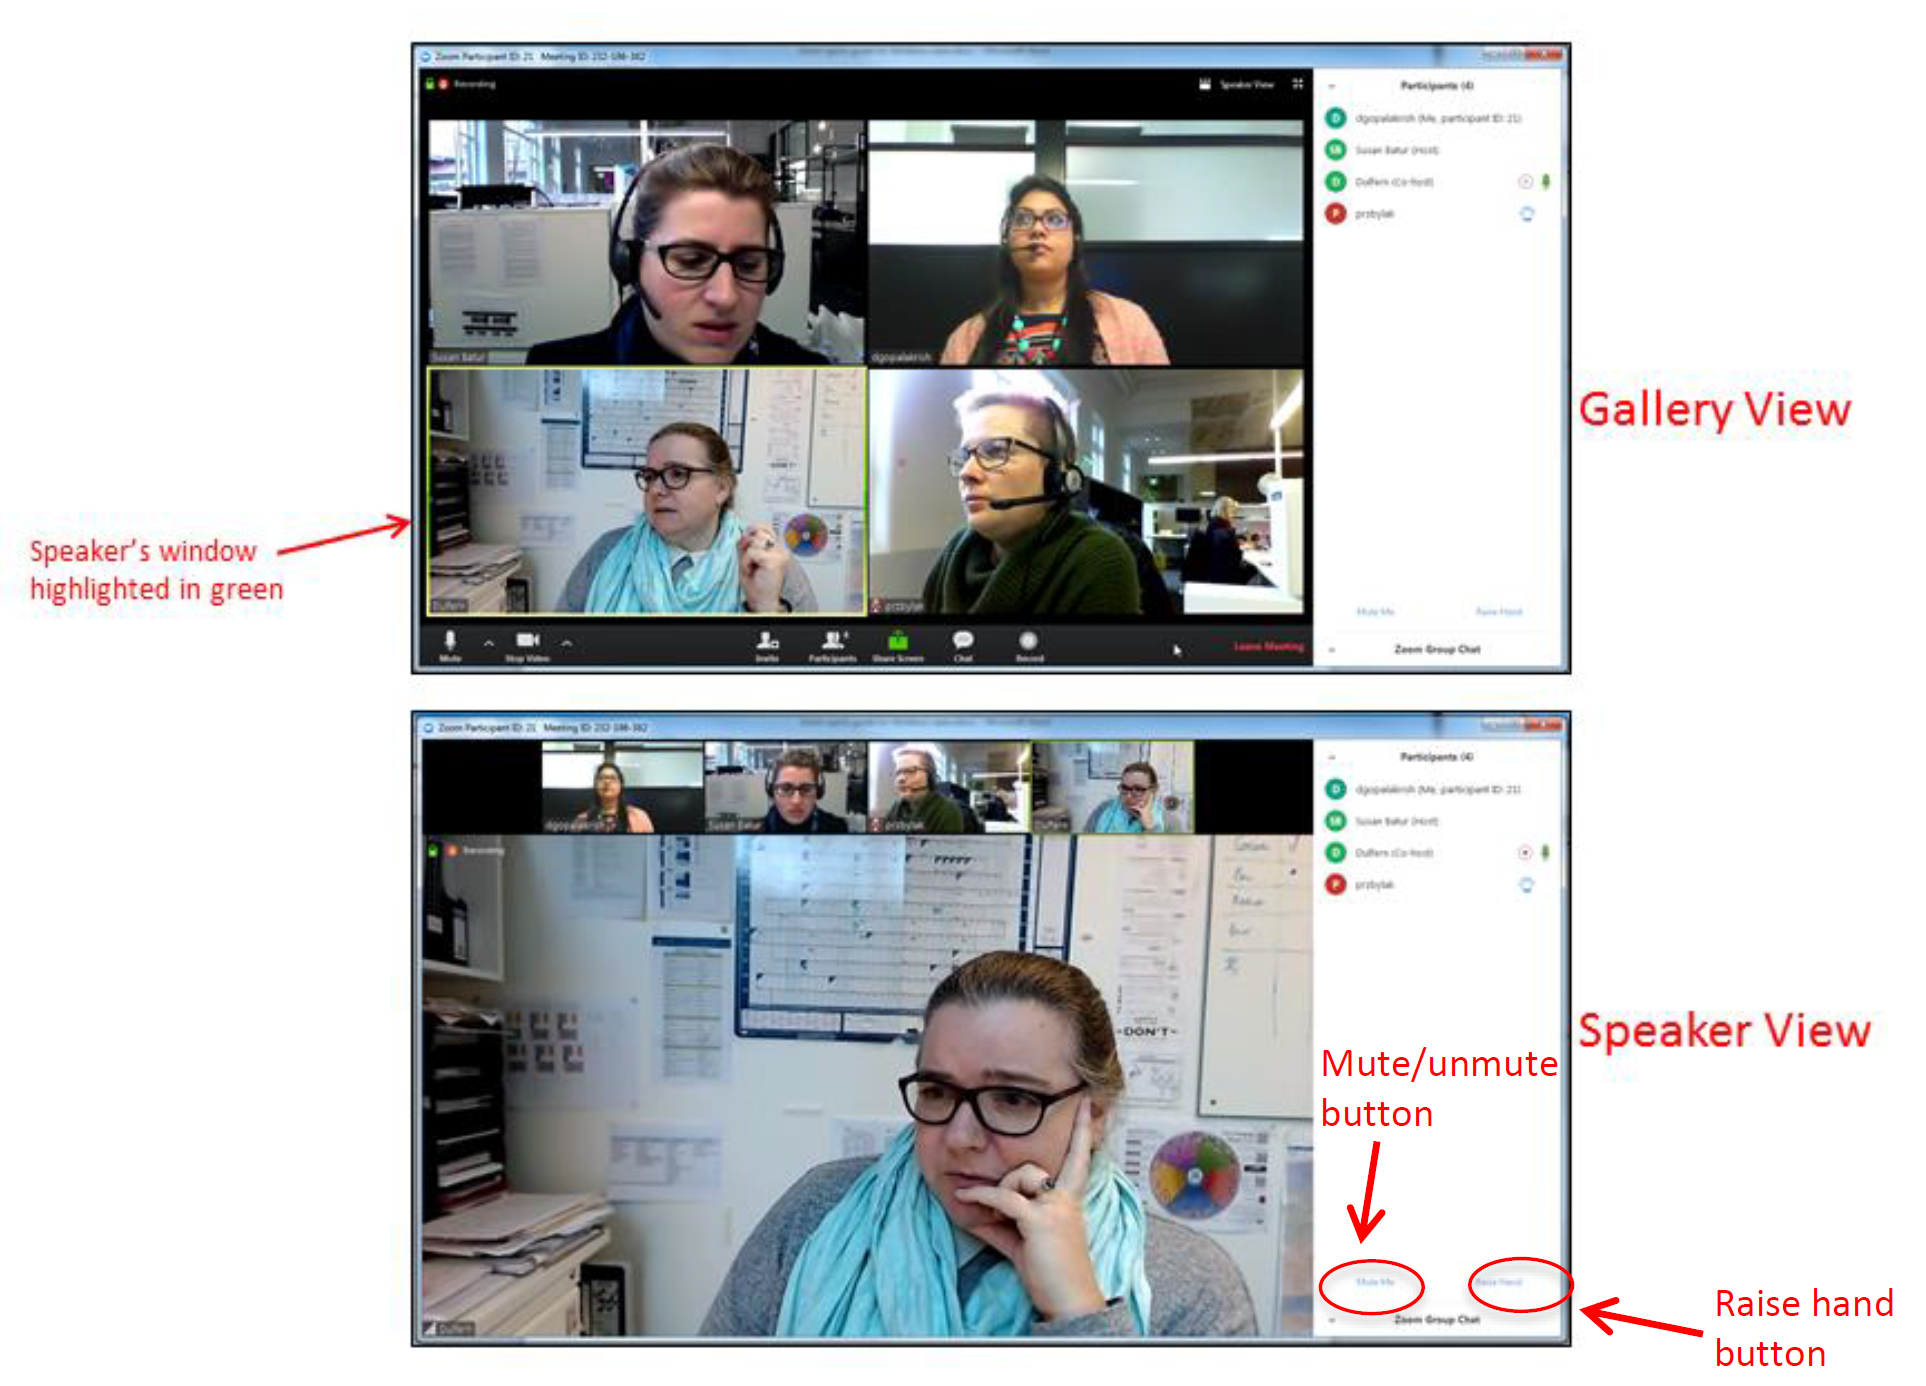
That’s not to say that Zoom can’t handle a group chat – far from it. Zoom can actually hold up to 100 people in a single vid chat at any given time. And it’s still free. Guests can be added simply by clicking ‘invite.’

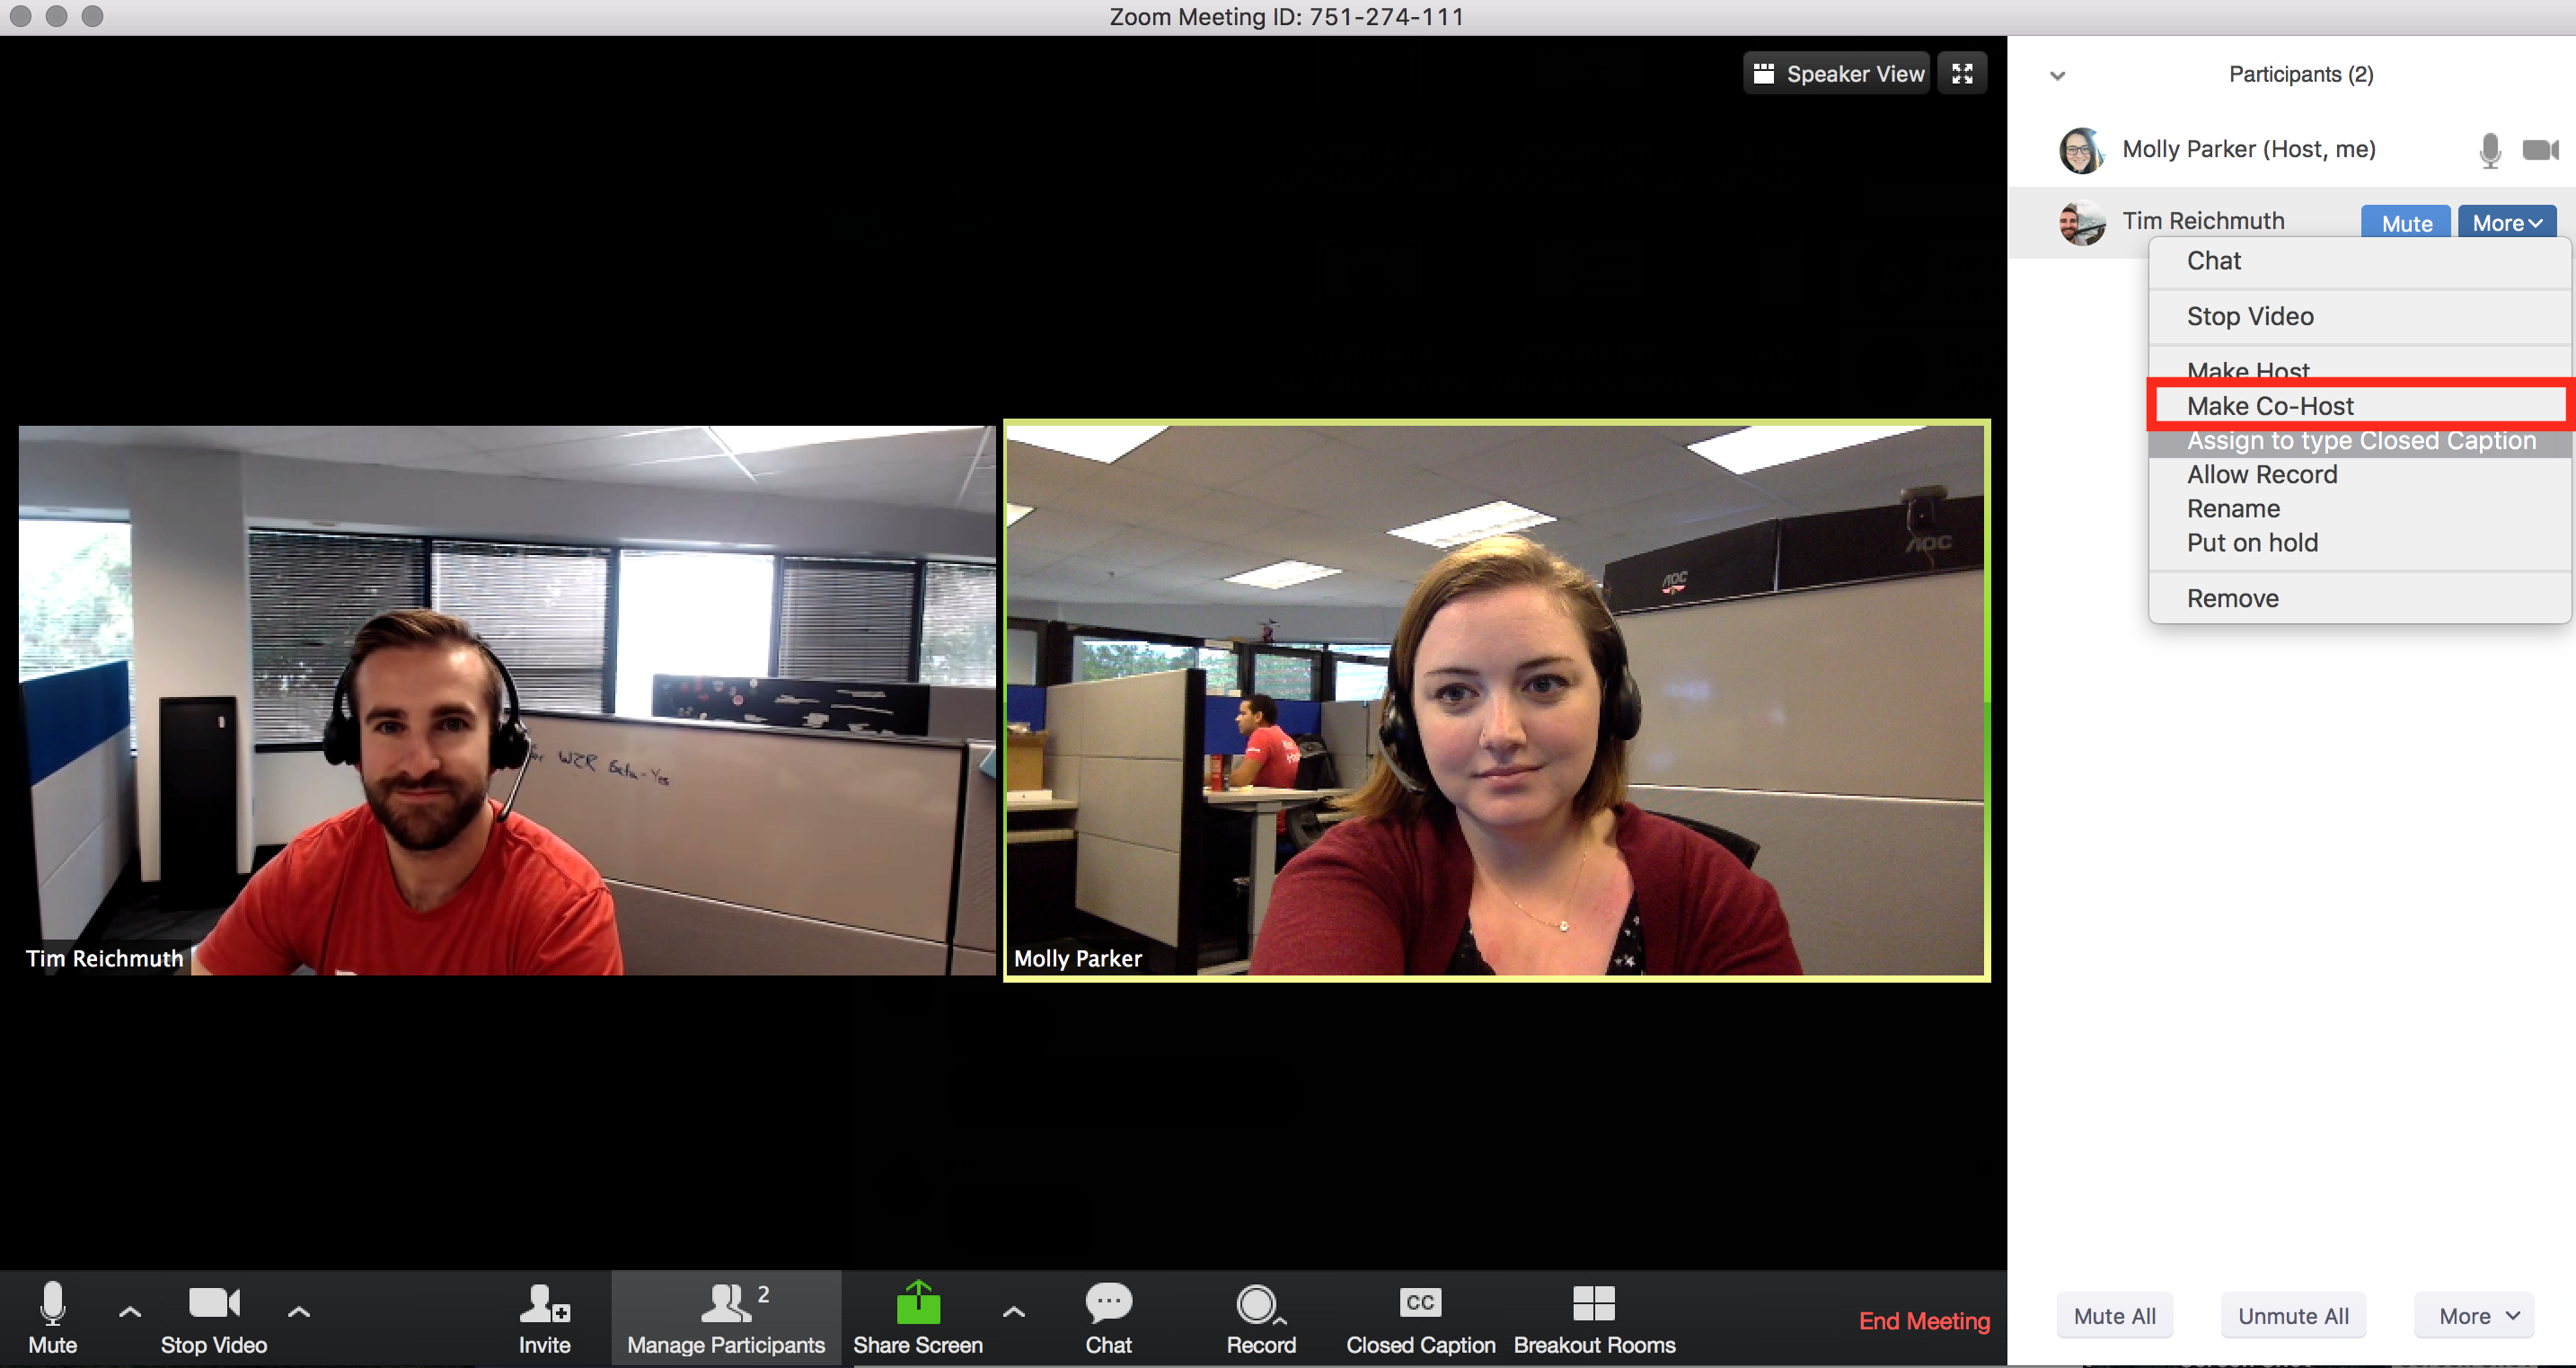
You can also make another person in your chat the co-host, giving them equal control. For instructions on how to do this, check out this article. Zoom’s screen-sharing capabilities are also straightforward, accessible instantly and at any point during your call. It’s not buried under menus like it is with some other tools.

https://support.zoom.us/hc/en-us/articles/206330935-Enabling-and-Adding-a-Co-Host

Like Gchat, Zoom can be used for either video or phone; picture is optional. All the essential options for customization are clearly visible during the chat, and can be accessed at the click of a button. We were surprised at how fast and easy the download process was for Zoom, and how quickly we were able to jump into a chat.

https://zapier.com/apps/zoom

Efficiency was clearly the main goal when Zoom was designed, and it does its job so seamlessly without calling attention to itself with banners, spammy emails, or gaudy screen borders. It was meant for no-nonsense business calls and it shows.

Sharing contact info is not necessary

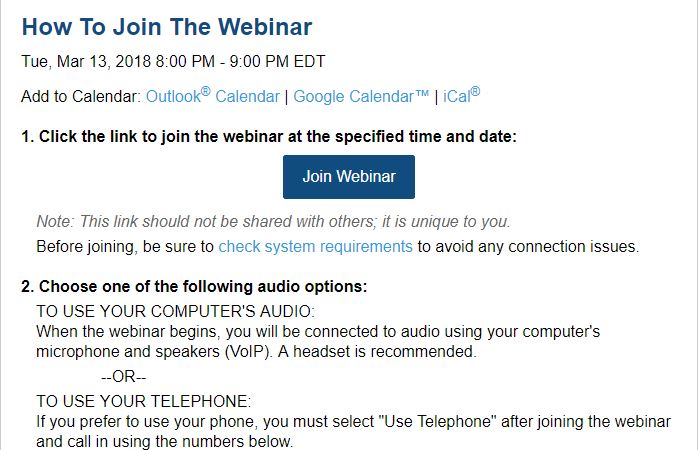
Here’s what might be Zoom’s best feature: all you need to invite someone to a Zoom chat is their email. It’s as simple as that. Recipients will find their invites in the default inbox, and when the time comes for the meeting, all they need do is click the big “join webinar” button like the one above. Zoom will take care of the rest. For step-by-step instructions, check out this article.

Is there a downside?

Our biggest gripe with Zoom was that chats only last for 40 minutes at a time. After that, another invite needs to be sent and the chat needs to be restarted. Annoying for sure, but we can only see this being majorly inconvenient if you’d been trying to talk with a dozen people at once and then suddenly had to re-invite them all. At that point, you might consider upgrading to the paid version. And yes, there’s a paid version:

https://zoom.us/pricing

If you’re interested in seeing more detail as to what each plan offers, you can look here. For the average Joe, however, we don’t see any reason for Zoom to cost a penny. There’s no trial period for Zoom either, so go ahead and give it a shot. See firsthand whether it’s the best webinar software for you.


How to create and add your own unique follower to Skyrim

It’s been eight years since Elder Scrolls V: Skyrim. We completely understand if by now you’re getting a bit tired of Lydia as a follower. While there are a ton of follower mods out there, sometimes if you want something done right it’s best to just do it yourself. So exactly how hard is it to make your own follower in Skyrim? We’ll show you in these 15 steps.

It goes without saying that you’ll need a copy of Skyrim to test this properly, so if you don’t own the game, here it is:

The Elder Scrolls V: Skyrim Download
8

We’ll be using Skyrim’s Creation Kit to make a follower. You can download that here:

Skyrim Creation Kit Download Free
7

Alternatively, if you own Skyrim or Skyrim: Special Edition Steam, you actually already own the Creation Kit. On Steam you can find it in your Tools tab under ‘Library.’ Just scroll down and double-click to install.

Once you have the Creation Kit installed, we’re ready to begin. Please do not forget to save your progress often and be patient when working with this software. There are thousands of assets at work here, so it’s very touchy and crashes quite often.

http://elderscrolls.wikia.com/wiki/Creation_Kit

1. Getting started

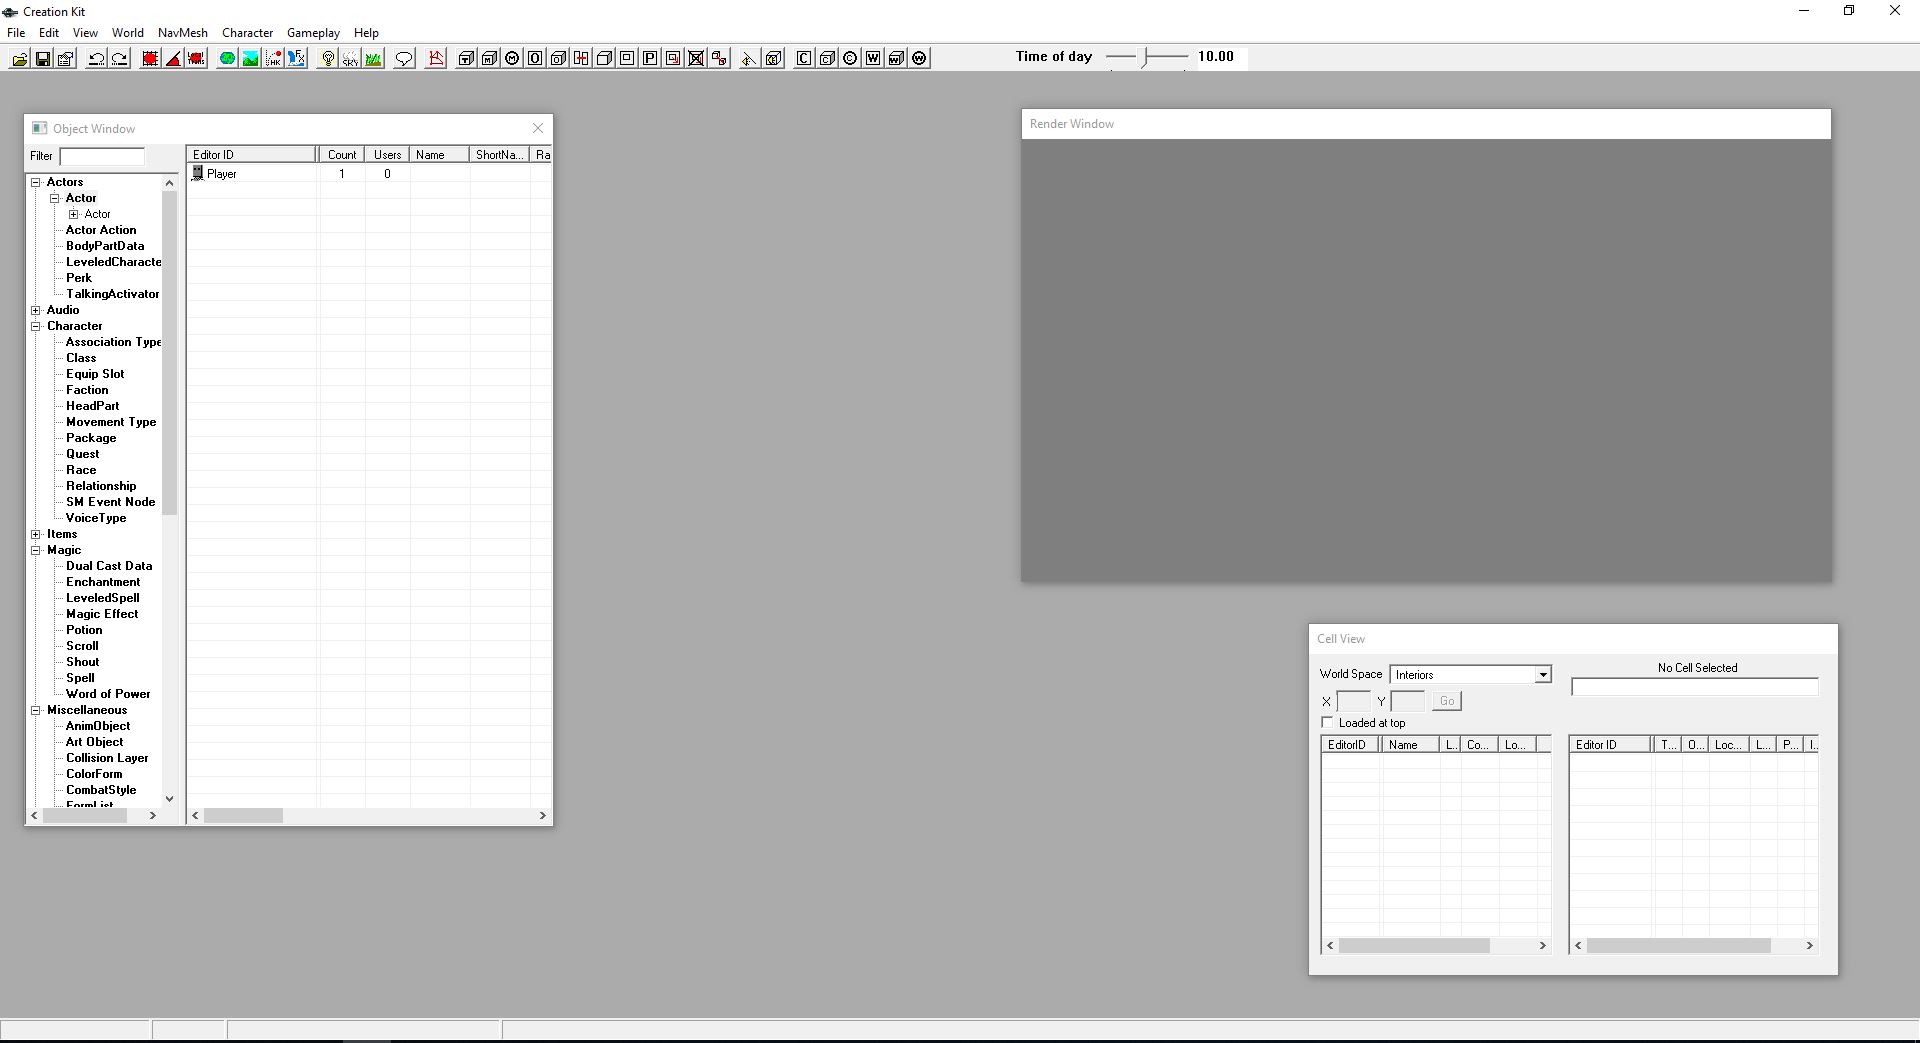
Once you’ve opened Creation Kit, you’ll be faced with this screen:

Click File > Open, then double-click ‘Skyrim.esm.’ Open it up. If a prompt comes up saying you haven’t selected an active file, ignore it. Similarly, if you get a message about missing plug-ins, just say ‘yes to all.’

Right-click on the massive list of actor names that appears on the left and say “new.” This will open up the character creation window. Now we’re ready to get working.

2. Name your follower

At the top left of the window that just opened, you’ll be putting in a ref ID. This is the unique tag that the game will identify your new character as. This will not be the character’s visible name! As such try and balance your Ref ID to be both unique and easy to remember, something like “JohnDoe101ActorFollower.”

After, type in your follower’s name. The “short name” afterward is optional. The name will be your character’s label in-game, while the short name is shorthand for quests. For example, “Jane Doe” might be referred to as “Jane” in your quest log.

Don’t touch any of the options below, like Invulnerable or Protected. We’ll do that later.

3. Assign Basic Traits

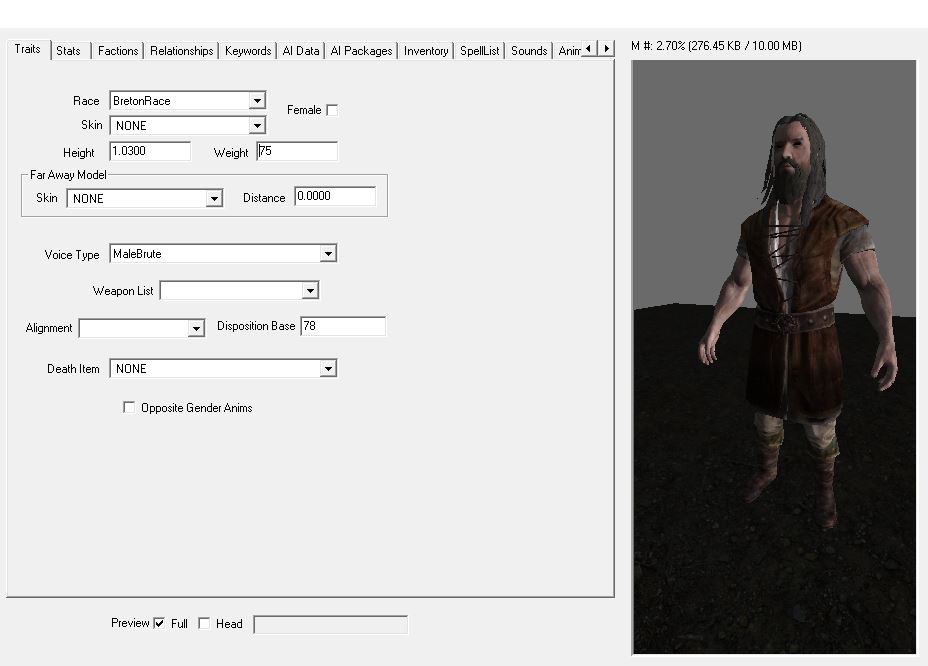
On the right, you’ll be presented with a handful of checkboxes for your character’s traits. Up top, pick your character’s race and sex. For the sake of this tutorial, we’ll be covering how to make a human follower, not an animal.

Next, you should tick the “preview” checkbox at the bottom of the window to see the character’s full body. This will help with the adjustments we’re about to make.

A character’s height and weight are very touchy, so if you make adjustments to their default they should be very minimal or they’ll look odd in-game. For reference, check the preview on your right as you go along.

4. Give your follower a voice

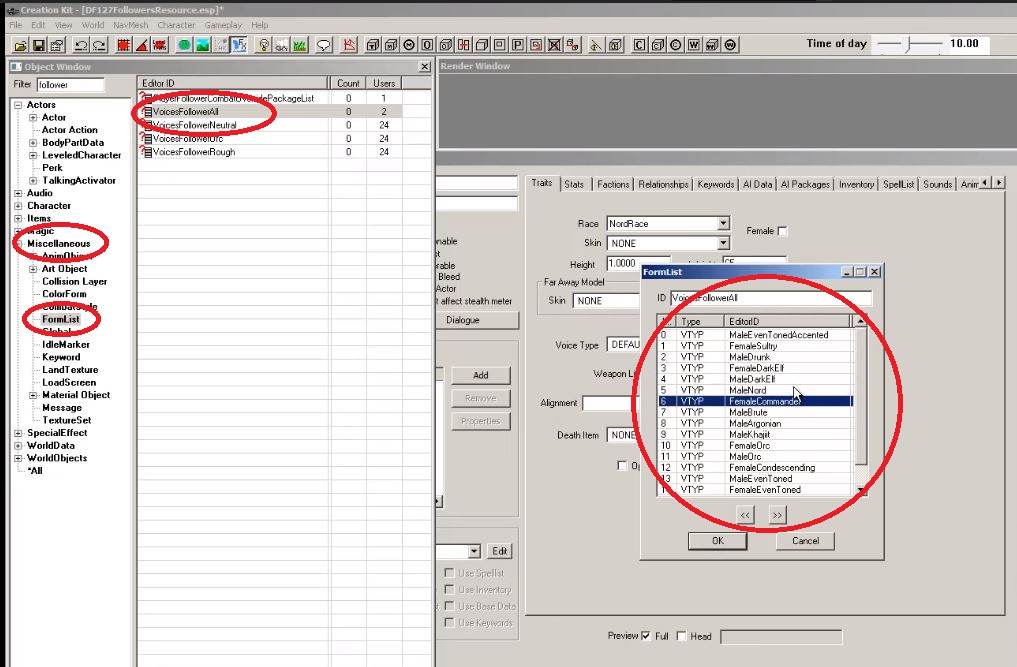
This next part is important. Still on the Traits tab, if you go down the Voice Type dropdown it will at first seem like you have a ton of options. This is sadly misleading. Most of these voices will unfortunately not work with follower characters. In order to find the ones that do, you’ll have to dig a bit:

https://www.youtube.com/watch?v=tLgSYzOaTnA

In your object window on the left, expand the Miscellaneous options and click on FormList. In the filter up top, type “follower.” Now double-click the “VoicesFollowerAll” option and scroll through to pick the one you want for your follower. If you don’t know what these voice types sound like, check out this video for samples:

5. Set your follower’s stats

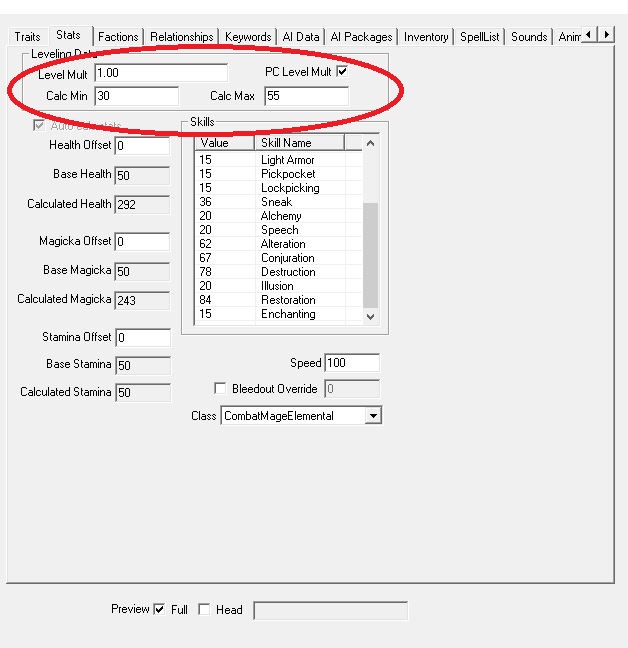
The stats tab is where you pick your follower’s level and how good he/she is with the various skills in-game. You can start by setting a follower’s level by simply typing it in the “Level Mult” portal, but we recommend a different approach:

Tick the checkbox that says “PC Level Mult” and it will unlock the two portals below that say “Calc Min” and “Calc Max.” From here you can put in the follower’s min and max level, so that they will better scale with the player character and the enemies you encounter. For example, our character starts at level 30 lowest, but caps at 55:


The bottom window has a variety of build options like Blade, Beggar, CombatScout, etc. Clicking through them will change which skills get priority for your follower. How good a follower is at any particular skill is a combination of both their “class” and their level window. Two CombatMonk class characters may have differing levels of Sneak depending on what level they are.

6. Set your faction

This tab and the next don’t have much wiggle room and aren’t as subjective as the past couple, so you’ll need to do the next steps exactly as written. Luckily they’re pretty simple:

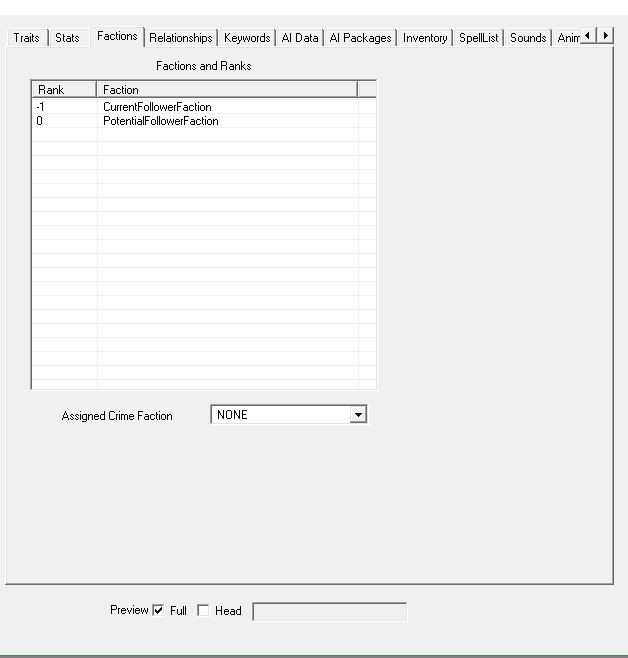
Go to the Faction tab. Now right-click in the empty lined box and say “new.” Then type follower in the filter. Choose “CurrentFollowerFaction” and “PotentialFollowerFaction” options. They should both appear in the window.

Now select the “CurrentFollowerFaction” and press F2. Then type in “-1.” This basically sets your character as unassigned to you from the start, which means they will only join you after you speak with them, as is the default in this game.

Frankly, if you set this value as anything other than -1 it’s unlikely that your follower will work at all. Do it right and your factions screen should end up looking like this:

Before we move any further, NOW is the time to check the boxes under your character’s ref ID and name. A quick runthrough of what these mean:

7. Can your follower be killed?

CharGen Face: Your follower’s face will be in the preset faces at the start of game.
Essential: Your follower cannot die.
Protected: You cannot kill this follower, but enemies and falls can.
Respawn: After this follower dies, it will come back.
Unique: This is only one follower, and there are no duplicates of this character running around the game world.
Summonable: This character can be summoned via conjuration.
Ghost: Weapons and spells will go through this follower.
Invulnerable: Weapons and spells will impact this character, but they will be unaffected.
Doesn’t Bleed: No blood animation when this follower is struck.
Simple Actor: Disables several of the facial animations on this follower.
Doesn’t Affect Stealth Meter: If this follower spots you while you’re crouching, it will not affect your sneak meter.

Pick whatever combination of these you like, but you’ll at least need to check the “Unique” box.

8. What is your follower’s relationship with you?

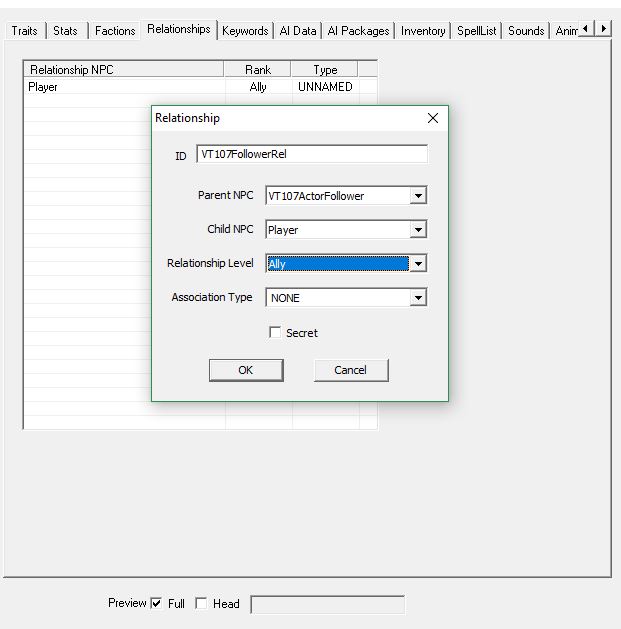
In the Relationship tab right-click in the window and click ‘new.’ Again make your ID straightforward and official – something like “JohnDoe101FollowerRel.” Your Parent NPC portal should be auto-filled to match your follower’s ID. Keep it that way.

Then simply make the Child NPC “Player” and the relationship level “Ally.” It should similar to this when you’re done:

Skip the Keywords tab and click the one that says “AI Data.”

9. Set your AI Data

This section is a little more up to your discretion. The AI attributes here affect your follower’s expressions and behavior. We do recommend, however, that you at least set the Aggression to “Unagressive” and your Confidence to “Average” just so your follower doesn’t go berserk and start attacking you should you accidentally hit him. The Mood portal determines your follower’s facial expressions, so set that with whatever you think best suits your dude.

Setting the Assistance and Morality will affect whether your follower will perform unsavory actions like attacking or stealing if commanded. Finally, the combat style should more or less mirror the class you picked out back on the Stats page. Again this might take some trial and error to pick out the one best suited for your follower.

Skip the AI Packages tab for now. We’ll come back to it soon.

10. Set your follower’s outfit and inventory

In the Inventory tab you get to pick out your follower’s clothes. Click the dropdown under “Default Outfit” and pick the one you like. What you’re really setting here is what your follower will wear when they’re not in your service. That means when they’re wandering around their starting location and such. Any armor is best given to them by you, in-game.

11. Set up your follower’s perks and spells

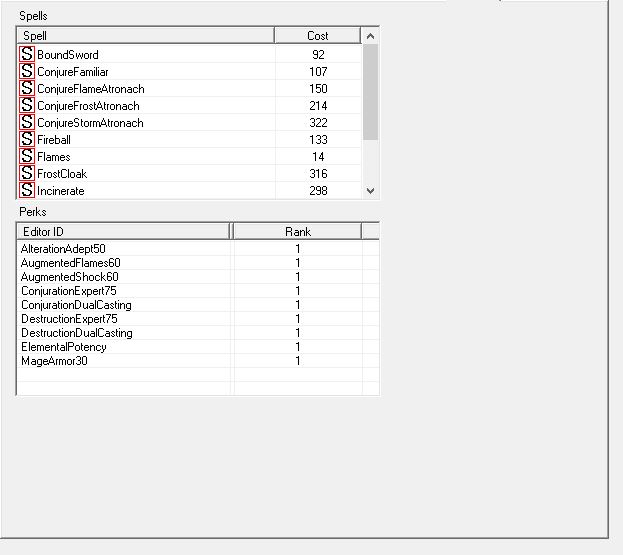
Here’s where you pick your follower’s perks and, if they use magic, their spells. We made our example follower a mage just so you can see what it will look like. If you use magic, right-click in the “Spells” window and pick out any spells you want this follower to use.

Note: Your follower will always use the strongest spells available, and that means he’ll default to using high-cost magic if they have access to something like Incinerate, Icy Spear, or Thunderbolt. If you don’t want him to run out of magicka too fast, don’t give him these spells! You can see how much mana your follower has back on their Stats page.

Next, pick your perks. It might take some guesswork to determine which perk is which, but you can always come back to adjust later. We made our character (above) a destruction conjurer with some points in alteration if you’d like to compare:

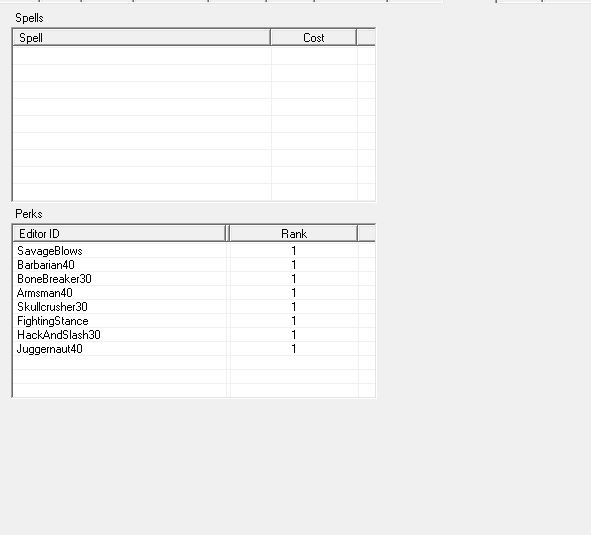
If you choose a more warrior build, the page might look something like this:

Now tab over a few to get to the Character Gen Parts

12. Make a face

Now you finally get to the fun stuff – pick what your follower’s face looks like! We recommend you start by clicking the “head” checkbox at the bottom of the window for a zoom-in view to get the best possible accuracy.

Start off with cycling through the presets, then get more in-depth with the options in the Base Head Parts box. If you want to go really crazy click the next tab over, Character Gen Morphs, to fine tune your aesthetic.

13. Where does your follower live?

If you haven’t been saving your progress lately, DO SO NOW. This next part is notoriously finicky, and the kit will often crash here.

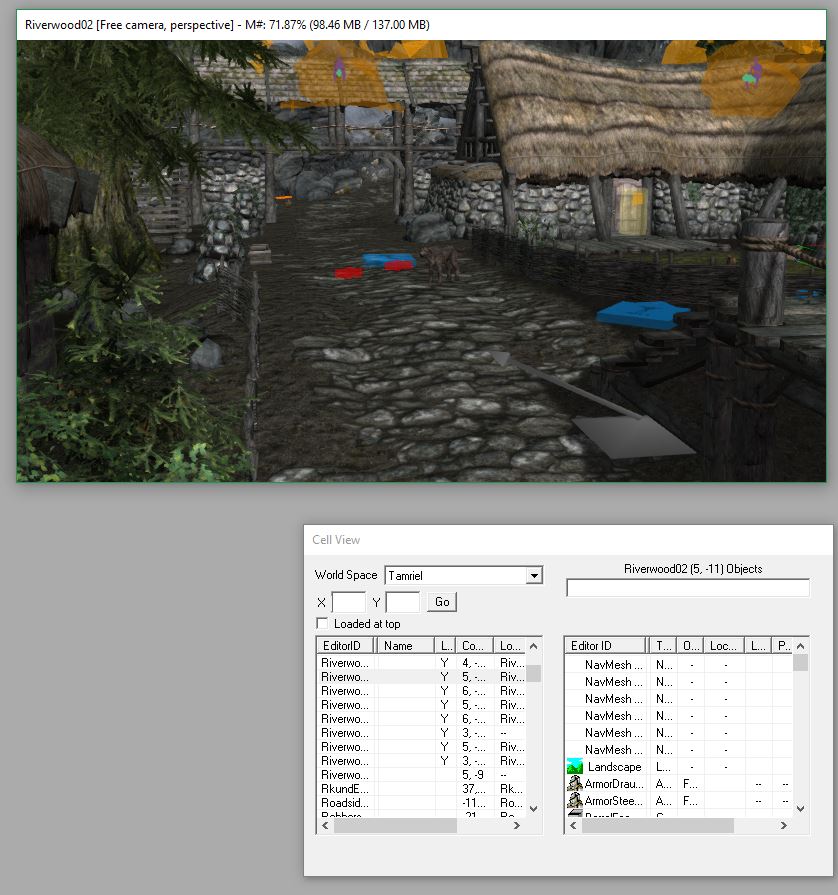
Notice the “Cell View” window towards the bottom right of Creation Kit. This is where any and all locations in the game are listed. Click where you want your follower to spawn. (We like Riverwood since it’s easily reached from the start.) If you get any error messages upon loading up your location, again just hit “yes to all.”

Navigating inside the Creation Kit takes some practice, but at it’s most basic, Shift controls the vertical angle while the mouse wheel zooms in and out. Be sure to take into account where everything in the game world was at the start, so you don’t accidentally save with a rooftop missing or something. If you do accidentally delete something, your best bet is probably just to close out and open the kit back up again.

Once you’ve found where you want to place your follower, all you have to do is drag it from the Object Window right into the map. Press ‘F‘ to make sure your follower lands on the floor correctly and doesn’t wind up embedded in the dirt or any similar embarrassment.

14. Nobody just stands still

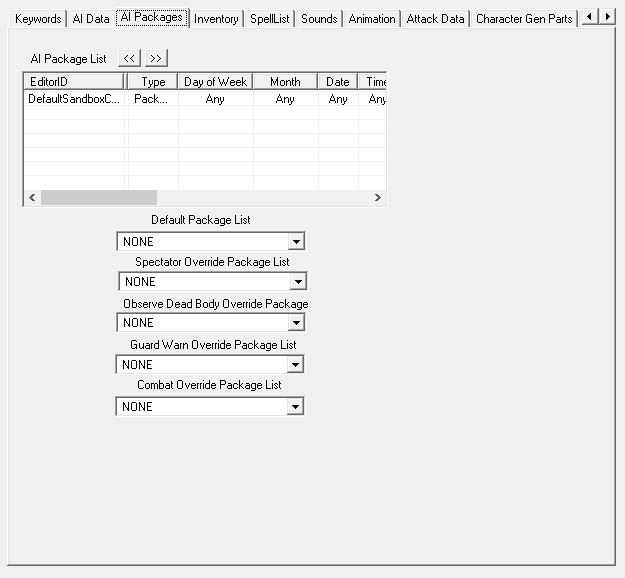
The icing on the cake is to add an AI package. Tab over to it and right-click in the window. Hit “add” this time, not “new.” “New” is if you want to make a completely new AI package, and we suggest just using one of the defaults, especially if this is your first time making a follower.

In the filter that comes up, type “defaultsandbox” and pick one of the four options that start with “DefaultSandbox.” The number after just refers to the radius in which your follower will wander from where you placed him, so probably the bigger the better.

Save your progress once you’ve set this!

15. Meet your masterpiece

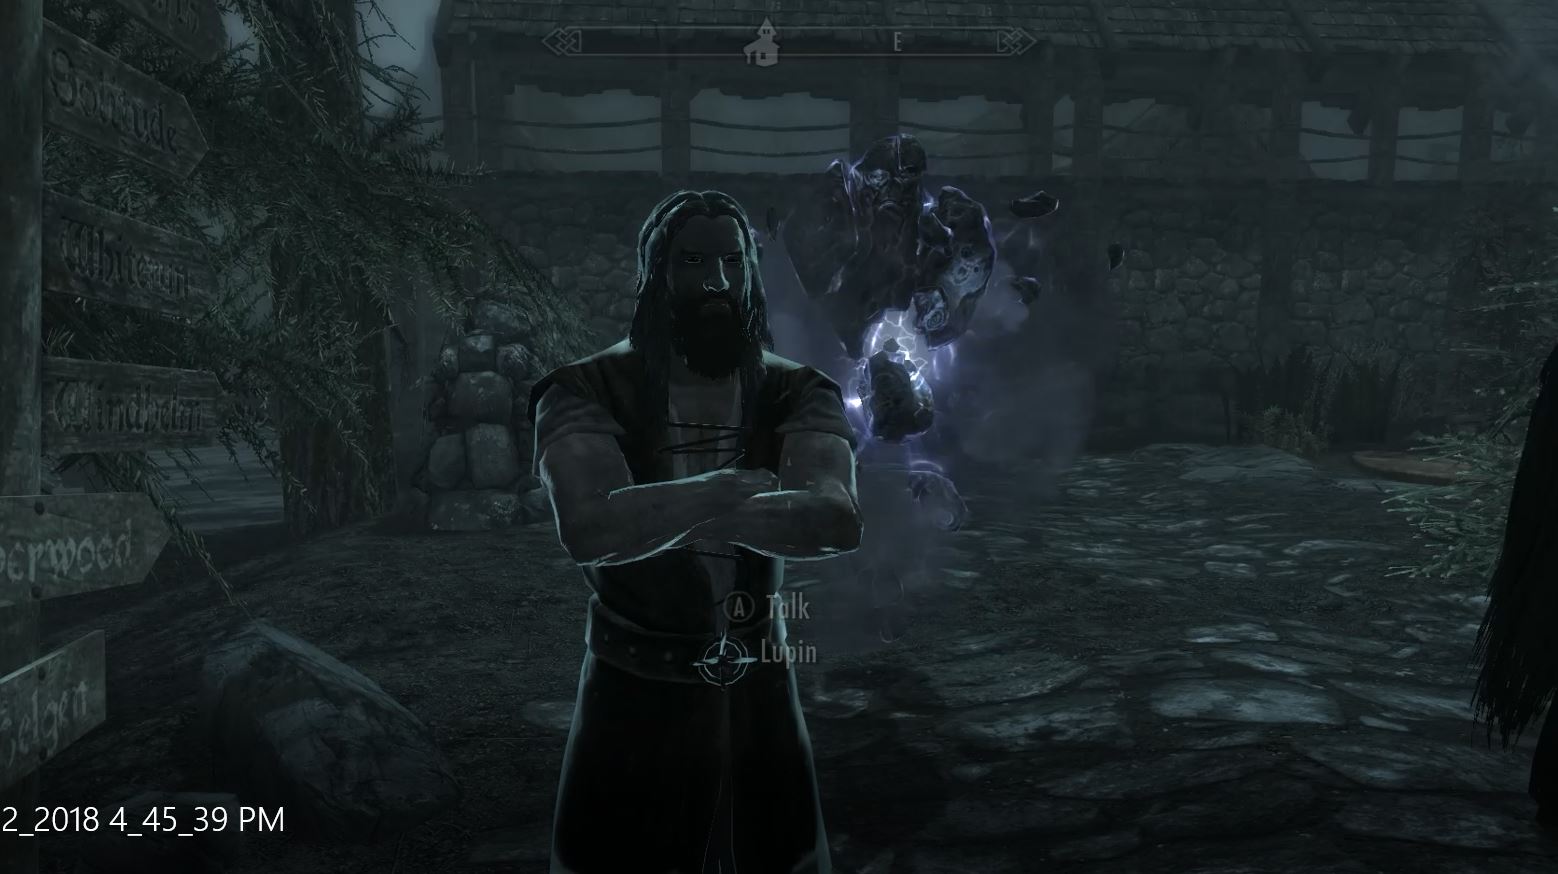
From here all you need to do is boot up Skyrim and go to the location where you placed your follower! Once you meet your creation if anything isn’t working correctly, do not fear; it happens to the best of us. Just back out and re-open the Creation Kit and try and troubleshoot.

It might also help to check out some of Bethesda’s default characters in the Creation Kit to get a better feel for how you might want to base yours. For mages, we recommend checking out Tolfdir or Nirya. Brynwolf or Karliah for thieves, Faendal or Aela for archers, and Lydia or Farkas for warriors.

Don’t beat yourself up if you’re still having trouble with this. The first follower you make is always the hardest one. Follow our guide here as best you can, but you may still find your character isn’t one hundred percent what you want. Trial and error are your best teachers, and all the characters you make afterward can be modeled off your first as a blueprint, saving you a lot of work.
 

A beginner’s guide to Sea of Thieves

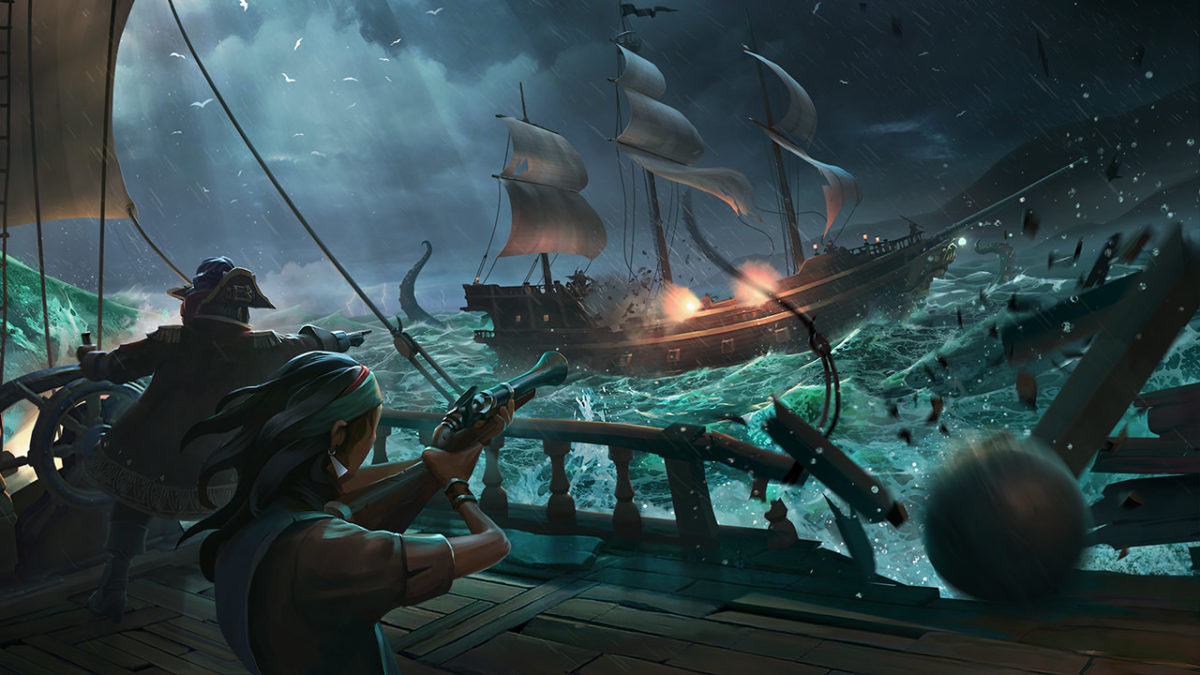
Sea of Thieves is a game about plundering the high seas in search of grog and booty. You’ll be commandeering the seas on your Sloop or Galleon, dodging all manner of angry skeletons, ferocious sharks, perilous rocky coves, the legendary Kraken, and – most terrifying of all – the other players in your match who might be just rowdy enough to try and cast you down to Davy Jones’ locker. Sound fun? Grab it here:

Sea of Thieves Download
8

Jumping into a living, breathing world like Rare created with this title can be unnerving, especially with the game’s lack of tutorial. We’re sharing five tips that will play the part of the parrot on your shoulder, giving you advice and encouraging you to let your conscience be your guide.

Maybe we’re mixing metaphors. Let’s get started.

1. Don’t go it alone

https://www.pedestrian.tv/gaming/you-can-play-sea-of-thieves-with-a-pirate-band-who-will-sing-you-a-shanty/

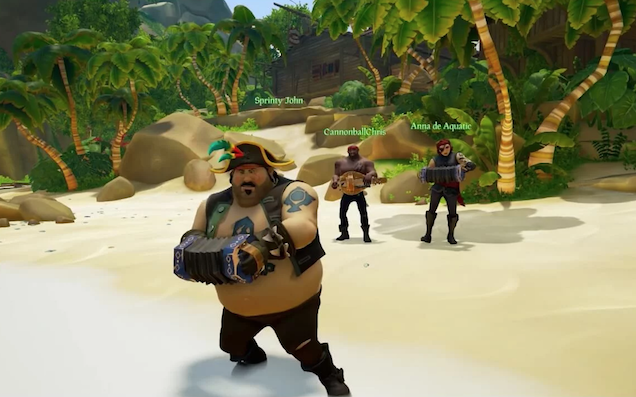
Kind of a given, but if you can play this game with friends, do so. Trust us, it’s the way the game is meant to be played. Besides just raising the camaraderie up to 11, pretty much all the game’s mechanics assume you’re with a hearty crew.

The element where this especially comes to mind is navigation. Sailing a ship is NOT like driving a car, and having another pair of eyes can be the difference between a shiny new galleon and a waterlogged shipwreck.

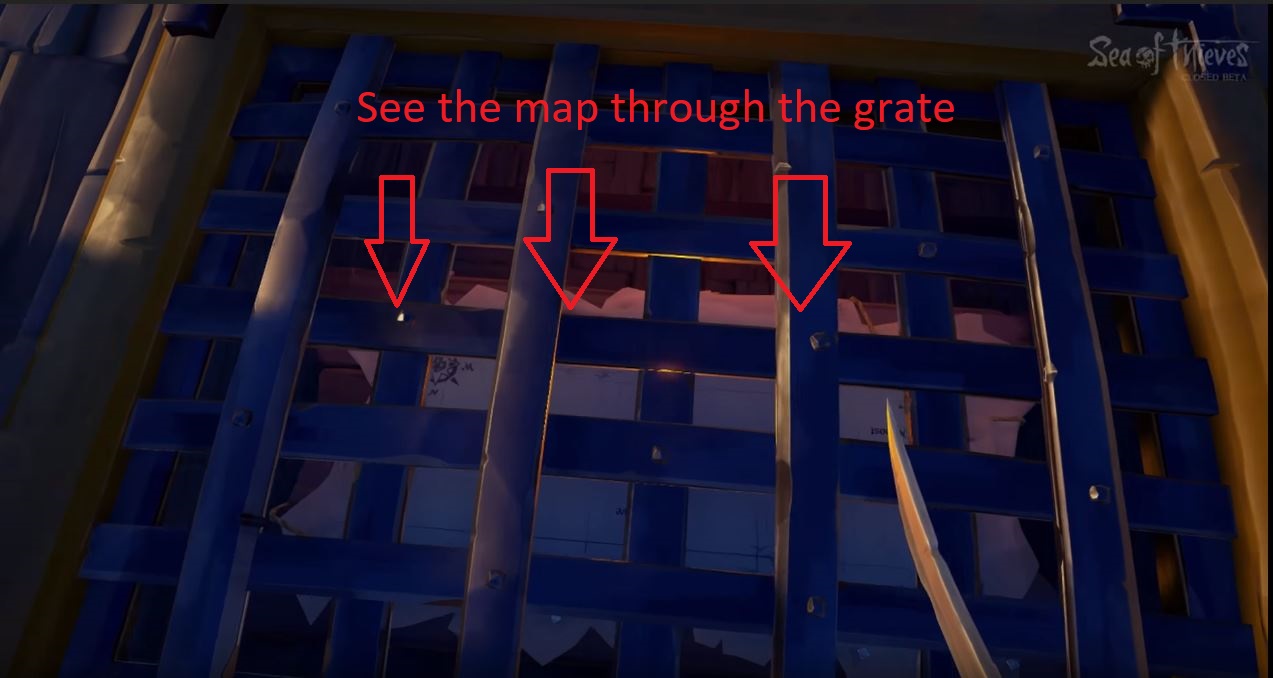
As if to reinforce this point, the map on the Galleon is in the hold, below the deck. The wheel for steering is two floors above that. The game doesn’t want you to do both. The most efficient way to plot your course is to have one player down below deck yelling directions to whoever is steering.

Trying to check the map and steer is deliberately clunky and inconvenient. Additionally, having another pair of eyes can be incredibly helpful when you’re scouting for clues during one of the game’s many treasure hunts.

2. Familiarize yourself with your vessel

Navigating and sailing in Sea of Thieves is a huge portion of the game. The more practice you get on the high seas, the more adept a sailor you become. The more adept a sailor, the better your survivability in ship-to-ship combat. Not to mention you’ll be able to pull some crazy maneuvers in and out of battle. There are two ships in Sea of Thieves: The Sloop and the Galleon.

https://holdtoreset.com/sea-of-thieves-review-a-week-and-a-half-on-the-high-seas/

The Sloop is faster and smaller, but isn’t decked out for a fight like its big brother. They are easier to repair, however, and their size makes them immune to Kraken attacks. We’d recommend starting off with a Sloop in Sea of Thieves, and upgrading to a Galleon when you get the hang of the game’s steering mechanics.

http://seaofthieves.wikia.com/wiki/File:Sovereign_Sails_on_Galleon.png

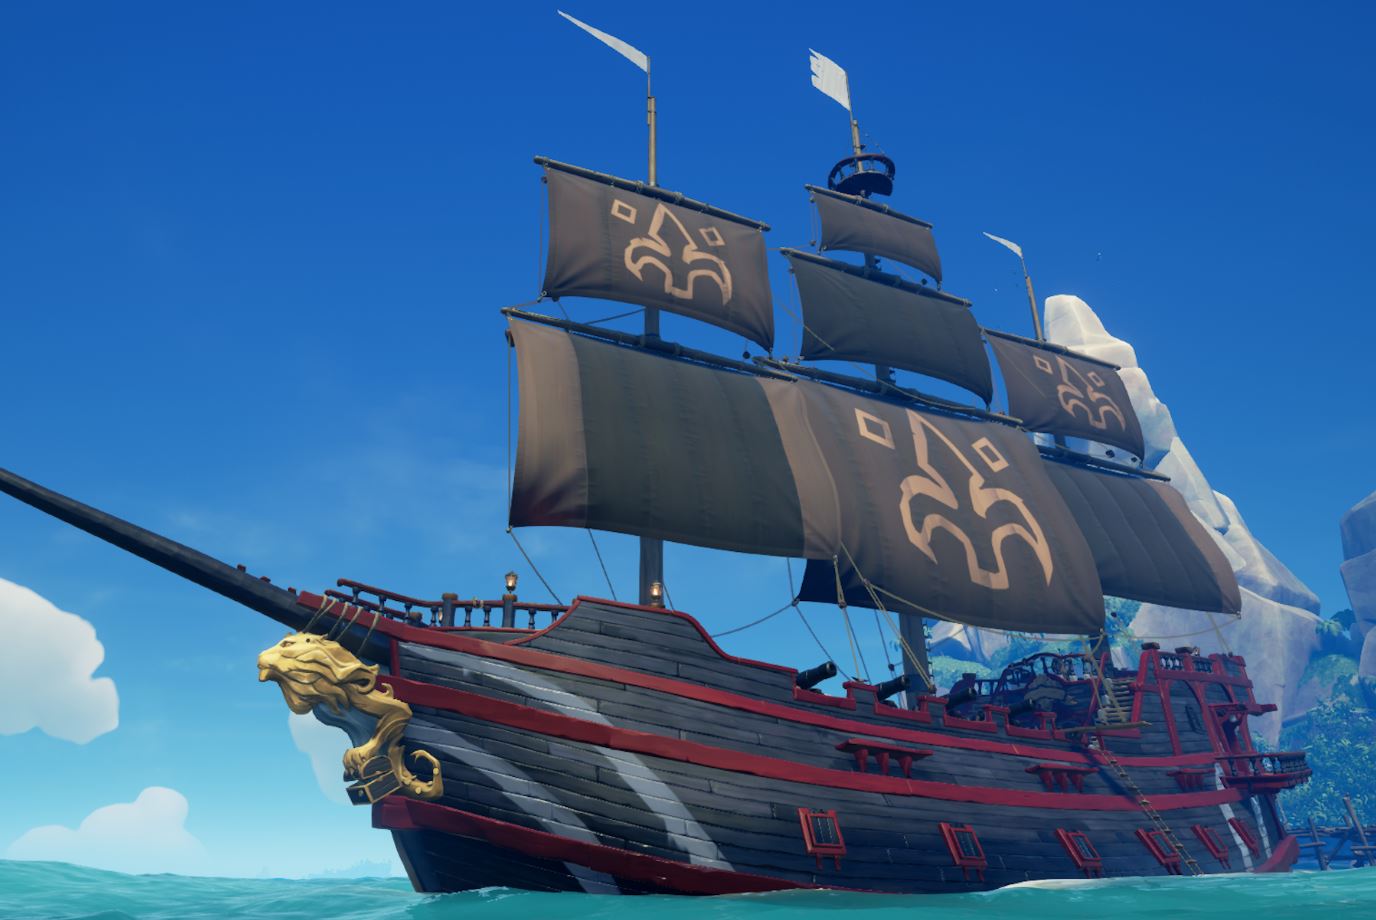
The Galleon is the king of the seas, boasting twice the firepower and durability of the Sloop. Since it lacks the Sloop’s maneuverability, we’d recommend around four players work together to make for the most efficient navigating. Of course, a ship is only as good as its crew, so be sure that your teammates know their roles before the lot of you go head to head with other players.

For both ships, don’t forget to use your sails properly! Look up and try to gauge the direction of the wind. If you angle your sails to catch the wind just right, you’ll see them puff out. That means you’ll be moving as fast as possible.

3. Learn your tools

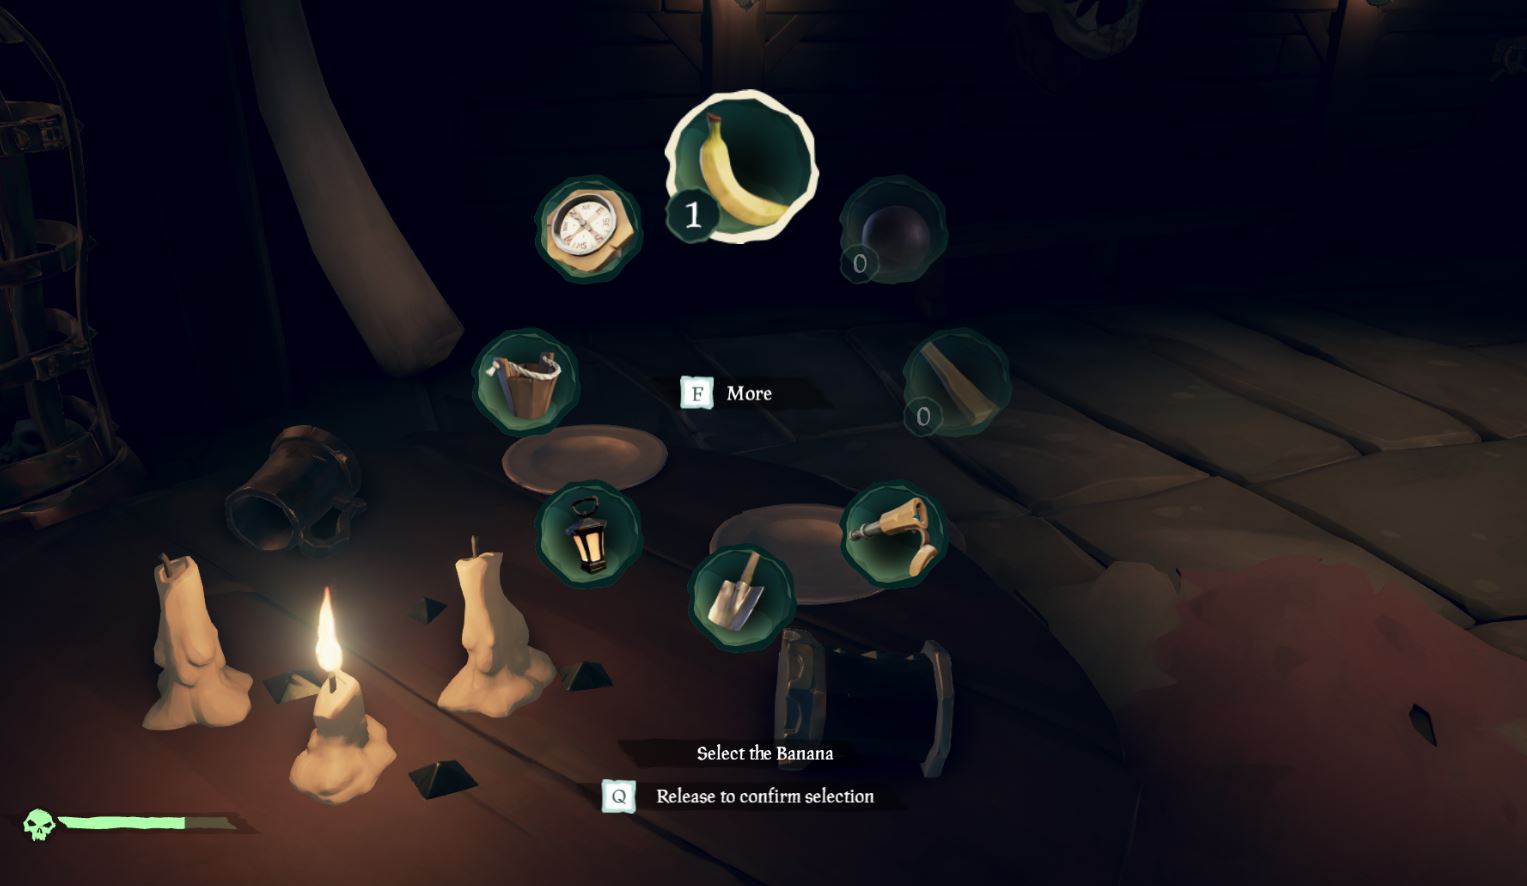
There are eight different tools in your inventory radial. You should become familiar with their purpose so you always have the right one for the right job:

https://www.eurogamer.net/articles/2018-04-03-sea-of-thieves-controls-xbox-pc-gamepad-keyboard-mouse-5001

Compass: The most important tool at your disposal, the compass is how you discern the right direction when away from your ship. Keep track of where you go after you drop anchor and go on land; your compass will help you get back.

The compass is also hugely valuable when you’re on land trying to hunt for treasure. Keep it handy. You can also look to the North Star if you’re wandering around at night.

Lantern: Handy when spelunking, the lantern is your default item for brightening caves or dark islands when exploring at nighttime. You can also right-click (left trigger on XB1) to lift the lantern higher, lighting up those dark corners.

Pocket Watch: Not terribly useful outside of Merchant Alliance voyages, this tool tells you the time and date. It can also help with determining how long you have before dark, but you’re a pirate – just look up at the sky!

https://www.windowscentral.com/sea-thieves-items

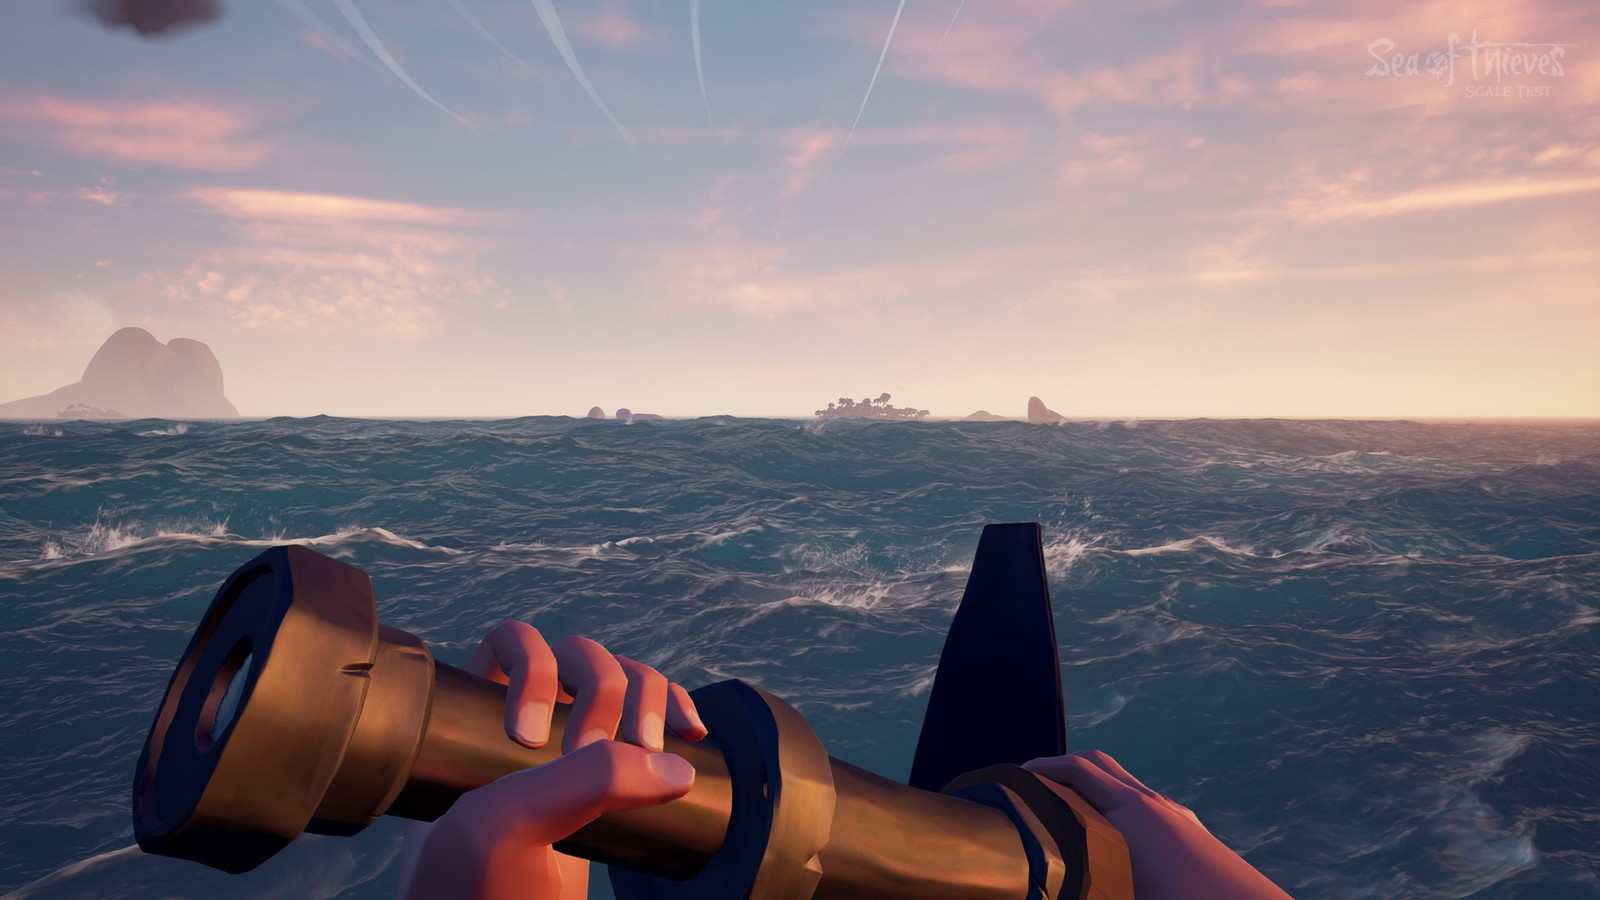
Spyglass: An unexpectedly valuable piece of equipment, this can help you spot islands, enemies, and passing ships. Passing ships should definitely be taken into account and shared with your crew. Know when to fight and when to flee, especially during timed quests or when low on supplies. Another tip is to put out your ship’s lanterns at night; other players will have a harder time spotting you in the dark if you’re not lit up like a Christmas tree.

Shovel: This digs up treasure. Listen for the clank sound; that means you’ve hit the chest.

Bucket: All players begin with the bucket, and all unfortunate players will likely end up using it. A lot. The bucket is for when your ship is taking on water and threatens to sink. Use the bucket to pour out the water, ideally when another player is patching up the hole.

https://gameidealist.com/news/crude-humor-use-alcohol-violence-detailed-sea-thieves/

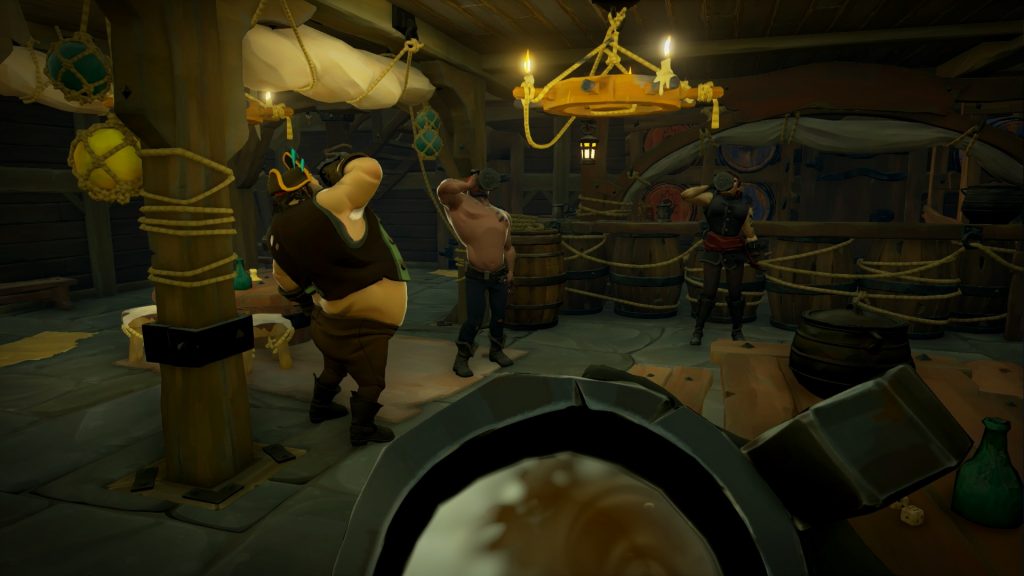
Tankard: Not useful unless you want to roleplay. The tankard will hold grog for player consumption; you can find one in your equipment chest. Fun if you want to pretend you’re Captain Jack Sparrow.

4. Choose your weapons wisely

You can only carry two weapons on your person in Sea of Thieves, but can choose from four: The cutlass; blunderbuss; pistol, and Eye of Reach. When you’re picking your weapons, be mindful of two factors: What your other teammates are carrying; and whether you’re well-rounded if any of you wind up alone.

http://shop.seaofthieves.com/proddetail.php?prod=MS_SeaT_1007

The cutlass requires the most finesse and practice. Able to swipe, parry, and lunge, it’s your most versatile (and classy) choice. The cutlass can also block, making it a viable defensive option, and is the only weapon in the game that does not require ammunition. We think it’s the best backup weapon you can pick.

The flintlock pistol is a good close-mid range gun, and accurate players will find it’s a good counter against careless sword wielders who can’t reliably close the distance. It also fires faster than the blunderbuss or Eye of Reach, so you’ve got more margin for error.

The Eye of Reach is Sea of Thieves’ sniper rifle, using a fixed scope to engage enemies from great distances while maintaining higher accuracy. It can be incredibly useful from a hilltop or the crow’s nest of a Galleon, but don’t get caught using it alone against a pack of skeletons.

http://crewofthieves.com/the-pirates-guide-to-personal-combat-in-sea-of-thieves/

The blunderbuss is the champion of close quarters fighting, and we recommend beginner players rely heavily on this. Our blatant tip is to “practice with the sword, but proceed with the shotgun.” It’s also the only weapon capable of dispatching multiple assailants at once, making it your best choice against the game’s many skeletons hordes.

5. Keep well stocked

https://www.youtube.com/watch?v=Hy9gaDgUjGE

Our last tip for beginner players is to loot, loot, loot. This goes for completing quests and pillaging enemy vessels, but also extends to exploring small islands for wood, chests, or life-giving bananas. All supplies you find that belongs on your ship should be put there quickly, as you’ll never know when an enemy ship might decide to challenge you.

As for the bananas, we recommend you keep as many on your person as you can. Each will restore 25% of your health, and can be consumed one at a time to give you a fighting chance should you get ambushed.

Sea of Thieves is a ruthless, cutthroat world, but if you keep these five tips in mind and stick close to your friends you might just stay alive long enough to face down that Kraken. Or to launch yourself from a cannon only to plummet down to your death, questioning your life decisions all the way.


How to play thousands of retro arcade games for free on your PC

Do you remember filling your pockets until they were heavy with quarters so you could spend an afternoon at the arcade? Probably not. Since the introduction of PC gaming, consoles, Steam, and mobile gaming there’s not much reason to go to an arcade and feed four more quarters into Frogger or Pinball. Getting schooled by Noob Saibot in the early Mortal Kombat or dying over and over again in Battletoads are rites of gaming’s ancient past…

But what if those games were free?

7

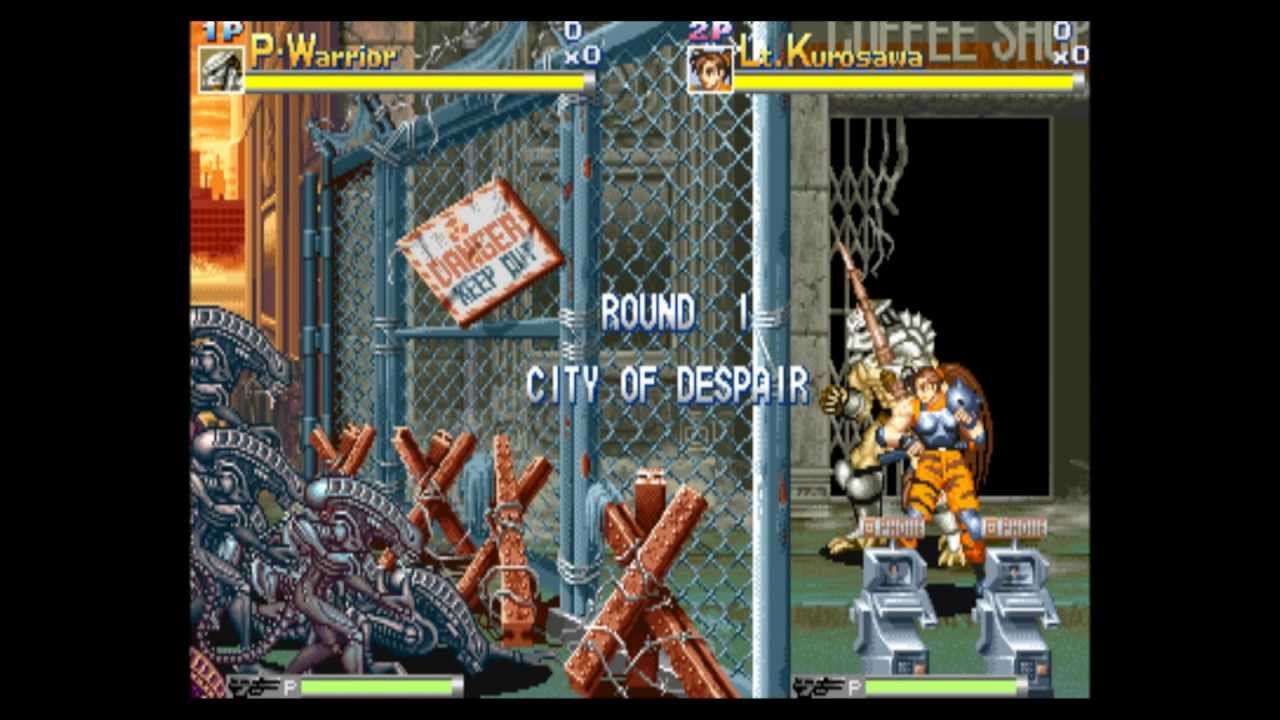
M.A.M.E. stands for Multiple Arcade Machine Emulator, and it does exactly that. Free to download on PC and instantly available via command prompt, MAME is a massive compendium of over 7,000 arcade games from 1948 to 2017.

https://www.youtube.com/watch?v=luva0m9OKpQ

Are they all free??

Yes.

Are they all readily available??

Kind of.

While the emulator itself is free, the ROMs required for the majority of the games to run are sadly not. Disclaimer: We do not condone or encourage the purchasing of any ROMs that you do not own the rights to. Sharing them is also illegal. If you’d like to see the fine print on this, you can check out these articles on the subject.

So what does MAME offer that IS legal?

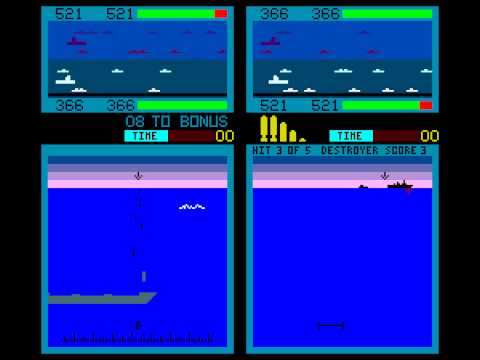
Well, you’ll have access to an awesome emulator and a handful of cool retro games like Super Tank, The Adventures of Robby Roto, Fire One and Hard Hat!

https://www.youtube.com/watch?v=9dL1R6VBGb0

How is it installed?

From MAME’s site. Here’s the process:

1. Pick your platform

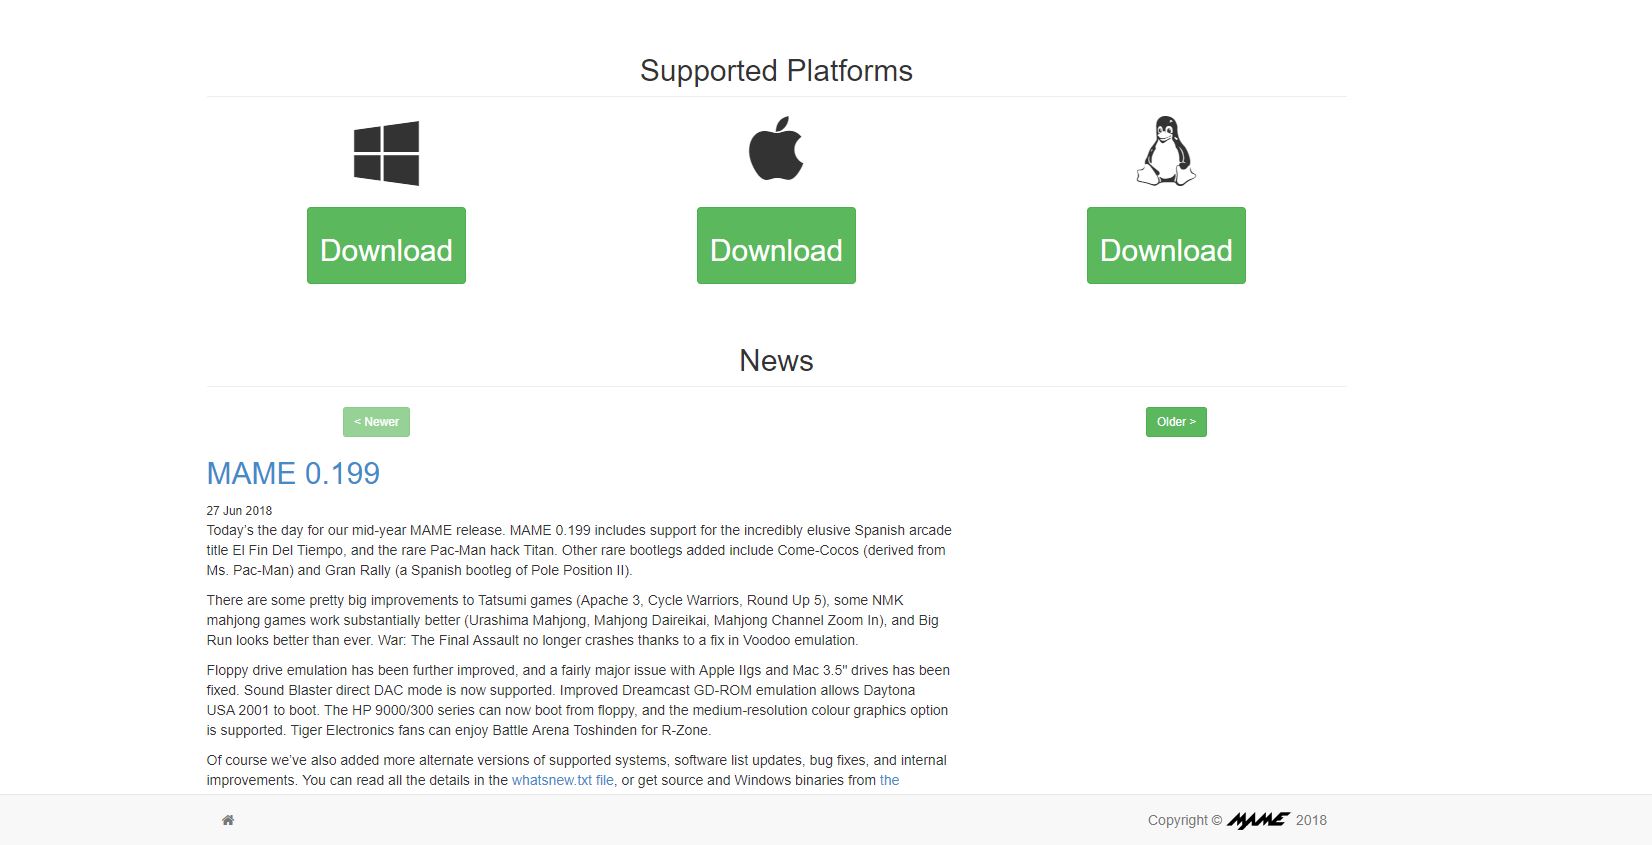
Click the above link. Once you’re, click the system you’re using. MAME is supported on the platforms pictured:

2. Choose 32-bit or 64-bit

Clicking your platform will bring you to the next page. Here you’ll need to click either the 32-bit or the 64-bit option for download.

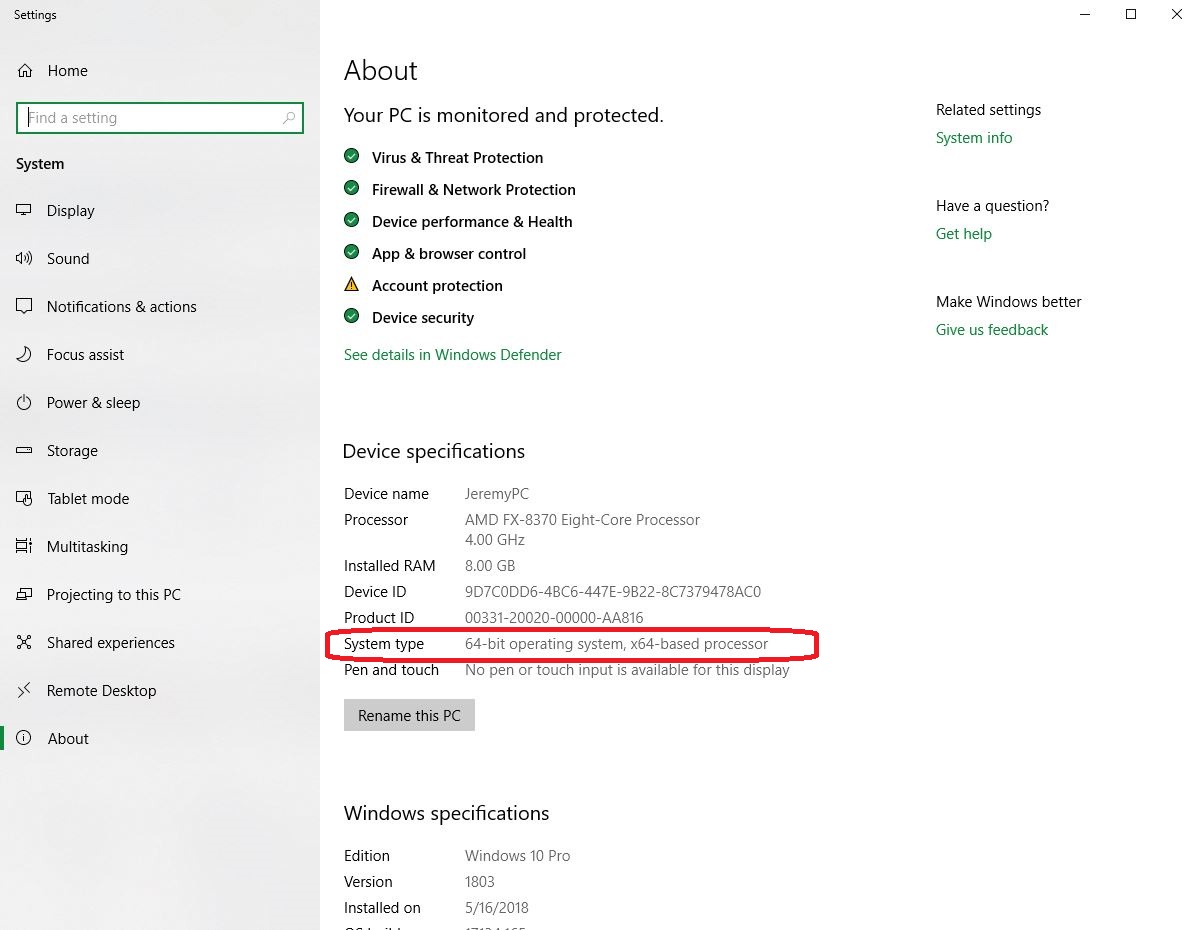
If you’re unsure which your computer is using, on PC you can click the Windows button and type “about.” Click ‘About Your PC’ at the top of the list, and it’ll take you to this page. It will list your specs there.

3. Choose where you want your folder

By default MAME downloads to your ‘downloads’ folder, but we recommend putting it in your C: drive for ease of use.

4. Download the required ROMs

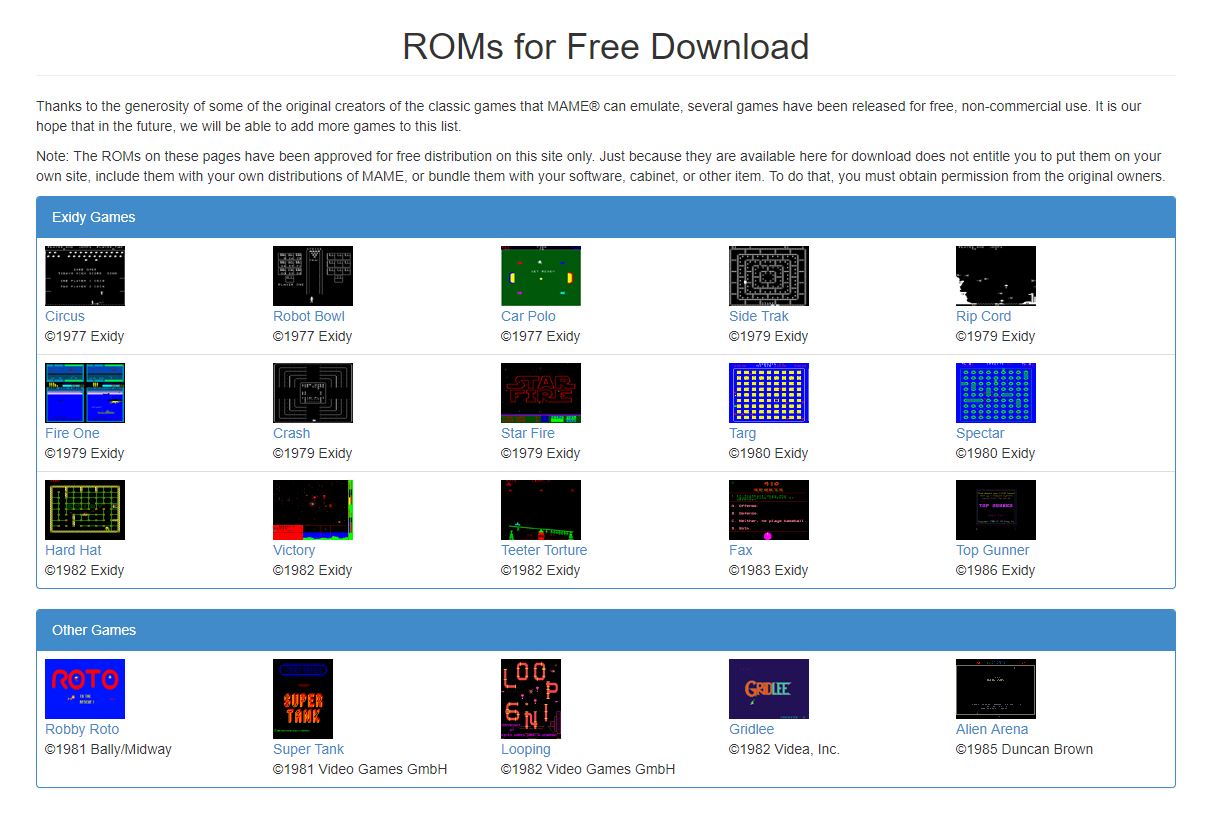
Now you’ll need some ROMs to ensure that the games work. At the top of the mamedev page click on the ‘downloads’ tab. On the dropdown click ‘ROMs.’ It’ll take you to this page:

http://mamedev.org/roms/

5. Transfer your downloaded ROMs

All the ROMs on this page are free, so if you want the easiest compatibility with the various games in MAME, we recommend you get all of them. Once you’ve downloaded them (they’re free), transfer them without unzipping them to your C:\mame\roms folder, or wherever you decided to put MAME. Now you have all the required ROMS to play the free games.

6. Open MAME

Now there are two ways to open MAME and start playing. In your MAME folder, you’ll see a mame64.exe or a mame32.exe. Double-clicking on this will open up the MAME library. Alternatively, you can bring up the command prompt (hit the windows key, then type ‘cmd’) and then type ‘cd\’ followed by ‘cd mame.’ Hit tab until you see the mame64.exe or mame32.exe, then hit enter.

7. Pick your game

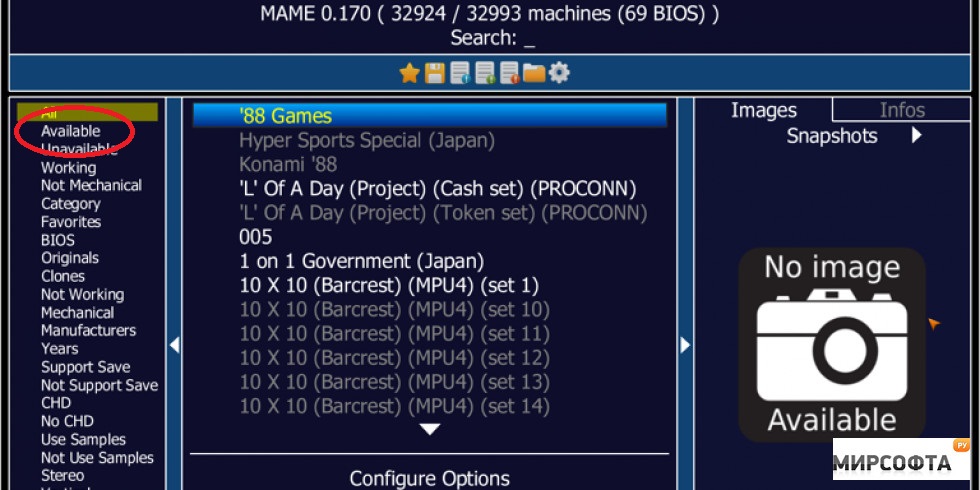
https://mirsofta.ru/soft/MAME-Multiple-Arcade-Machine-Emulator.html

MAME’s catalog of games can be daunting at first (there are so many games)! The easiest way to find ones you can play immediately is to click the ‘available’ tab on the left of the library. From here, just scroll until you find one you like and double click to play it! You can also engage and toggle things like a gamepad if you right-click on the chosen game instead.

Playing the game

Once you’re in the game you’ll still need “quarters” to play. Press ‘5’ to “insert a quarter.”

Hooray! Infinite money!

When you’re ready, press either 1 or 2 (for two player) to start. From here, you can use the arrow keys or gamepad to move, and press ‘control’ as your primary action button. Any further controls are mapped to either alt or space bar. You can also press ‘p’ at any time to pause your game, or ‘t’ to tilt, though why you’d want to tilt the game is beyond us. Don’t ragequit, bruh.

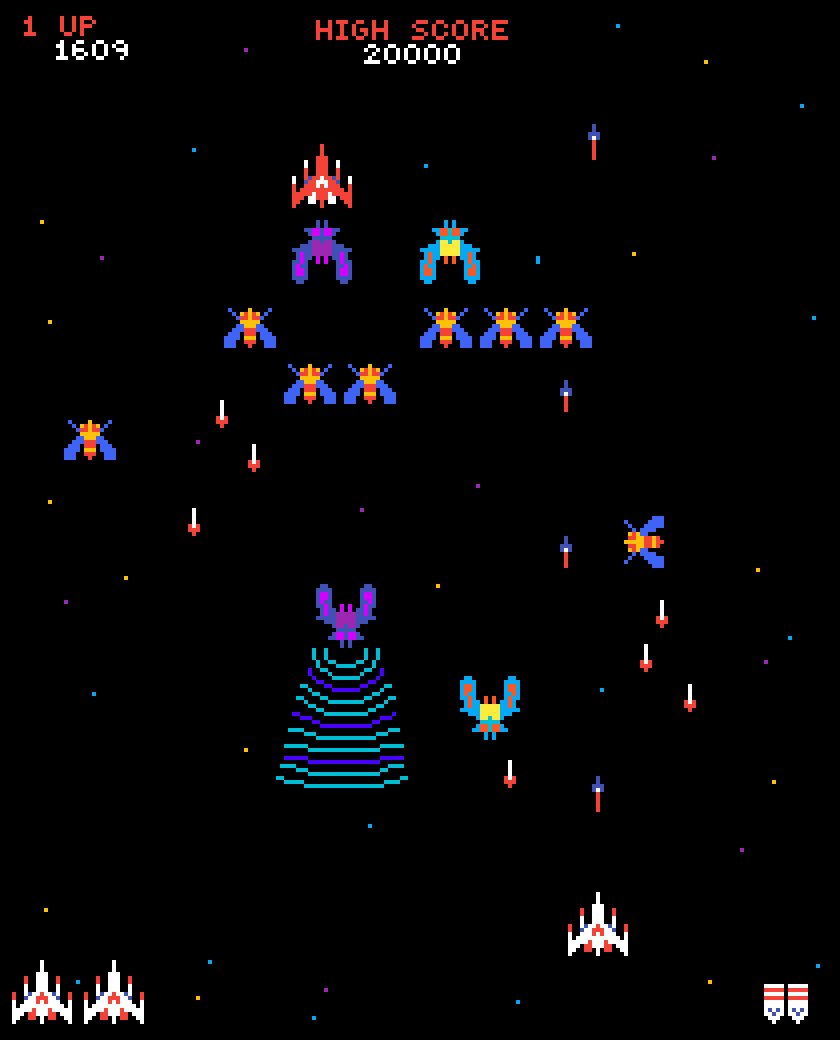
https://www.pixilart.com/art/galaga-84089c71a2b0e34

Considering it’s massive library of playable games, downloading MAME for free is a no-brainer. Depending on your gaming background it’s a stroll down memory lane. Or maybe you’re trying to see if you’ve got what it takes to stack up to the real deal old school gamers. Download MAME now and find out!

7


Civilization Revolution: 10 secrets to win the series’ most streamlined experience

Sid Meier’s Civilization series is best known for two things: Addictive one-more-turn gameplay; and lengthy matches. Civ 6 is the newest installment in the franchise and when asked how long a game might take the answers were … telling.

Civilization Revolution, on the other hand, was released in 2008 and can be played on console or mobile. Sid Meier explained that the aim of this title was “to recreate the Civ experience in an afternoon,” effectively halving the length of the infamously long matches. Despite shortening the games, Civilization Revolution boasts an astounding level of complexity and strategy, particularly for players new to the game series.

Civilization Revolution 2 Download
5

For our part, we’ve sunk hundreds of hours into Civilization Revolution, and it might be our favorite game in the franchise. This guide will be going over beginner and intermediate tips on how to succeed in this game and truly craft a civilization “to withstand the test of time.”

Beginner tips

1. There are four ways to win

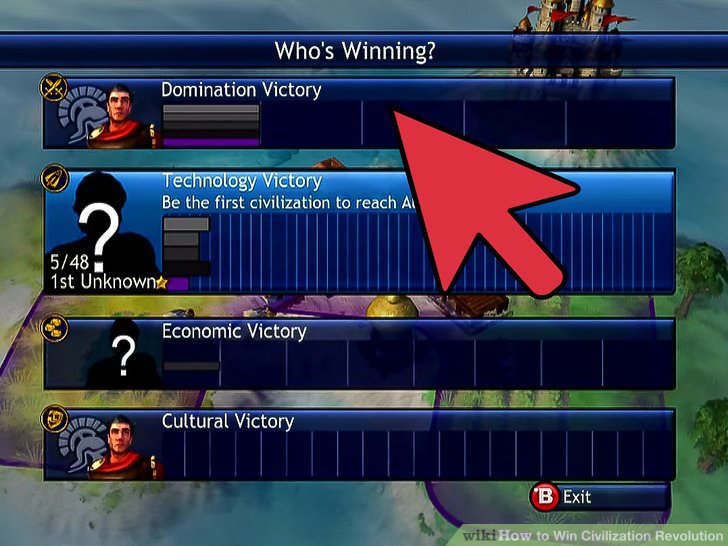
There are four ways to win a match in Civilization Revolution: Domination; Technology; Economy; and Culture. The first thing to remember is that while all matches can be won in any of these ways, you’d be wise to form a game plan as the match progresses. There’s typically a path of least resistance.

https://www.wikihow.com/Win-Civilization-Revolution

Domination: Capture all enemy capitals OR have the highest score by the time the year 2200 rolls around.
Technology: Be the first to build a spaceship and arrive on Alpha Centauri
Culture: Acquire a total of 20 wonders, great people, or converted cities
Economy: Acquire enough money to build the World Bank

2. Don’t neglect the other three paths

Probably the most useful tip we can give is to keep your bases covered. Don’t laser focus on one victory path so much that you’re leaving the other paths in the dust. A civilization steeped in culture can be cut down by one with a heavy military in the mid-endgame. And a civ that focuses on domination can be stopped in their tracks when the come face to face with a more technologically sophisticated civ.

https://www.youtube.com/watch?v=v5PbYLh2YkU

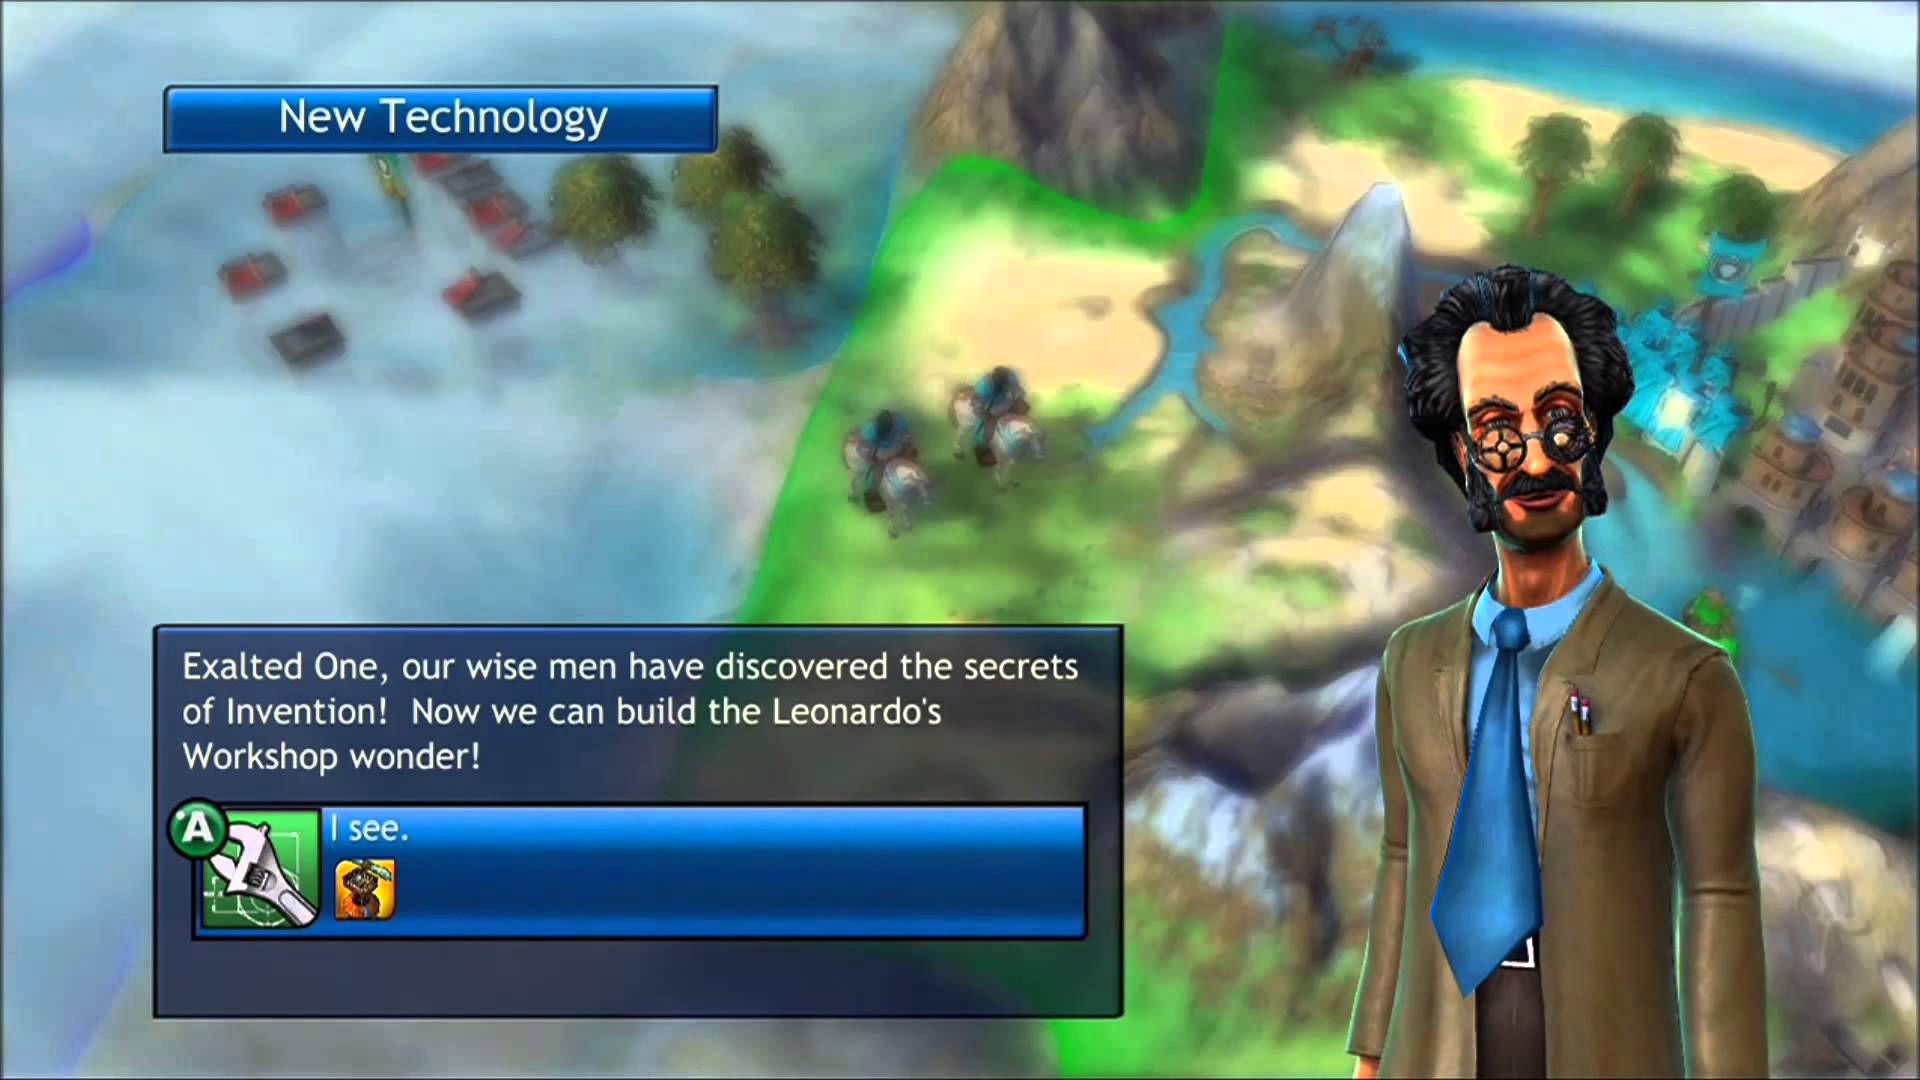
Researching techs means unlocking new wonders for culture and new units for domination. Wonders upgrade your units (Leonardo’s Workshop) and increase your research speed (East India Company). Great people can instantly build wonders, convert cities, or level your troops. Money can buy you techs from other civs, or to rush build both wonders and units. Every road connects with the others in some way.

3. Stack your units into armies – all of them!

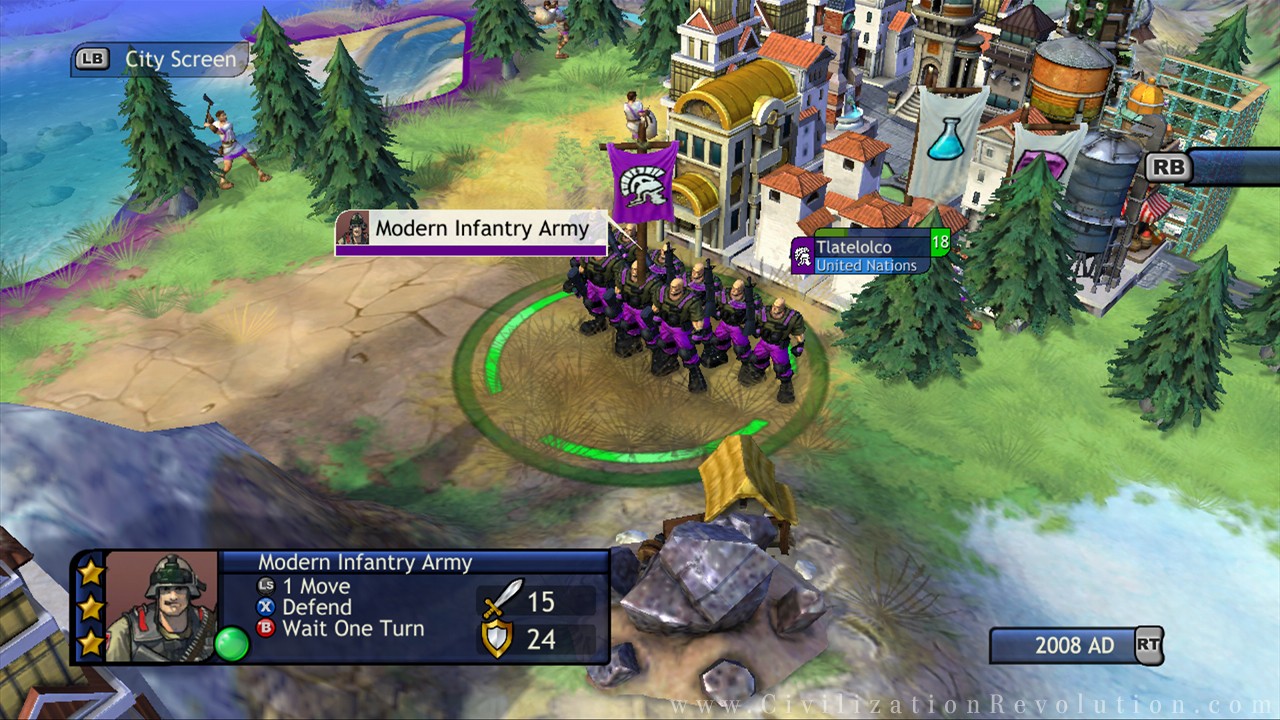
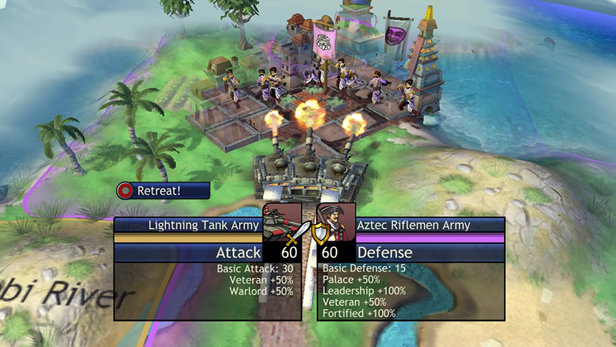
Unlike Civ V, in Civilization Revolution you can place multiple units on one tile. Place three of the same unit type (ie three cannons) in one tile and you can lump them into an army, tripling its attack and defense scores.

http://civilization.wikia.com/wiki/Modern_Infantry_(CivRev)

A great way to do this quickly is to build the same unit type in three different cities. Then they can travel to the same spot and become an army much faster. Roads help with this, too.

4. Plan according to your civ’s strengths

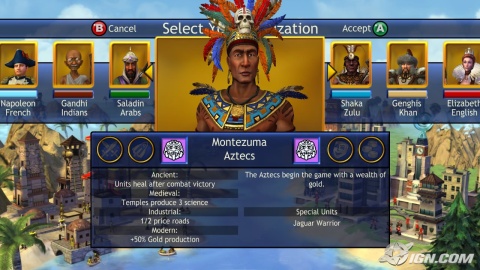
Everything we’ve said so far applies to all civilizations equally. Who you are playing as and who you are fighting are huge factors in the game, though. Each civilization begins with two (mostly) unique bonuses, unlocking more every time they reach a new era. Many of these bonuses encourage a particular angle or style of play, even the most likely victory type.

http://www.ign.com/articles/2008/06/02/civilization-revolution-era-bonuses-revealed?page=4

We find that most civilizations are best suited for two kinds of victory. While that is not to say they’re incapable of winning in other ways, there’s a typical slant. For example, France and England both excel at culture/domination, while Spain and Egypt might be better suited for tech/economy.

5. Research with a goal in mind

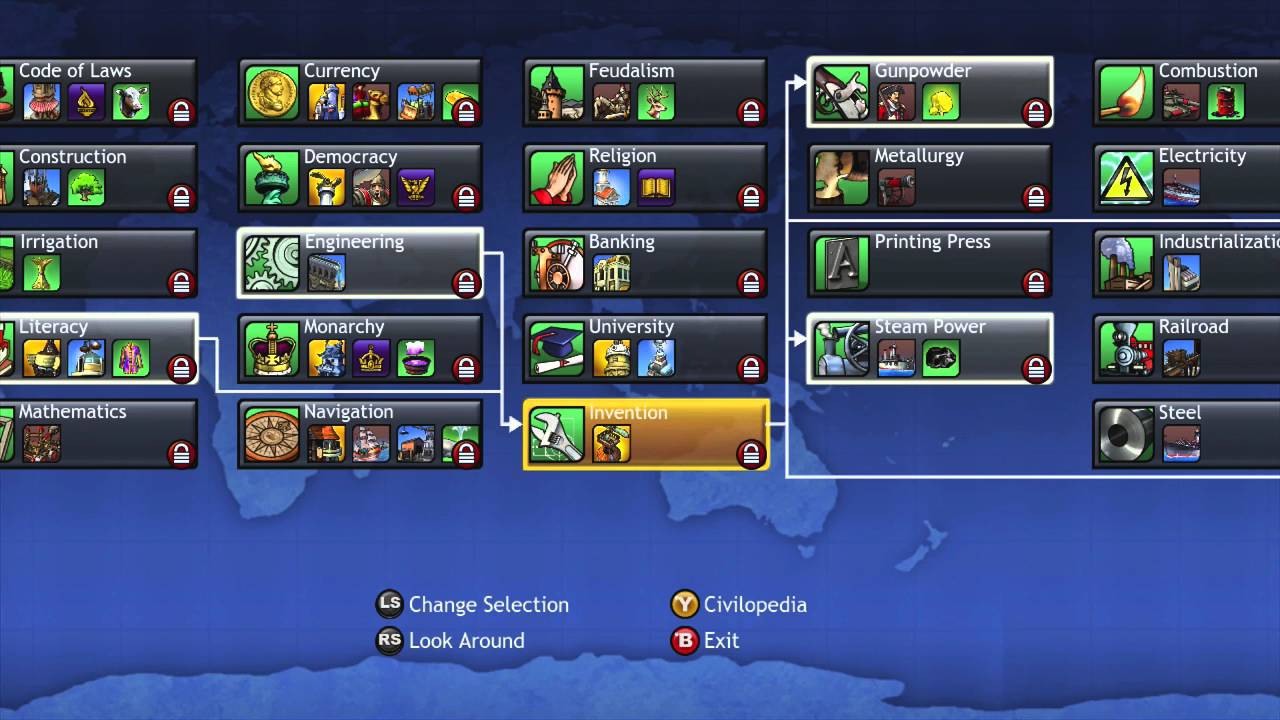
Technology in the Civilizations series is all about researching the prerequisite techs. Crawl before you walk. You can’t learn masonry unless you know pottery; you can’t write without an alphabet.

https://www.youtube.com/watch?v=qHNxzQ2IwHo

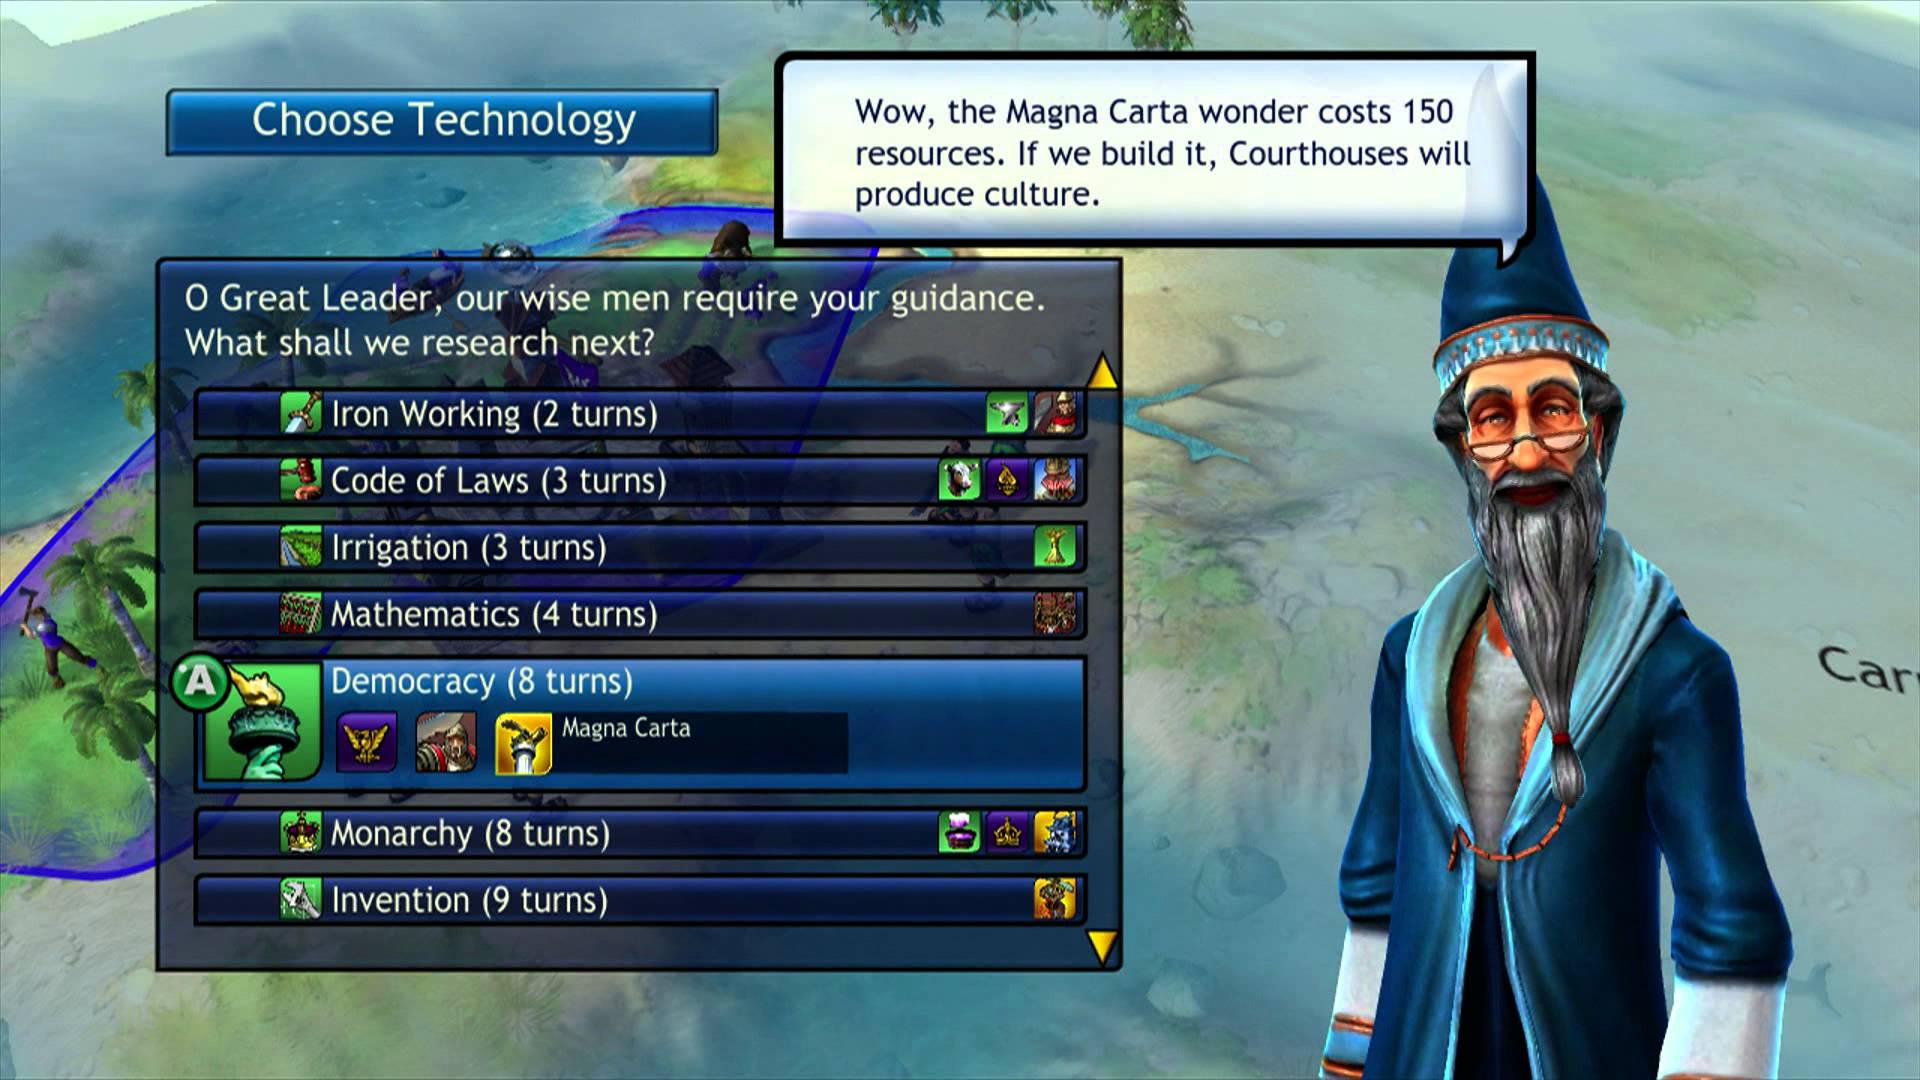
Does your civ have a special unit or bonus that’s dependent on learning a tech? The Arabs have bonuses for knights, for example. If you want to take full advantage of that, you’d better chart a course for feudalism, hitting all those prerequisites on the way. Don’t forget that certain buildings and wonders can only be built if you’ve researched their corresponding techs!

Intermediate tips

6. Specialize your later cities

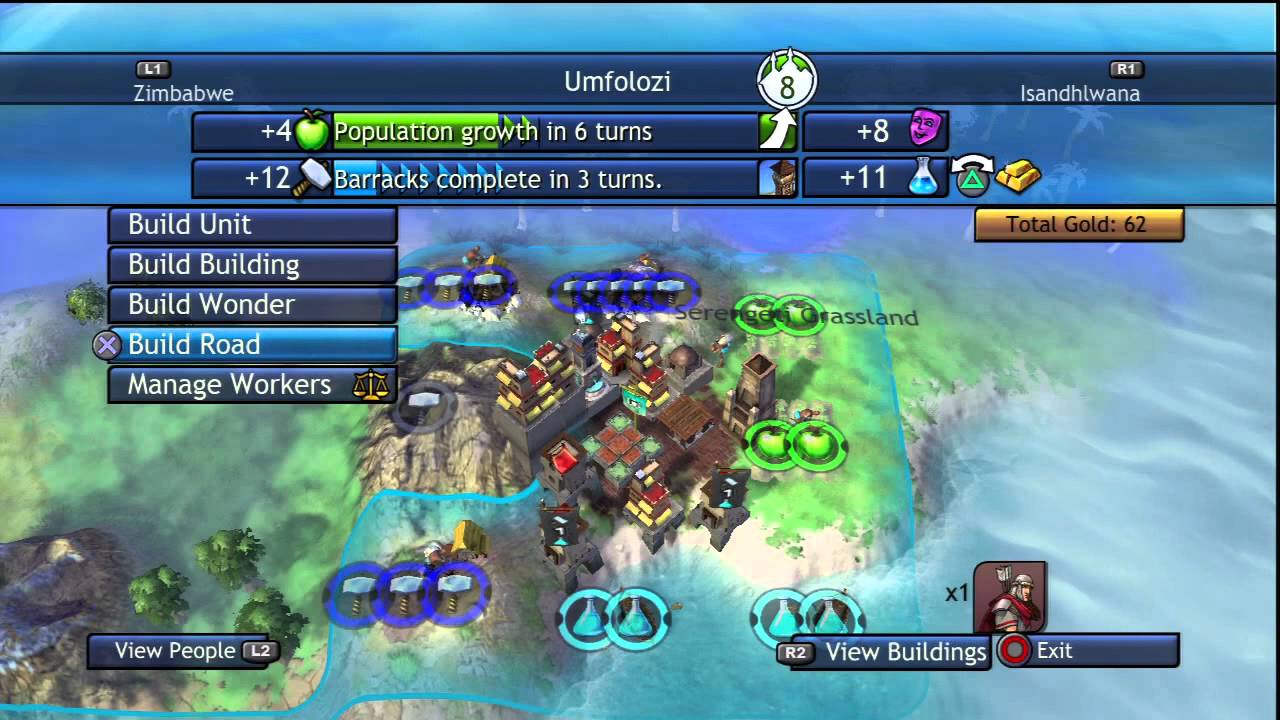
The first two or three cities you build should be largely well-rounded. That means they’ve got a good balance of trade (money and science), food, and production. This will ensure that your early game doesn’t leave you lacking in any area.

https://www.youtube.com/watch?v=xaFDNx12BzQ

As the game gets going, though, it’s good to build a “tech lab” city or a “gold mine.” These cities have a specific focus, providing you with unparalleled research, gold, or even production. Settle on an island, slap on a harbor and a courthouse, then choose between a library/university or market/bank and you have a city churning out tons of science or money. Don’t forget to manage your workers accordingly.

7. Attack an enemy’s capital first

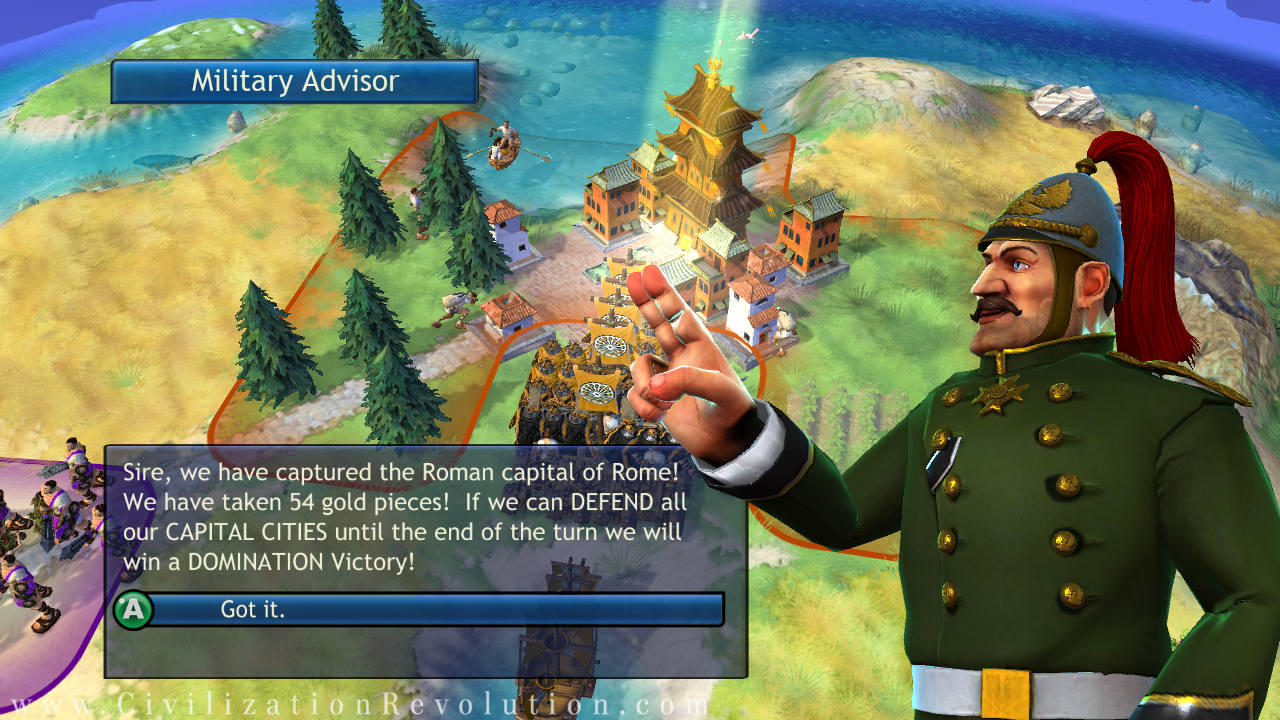
If you’re going for a domination victory, or if you’re just trying to get an annoying enemy civ out of the way, be sure to attack their capital city first. If it’s behind a bunch of other cities, no worries. Simply pile up your armies onto your most defensible naval unit(s) and sail around and surprise attack them from behind.

http://www.civilizationrevolution.com/community_features_victories.html

Slogging through an enemy’s cities means that you’ll arrive at the capital weakened and that you’ll be giving the enemy civ extra time to fortify his defenses by the time you get there. In short, you’re lowering your chances of winning that fight. It’s rare that an enemy civ holds their own once you take their capital city, too.

Usually, your new palace culture emanating from their stolen capital will be enough to flip their nearby cities. Remember, too, that all you need to win the match is to hold all the capital cities! The others aren’t needed for a domination victory.

8. Save the game, try from a different angle

One weird tactic we found especially useful in the early game is to attack from different tiles. The battles that we lost again and again from one angle we then won when we attacked from a different side. Sometimes it’s because you’re attacking from a hill or defending from a forest, but other times the terrain was the same.

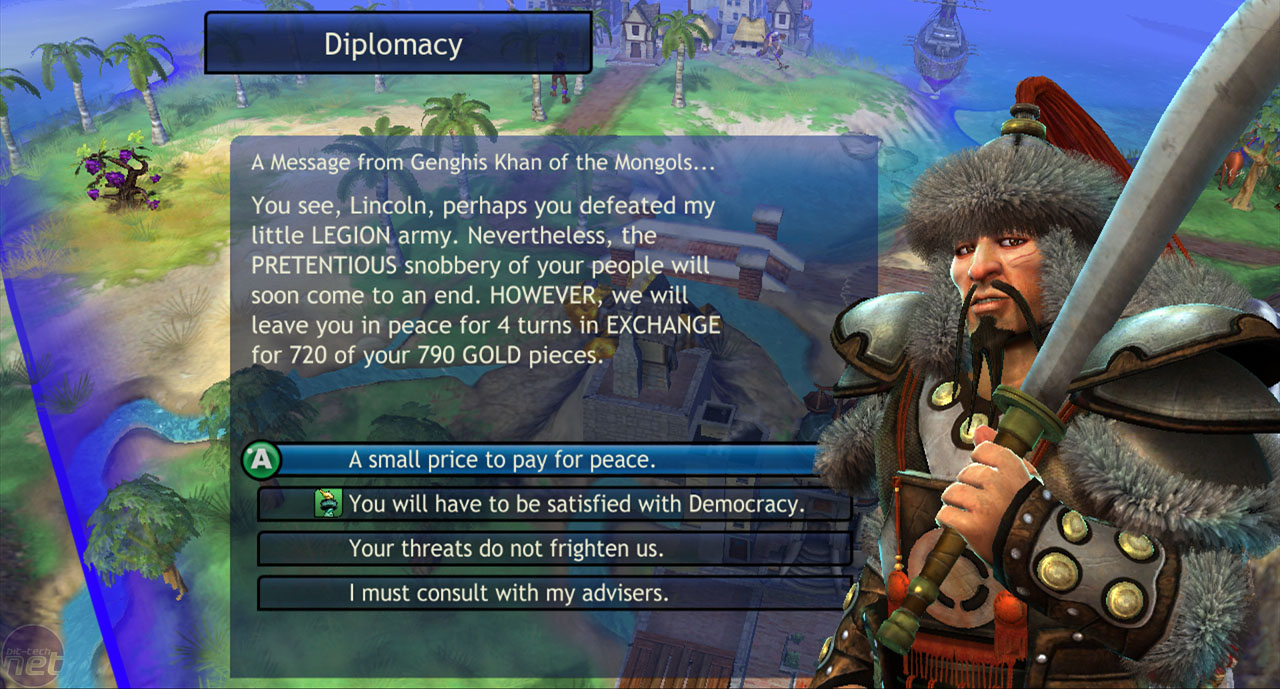
https://www.bit-tech.net/reviews/gaming/xbox/civiliszation-revolution/2/

Before any battle with a questionable outcome, save your game. If you fail the attack, it might be worth reloading and trying again from a different adjacent tile. You might be surprised to find you win now.

9. “Walk-in” on one Civ at the start of the match

At the start of the match, rather than planting your city, try instead running with your settlers to the nearest enemy capital. If you rotate the map just right you might even catch a glimpse of where they’re located. You can see this in action here:

Once you spot the enemy civ, plant your city right next to it, then rush build (set your city to custom production) a warrior unit and attack before he can get his defense up.

Congrats! You now have two capitals right from the start. Be sure to dodge barbarians if you try this, though.

10. Change your government to suit your current objective

The last tip we can give is to make sure your government type best suits your immediate goal. That one turn of anarchy that occurs when you switch really isn’t as scary as the game makes it out to be. If you’re playing as India or China it won’t even affect you at all. As you unlock new government types, be sure and switch to them to get that little extra advantage:

https://www.youtube.com/watch?v=5pPfuWKCPi0

Despotism: No bonus, but switch to this when using nukes
Republic: Switch to this when you’re trying to expand
Democracy: Our favorite. Use this when you’re pushing tech or economy
Monarchy: Use this when you’re trying to culture flip cities close to your capital OR when trying to attract more great people
Communism: Use this when you’re trying to build quickly
Fundamentalism: Use this for an extra edge in a battle. Trust us, it does make a difference – especially when you’re up against units that are the same as yours.

http://www.mobygames.com/game/sid-meiers-civilization-revolution/promo/promoImageId,129958/

There’s a lot more we could talk about – unit upgrades, wonders, naval blockades, spies … but these ten tips should keep you alive long enough to do some experiments of your own. Let us know what’s worked for you!